How to View Lot Lines in Google Earth
If you’re looking to view lot lines in Google Earth, you might have noticed it’s not as straightforward as you’d hoped. While Google Earth doesn’t directly provide property lines, there’s a nifty workaround, which you’ll learn in this guide.
Read on!
Why Google Earth Doesn’t Show Lot Lines
Google Earth is fantastic for exploring the world, but when it comes to property lines, things can get tricky. The platform doesn’t automatically show lot lines, mainly because this data can vary widely and isn’t universally available. However, with the help of Google My Maps, you can easily view lot lines on Google Earth.
Step-by-Step Guide: Display Lot Lines in Google Earth
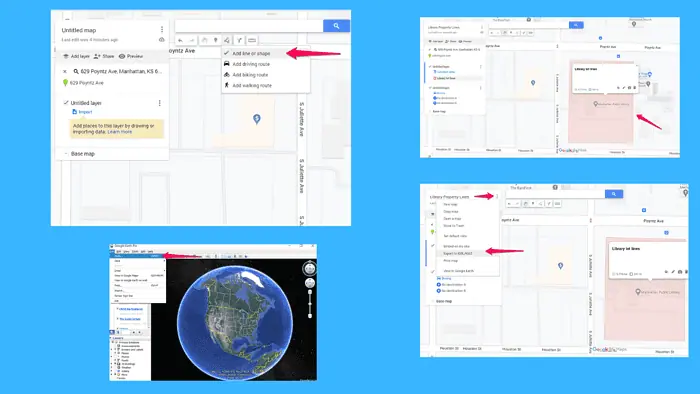
1. Create Property Lines in Google My Maps
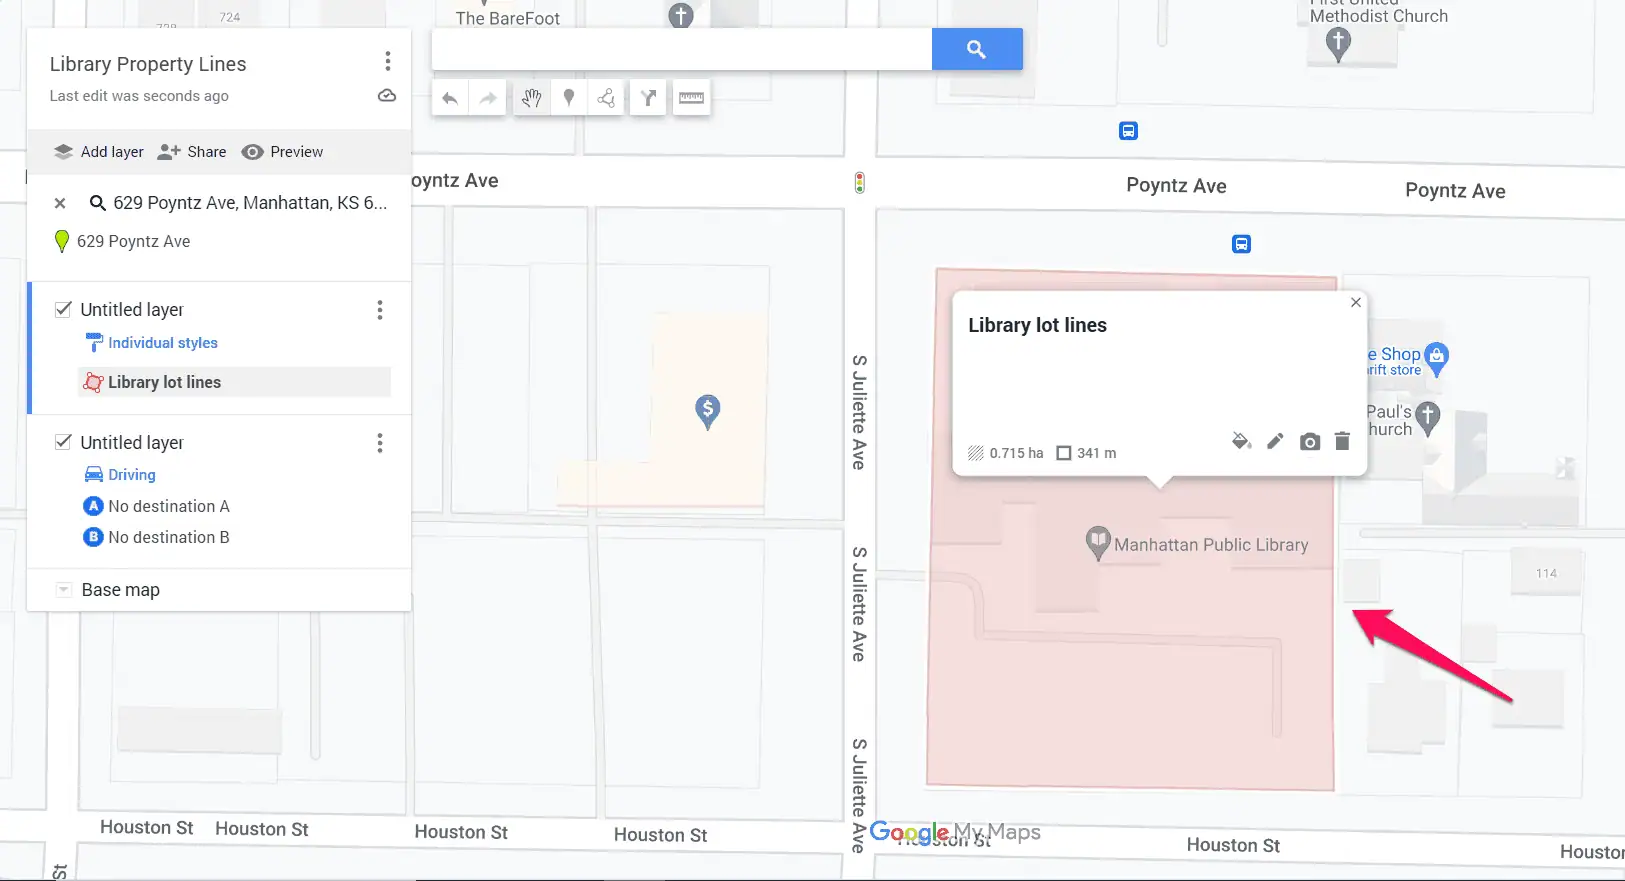
The first step is to outline your property directly on Google My Maps.
Here’s how you can do it:
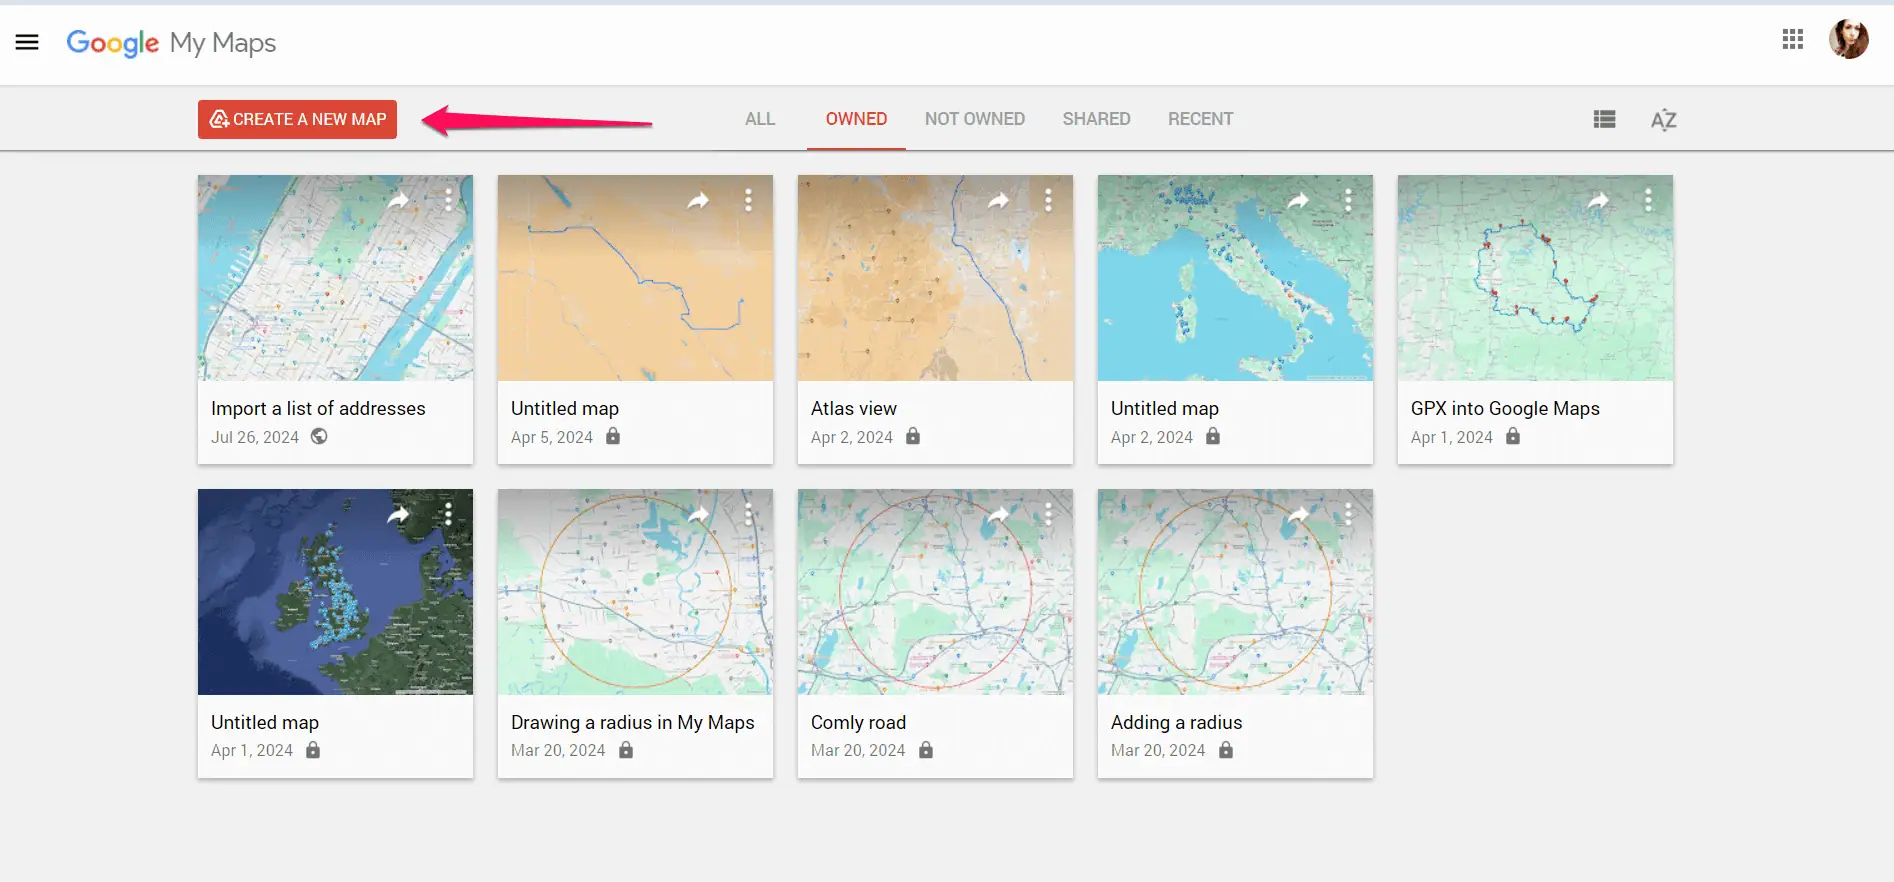
- Go to Google My Maps and click on Create a New Map.

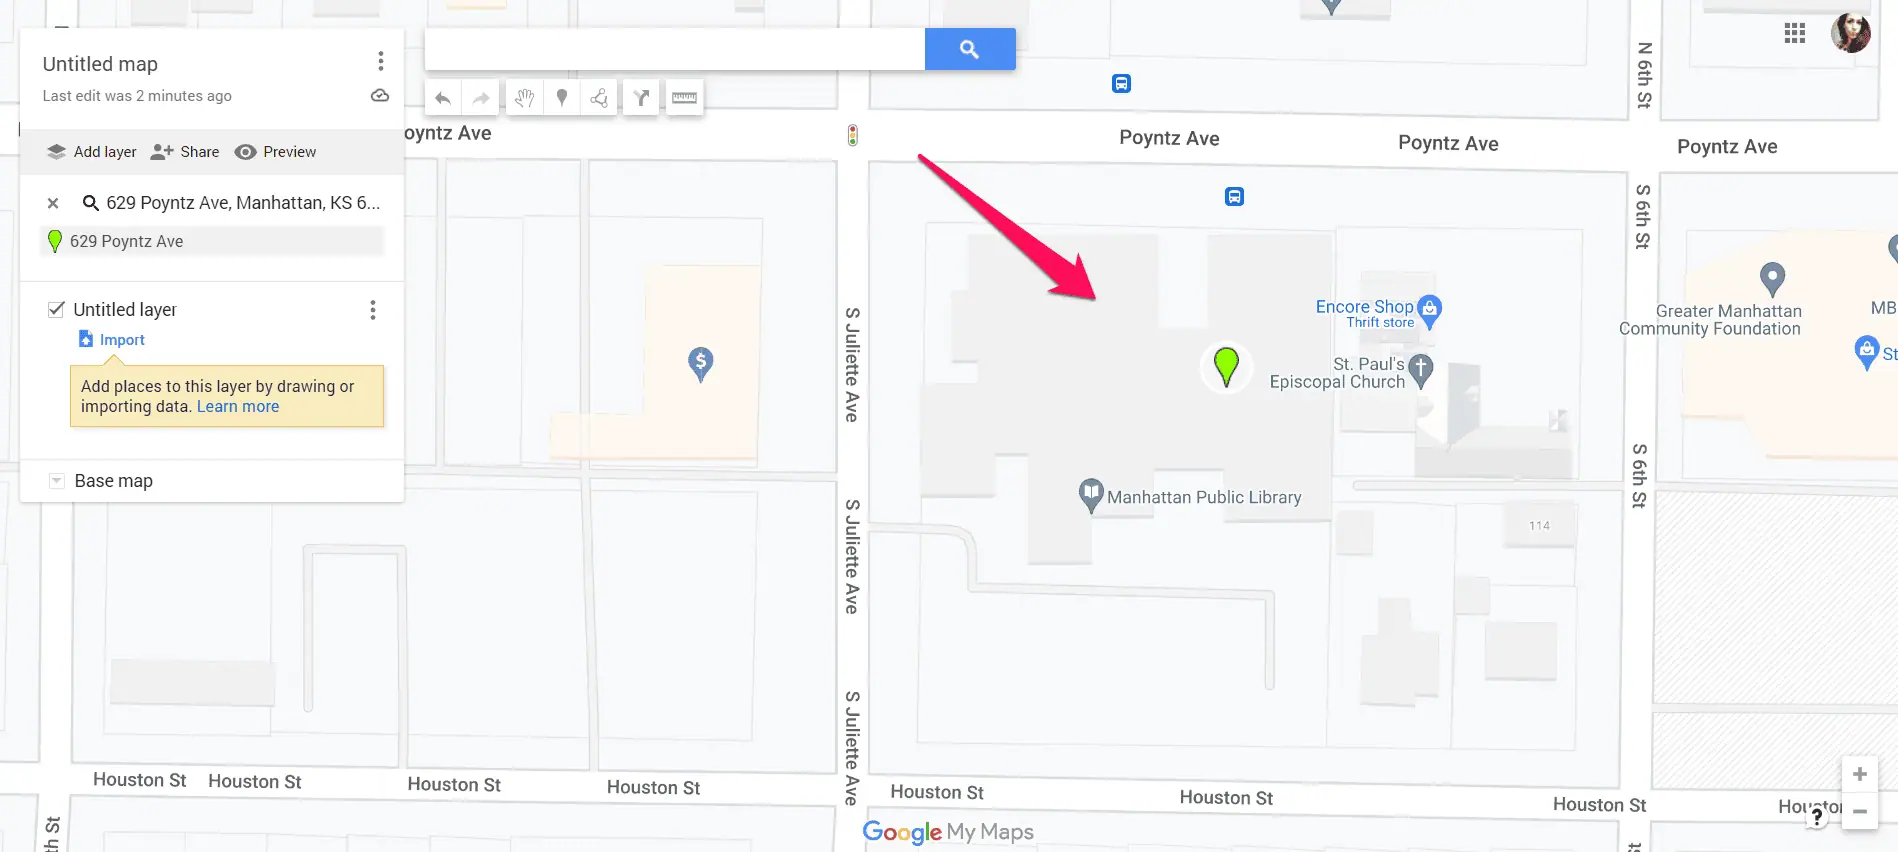
- Use the search bar to locate your property or the area where you want to draw lot lines.

- Zoom in until you see gray lines, which are property lines.
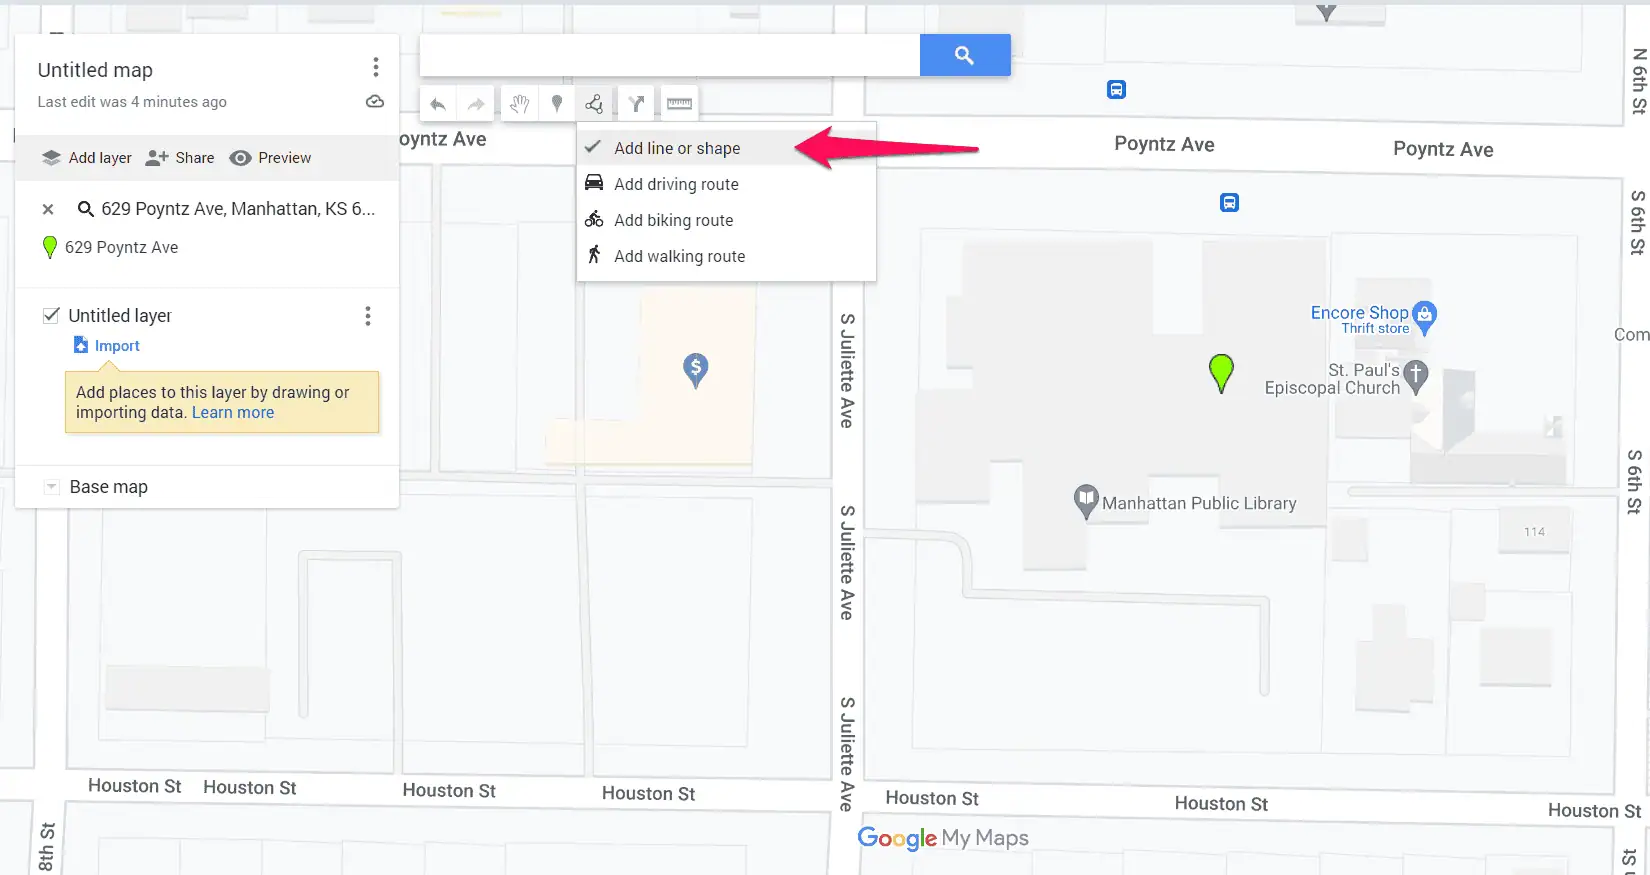
- Click on the Draw a Line tool (a squiggly line icon) and select Add line or shape.

- Click around your property to draw the lot lines. Connect the points to outline the property, and double-click to finish the shape.

- Name your shape (e.g., “My Property”) and save it.
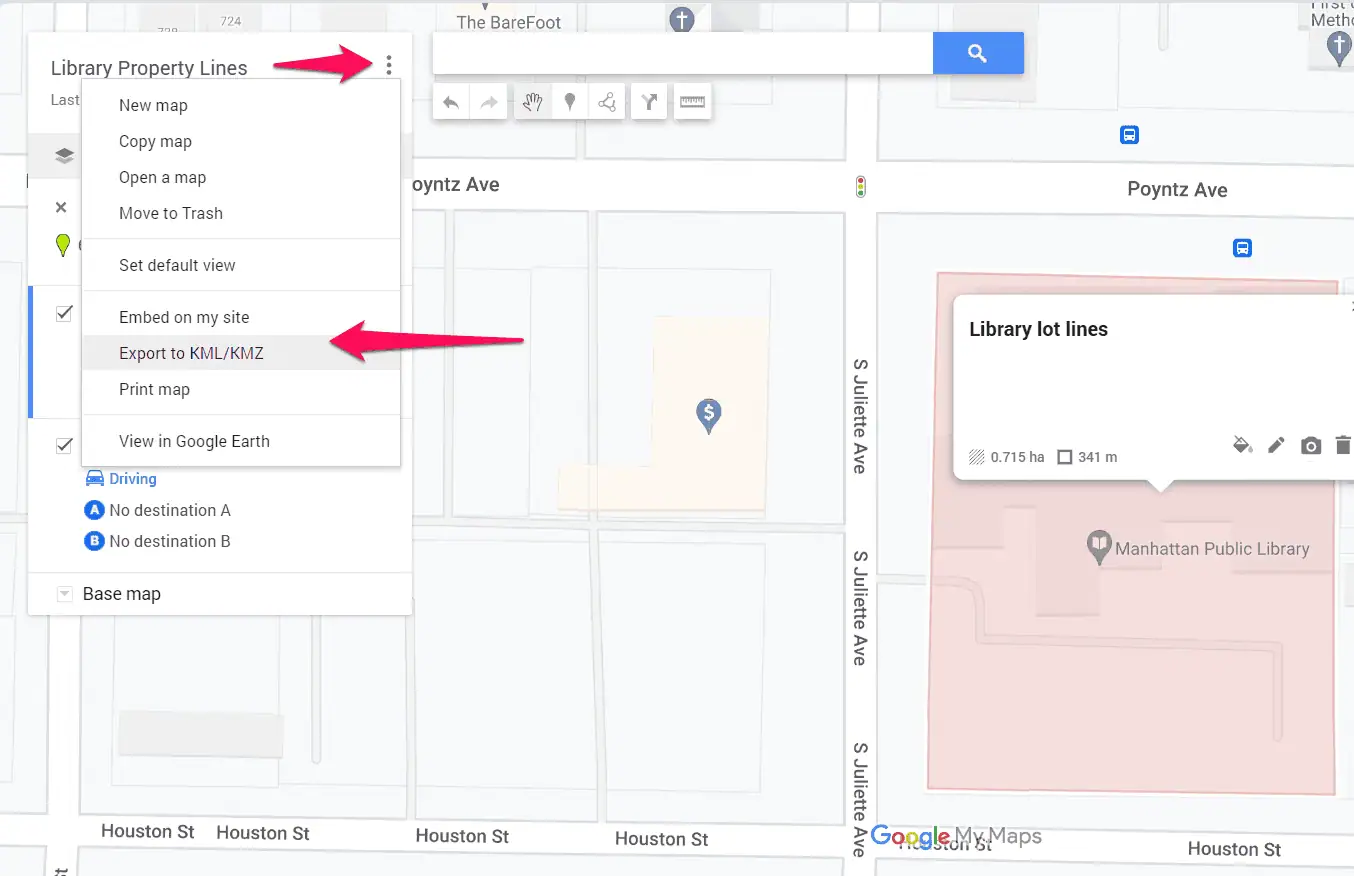
2. Export the Property Lines as a KML File
Once you’ve drawn your property lines in Google Maps, the next thing you need to do is export them as a KML file, which Google Earth can read.
- Click on the three dots next to the layer name on the left-hand side of the map.
- Select Export to KML/KMZ.

- If you want to save the file to your computer, just choose the Download option. If you have multiple layers, make sure you select “Entire Map.”
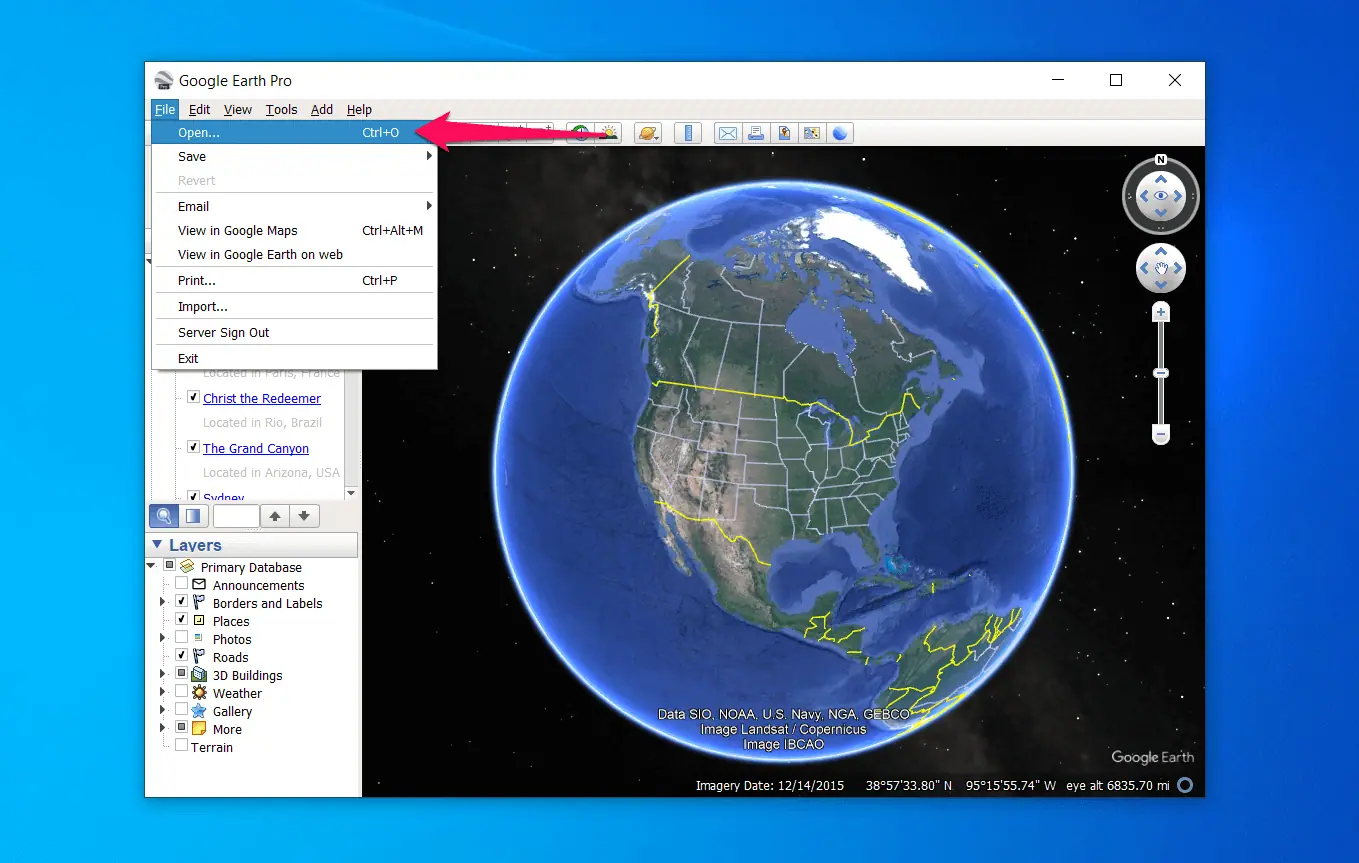
3. Import the KML File into Google Earth
Now that you’ve got your KML file, it’s time to bring it into Google Earth to view your lot lines.
Open Google Earth on your desktop (you can download it from the Google Earth website if you haven’t already).
- Click on File in the top menu and select Open.

- Locate the KML file you just downloaded and select Open.
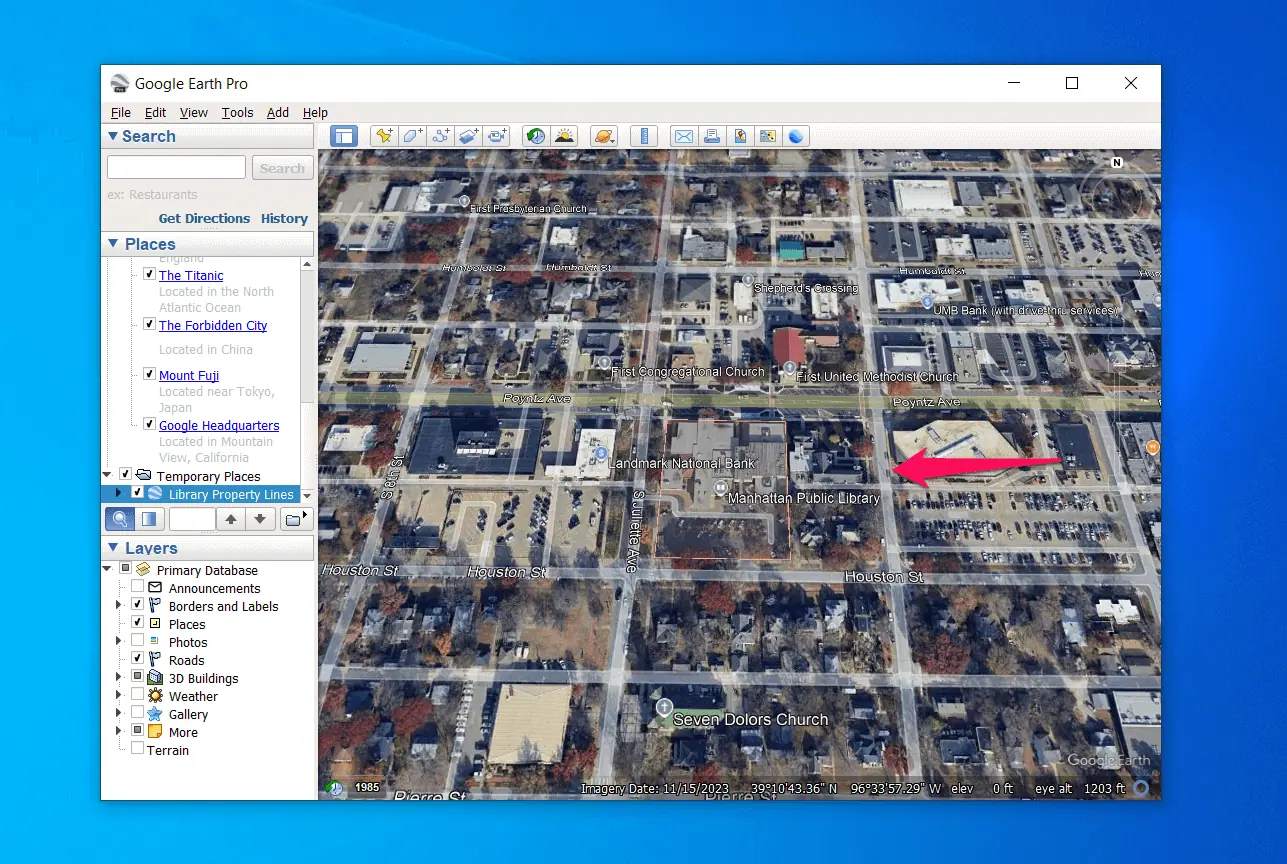
- You’ll now see your property lines on Google Earth, so you can explore the boundaries in more detail in 3D.

Unfortunately, you can’t view lot lines in Google Earth by default, but with just a few steps using Google My Maps, you can create and visualize property lines with ease.
This method is not only practical but also a great way to get to know your property boundaries. If you have any questions or run into any issues during the process, just ask!
Read our disclosure page to find out how can you help MSPoweruser sustain the editorial team Read more
Improve this guide


User forum
0 messages