Microsoft release new mitigation and recovery steps for Storage Spaces issues in Windows 10 Version 2004
![]() 5 min. read
5 min. read
![]() Published on
Published on
Share this article
Improve this guide
Read our disclosure page to find out how can you help MSPoweruser sustain the editorial team Read more
The release of Windows 10 2004 has caused a rather serious issue with Storage Spaces, Microsoft’s version of RAID on Windows 10, which can lead to data loss.
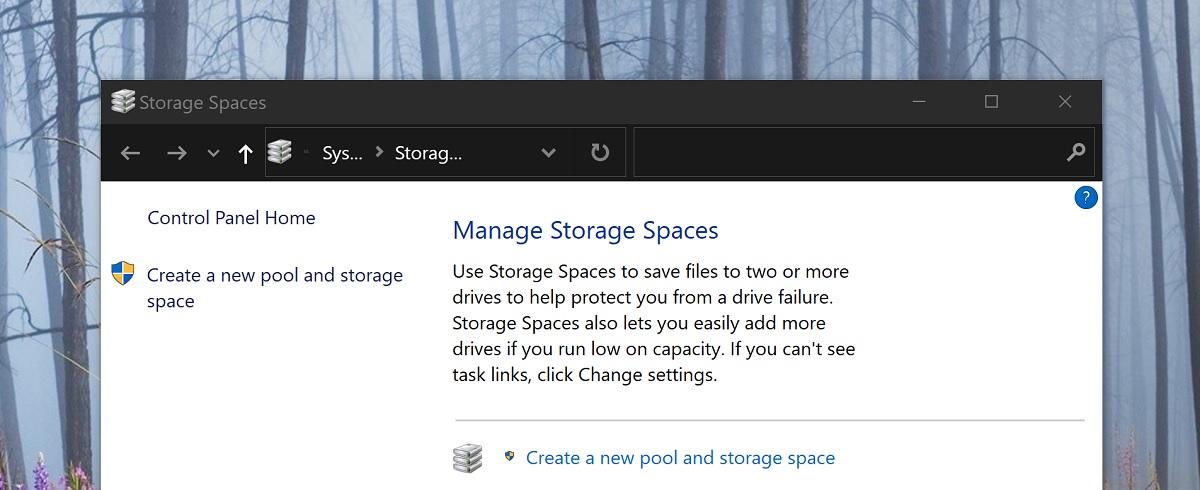
Devices using Parity Storage Spaces may have issues using or accessing their Storage Spaces after updating to Windows 10, version 2004 (the May 2020 Update) and Windows Server, version 2004. When using some configurations, partitions for Parity Storage Spaces might show as RAW in Disk Manager.
Microsoft has applied a compatibility hold on these devices using storage spaced from installing or being offered Windows 10, version 2004, but if you have already upgraded and are affected, Microsoft has released a troubleshooter to help affected users which should automatically run.
If it has not, Microsoft suggests you check your Trouble Shooter settings.
You can verify that the troubleshooter has run using the following steps:
- Select Start and type: troubleshoot
- Select Troubleshoot Settings
- Select View History in the Troubleshoot section of the Settings dialog.
- If the troubleshooter has attempted to run, you will see a critical troubleshooter or recommended troubleshooter with the title and description from the below table. The notes column explains what the troubleshooter does.
| Title | Description | Notes |
| Hardware and devices troubleshooter | Automatically change system settings to fix a problem on your device. | This troubleshooter will prevent issues with the data on your Storage Spaces. After the troubleshooter has run, you will not be able to write to your Storage Spaces. |
| Storage space troubleshooter | Data corruption was detected on your parity storage space. This troubleshooter takes actions to prevent further corruption. It also restores write access if the space was previously marked read-only. For more information and recommended actions please see the link below. | This troubleshooter will mitigate the issue for some users and will restore read and write access to your Parity Storage Spaces.
Note Files that have already had issues may need to be recovered. See the “Recover files” section below for more information. |
Note When following the steps above on devices using Simple Storage Spaces or Mirror Storage Spaces, you might see a Could not be run message for the troubleshooter. This is expected as Simple Storage Spaces and Mirror Storage Spaces are not affected by this issue. The troubleshooter and steps below are not needed on these types of Storage Spaces. If you are using Parity Storage Spaces and receive a Could not be run message, then you might need to use the steps below.
If you are using Windows Server, version 2004 or the troubleshooter has not yet run, you can use the following instructions to mark them as read only:
- Select Start and type: powershell
- Right click or long press on Windows PowerShell and select Run as administrator.
- If prompted by a User Access Control dialog for Windows Powershell, select yes.
- Within the PowerShell dialog, type the following command and press enter:
Get-VirtualDisk | ? ResiliencySettingName -eq Parity | Get-Disk | Set-Disk -IsReadOnly $true - Your Storage Spaces should now be set to read only, meaning you will not be able to write to them. Your device will still be usable, and any volume not seen as RAW should be readable.
Note The above steps are the equivalent to the troubleshooter above titled Hardware and devices troubleshooter. There is currently no manual equivalent to the troubleshooter titled Storage space troubleshooter.
Recover files
If you are able to access your Parity Storage spaces and it does not show as RAW in Disk Manager, you can attempt recovery using WinFR and the steps below. For more information on how to use WinFR, see Recover lost files on Windows 10
- Download and run the tool from https://www.microsoft.com/store/apps/9N26S50LN705
- Run segment mode (
/r) with the undeleted files flag (/u) to recover files from your NTFS volumes. By default, this will recover all possible files. You can add filter flags if you are only interested in certain file formats (such as/n *.docx) and to reduce system file recovery. Example command to recover alldocxfiles present in theC:drive to theD:\SpacesRecoveryfolder:winfr.exe C: D:\SpacesRecovery /r /u /n*.docx - Once the command has completed, you can view the recovered files. In the above example, you would need to go to
D:\SpacesRecoveryto do so. If you encounter issues using WinFR, please contact [email protected].
If you have a ReFS volume that shows as RAW in Disk Manager, you can use the refsutil salvage command to recover data to a volume of equivalent size. There are two options for salvage command: quick and full. A quick recovery may not recover as much data as a full recovery.
To perform a quick recovery:
In an elevated command prompt: refsutil salvage -QA <source volume> <working directory> <target directory>
For example: refsutil salvage -QA E: F:\SalvagedFiles
To perform a full recovery:
In an elevated command prompt: refsutil salvage -FA <source volume> <working directory> <target directory>
For example: refsutil salvage -FA E: F:\SalvagedFiles
You can keep an eye on the current status of the issue at the KB4568129 entry here.
via Techdows


User forum
0 messages