How To Use Jukebox AI - Detailed Guide
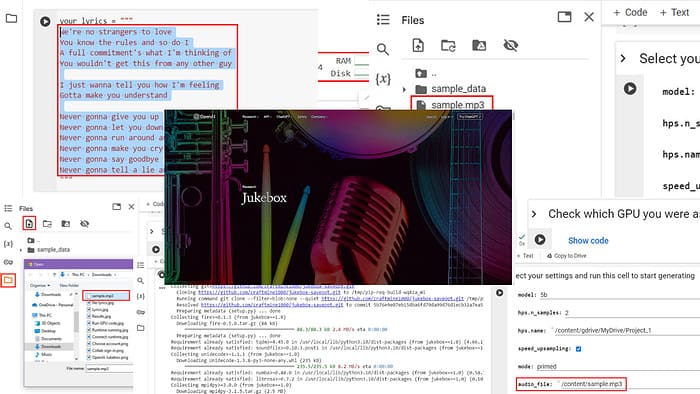
Follow along with me as I explain how to use Jukebox AI from scratch!
Jukebox is a neural network-based music AI from OpenAI. It can synthesize novel audio from a text or instrumental prompt. You can also provide inputs such as genres and singers so it can produce music that closely matches the supplied data. However, the outcome is still unique and copyright-free.
What’s more, you can also produce songs with rudimentary singing matching the style and tone of the supplied artist and genres.
Today, I show you how to use this powerful AI generator for music for free. That way, you can produce instrumentals and even songs for personal creative projects, YouTube background scores, or just to show off your skills.
How To Use OpenAI Jukebox AI
At the time of writing this article, OpenAI hasn’t released any ChatGPT-like interface or web app to use Jukebox AI.
However, don’t get disheartened yet. I’ve deciphered the complex instructions in the OpenAI Jukebox GitHub repo to understand how to run the open-source program on a ready-made development environment like Google Collab.
I’ll break down the whole process into simple steps.
Now, you might ask why use Google Collab instead of running the music AI on your PC. Well, that would require an excessive amount of CPU and GPU power that rarely any home or office PCs can offer. For example, to start with, you’ll need the NVIDIA RTX 2080 graphics card to run it with minimal settings.
So, it’s better to use a free runtime environment from Google Collab to execute your hobby project.
Setting Up Your Google Collab Account
- Visit the Google Collab web app to run Python programs on the web browser.
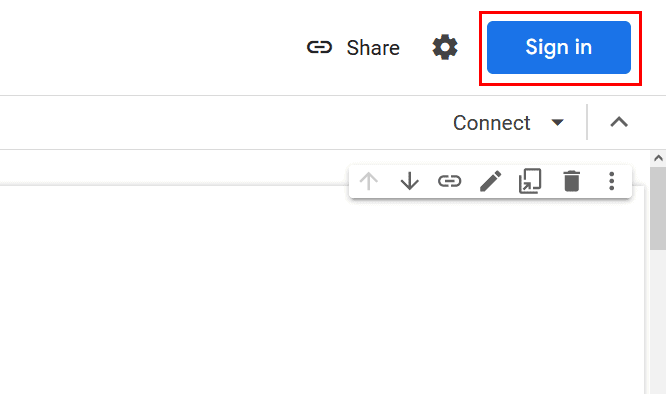
- Click the Sign in button in the top right corner of the Collab notebook.
- Choose your Google Account to log in.
- When signed in, you should see your Google Account avatar in place of the Sign in button.
Accessing and Running the Jukebox Notebook on Collab
- Now that you’ve got your own Google Collab notebook, go to One-click Jukebox notebook.
- In the top-right corner, below your Google avatar, you should see the Connect button. Click on that to turn on your Collab runtime environment.
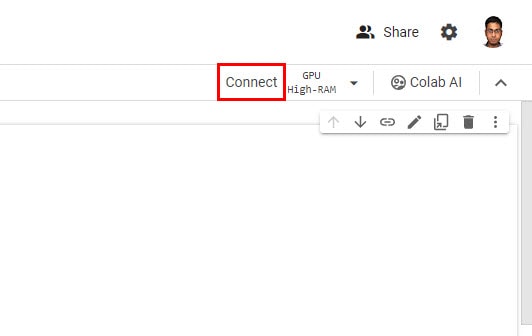
- Wait while the Collab notebook is powered on.
- When it’s ready, you should see a checkmark in place of the Connect button with RAM and DISK indicators.
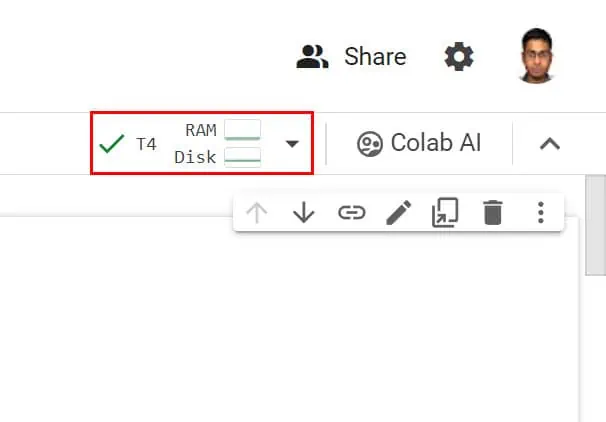
Run GPU on Collab
- Below the Check which GPU… section, click on the play button.

- Click Run anyway on the Warning pop-up.
- It should execute the underlying code to show which GPU is running.

Set Up the Lyrics
- In the your_lyrics code box, you must enter the song lyrics. Ensure you put the text within three quotation marks.
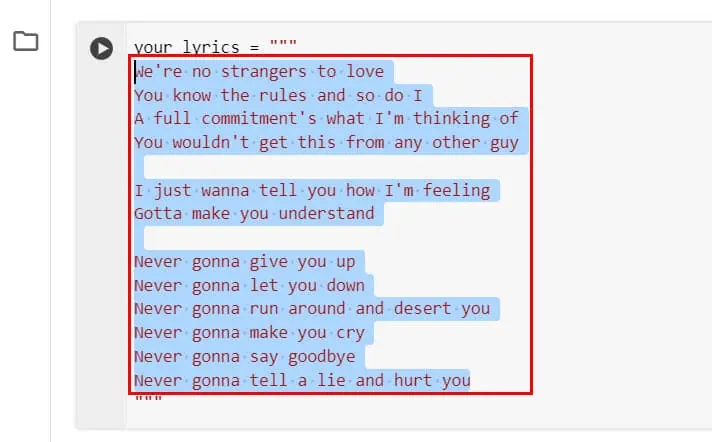
- Jukebox AI will use the lyrics to sing a son in a default voice.
- Keep in mind that providing lyrics will take up quite a bit of time in the overall music production. To reduce the ETA and speed up the process, I’m omitting them in this tutorial.

Uploading a Sample Audio to Collab
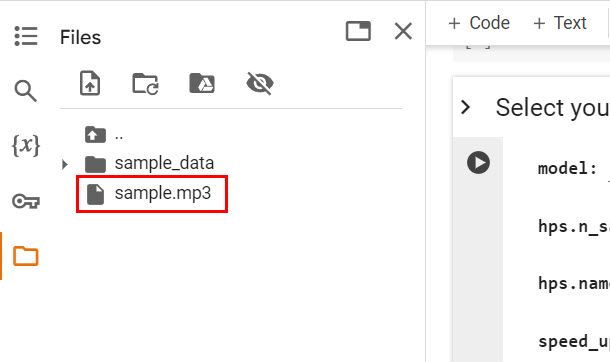
- Jukebox AI uses an input sample of audio. So, get an MP3 file from stock music sites like Pixabay or your PC.
- Click on the Folder icon in the left-side navigation panel below the Key icon.
- Now, click on the Upload to session storage button and choose your input file.
- Navigate to the file on the Open dialog and click Open at the bottom.
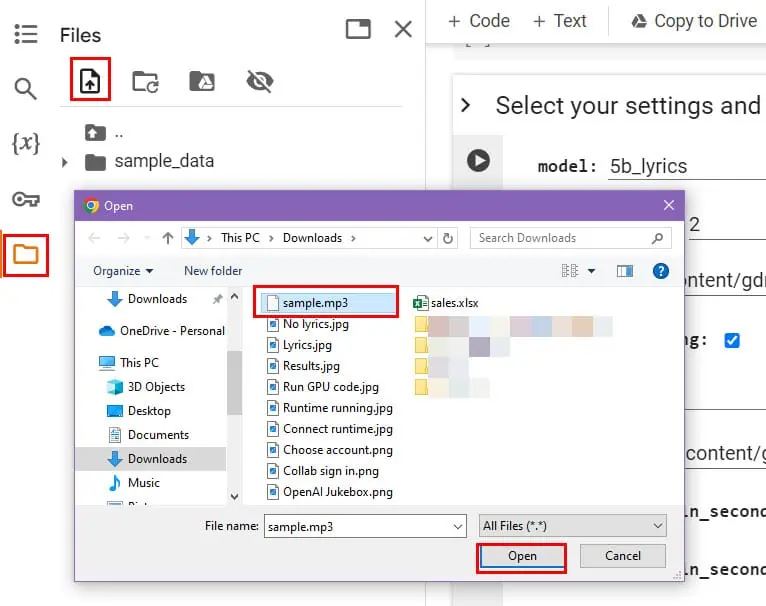
- Click OK on the Warning pop-up.
- Once done uploading, you should see the file in the Folder navigation on Google Collab.
Fill Up the AI Configuration Form
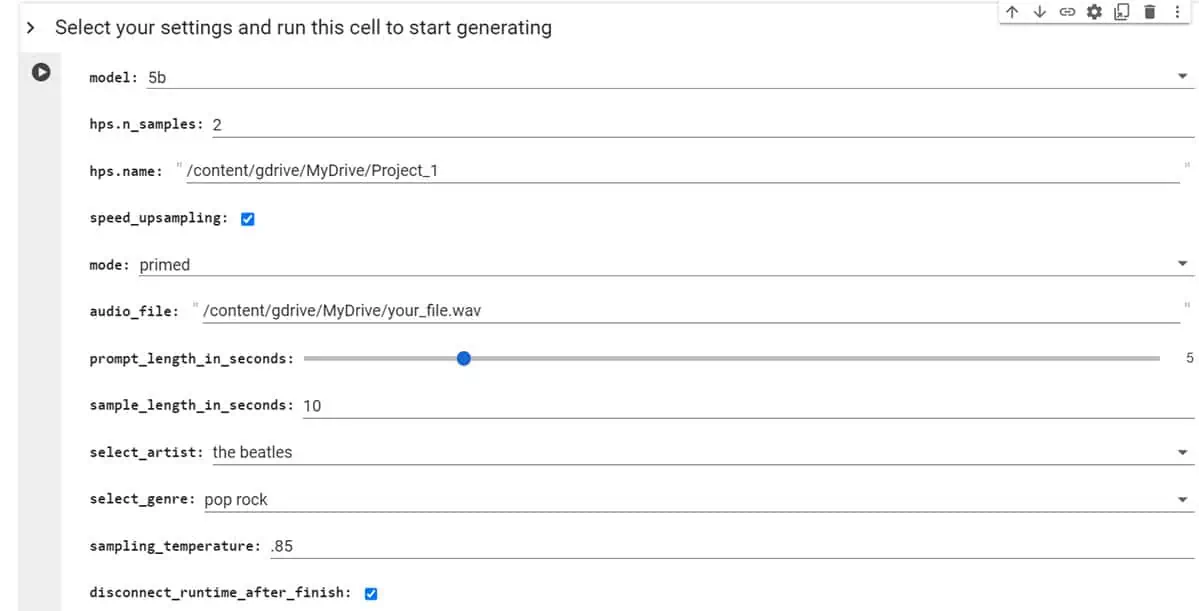
Now, you should be in the Select your settings… Here, you must do as explained below:
- Click on the model field and choose the appropriate model for AI music generation.
- Choose any one between 5b_lyrics and 1b_lyrics. Since I deleted the lyrics, so I’m choosing 5b.
- For the hps.n_samples field, enter how much AI music you want to make. I’m setting this to 1 to enhance the processing speed.
- In the hps.name filed, you should enter the Google Drive folder where you want the output file. I’m keeping it as is.
- The Jukebox AI mode fields should be set to primed, the default value.
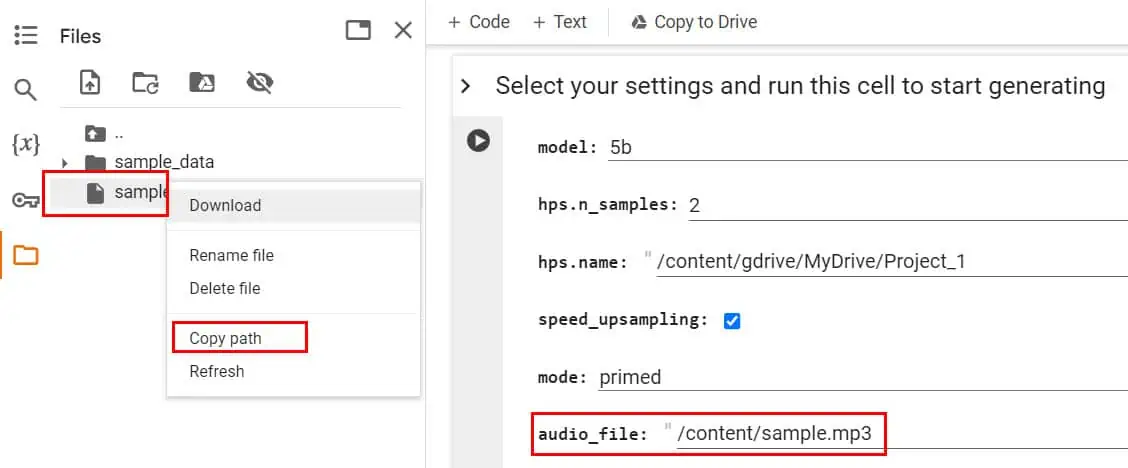
- Click on the three dots menu of the sample audio you just uploaded and click on the Copy path option.
- Now, paste the audio file path inside the audio_file field.
- Change the prompt_length_in_seconds slider to the exact amount of seconds you want the AI to follow from the uploaded music.
- Similarly, modify the sample_length_in_seconds field to the song’s runtime, like 10 seconds.
- Click on the select_artist drop-down to choose a reported artist.
- Similarly, adjust the select_genre field.
- Enter a value closest to 1 in the sampling_temperature field to closely follow the supplied sample music. If you reduce the value, like .85, .75, etc., the AI will use generative fill more.
Run Jukebox AI
- Now, click the code execution or play button near the Select your settings… section.
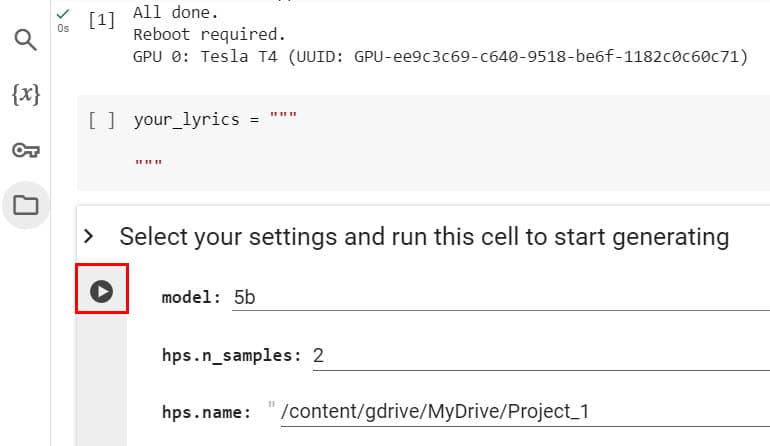
- If the script asks you to allow access to Google Drive storage, follow on-screen guidance.
- You’ll be able to see the code running on the Collab notebook.
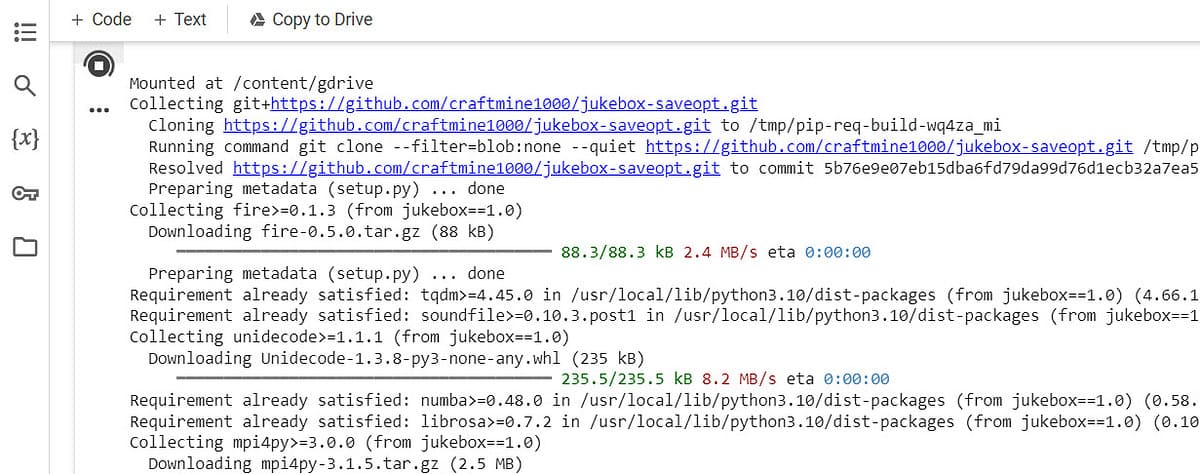
- Wait until the processing is over.
Playback the Synthetic Music
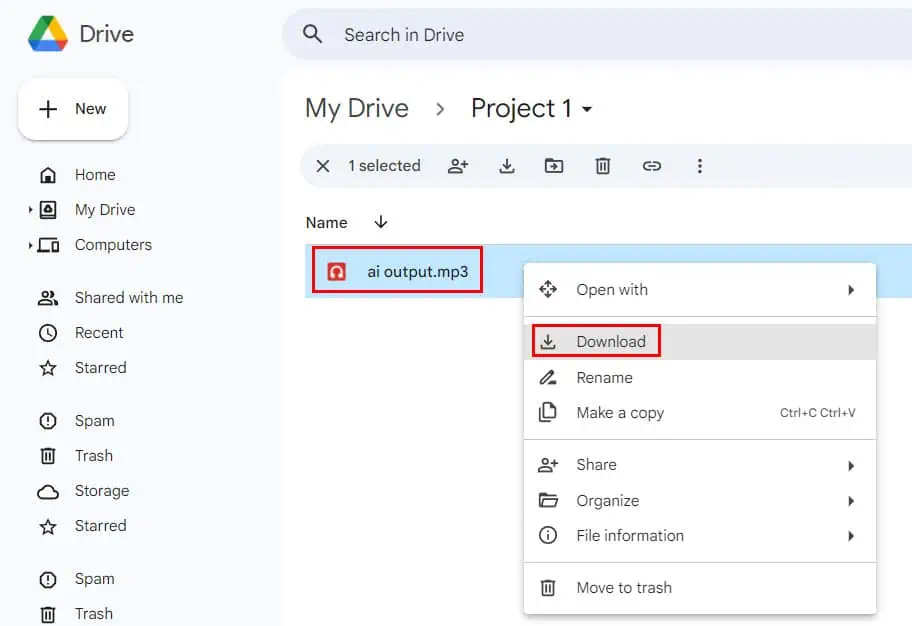
- Once you see Google Collab has completed the processing, go to your Google Drive account.
- There, navigate to MyDrive > Project 1. You should find the AI-generated music there.
- Download, play, or edit the final product.
So, now you know how to use Jukebox AI to produce truly unique instrumental audio or generate melodious voices with lyrics.
When refining your AI-generated audio, use it as a primer to build the next iteration and so on for the best results. If you need more than 10 to 20 seconds of music, access the Jukebox AI Google Collab runtime from multiple accounts and run the processes simultaneously.
Read our disclosure page to find out how can you help MSPoweruser sustain the editorial team Read more


User forum
0 messages