How to mount or unmount ISO Images with File Explorer on Windows 10
2 min. read
Updated on
Read our disclosure page to find out how can you help MSPoweruser sustain the editorial team Read more

 ISO image files are a file type that mimick functionality of an actual disk drive.
If you’re a Windows Insider, you could be somewhat familiar with them already as Microsoft lets you install ISO files that you can use your PC as a clean install requires you to.
More commonly, ISO files are used by also users who want to dual-boot their PCs or tinker around with a new operating system.
With previous versions of Windows, users were required de facto to install third party software to mount ISO disk files. On Windows 10, you can break that habit. Microsoft has built in native ISO management into the File Explorer app, and users can manipulate their files from their PCs.
TL: DR, You don’t need a third party program or utility software to manipulate an ISO file on Windows 10.
How to mount, unmount and interact with an ISO file on Windows 10.
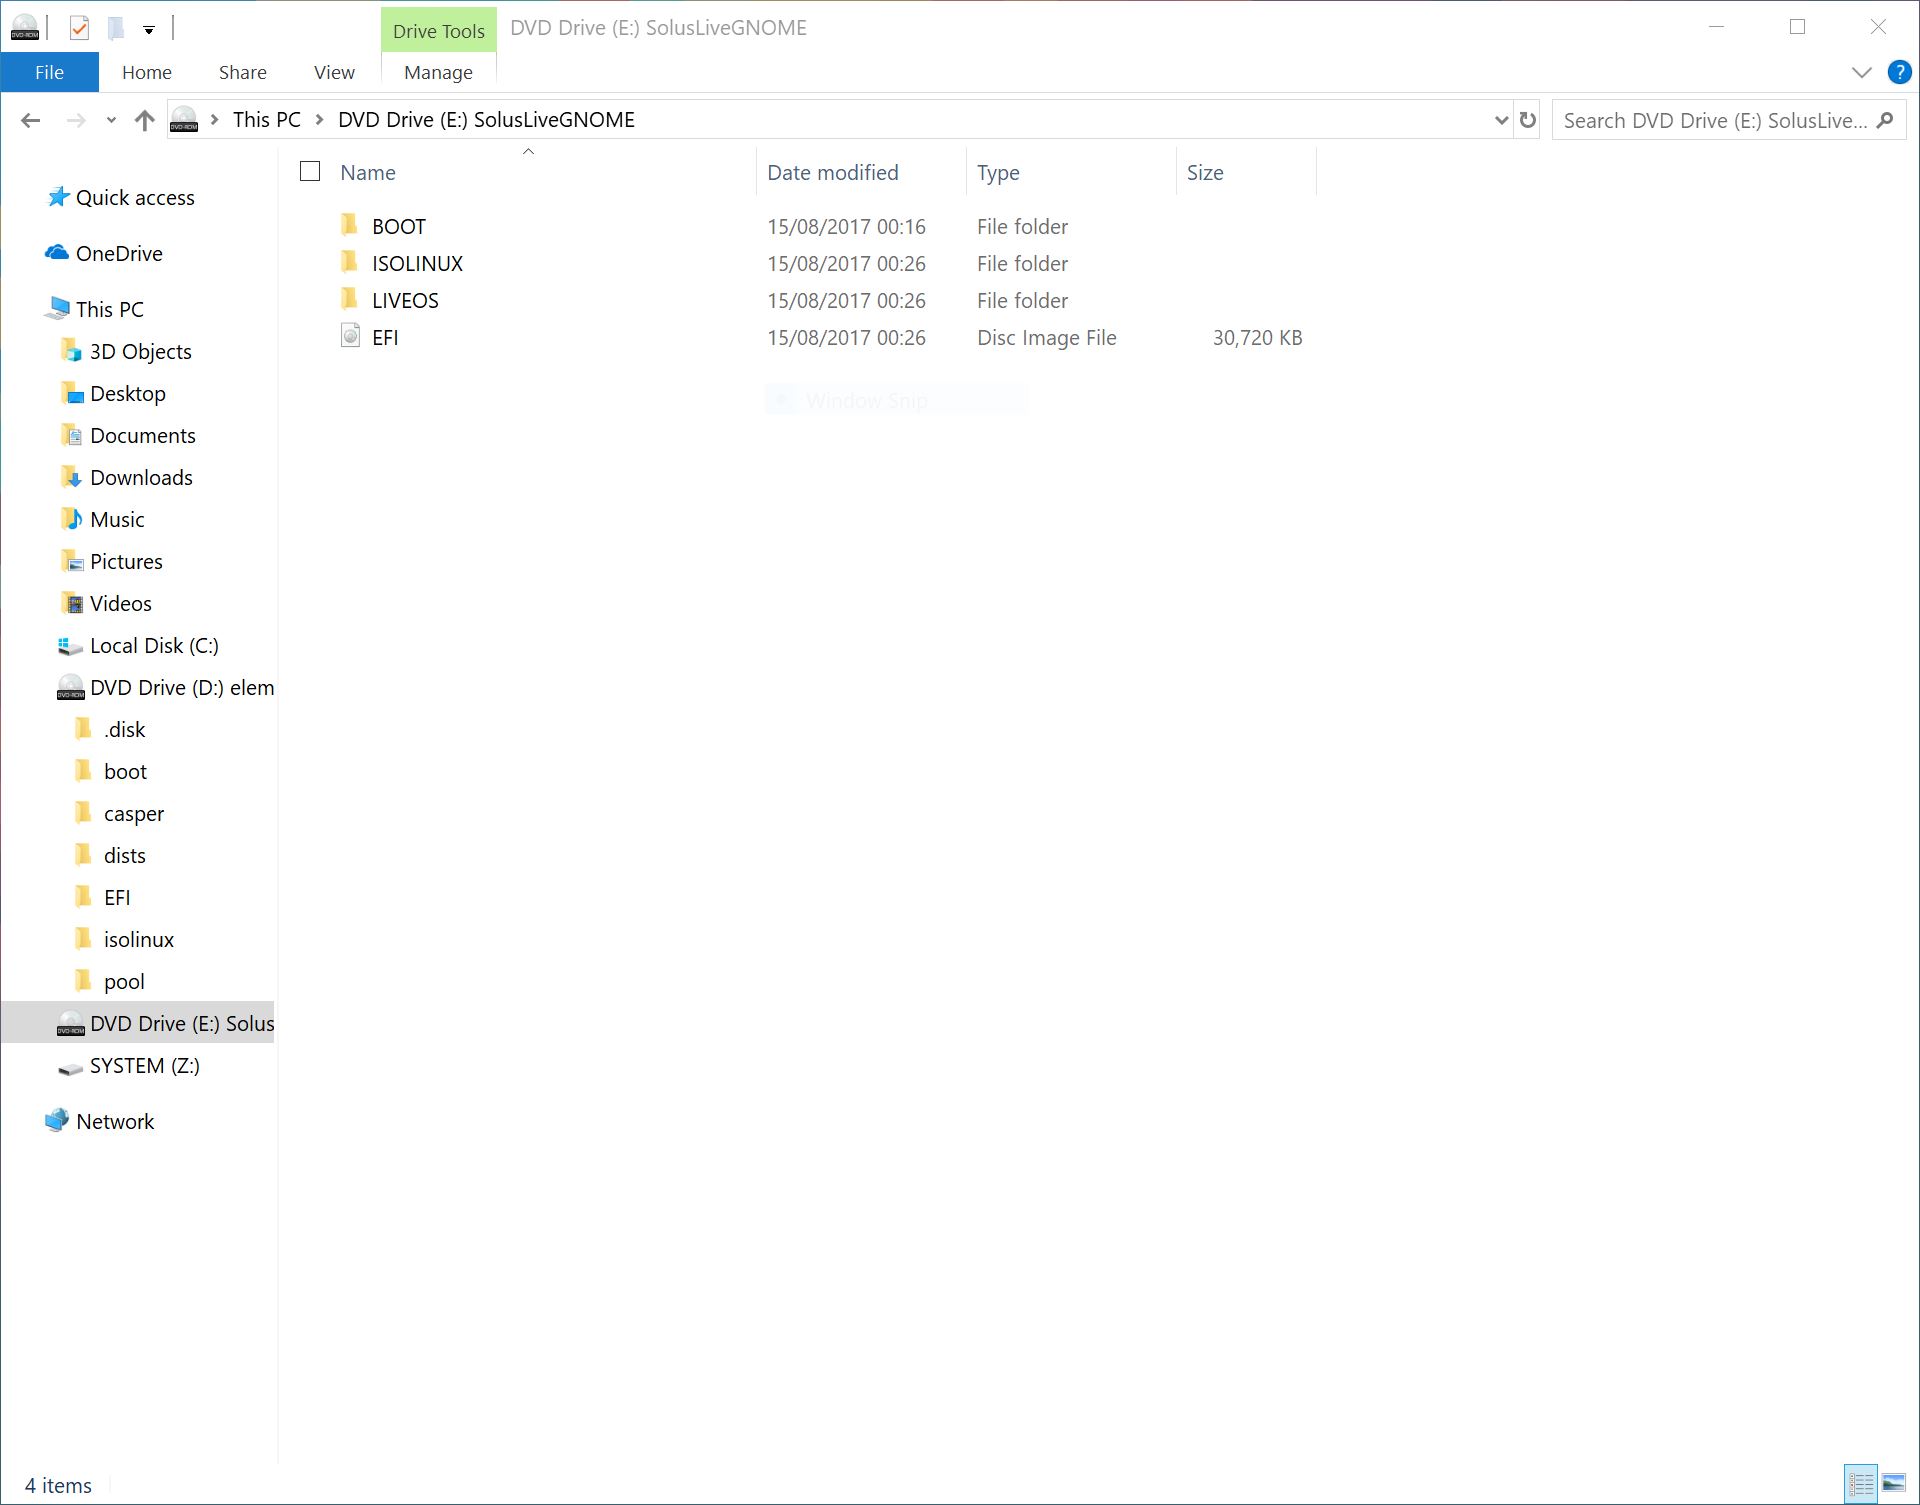
- Download the iso file from the internet. In my case, I’m using a GNOME Linux ISO file.
- Select the .iso file and under the “Manage” tab, select the “mount” option, or double-click it to automatically mount it.

- This creates a virtual disk drive that allows you to access all the iso content as if it were simply another drive on your PC.
- Once done with the image file, open “This PC” in File Explorer, and “Eject” the virtual disk drive by right-clicking on its icon and selecting the appropriate option.


User forum
0 messages