How to install custom fonts on Windows 10 19H1
 Not satisfied with your preinstalled fonts on Windows 10? Microsoft has made it super easy to install new fonts in Windows 10 and even easier in the WIndows 10 19H1 update which debuted this week.
There are two easy ways to install your fonts on Windows 10 and we’ll go over them below.
How to install fonts in Windows 10 19H1
- Open to Windows Settings > Personalisation > Fonts
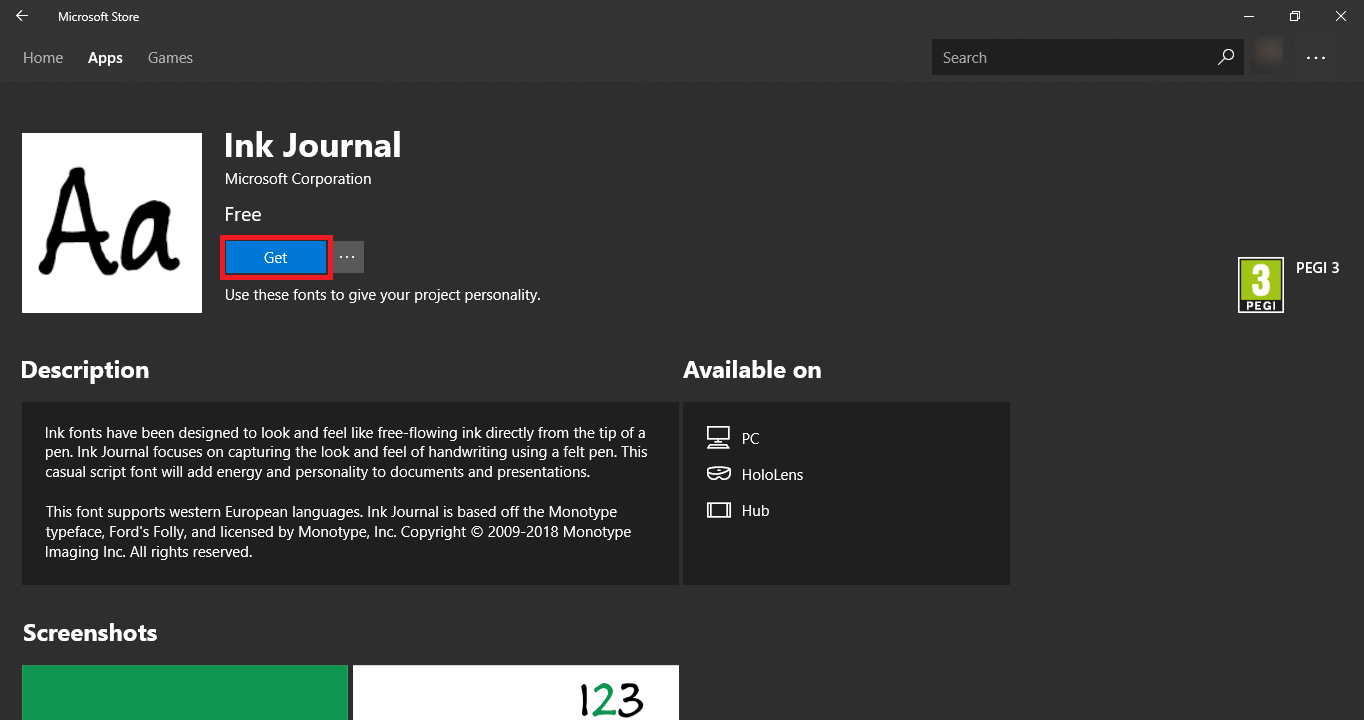
- Select Get More Fonts from the Microsoft Store. Just like how you install any other piece of content, install the font from the Store. It should appear in the Fonts tab almost immediately. Or, should you have the font package on your computer already or not in the Microsoft Store, you can simply just locate the package in File Explorer.
- Then drag and drop the font file into the Fonts page in the settings app. It should now automatically install.
What are your favourite custom fonts? Let us know what you think in the comments below.
Readers help support MSpoweruser. We may get a commission if you buy through our links.

Read our disclosure page to find out how can you help MSPoweruser sustain the editorial team Read more


Improve this guide


User forum
0 messages