How To Use NovelAI in 2026 [Step-by-Step]
Looking to write your next best-selling piece? NovelAI is a great tool for the job, and I’ll show you exactly how to use it to write a short story, novella, novel, or even a screenplay.
Ready? Let’s dive right in:
How To Use NovelAI
Let me show you the features NovelAI offers, and how to use each of them from start to finish:
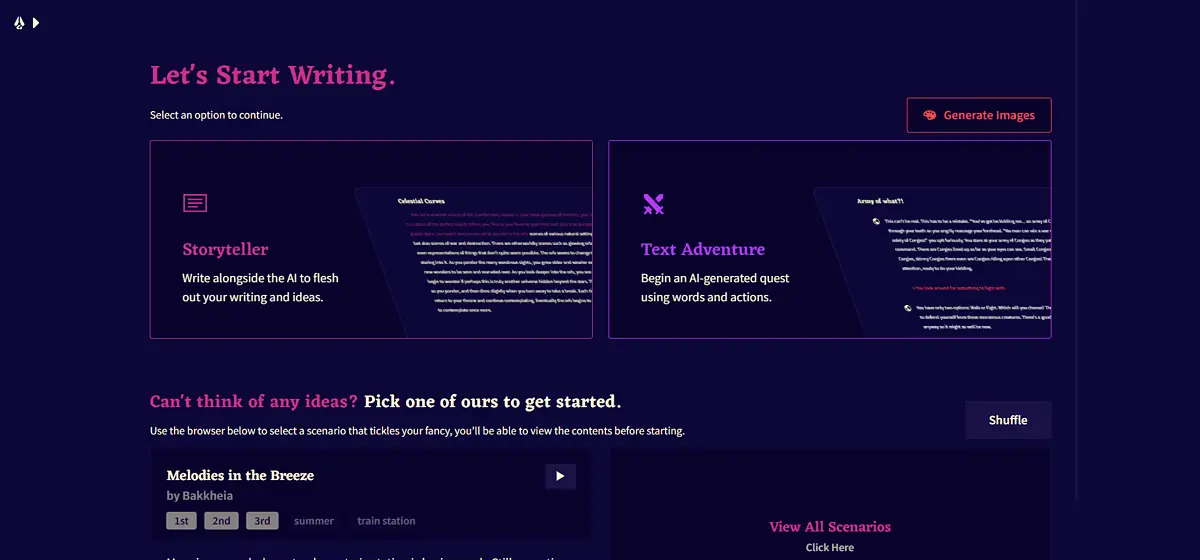
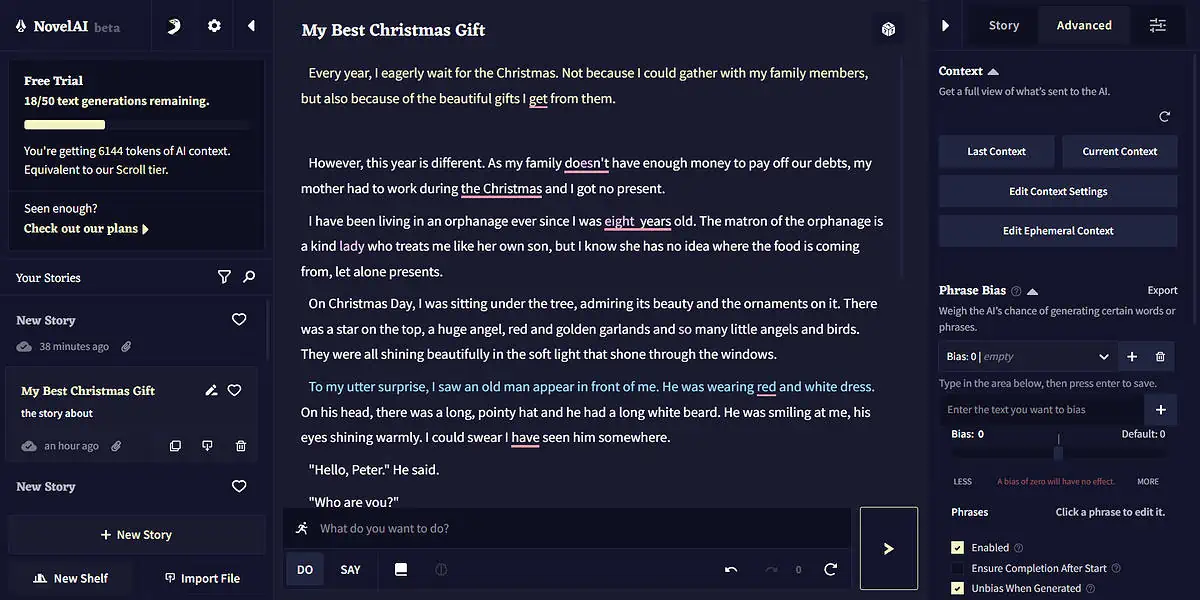
Write Your Story With Storyteller Mode
This Storyteller feature allows you to write creative stories and fiction on a given topic. Just add the title for your idea and start crafting the story.
It’ll give the AI a hint on how to proceed with the rest of the content. Then, you can generate text accordingly.
Here’s how to go about it:
- Log in to the NovelAI.
- Click on New Story.
- Select Storyteller mode from the Home screen.
- The writing interface opens in front of you.
- Enter the title for your story, which will tell the software about its subject or theme.
- You can also generate an alternative or random title for the story with the title generator button. It’s located on the right side of the title.
- Start the story by writing one or more lines so that the AI can understand its theme.
- Now, click on the > button at the bottom to let the AI continue writing the story. You may also let NovelAI write the beginning instead of you.
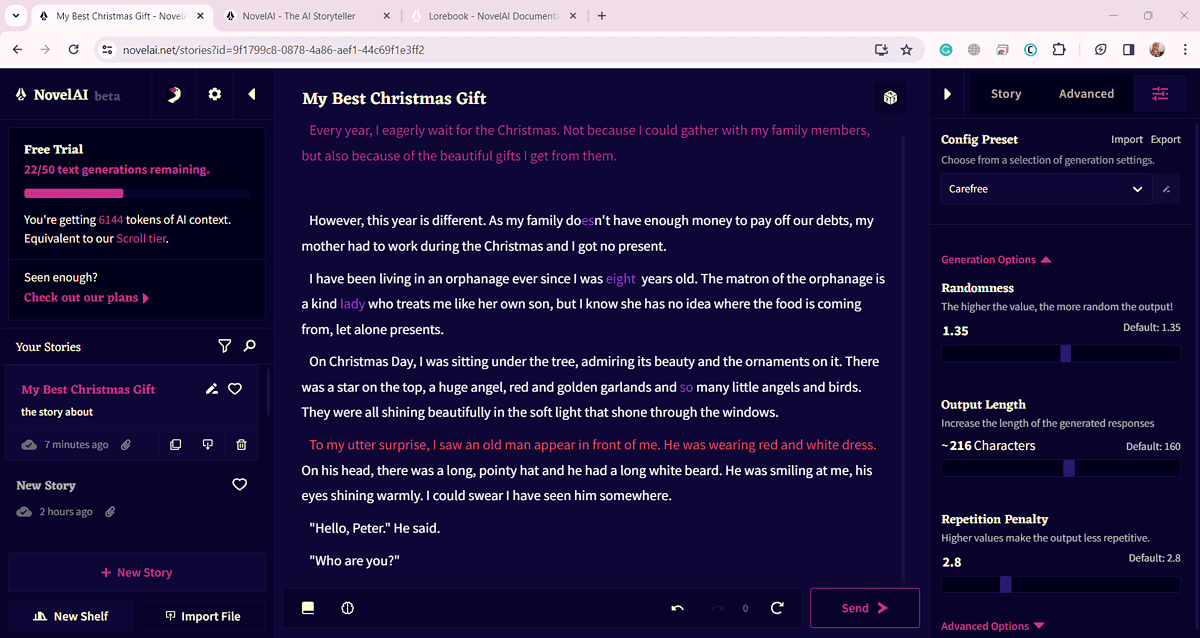
- With each click, it’ll continue to generate a few lines.
- You can select the length of each generated response from the settings section of the right panel.
- As the AI generates text, you can easily make necessary changes to those in real time.
Write Your Story With Text Adventure Mode
Using Text Adventure mode, you can instruct the AI to write about a certain action or something a character says. This is equivalent to prompting any AI engine like ChatGPT. NovelAI will then generate the sections of the novel relevant to the figures or objects of the content.
- You may choose to start writing in Text Adventure mode. Also, you can switch to this mode while writing in the Storyteller mode.
- Select between DO or SAY and enter your prompt.
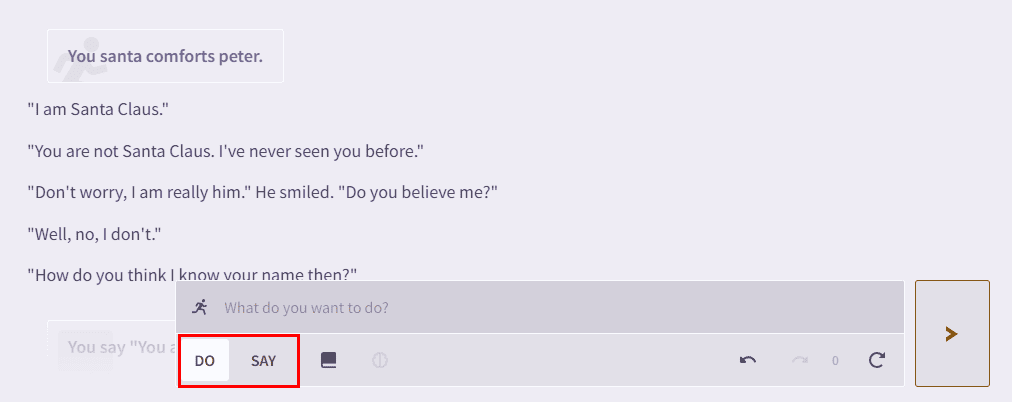
- If you instruct it to make a character perform an action, it’ll include that keeping with the flow of the story.
- For the instruction of saying something, this tool will include it contextually.
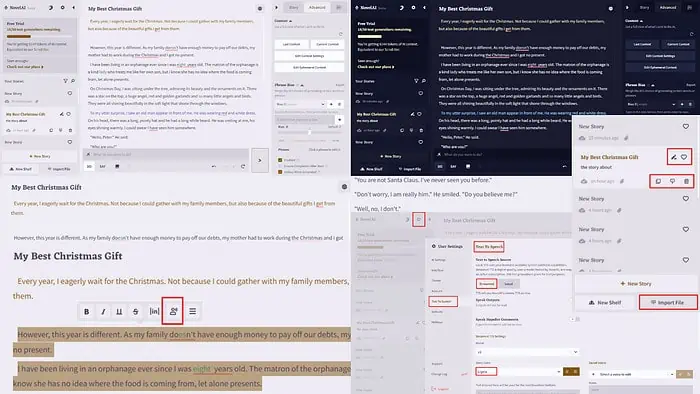
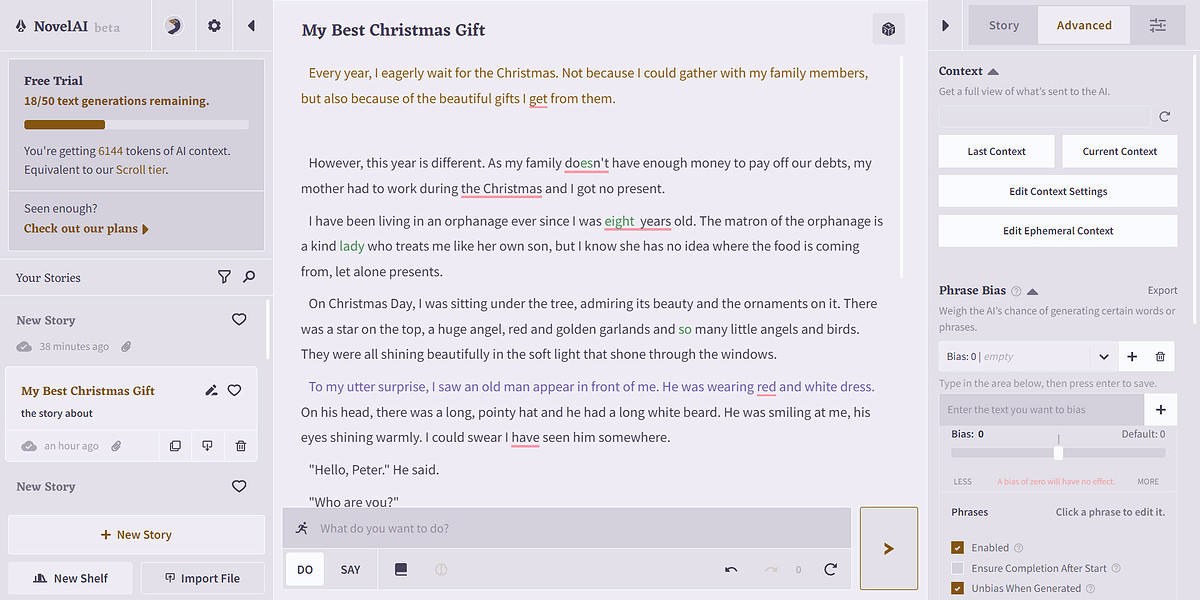
Edit Your Story In Various Ways
If you’re not happy with the text generated by NovelAI, you can edit any part of it anytime.
Just put the cursor on the text and make the necessary changes. Unlike other conversational AIs, like Bing or ChatGPT, the AI-generated text isn’t uneditable.
This powerful GPT model lets you select any part of the text and copy, cut, paste, or add special characters.
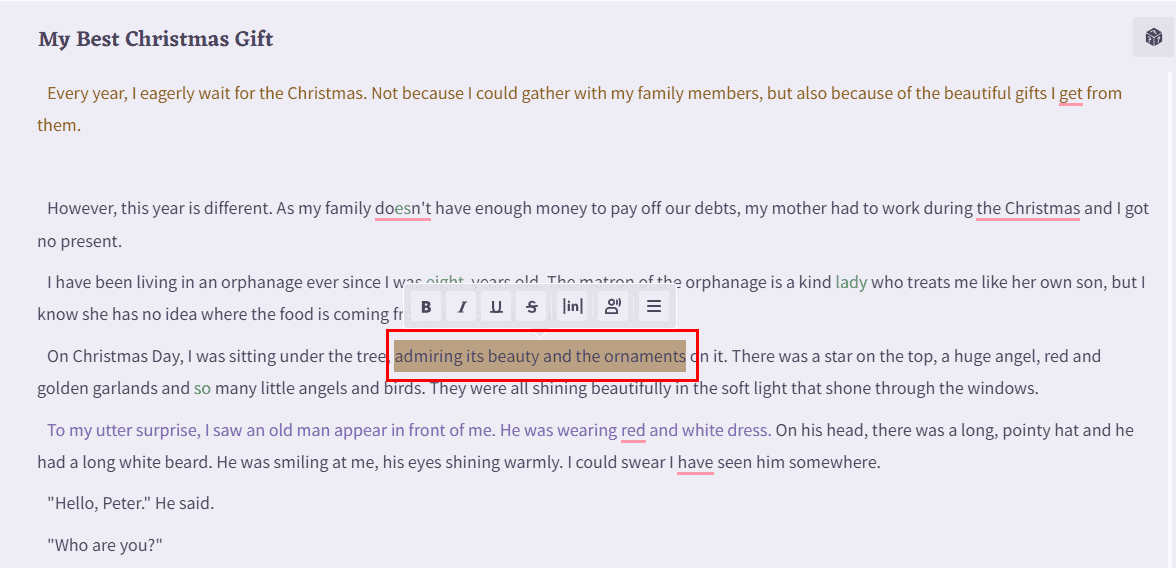
- Select any section of the text that you want to edit.
- From the floating menu, you may select Bold, Italic, Underline, and Strikethrough.
- To edit other info about the story, click on the Edit icon beside the story title on the left.
- It’ll allow you to edit the story title, add or change story descriptions, select a shelf, or add search tags for a story.
Also read: Free ChatGPT vs Copilot: What are some of the key differences?
Additional Useful Features
Besides editing, you can also mark a story as your favorite. There are also features like download, duplicate, import, and delete that you can perform in simple clicks.
- Click on the heart icon beside a story name from the left panel to mark it as a favorite.
- Just below the story description section, click on the Duplicate Story icon to create another copy of the same story.
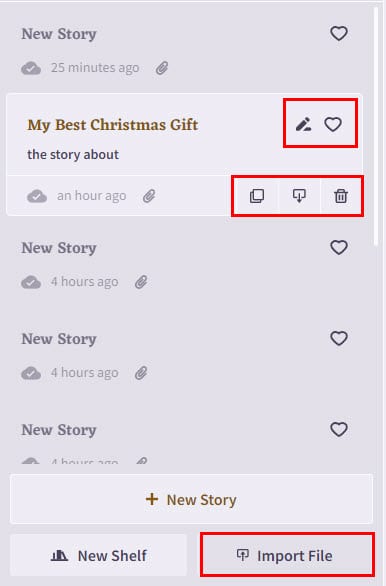
- Click on the Delete icon to remove the story permanently. To perform this action, you need to reaffirm on the confirmation prompt.
- Clicking on the Download Story icon, you can save the story on your computer.
- Click on the Import File button at the bottom of the left panel to include any text in the text editor.
- You can select a file from any location on your local PC directories.
Read Out the Text
A thumb rule for success in the writing industry is to read out your content, stories, or novels, so you can hear how the story sounds to a human ear and make adjustments.
This is where NovelAI’s read-out feature comes in handy. Suppose you’re tired of looking at the computer screen or reading a long story, you can enable the text-to-speech feature of NovelAI.
You may choose between Streamed, which uses the remote text-to-speech (TTS) service of NovelAI, or Local, which uses the speech synthesis capabilities of your web browser to read out the selected section.
- Select the part of the text you want to listen to. You may also select the entire text.
- A menu will appear. On that, click on the icon that shows a human speaking.
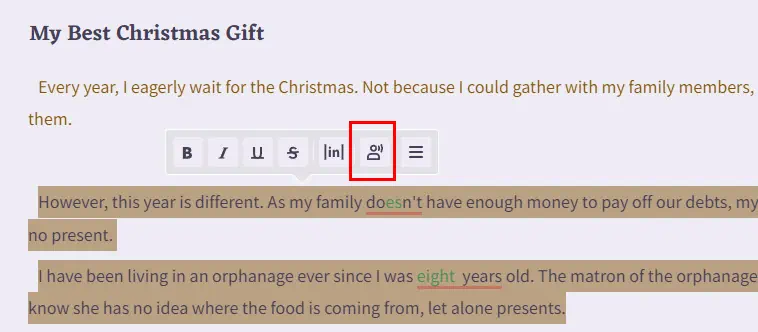
- The software will start reading the selected text from the generated or written content.
- To customize the listening experience, click on the gear icon at the top of the left panel.
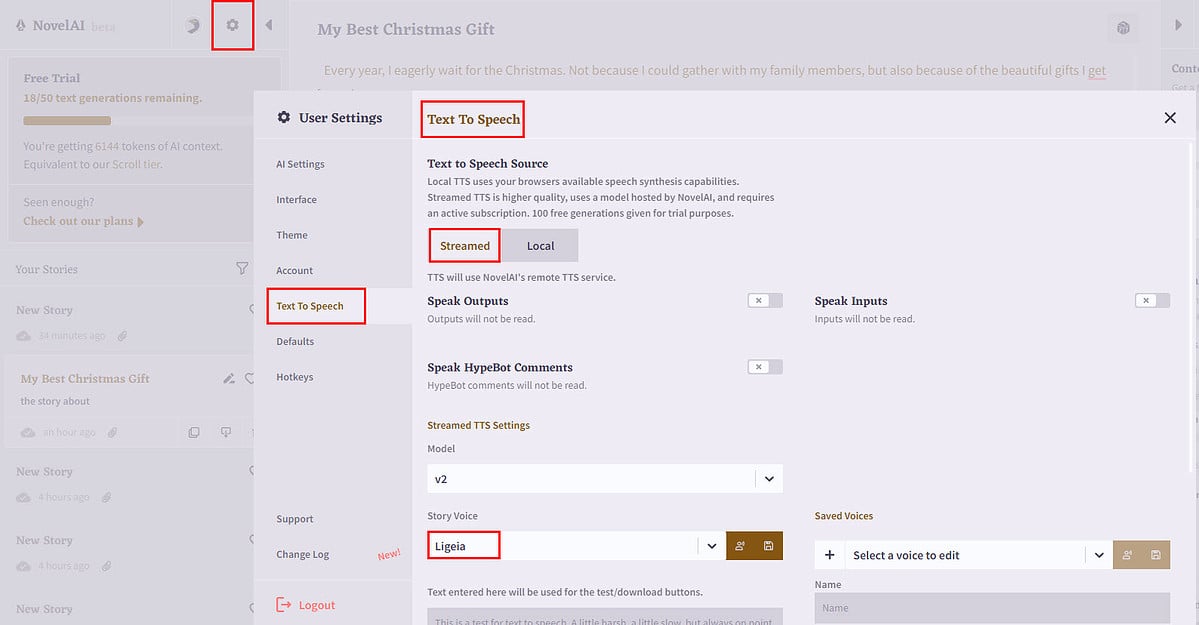
- Select Text To Speech from the left pane. You’ll see various settings regarding this feature.
- You can optimize the story voice (unisex, female, male), volume, and speed to name a few.
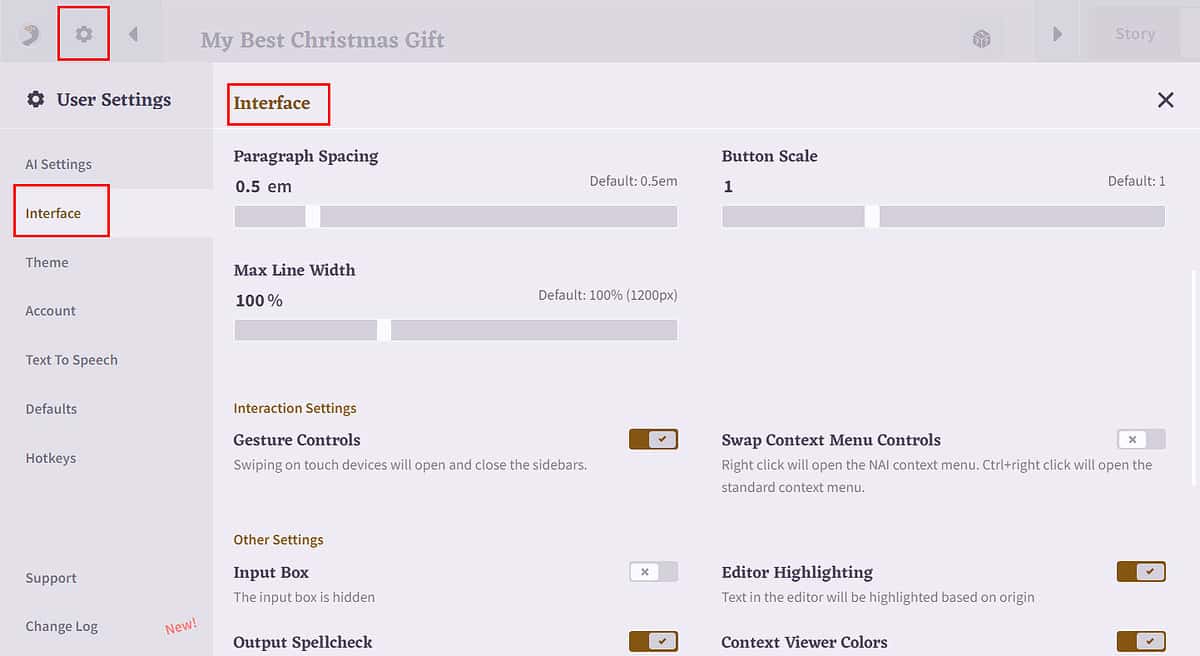
Modify the Editing UI
You have to put on maximum concentration to unleash creativity during writing. Therefore, this AI LLM model lets you customize the text writing and editing interface with a set of themes and settings to suit your frame of mind.
For example, when I signed up, the NovelAI UI opened in a dark theme. I tried to use the default user interface for a while but couldn’t continue due to readability issues.
Hence, I switched to the NovelAI Light mode to suit my reading and writing tastes.
Here’s how you can do it too:
- Expand the left-side navigation pane by clicking the solid triangle.

- Now, click on the gear icon on the left side navigation panel to open User Settings.
- Choose Interface from the left to modify the UI Language, Text Settings, Output Font Size, Paragraph Indent, Button Scale, Output Spellcheck, Show Tips, Editor Highlighting, etc.
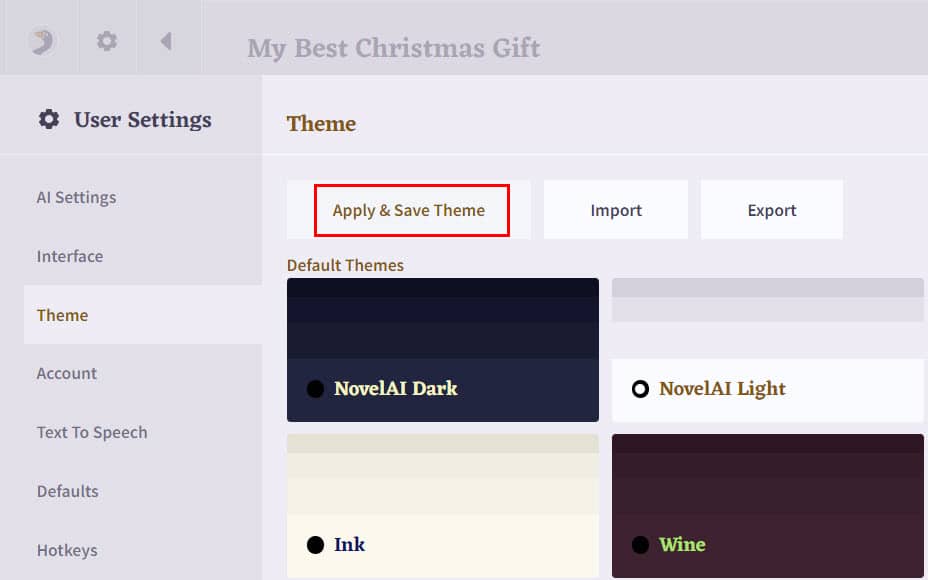
- Select Theme from the left.
- Choose the theme you want to use, for example, NovelAI Light.
- It’ll display the default color schemes for the particular theme you’ve chosen on your end.
- After selecting a theme, scroll down to the Theme Editor section.
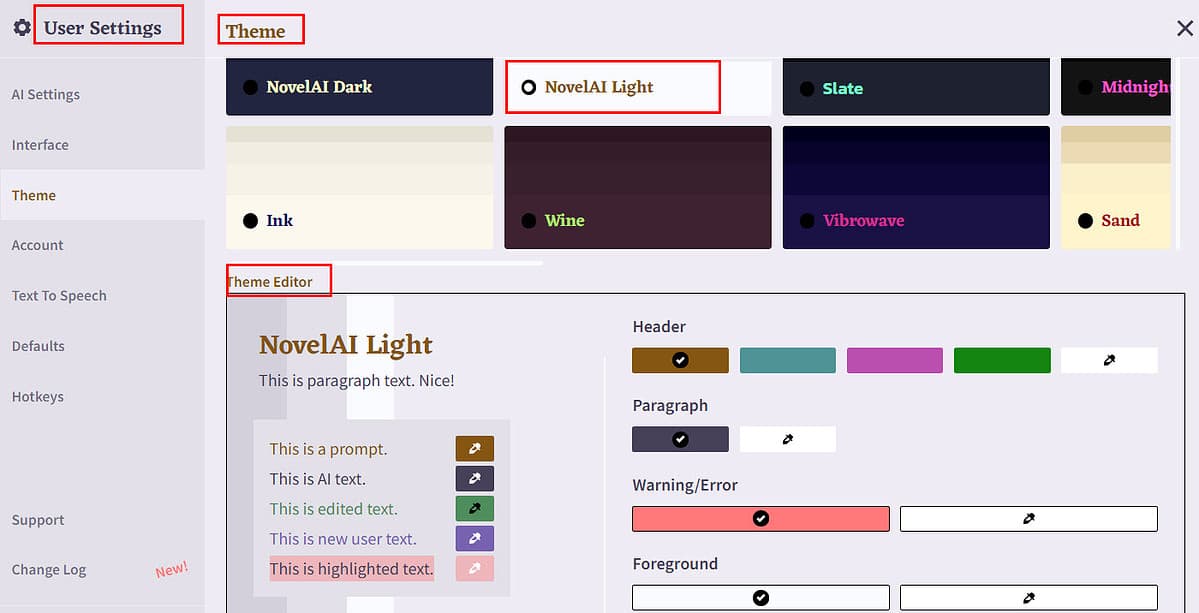
- Here, you can edit various theme items like Header Font, Paragraph Font, Header background fill, Paragraph background fill, Custom CSS, and so on.
- When done editing the theme items, hit the Apple & Save Theme button to make the changes.
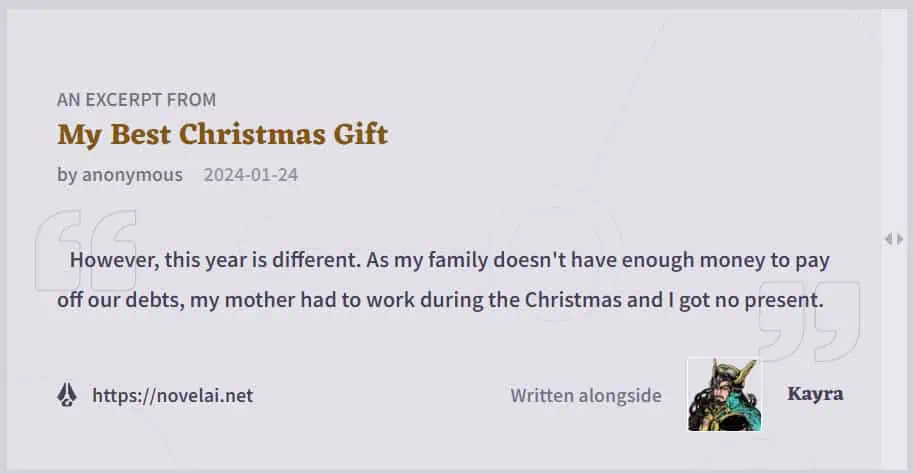
Take Screenshots of Your Story
If you want to take a screenshot of any section of your story, you can do that too. It’ll function as the image of that selected text or story along with additional information.
This feature adds great value to your creative writing gig in the following ways:
- Share a tiny section of the whole content elegantly.
- Create small still images of content for sharing on social media to create hype around your upcoming novel.
- Create snippets of your creative piece for collaborative editing with a proofreader, editor, publisher, and so on.
To take advantage of the feature:
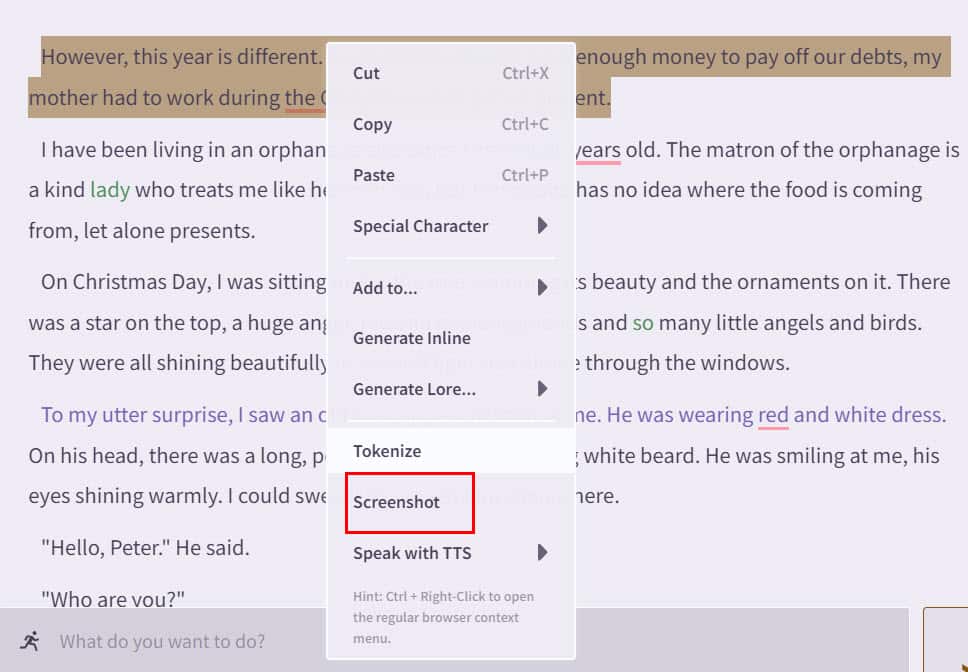
- Select the section of the text you want to take the screenshot of.
- From the floating menu, click on the hamburger icon.
- Select Screenshot from the menu.
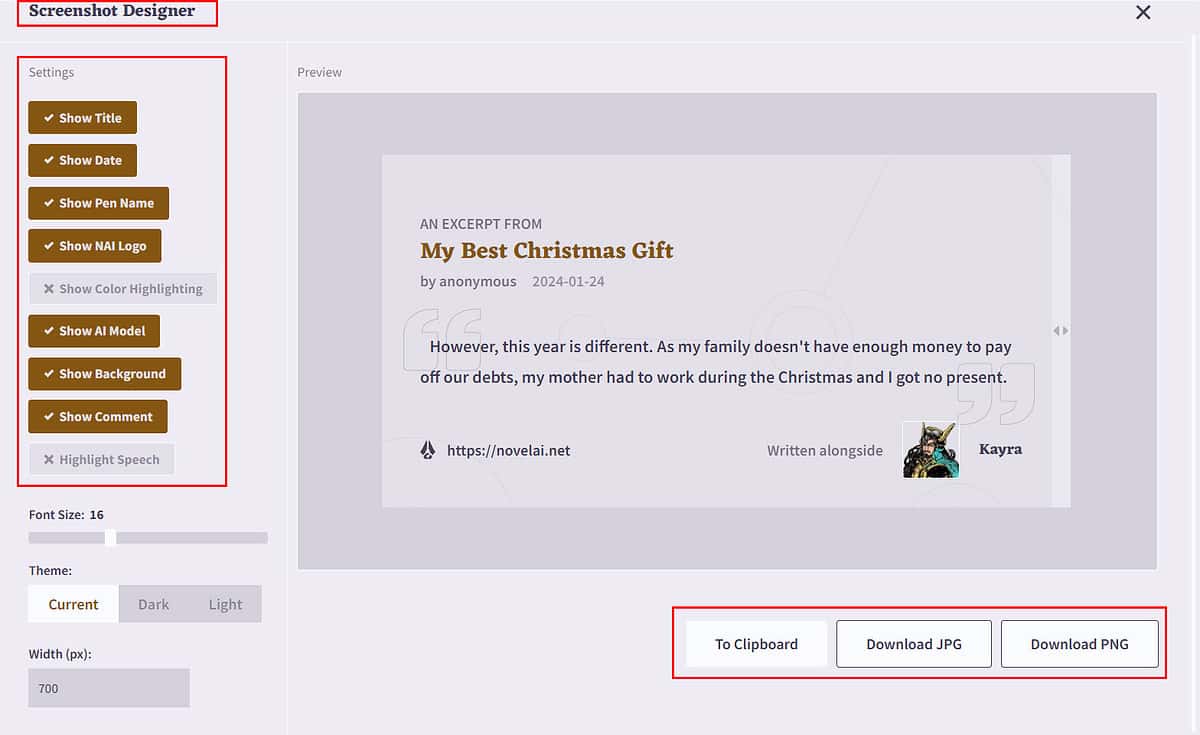
- The Screenshot Designer dialog will appear with the preview of your story excerpt.
- From the left pane, you can select items to include in the screenshot, including title, date, pen name, AI model name, and more. You can also choose a theme, font size, and width.
- When done, you can download the screenshot in JPG or PNG format or save it to the clipboard.
Create Images With NovelAI
Besides letting you write stories, this advanced GPT model also lets you generate images utilizing artificial intelligence and machine learning. The AI model behind this feature is NovelAI Diffusion Anime.
Just provide the prompts on how you want to visualize the image and the AI image generator will produce an image based on your commands:
- Click on the Goose icon on the top right part of the tool interface.
- Select Image Generation under the Others section and agree to all prompts.
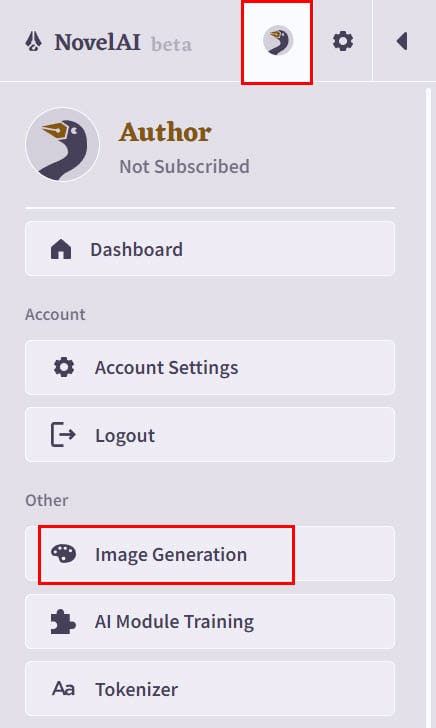
- The NAI Diffusion Anime V3 AI image generator model will open.
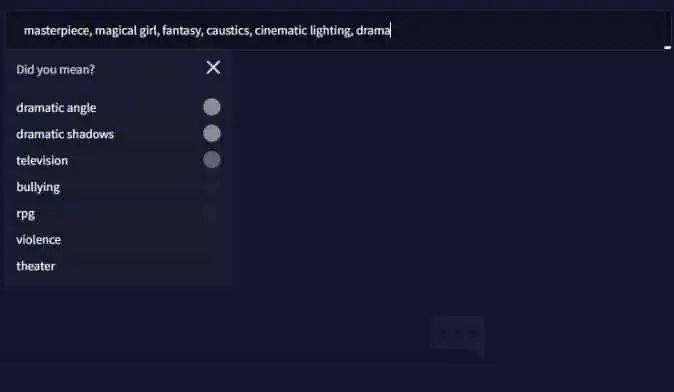
- You can enter a prompt or select to create a randomized image.
- You may mention the undesired content that will be removed from the image.

Related reads:
- Deepbrain AI Review
- Steve AI Review: Features, Pricing & Final Verdict
- Synthesia AI Review – Is It a Must-Have Tool for Videos?
There you go! You now know how to use NovelAI to boost your creative writing.
Whether you’re facing writer’s block or need assistance in terms of language, tone, style, or story, NovelAI can help you.
You can refer to this guide to use NovelAI for writing any story, novel, fictional content, or manga. However, to make the most of it, you need to go through a bit of a learning curve. Don’t forget to share your experience with us after using this tool.
Read our disclosure page to find out how can you help MSPoweruser sustain the editorial team Read more


Improve this guide


User forum
0 messages