How to Fix Google Maps Timeline Not Working [6 Easy Methods]
2 min. read
Published on
Read our disclosure page to find out how can you help MSPoweruser sustain the editorial team Read more
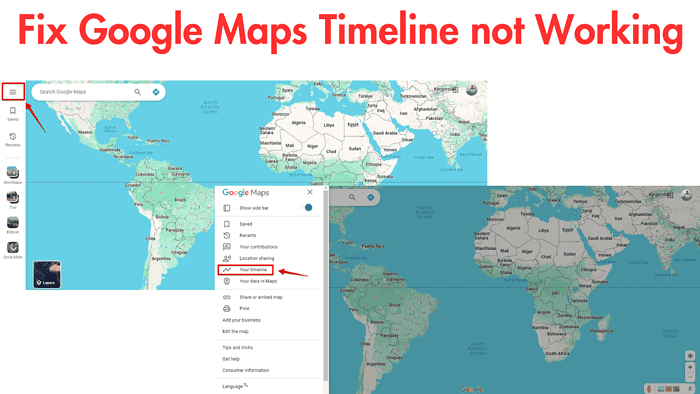
Google Maps Timeline not working is an annoying but easily fixable issue. Today, I’ll give you six easy ways to resolve it.
Before we dive into them, make sure to:
- Restart your device
- Sign out of Google Maps and sign in again
If that doesn’t do the trick, here are the fixes that worked for me:
Enable Location History
- Open the Google Maps app and click on your profile icon.

- Select Settings.

- Tap on Personal content.

- If your Timeline is off, tap on it.

- Tap Turn on and it will automatically enable Location history.

Give Google Maps Access to Your Location
- Open your device’s Settings and click Apps & notification.

- Select Google Maps, then Permissions.

- Ensure that the toggle switch beside the location is turned on.

Clear App Cache and Data
- Go to your device’s Settings and select Apps & notifications.

- Select Google Maps and tap Storage.

- Tap Clear cache and Clear data.

Note: Clearing storage/data will reset Google Maps to its default settings, and you may lose saved information.
Update Google Maps
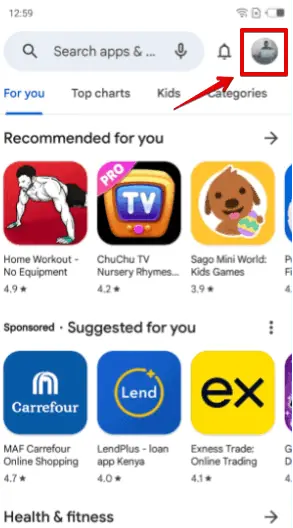
- Open the Google Play Store and tap on your profile picture in the top right corner.
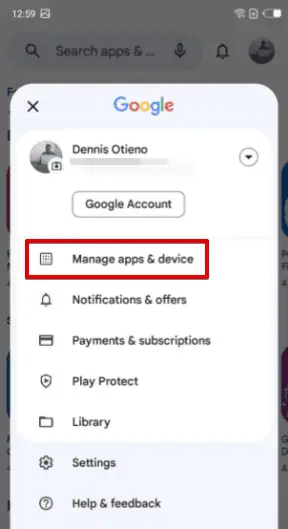
- Tap Manage apps & device.
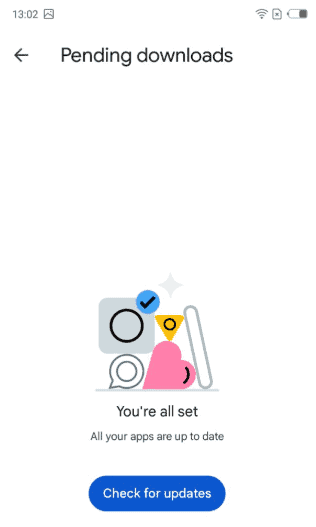
- Select All apps, and look for Google Maps. If an update is available, tap the Update button beside the app to install the latest version.
Allow Maps to Run in the Background
- Press and hold the Google Maps app and tap App info.

- Click Data usage.

- Enable Background data.

Calibrate Map
- Go to Settings, then tap Google Maps.

- Tap on Location.

- Select While using the app or Always, then enable Precise Location.

The steps above will quickly fix the Google Maps Timeline not working issue. Which method worked for you? Let me know in the comments!



User forum
2 messages