Dead By Daylight Connection Issues? Here's 5 Easy Fixes
![]() 3 min. read
3 min. read
![]() Updated on
Updated on
Share this article
Improve this guide
Read our disclosure page to find out how can you help MSPoweruser sustain the editorial team Read more

You and many other users have encountered Dead By Daylight connection issues. Luckily, I dug deep to find five working solutions. Follow them in the order I’ve presented them for the best results.
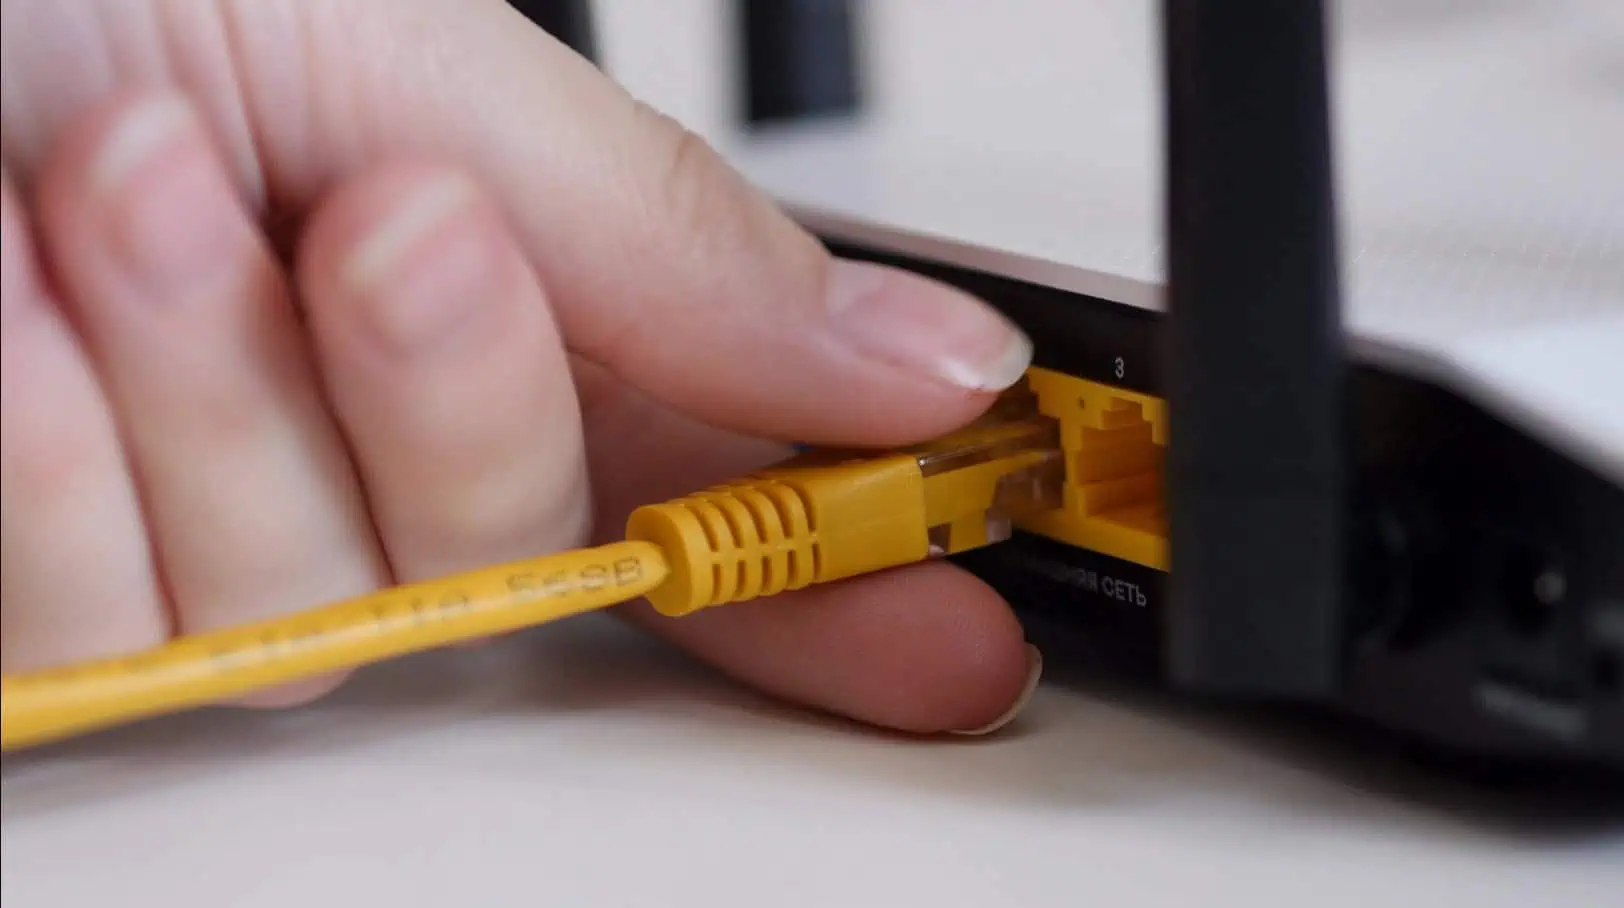
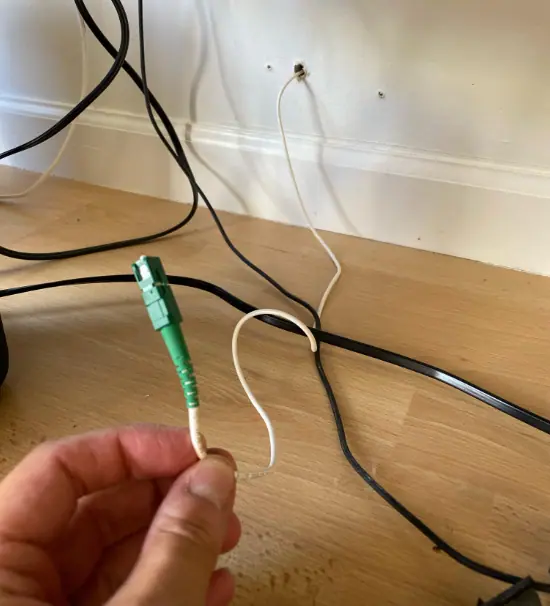
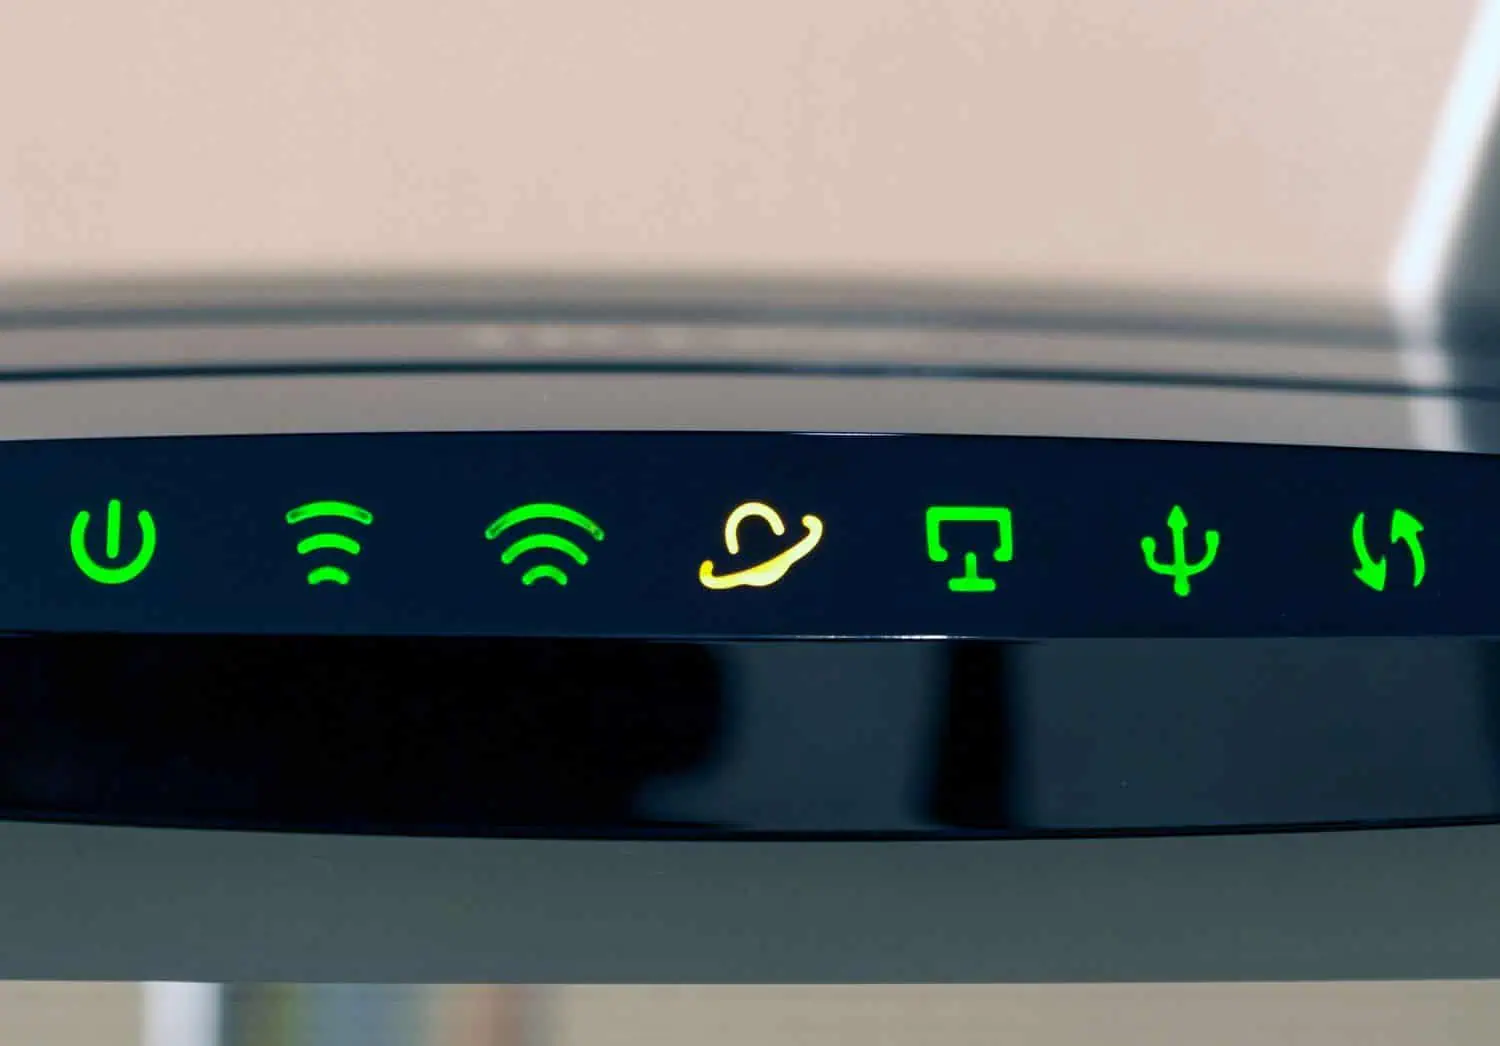
1. Restart Your Router and Modem
Restarting your router and modem allows your device to clear its caches while also refreshing the connection to the ISP. As a result, it improves your internet connection.
- Unplug your power cable from the router.

- Unplug the power cable from your modem.

- Wait for 30 seconds.
- First, plug in the modem’s power cable and allow it to boot up fully (the lights should become solid).

- Once the modem is ready, plug in the router’s power cable to turn it on.
2. Update The Game
Keeping your Dead By Daylight game updated is important, as any missed update can cause lagging, crashes, and disconnections.
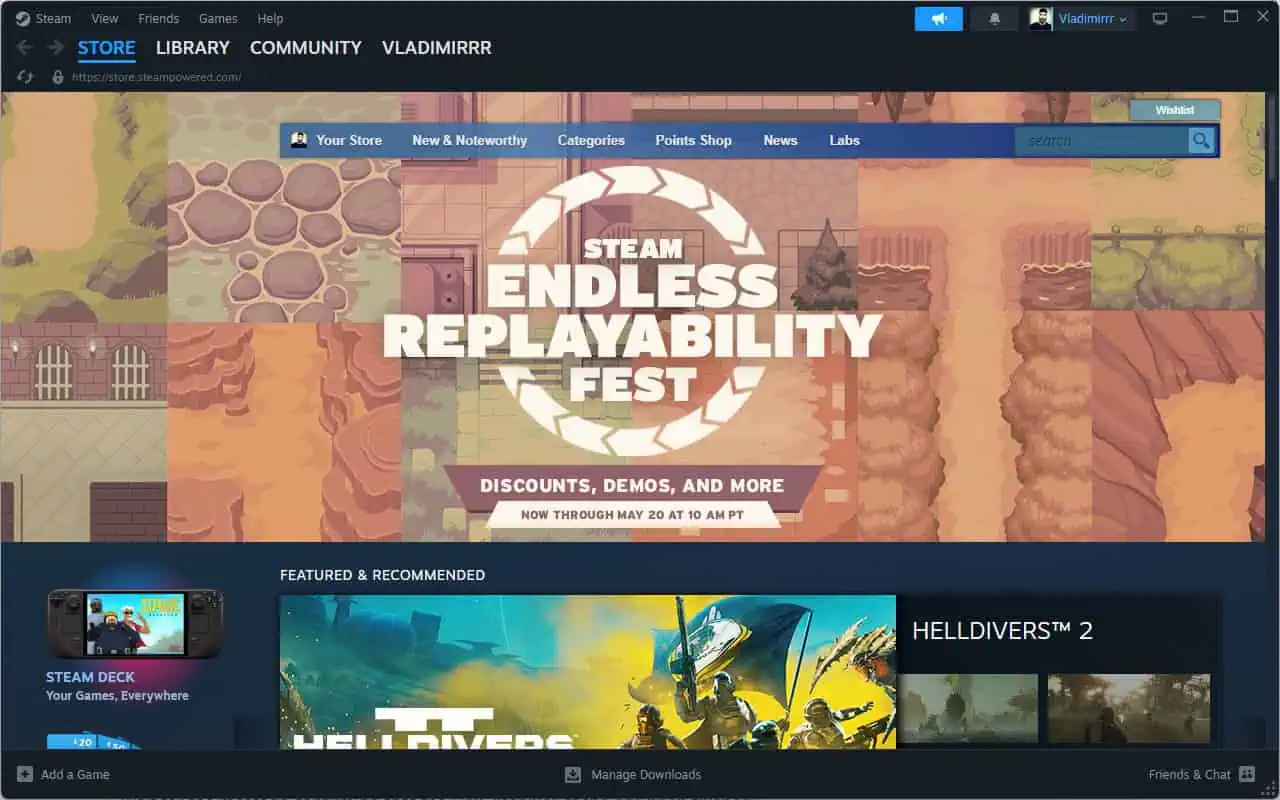
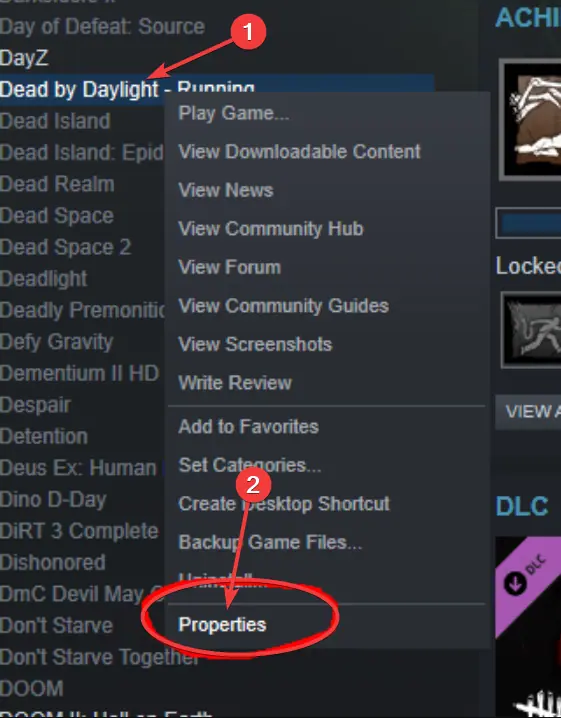
- Open the Steam client on your Windows PC.

- Click the Library, choose Dead By Daylight from the list, and click Properties.

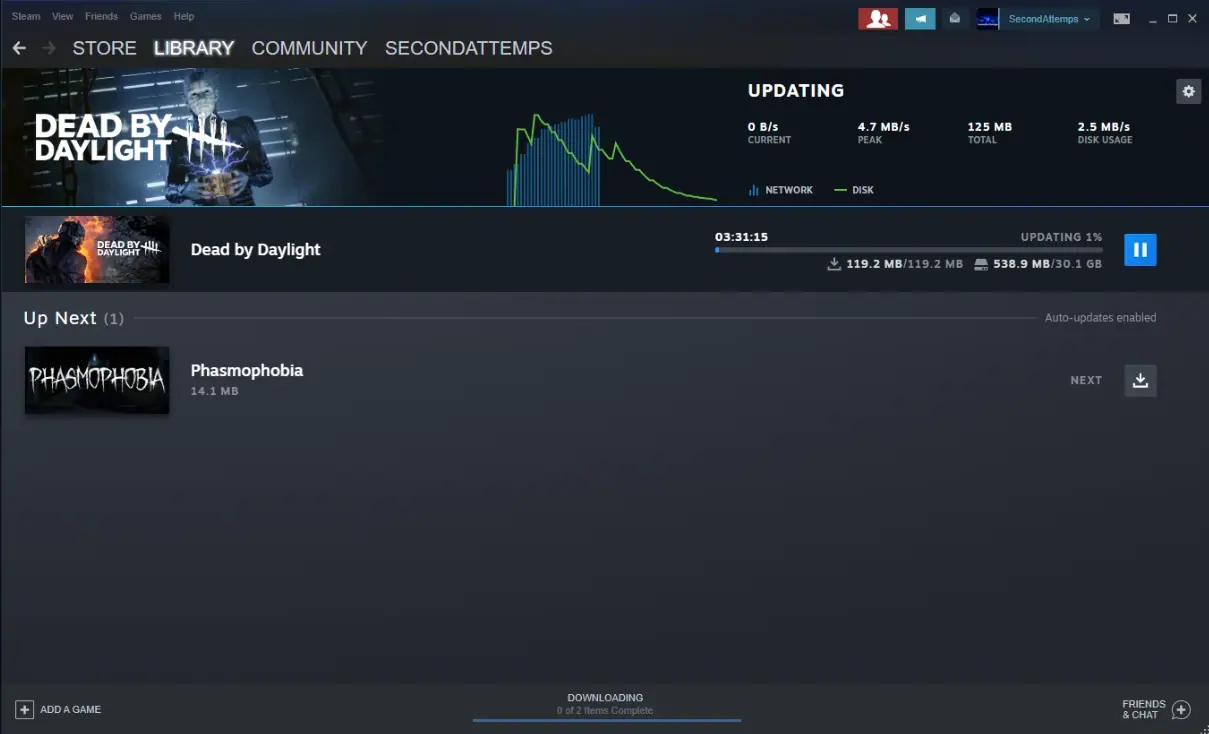
- Open the Updates tab and apply any updates (if available). Optionally, check the Automatically Keep This Game Update option.
- Wait for the update to download and install.

- Try opening your game again and check if the connection issues are solved.
3. Flush Your DNS Cache
Flushing your DNS cache will improve your internet connection and help it process data faster and more efficiently.
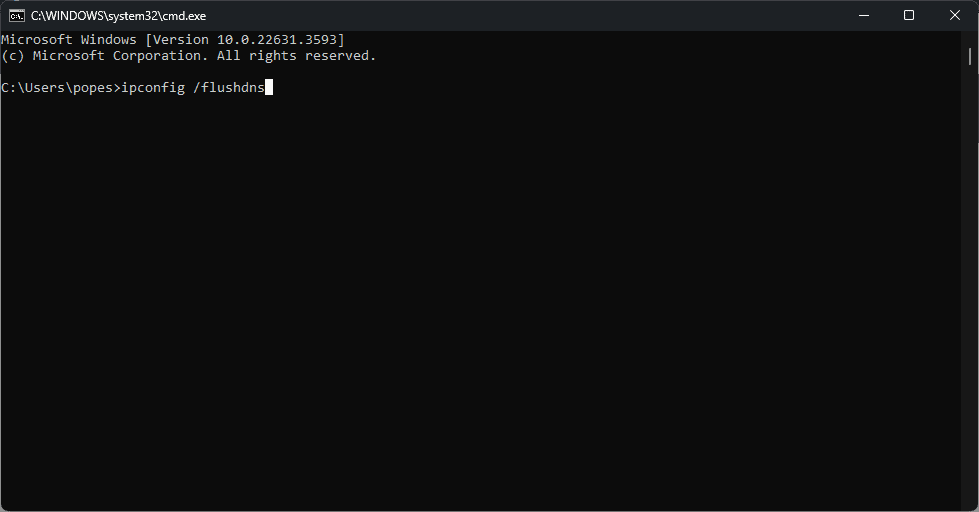
- Press the Win+R key, type CMD, and press Enter to open Command Prompt.

- Type the following command and press Enter:
ipconfig /flushdns
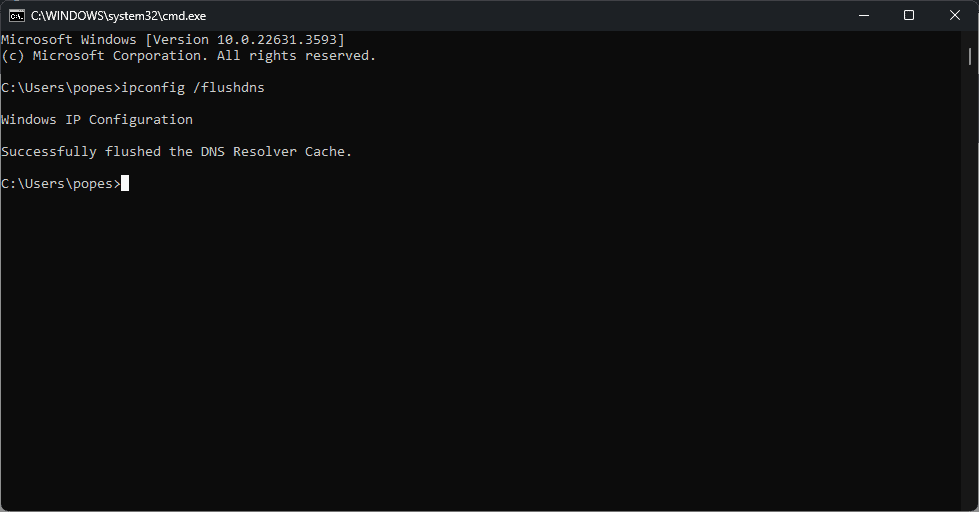
- Wait for the message confirming that the DNS resolver cache has been flushed.
- Try playing the game again and see if the connection issues are resolved.

4. Use a VPN
A powerful VPN optimizes your connection by routing your traffic through a virtual location close to the Dead by Daylight server you want to connect to.
To show you how it works, I’ll use ExpressVPN as an example. It’s a high-quality service with gaming-optimized servers and access to servers in 100+ countries.
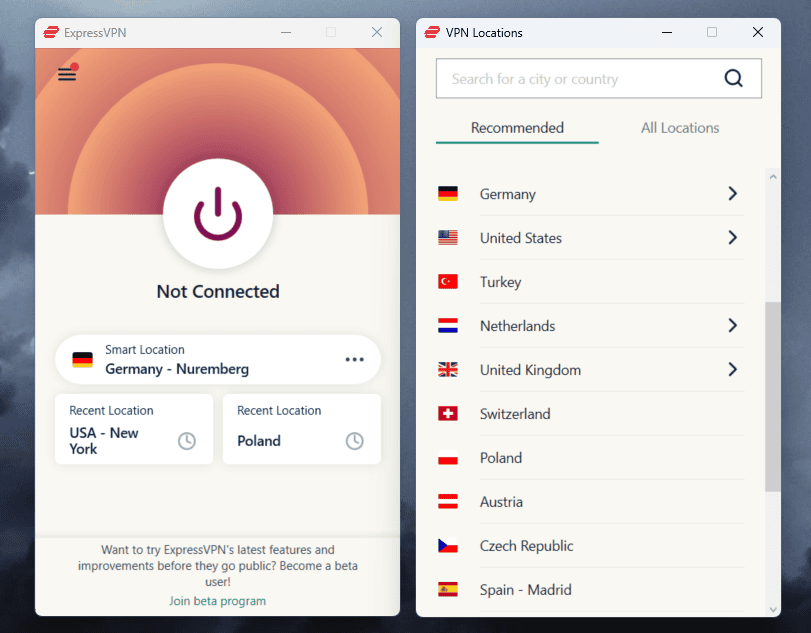
- Create an account and download ExpressVPN.

- Install the app on your device and log into your account.
- Explore the list of available VPN locations and choose one closest to the Dead By Deadlight game server you want to connect to.

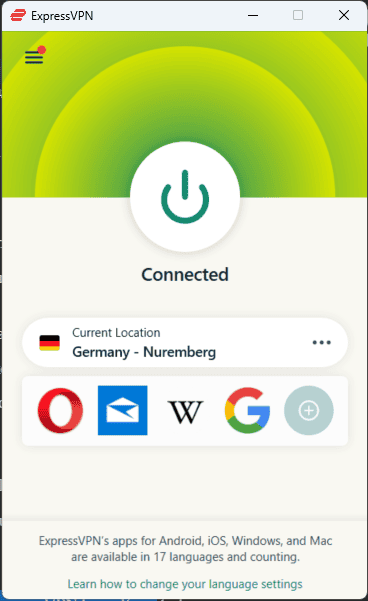
- Hit the big Power button to establish a connection.

- Launch Dead By Deadlight and try playing.
5. Enable Port Forwarding
Port forwarding allows your router to manage the available connections optimally.
To enable it:
- Log into your router’s admin interface by entering its IP address in your browser. You can usually find it on a sticker at the back of the router.
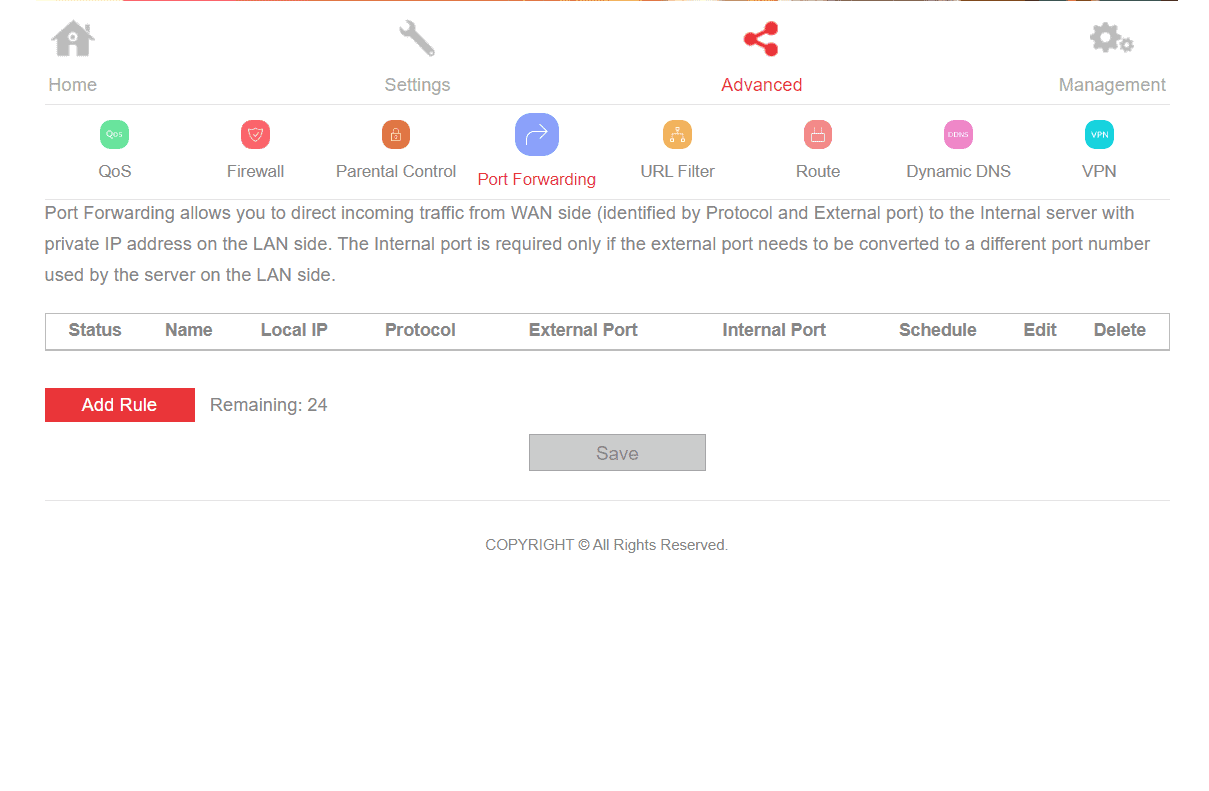
- Find the Advanced Settings.

- Open the Port Forwarding or Virtual Server settings, and add a new rule for Dead By Daylight using the following ports:
- TCP: 27015-27030, 27036-27037

- UDP: 4380, 27000-27031, 27036

- TCP: 27015-27030, 27036-27037
- Save the changes and restart your router.
- Check if the game works properly.
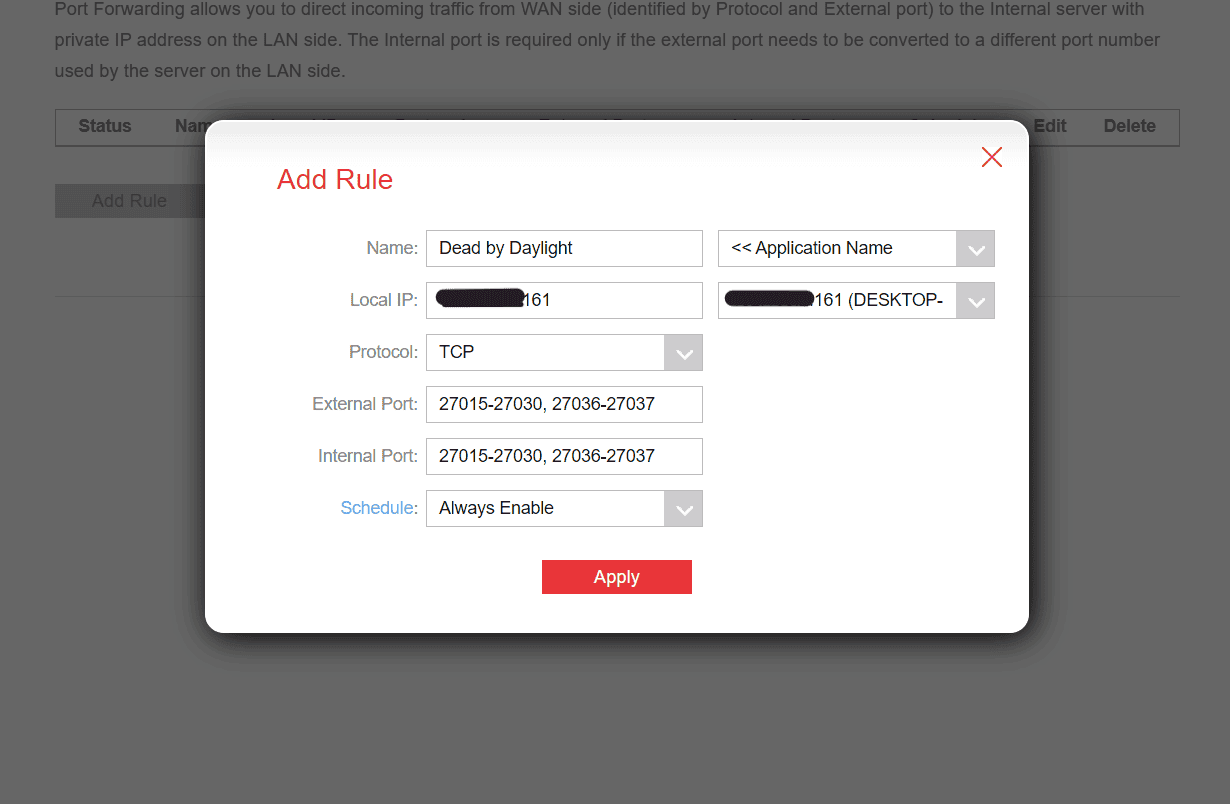
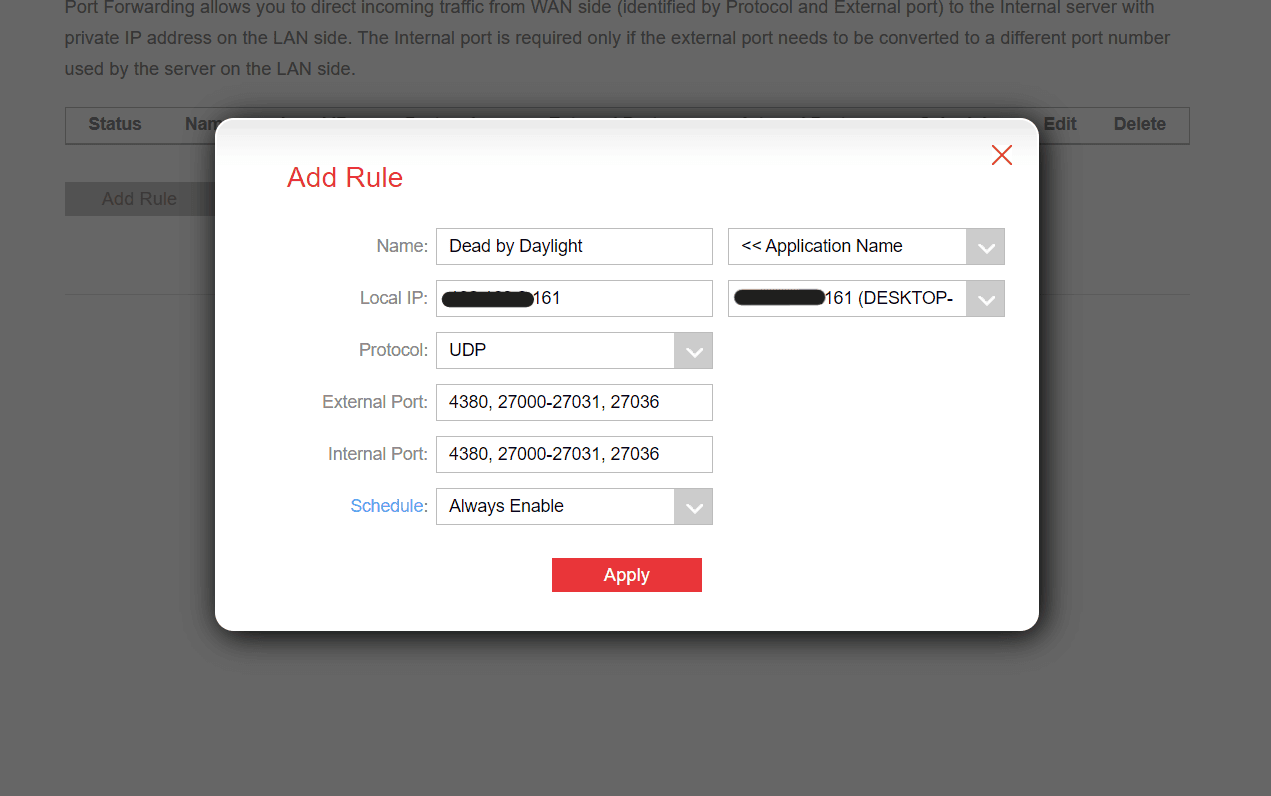
Note: If you don’t have settings for both External and Internal ports, you can add the above values just once.
Facing Dead by Daylight connection issues is annoying, but as you can see, easily fixable. Which method did the trick for you? Let me know in the comments!


User forum
0 messages