How to configure your quick action toggles in the Action Center for Windows 10 PCs
2 min. read
Updated on
Read our disclosure page to find out how can you help MSPoweruser sustain the editorial team Read more
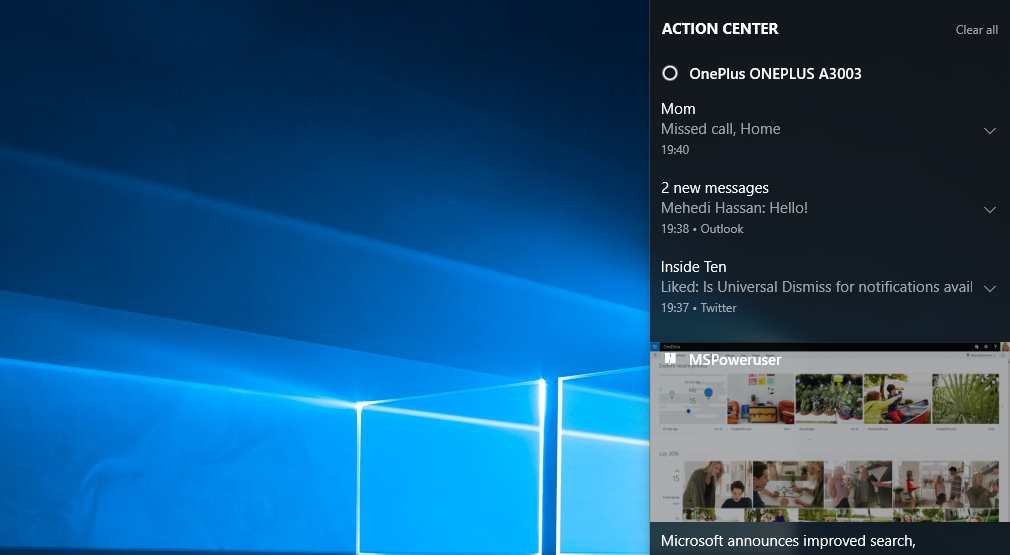
Windows 10’s Action Center is useful for more than simply looking at your notifications and acting on them. The Action Center also hosts “Quick Actions”, a selection of toggles which configure settings on your PC without having to navigate to the settings menu and drill down to the specific setting you want.
For users who can’t be bothered with that or those who are more worried about efficiency and practicality, using the Action Center to toggle settings on and off is a godsend.
Much like Android’s System UI tuner, for Windows PCs and Windows 10 Phones, these quick settings are user configurable and the user – can choose what shows up and what doesn’t.
Here’s how to configure your quick actions in Windows 10
- Navigate to Windows Settings > System > Notifications and Actions
- To control the order in which your quick actions appear in, drag and drop the icons in your preferred order. ideally, you would want your most used quick actions like Wifi, Bluetooth, Night Light and/or Quiet Hours to be at the bottom.
This is because the bottom layer is the default collapsed view and “premium” space. - To remove unused and unneeded quick actions, select the “Add or Remove quick actions” menu. There you can toggle off and on the quick actions, you need. For instance, if you’re on a desktop, you won’t have much need for the tablet mode settings or rotation lock and you can get away with toggling those off.
Interested in more Windows 10 tips and tricks? Let us know in the comments below.






User forum
0 messages