Easy Fix PAGE_NOT_ZERO Blue Screen Error (0x00000127)
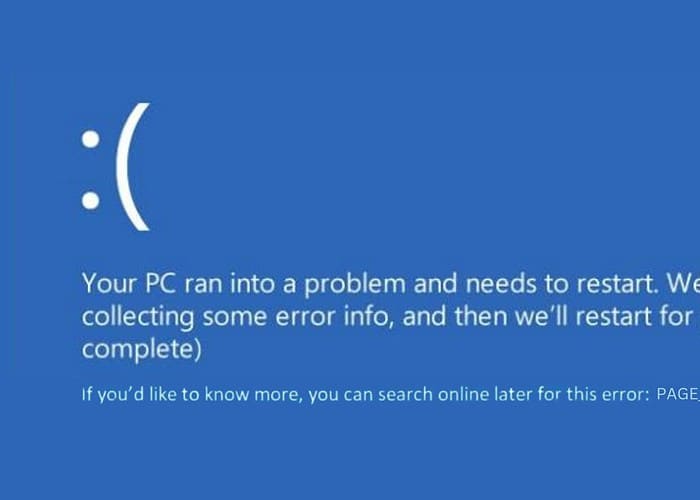
When my computer suddenly displayed the 0x00000127 PAGE_NOT_ZERO Blue Screen of Death, it was more than just a typical system crash. The error was an indication of deep-rooted issues within my PC.
As someone with ample Windows troubleshooting experience, I knew that troubleshooting it could take some time. So, to save you the effort, below I’ve listed all the solutions I found effective against this BSOD error.
What Is 0x00000127 Error?
0x00000127 PAGE_NOT_ZERO or 0x127 is a critical Blue Screen of Death (BSOD) in Windows. It typically occurs when the system detects that a page in memory, which is expected to be zeroed out, contains non-zero data.
This error is similar to finding a document filled with unexpected content in a file that should have been blank. It’s an anomaly that the system can’t process, leading to a complete halt to protect itself from potential corruption or data loss.
What Causes PAGE_NOT_ZERO Blue Screen of Death?
The PAGE_NOT_ZERO BSOD is generally caused by issues deeply embedded in the system, such as:
- Faulty or Failing Hardware: Problems with RAM or hard disk are common culprits.
- Driver Conflicts or Corruptions: Drivers that are incompatible, outdated, or corrupt can lead to serious system conflicts.
- Software Incompatibilities: Recent software installations or updates that don’t sit well with the existing system setup.
- Corrupted System Files: Essential files required for Windows operation being compromised.
- Malware or Virus Infections: Malicious software that targets and disrupts system processes.
- Overheating Issues: Excessive heat in critical components like the CPU or GPU.
How To Fix 0x00000127 PAGE_NOT_ZERO?
Alternatively, if troubleshooting is too difficult for you, try using one of the BSOD repair tools.
1. Preliminary Checks
- Restart Your PC
- Ensure all important work is saved and applications are closed.
- Use the Start menu to reboot your PC.
- After rebooting, observe if the BSOD reappears.
- Unplug and Plug the External Hardware
- Turn off your PC.
- Remove all external devices connected to your computer.
- Power on your PC without the external devices. If the BSOD is resolved, reconnect each device one by one to identify the cause.
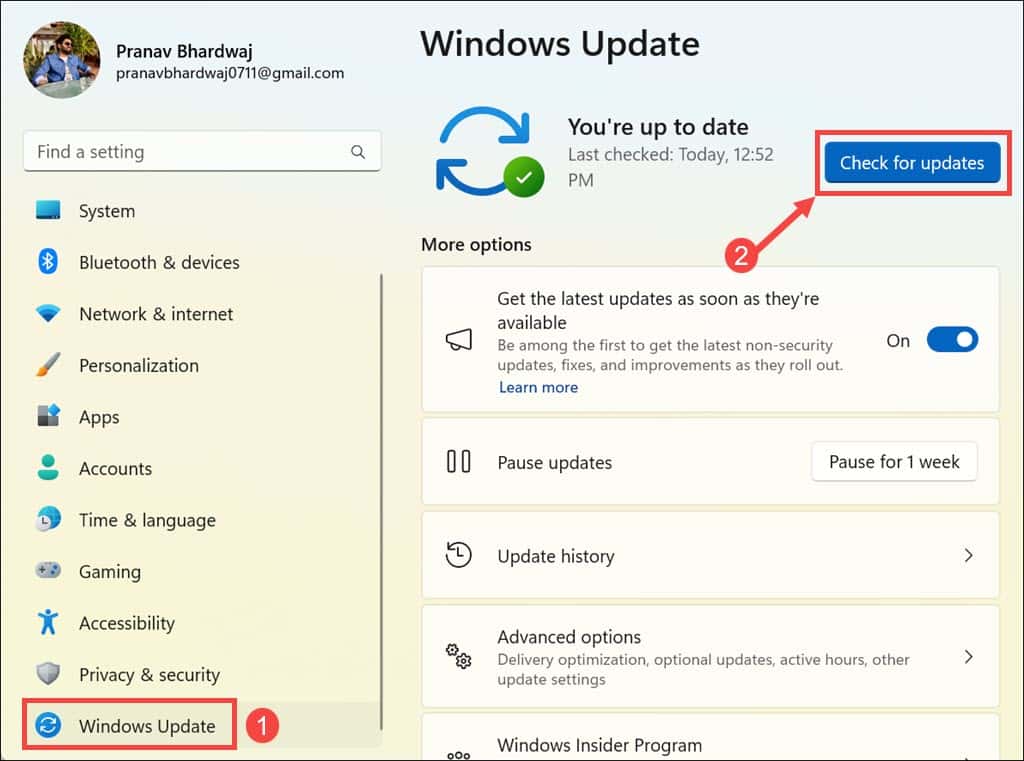
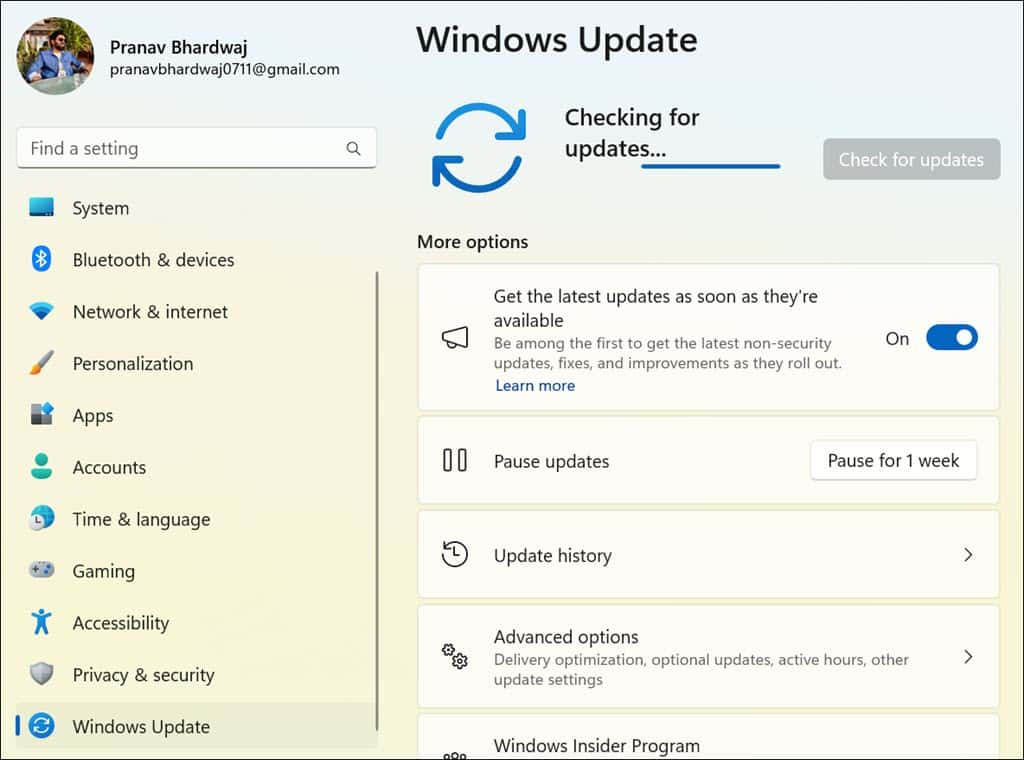
2. Update Windows
Windows updates often include critical patches that can resolve existing system bugs and compatibility issues, potentially fixing 0x00000127 PAGE_NOT_ZERO.
- Click on the Start menu and open Settings.
- In Settings, navigate to the Windows Update section on the left side.
- In the Windows Update tab, click Check for updates.
- If updates are available, proceed to install them. This may include downloading files and will likely require a system restart.
- Once the updates are installed, and your system has restarted, check to see if the BSOD error has been resolved.
3. Boot Windows in Safe Mode
Booting in Safe Mode allows Windows to run with minimal drivers and services. It’s a diagnostic mode useful for troubleshooting and identifying if the BSOD is caused by software or driver issues.
- Repeatedly force restart your system. After several restarts, it should enter Automatic Repair Mode.
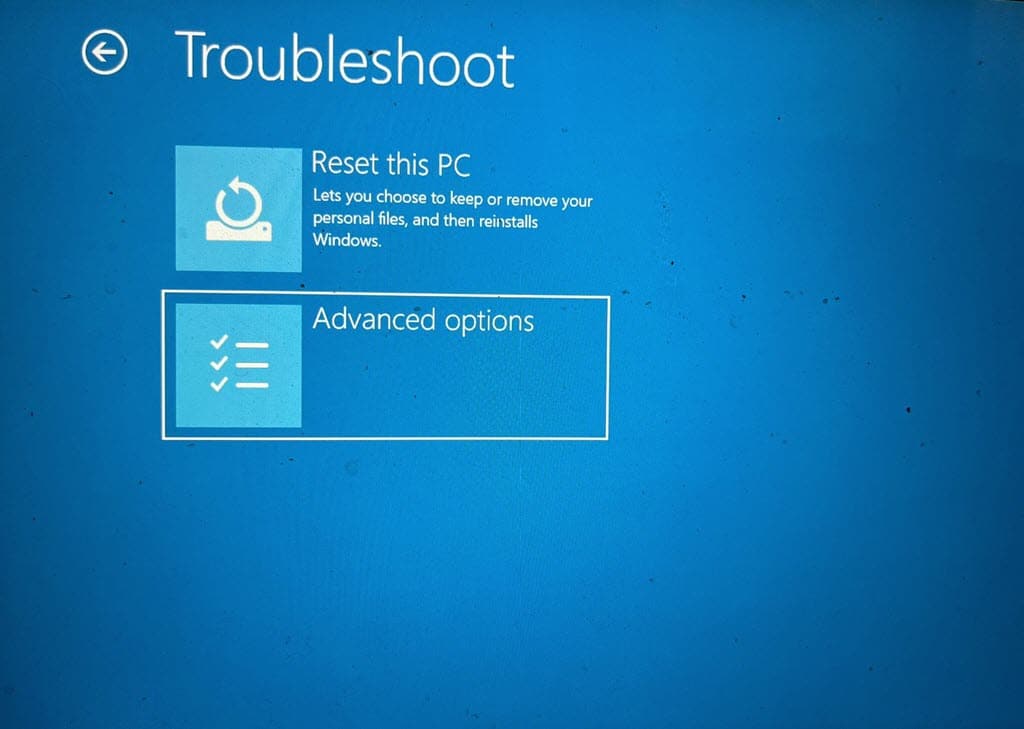
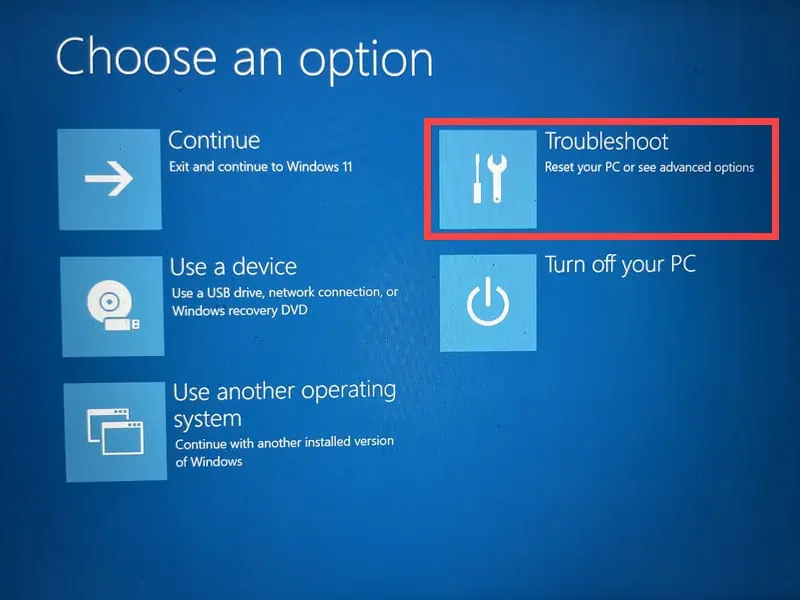
- In Automatic Repair Mode, choose the Troubleshoot option.
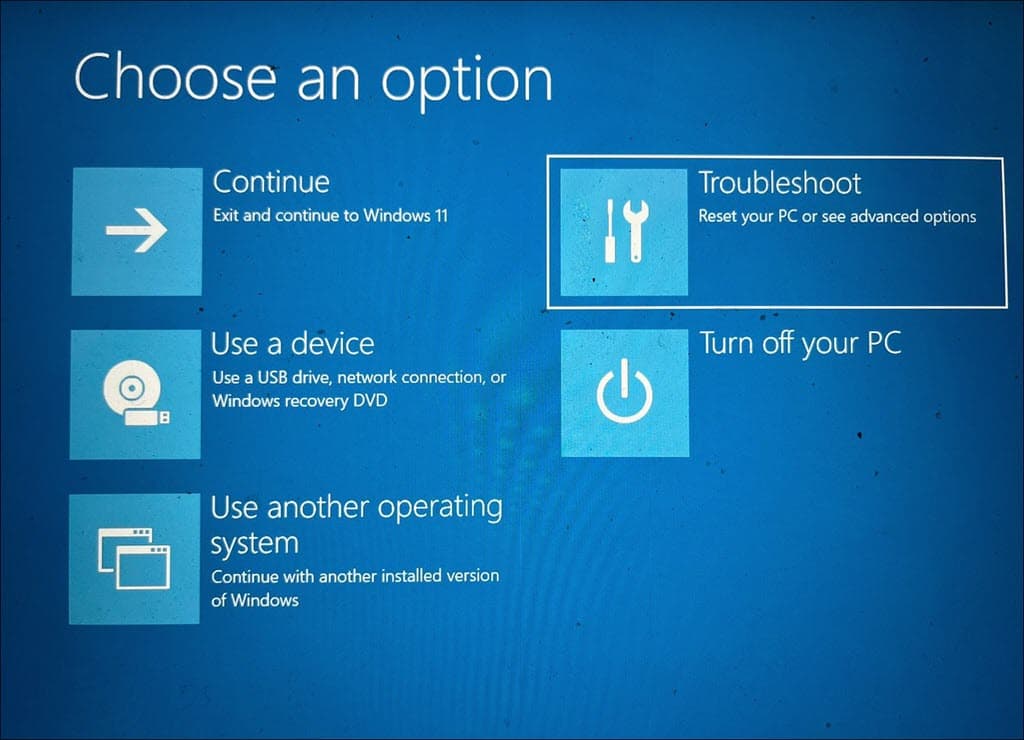
- On the next screen, select Advanced options.
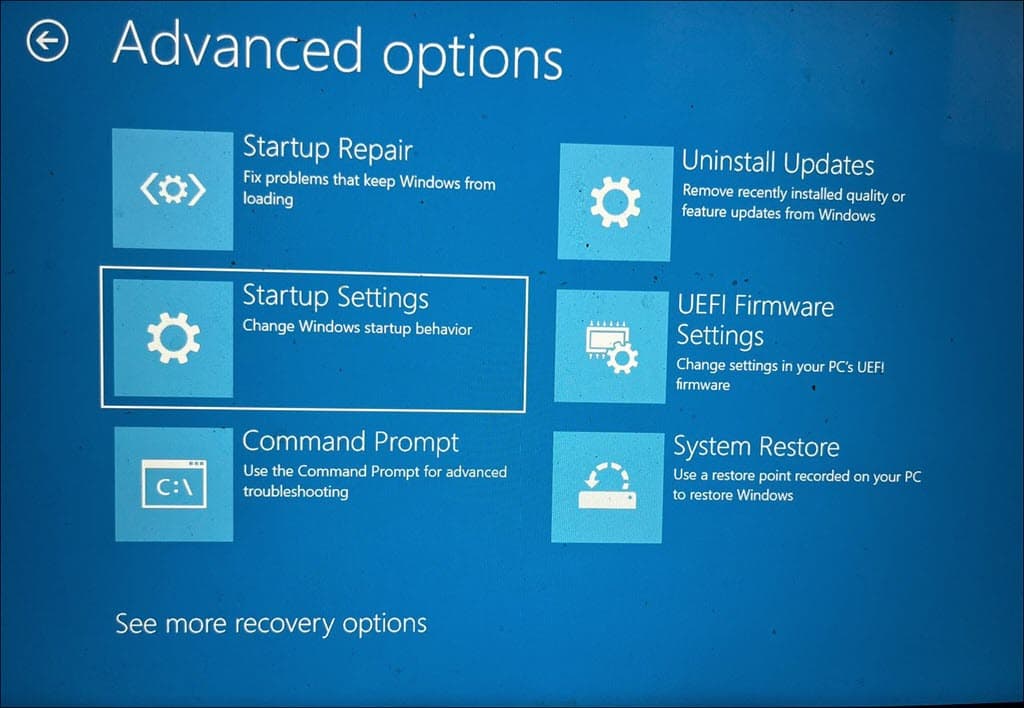
- Within “Advanced options,” click on Startup Settings.
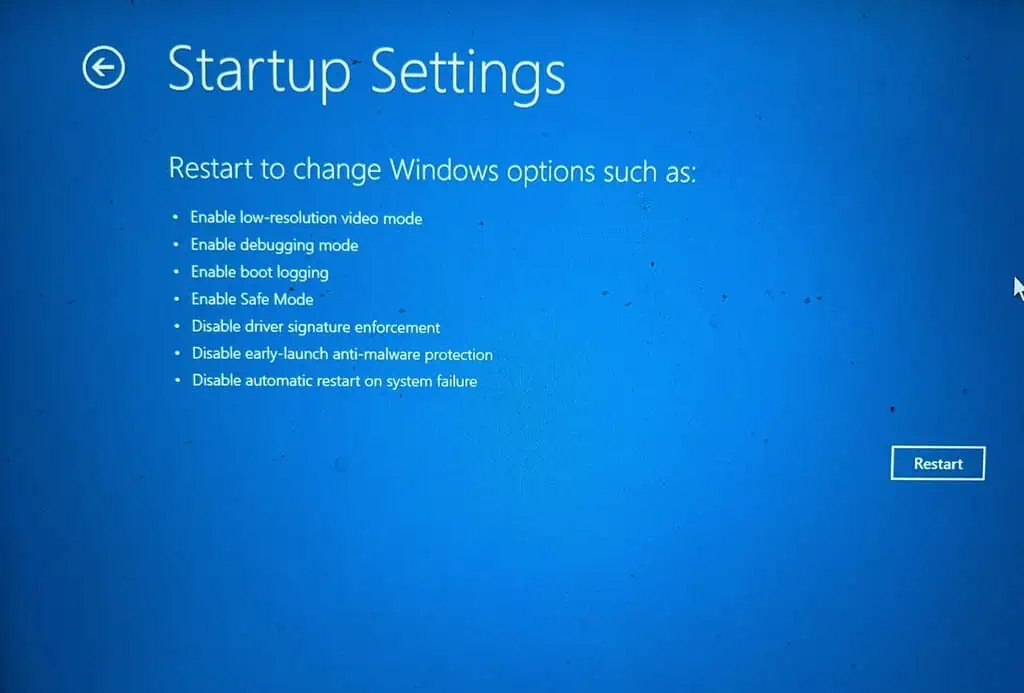
- On the Startup Settings screen, click the Restart button.
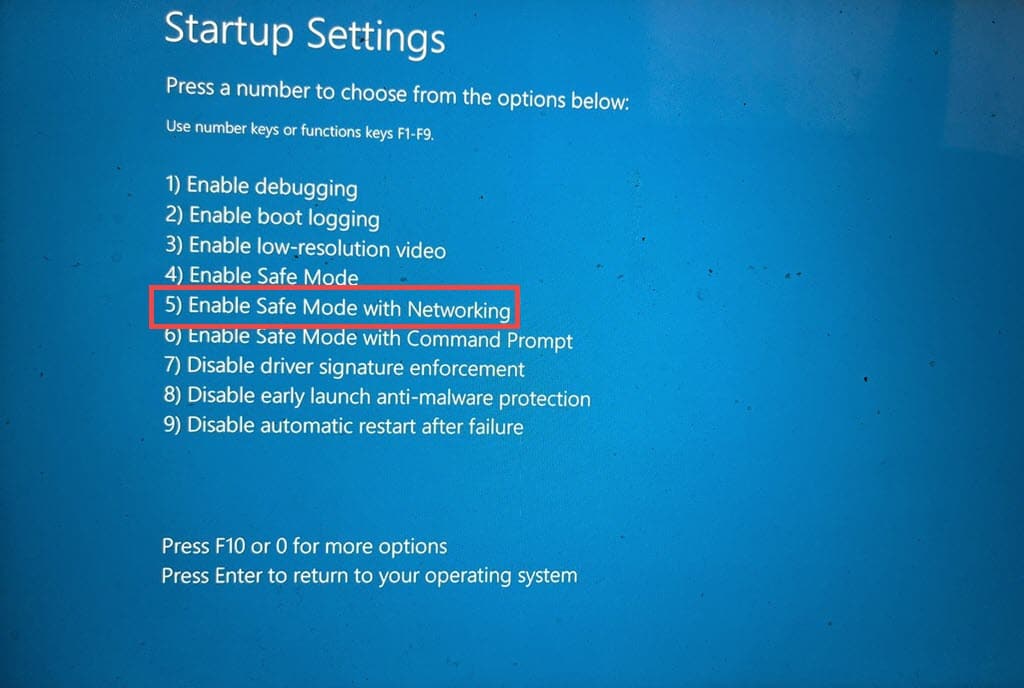
- After your system restarts, press F5 on your keyboard to boot into Safe Mode with Networking.
- Once in Safe Mode, you’re ready to carry out further troubleshooting.
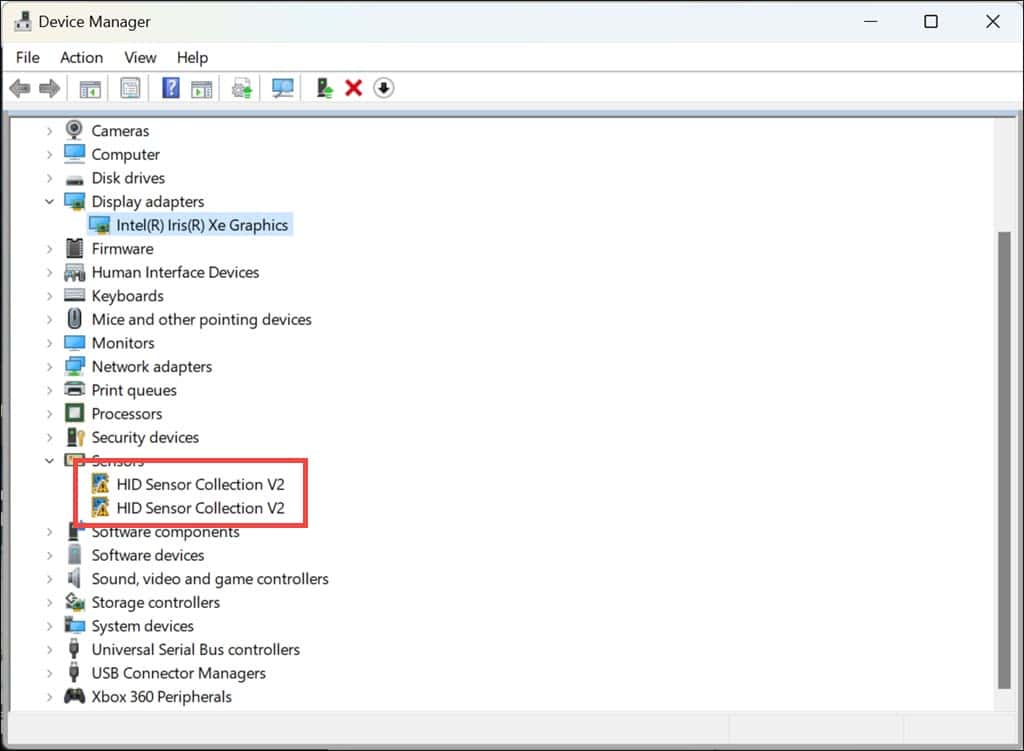
4. Uninstall Faulty Drivers
- Right-click on the Start button and choose Device Manager.
- Identify any devices marked with a yellow exclamation mark, which usually indicates a driver problem.
- Right-click on the device with an issue and select Uninstall device. Follow through with any confirmation prompts to finish the uninstallation.
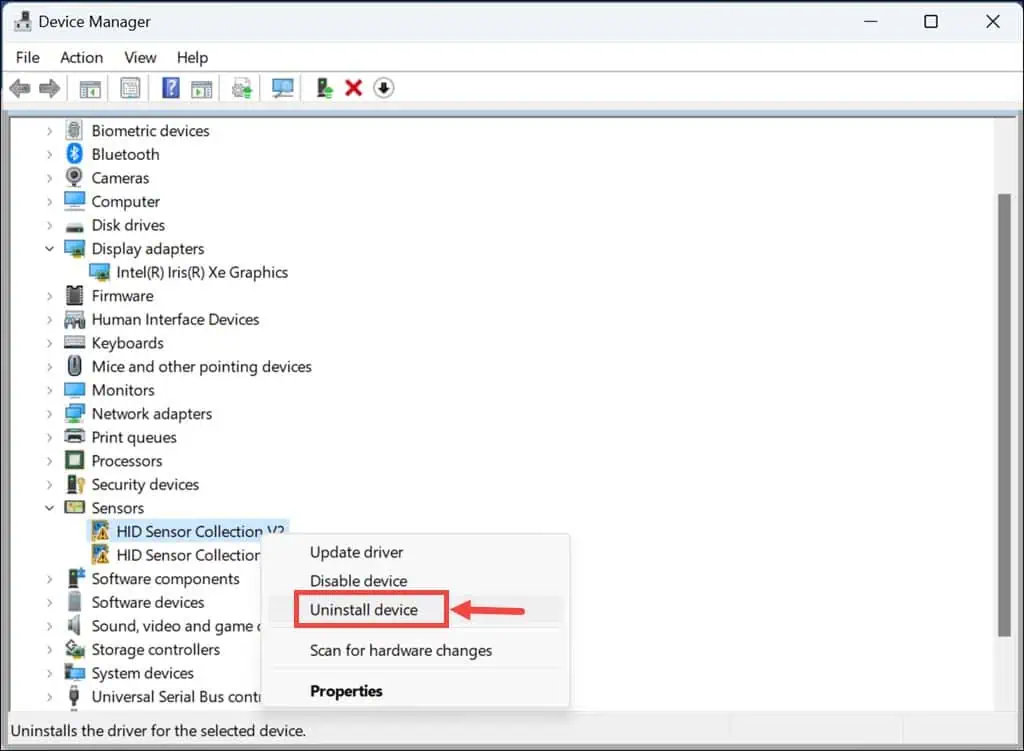
- Once the driver is uninstalled, restart your PC. Windows will try to reinstall the driver during the reboot.
5. Update System Drivers
Keeping your system drivers updated is vital for the smooth functioning of your PC and can prevent BSOD errors.
- Right-click on the Start button and select Device Manager.
- In Device Manager, locate important drivers, including those for display, firmware, and disk drives.
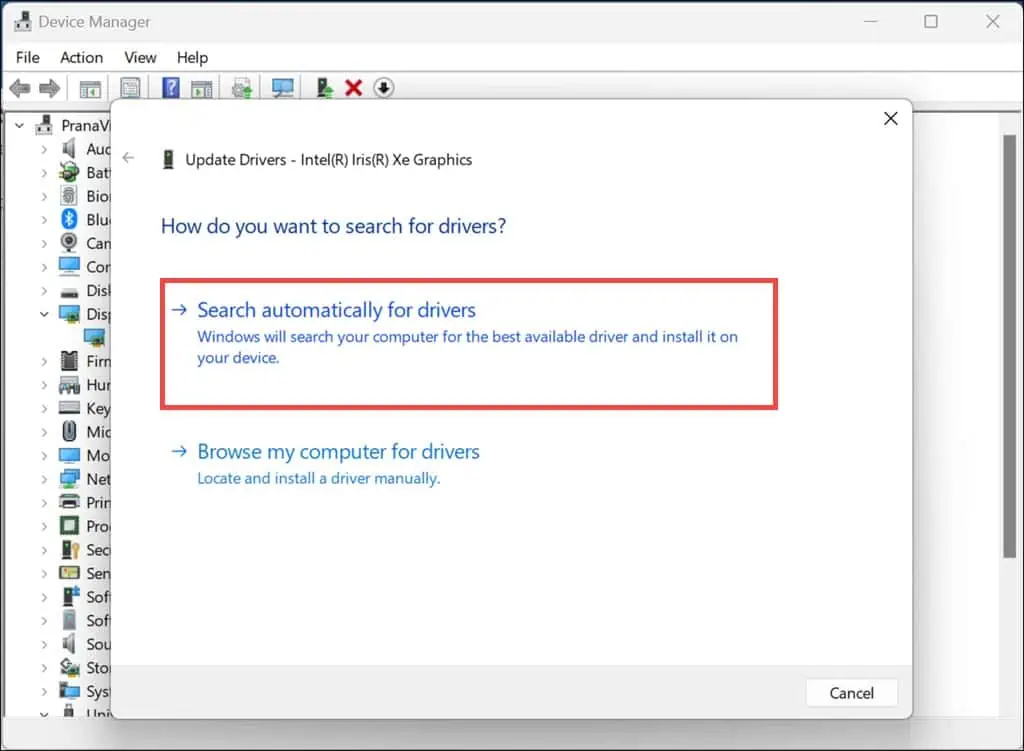
- Right-click on each key device and choose Update driver.
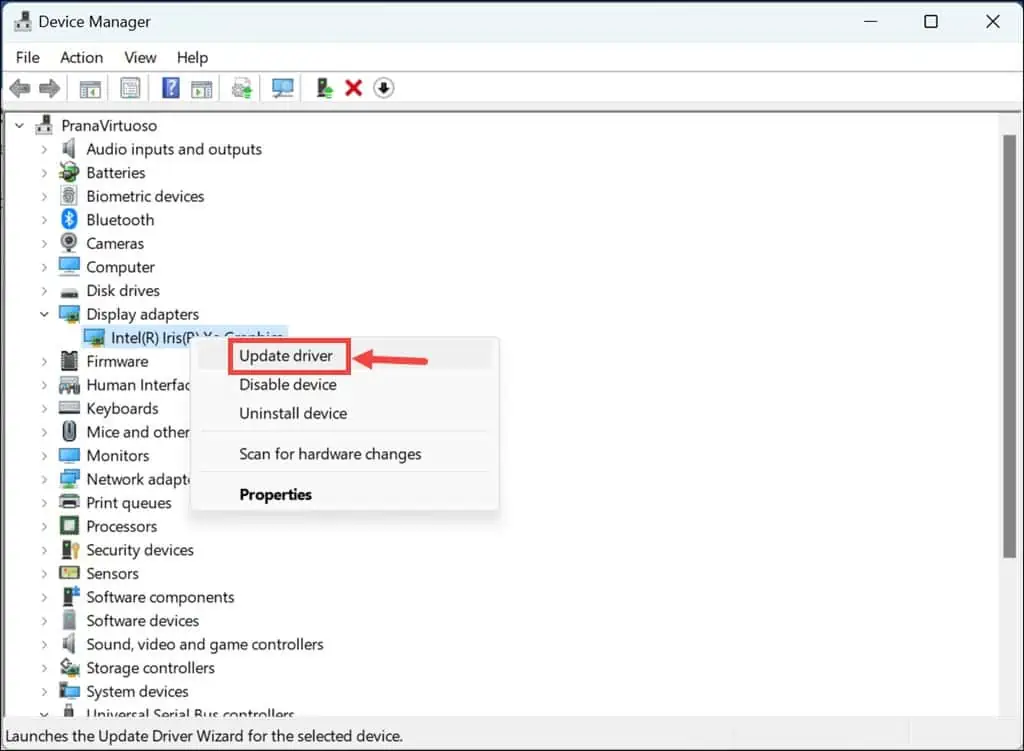
- Select Search automatically for drivers.
- Apply this process to all significant devices, and then restart your computer to ensure the updates are properly implemented.
6. Run DISM and SFC Commands
Windows’s Deployment Image Servicing and Management (DISM) and System File Checker (SFC) tools help repair corrupted system files.
- If Windows is able to boot, open Command Prompt or Terminal as an administrator and proceed to step 5. If Windows doesn’t boot, restart your computer several times to enter Automatic Repair Mode, then continue with the next steps.
- In Automatic Repair Mode, select the Troubleshoot option.
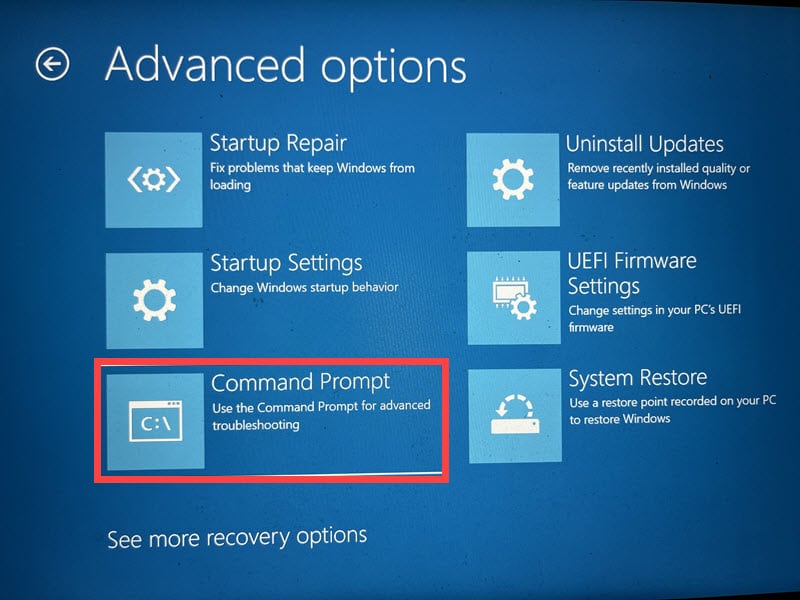
- Under “Troubleshoot,” choose Advanced Options.

- On the Advanced Options screen, select Command Prompt.
- In the Command Prompt window, first execute the DISM command by typing
dism /online /cleanup-image /restorehealthand pressing Enter. - Wait for the DISM command to finish running successfully before proceeding.
- After completing DISM, run the command
sfc /scannow. - Allow the System File Checker (sfc) process to complete.
- Reboot your computer after the commands are complete to ensure all changes take effect.
7. Uninstall Latest Windows Updates
Sometimes, recent Windows updates can inadvertently introduce system conflicts or bugs that may lead to BSODs.
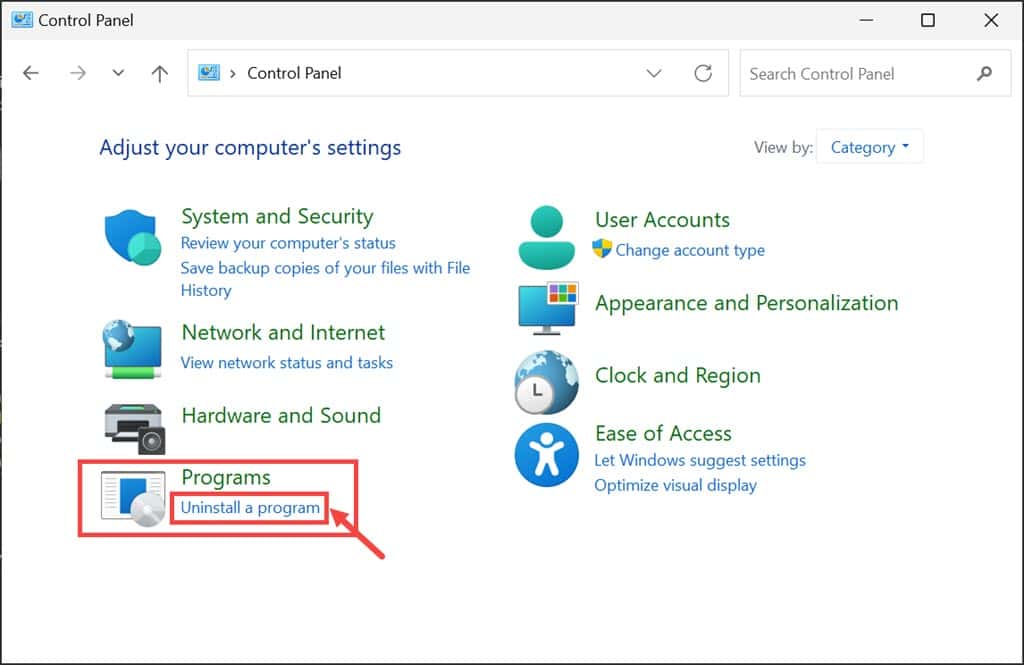
- Open the Control Panel, either from the Start Menu or by using the Run Command window.
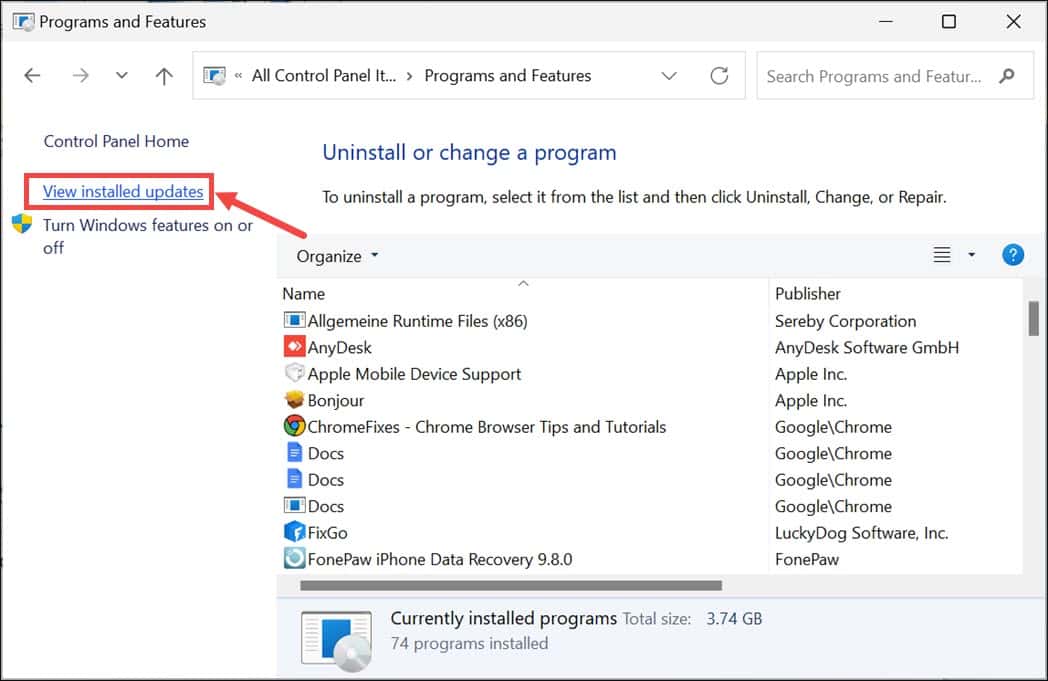
- Go to the “Programs” section and select Uninstall a program.
- Click on View installed updates in the left pane to open the Windows update settings.
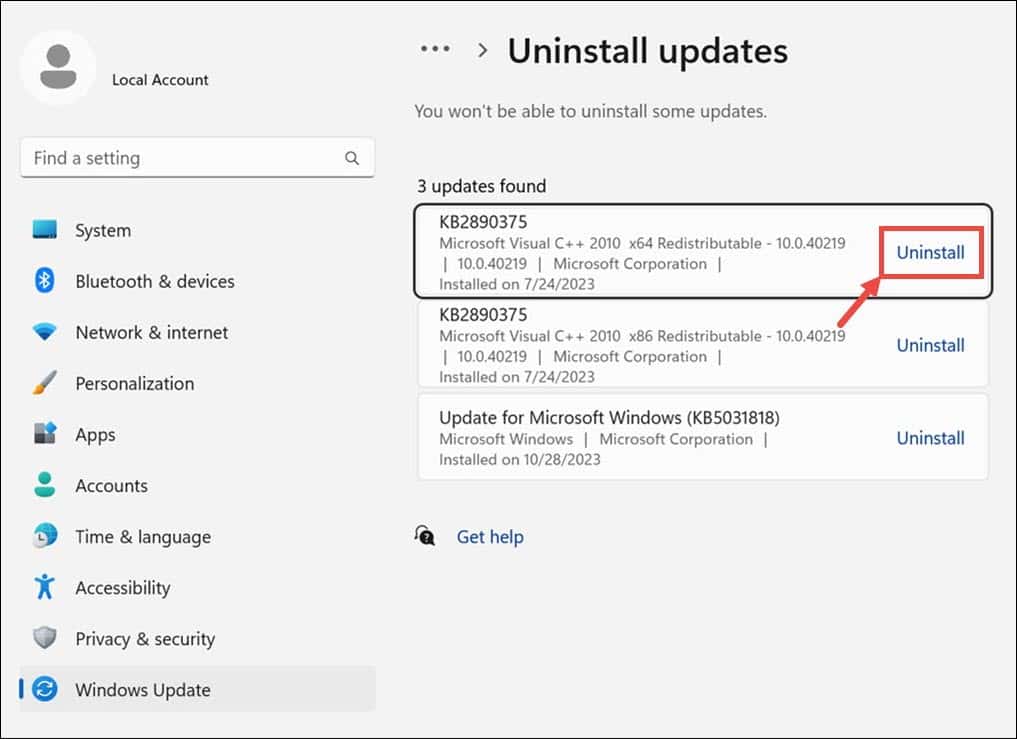
- Find the updates that were installed recently and click the Uninstall button.
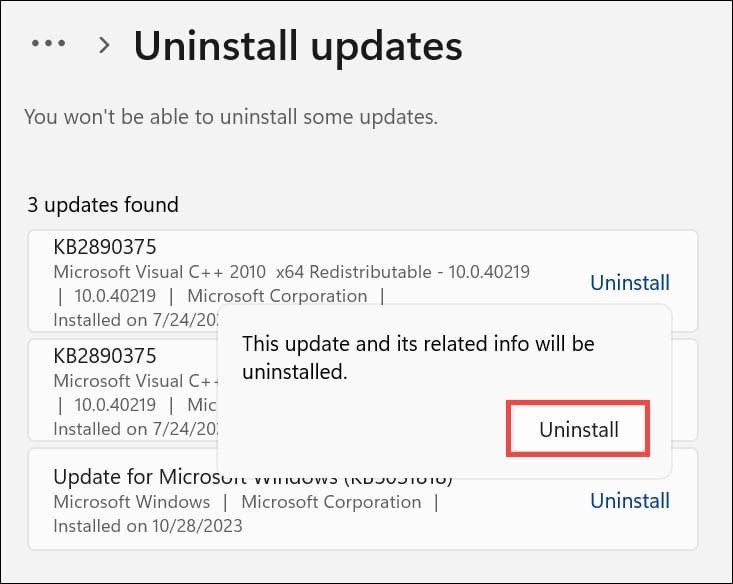
- Confirm the uninstallation when prompted.
- Restart your system.
8. Uninstall Recently Installed Applications
Newly installed applications, particularly those that interact deeply with system functions, can sometimes cause conflicts.
- Open the Control Panel and navigate to the “Programs and Features” window by selecting Uninstall a program.
- Sort the programs by their installation dates by clicking the Installed on column.
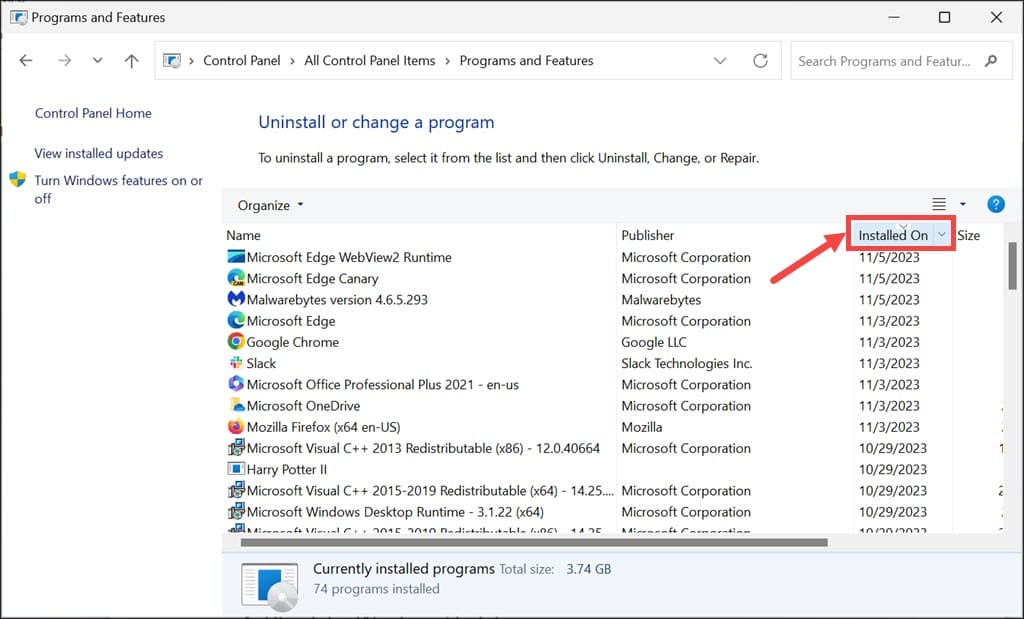
- Identify the most recently installed application, click the Uninstall button, and confirm.
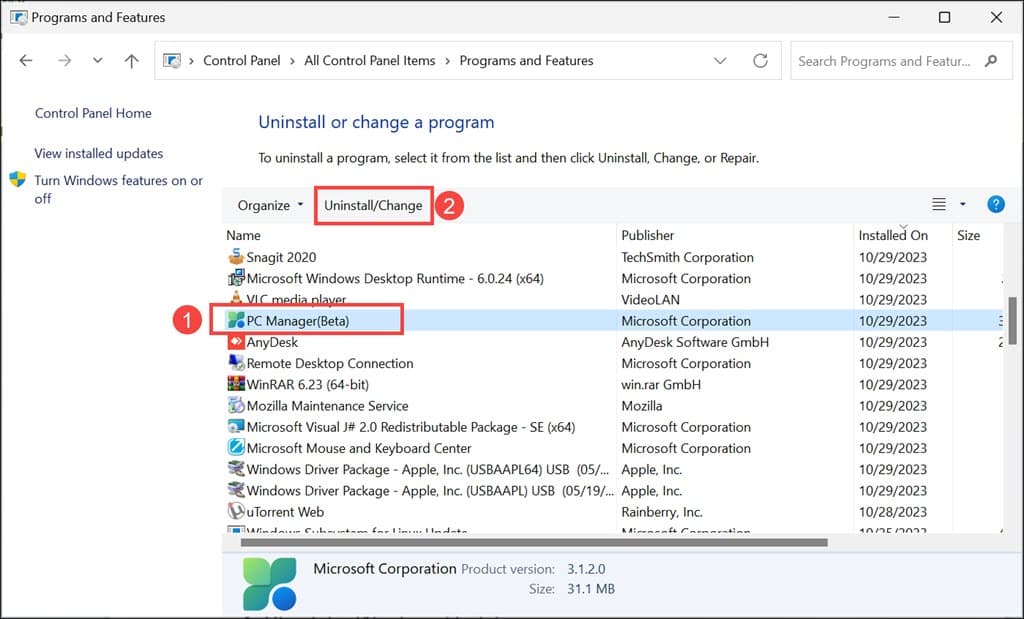
- Apply the same steps to uninstall any other recent apps.
9. Restore Windows to a Previous State
System Restore can take your PC back to an earlier point, potentially undoing any changes that caused the BSOD.
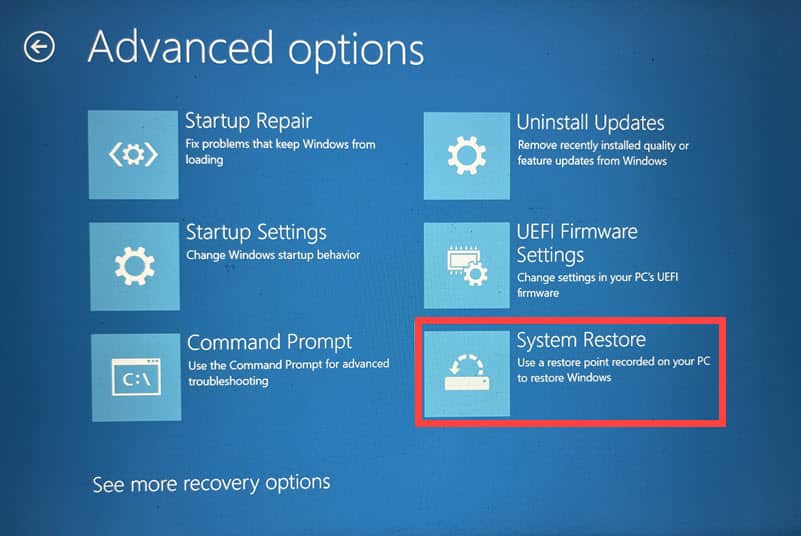
- Restart your system multiple times until it enters Automatic Repair Mode.
- Once in Automatic Repair Mode, choose System Restore.
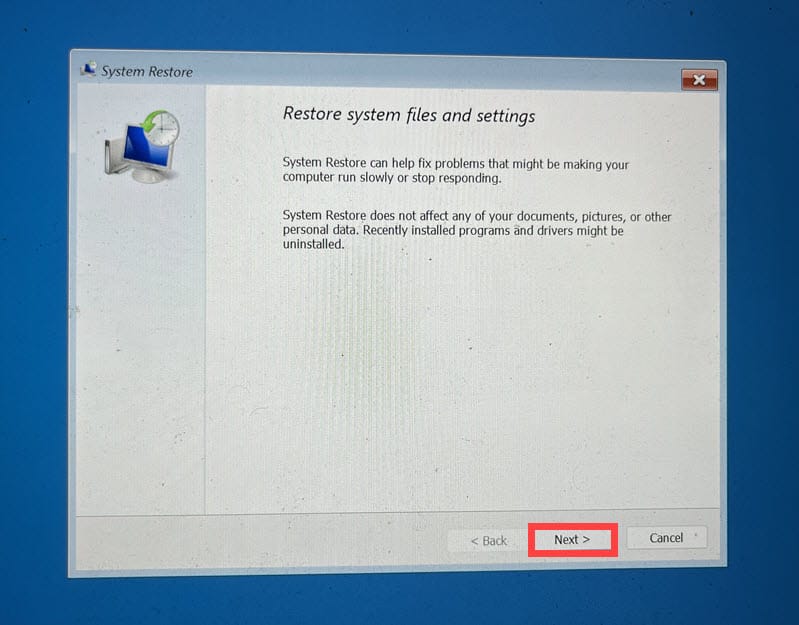
- Click Next.
- Select a previously saved restore point. If there are several options, choose one from a time before the error occurred.
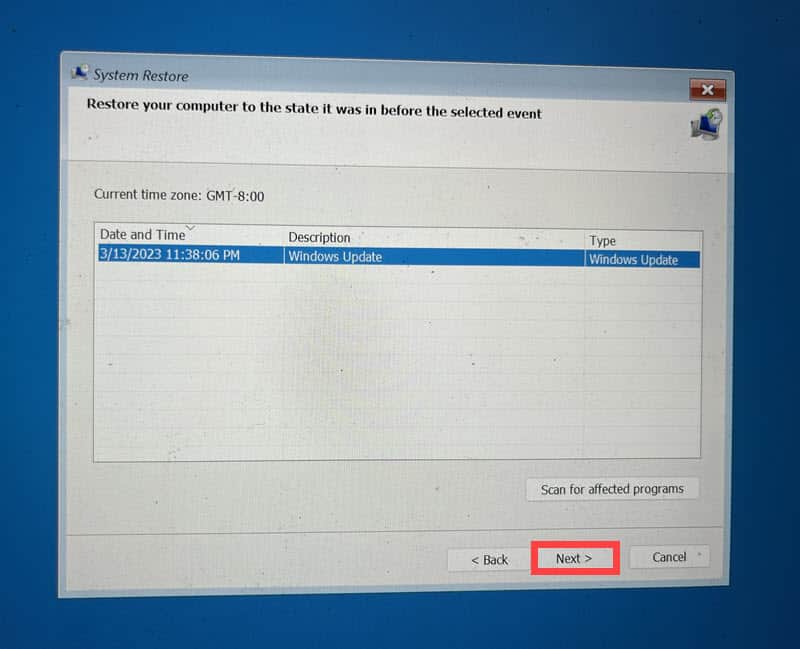
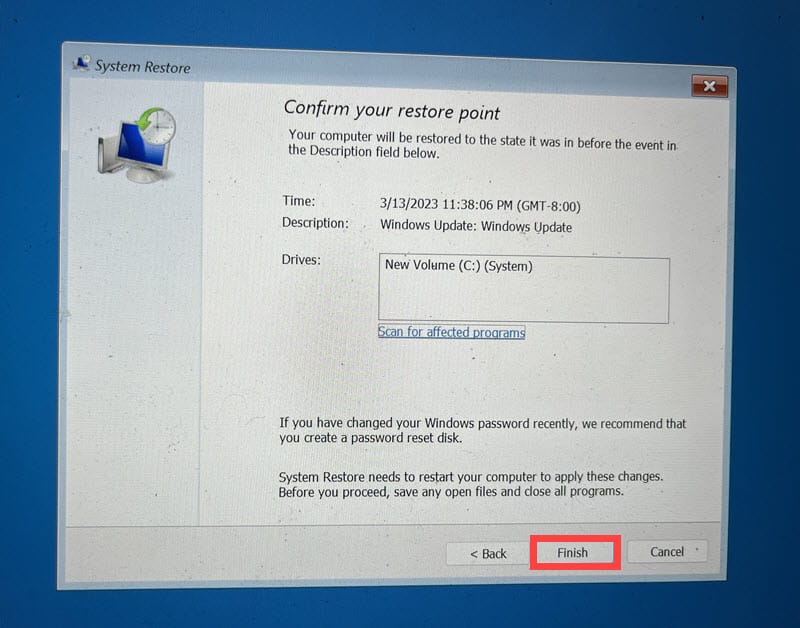
- Confirm your selected restore point on the next screen and click Finish.
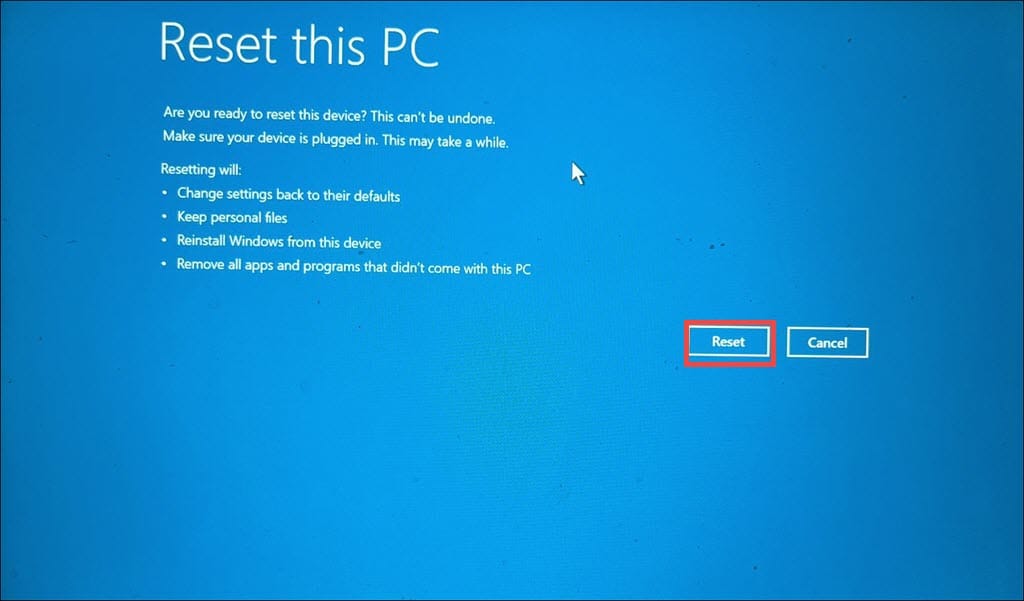
10. Reset Windows
Resetting Windows reinstalls the operating system, which can help resolve more complex system issues.
- Continuously restart your PC until it enters Automatic Repair Mode.
- In Automatic Repair Mode, select the Troubleshoot option.
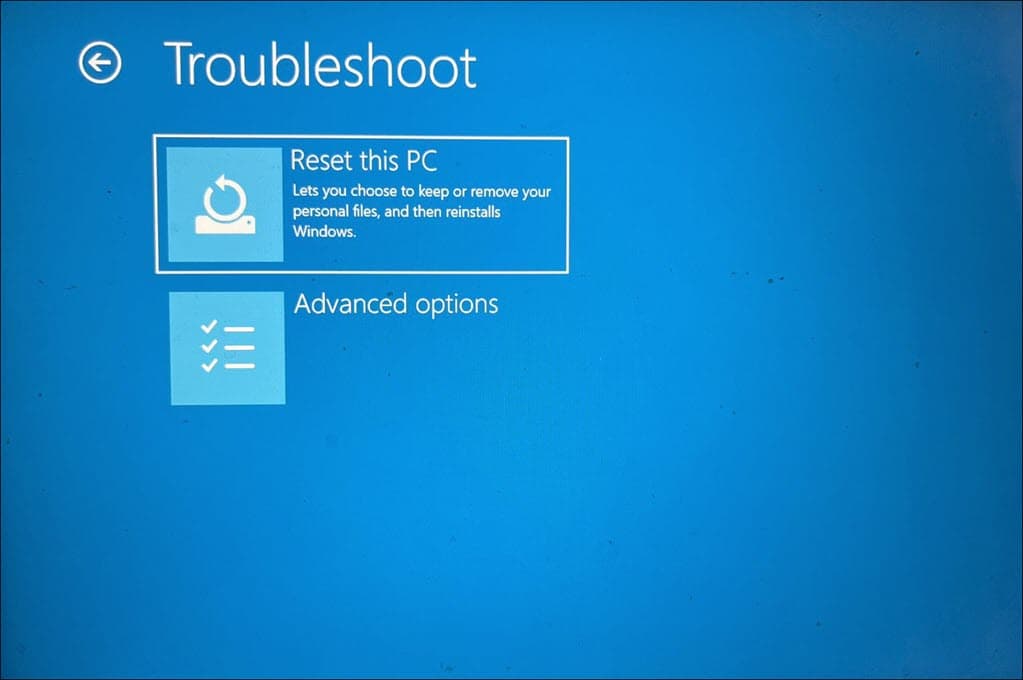
- Within the “Troubleshoot” menu, choose Reset this PC.
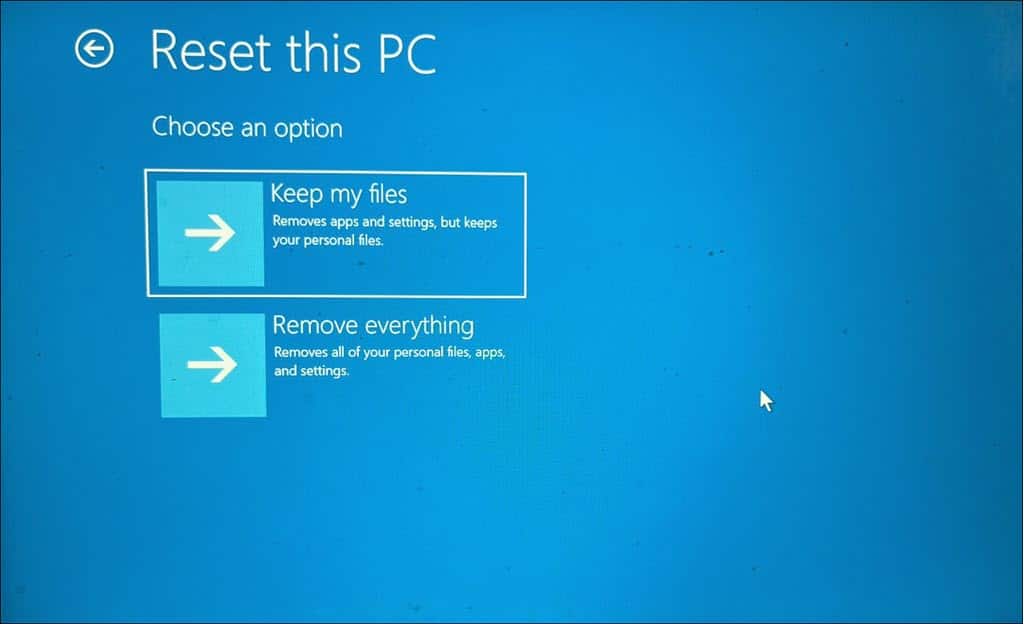
- You’ll be asked to either keep your files or remove everything. For a full reset, choose Remove everything.
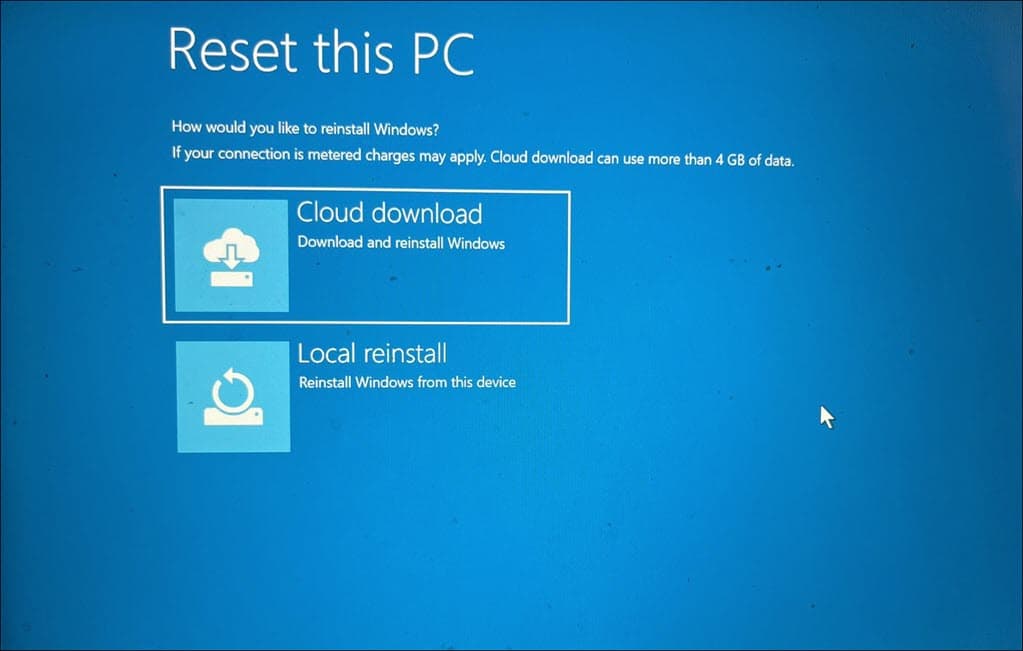
- Then, decide how you’d like to reinstall Windows – locally or through cloud download.
- Finally, click the Reset button.
You may also be interested in:
- 0x000000F4 CRITICAL_OBJECT_TERMINATION
- 0x00000065 MEMORY1_INITIALIZATION_FAILED
- 0x00000111 RECURSIVE_NMI
Summary
This comprehensive guide has walked you through various methods to address the 0x00000127 PAGE_NOT_ZERO BSOD. It covers everything, from basic troubleshooting like restarting your PC and unplugging external devices to more advanced solutions such as running system scans and resetting Windows.
Read our disclosure page to find out how can you help MSPoweruser sustain the editorial team Read more


Improve this guide


User forum
0 messages