How to use the Windows Ink Workspace to take better screenshots
![]() 2 min. read
2 min. read
![]() Updated on
Updated on
Share this article
Improve this guide
Read our disclosure page to find out how can you help MSPoweruser sustain the editorial team Read more
While using Windows or any other OS, I take a lot of screenshots, whether of books I’m reading to share pages with friends, or of apps and features to post on MSPU, or even just as a form of personal bookmarking. While most Windows 10 PCs have a built-in keyboard combo for the purpose of capturing screenshots, Microsoft added a new – more convenient way to take screenshots with last summer’s Windows 10 Anniversary Update. Remember Windows Ink Workspace – the one tool on your taskbar that you don’t actually ever use outside of demo purposes? Turns out that it’s quite useful for taking screenshots.
With the Screen Sketch tool, Microsoft’s Windows Ink let’s you edit your screenshots, doodle on them and share them without having to install an extra app. Personally I’m just glad I finally found a day-to-day use for Windows Ink.
How to use the Windows Ink Workspace to take better screenshots.
- Open the page, file or screen you want to make a screenshot of.
- Tap the Windows Ink icon on the taskbar of your device – it should look like a pen. If you can’t see it, check if it’s enabled by right clicking on the taskbar and clicking “Show Windows Ink Workspace button”

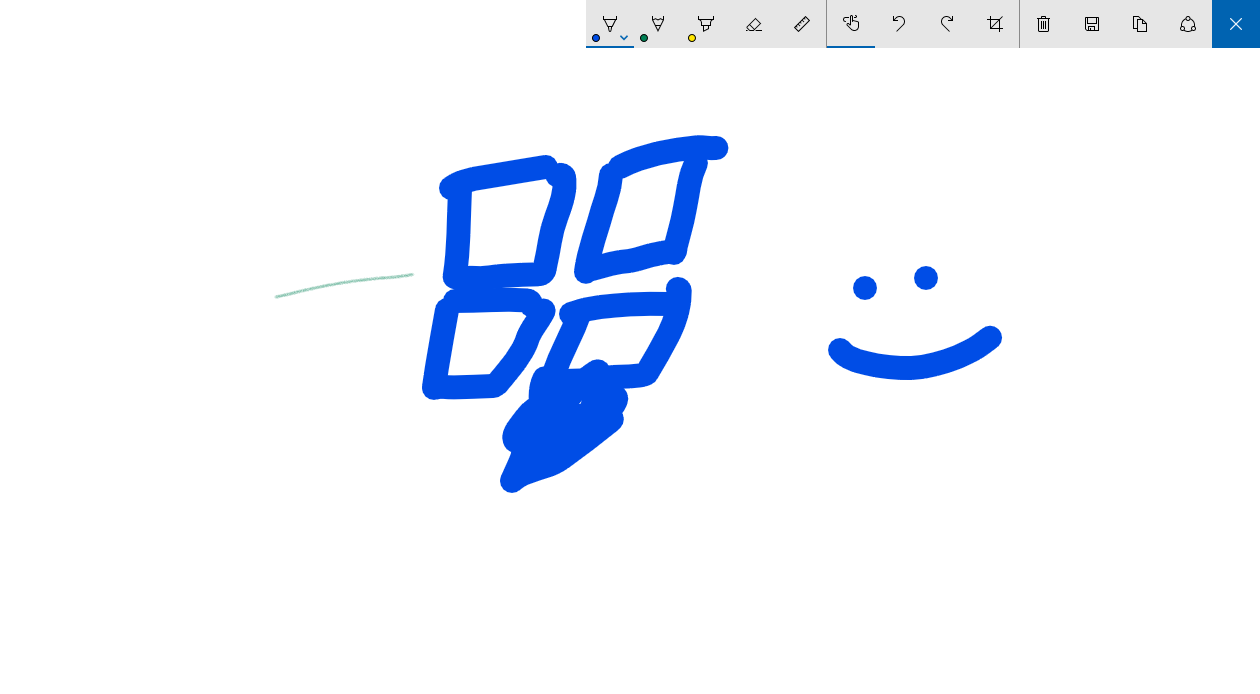
- In the Windows Ink Workspace, select “Screen Sketch.” This will then capture a screenshot of your current screen and then open an editing window.
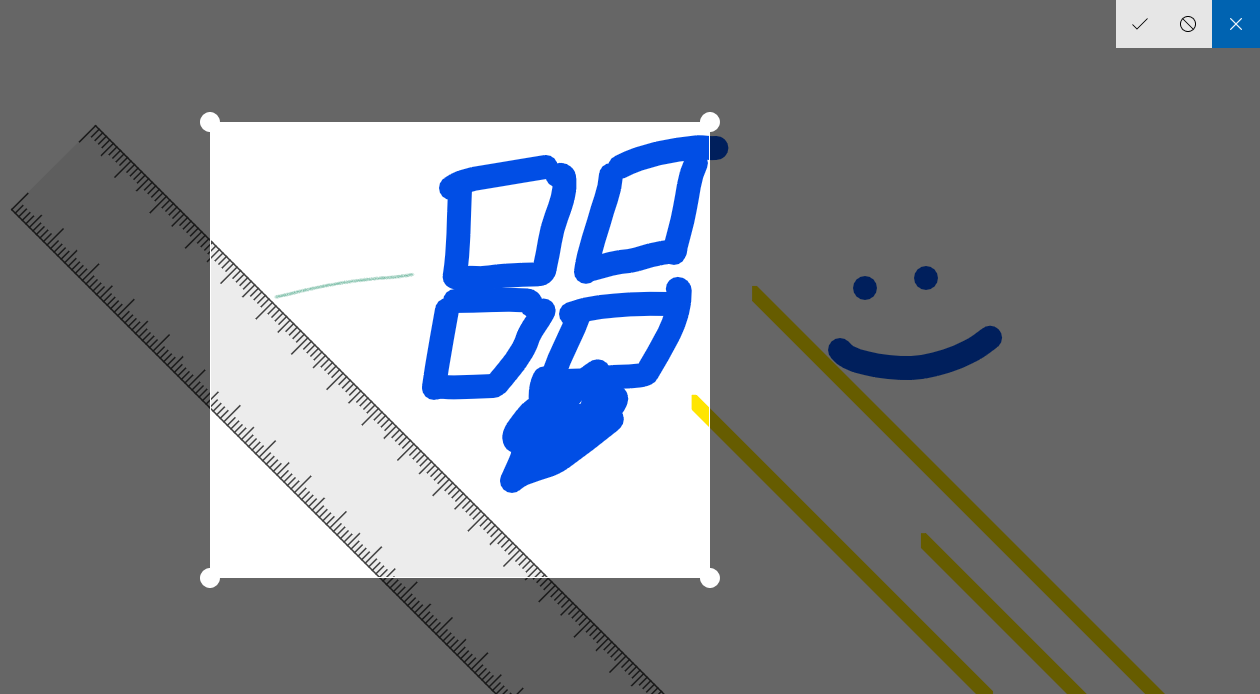
- In the “Screen Sketch” Interface, you can now crop, scribble on, or make minor edits to your captured screenshot before saving or sharing it from your Windows PC.


User forum
0 messages