Second Monitor Not Detected on Windows 11 – 7 Easy Fixes
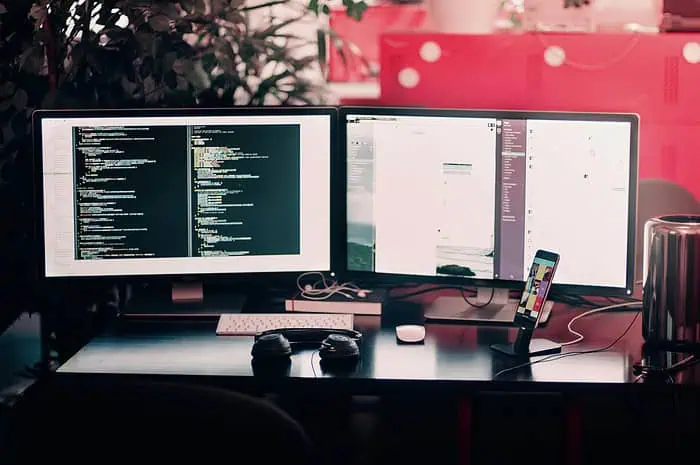
Windows 11 users occasionally encounter issues with their second monitor not being detected. This problem can disrupt productivity and hinder multitasking capabilities.
If you’re facing this issue, don’t worry – I’ve compiled a list of practical solutions to help you resolve it.
1. Check Physical Connections
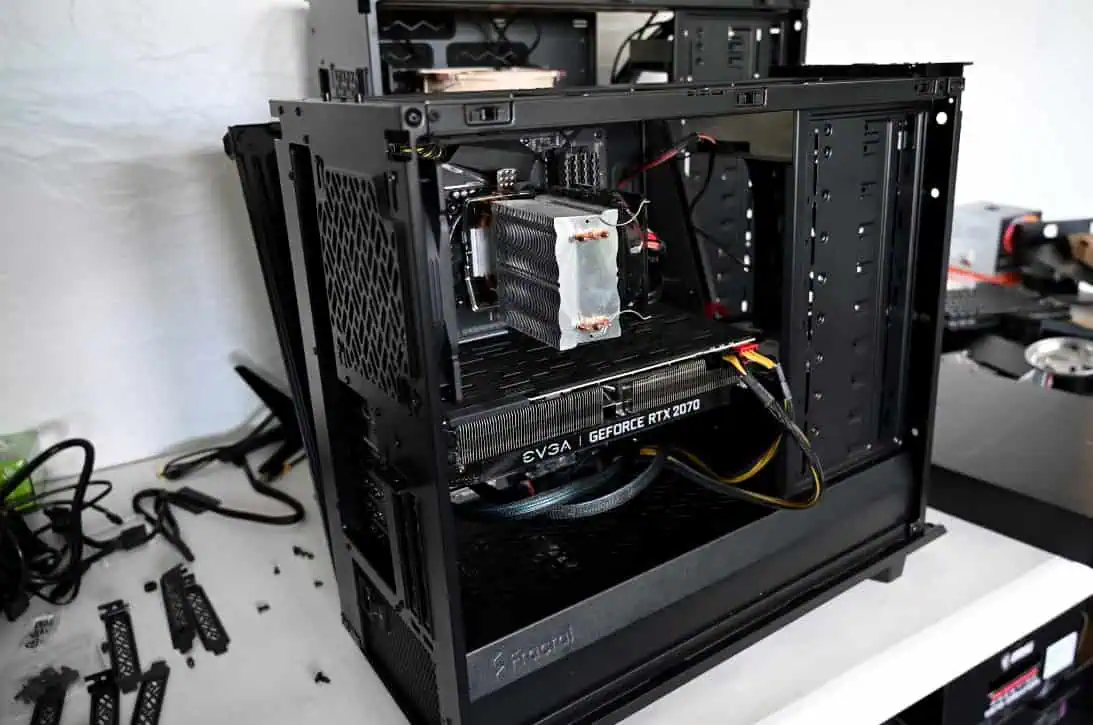
- Ensure all cables are securely connected to both the monitor and your computer.
- Try using a different cable or port to rule out hardware issues.
- If possible, test the monitor with another device to confirm it’s functioning correctly.
2. Update Display Drivers
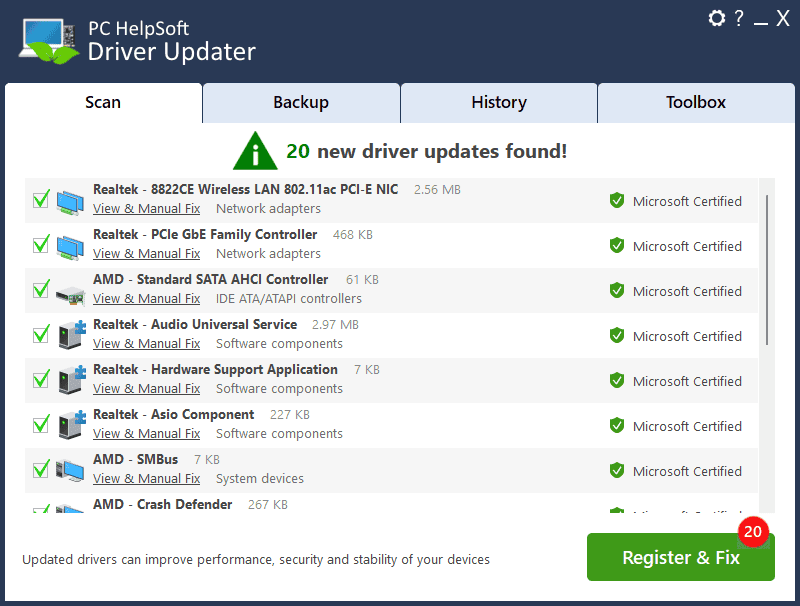
Outdated or corrupted display drivers often cause detection issues. To resolve this problem efficiently, I highly recommend using PC HelpSoft Driver Updater.
Here’s why:
- PCHelpSoft Driver Updater automatically scans your system for outdated drivers.
- It identifies the correct, up-to-date drivers for your specific hardware.
- The software installs the latest versions with just a few clicks, saving you time and effort.
- It helps prevent compatibility issues and ensures optimal performance.
To use PCHelpSoft Driver Updater:
- Download and install PC HelpSoft Driver Updater from the official website.
- Run the software and click Scan to detect outdated drivers.
- Once the scan is complete, click Update All to install the latest display drivers.
If you prefer to update manually:
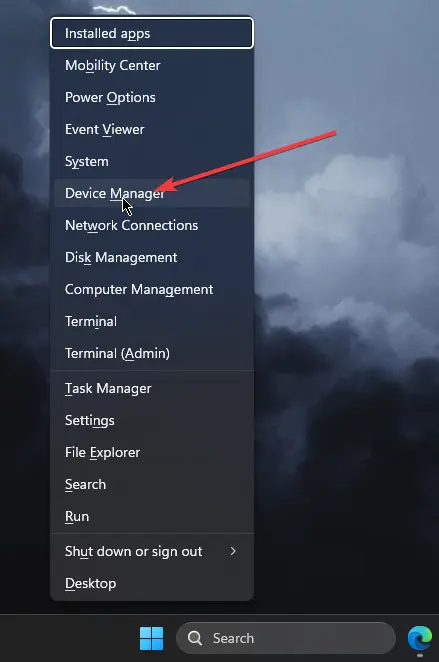
- Press Win + X and select Device Manager.
- Expand the Display Adapters category.
- Right-click on your graphics card and select Update driver.
- Choose Search automatically for updated driver software.
3. Run the Windows Troubleshooter
Windows 11 includes a built-in troubleshooter for display issues:
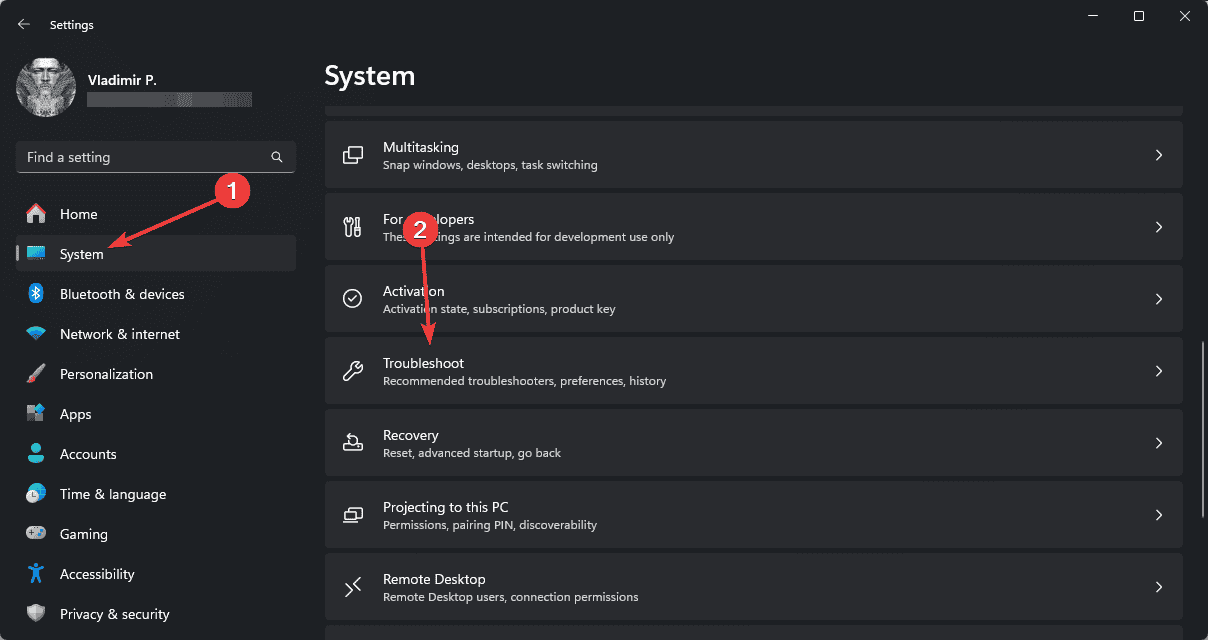
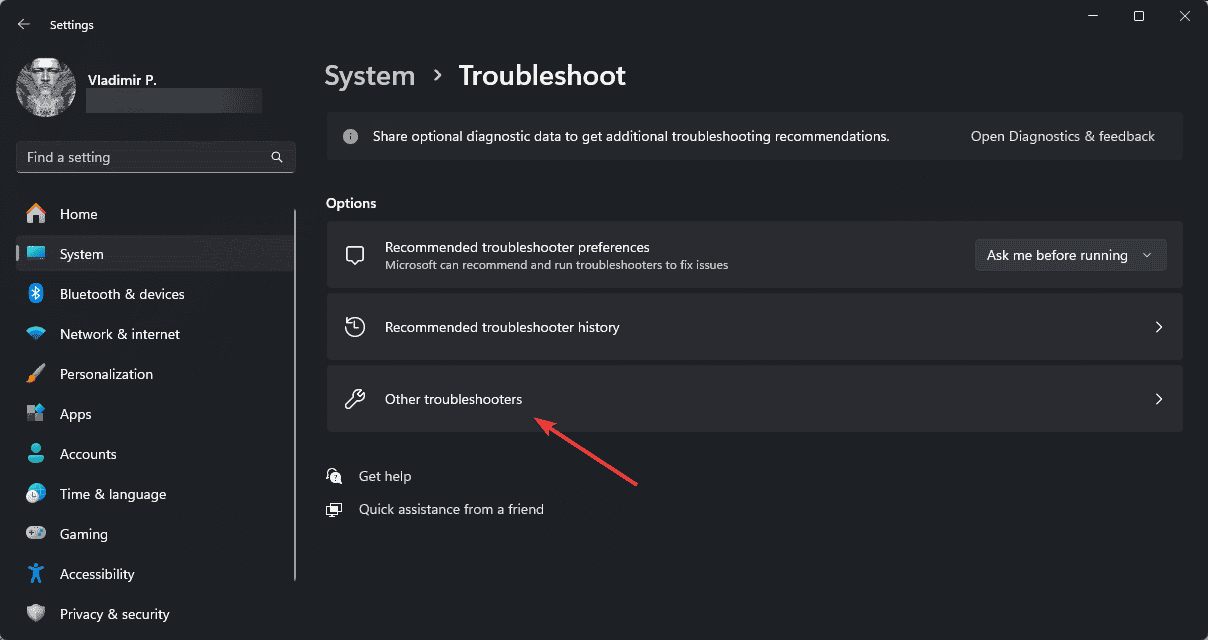
- Go to Settings, click System, then open Troubleshoot, and click Other troubleshooters.
- Find Display and click Run.
- Follow the on-screen instructions to complete the process.
4. Adjust Display Settings
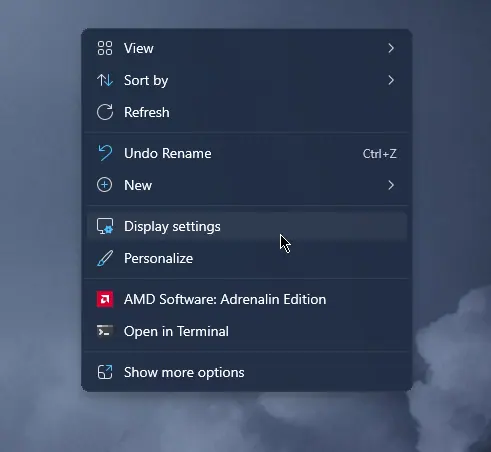
- Right-click on the desktop and select Display settings.
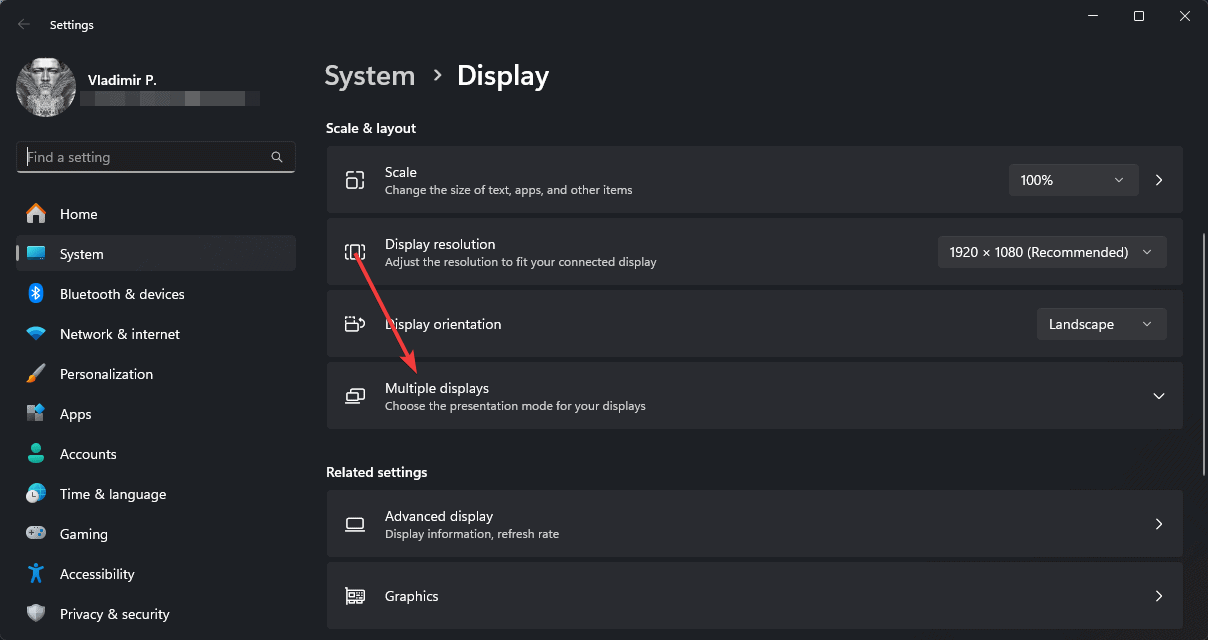
- Scroll down to Multiple displays and click Detect.
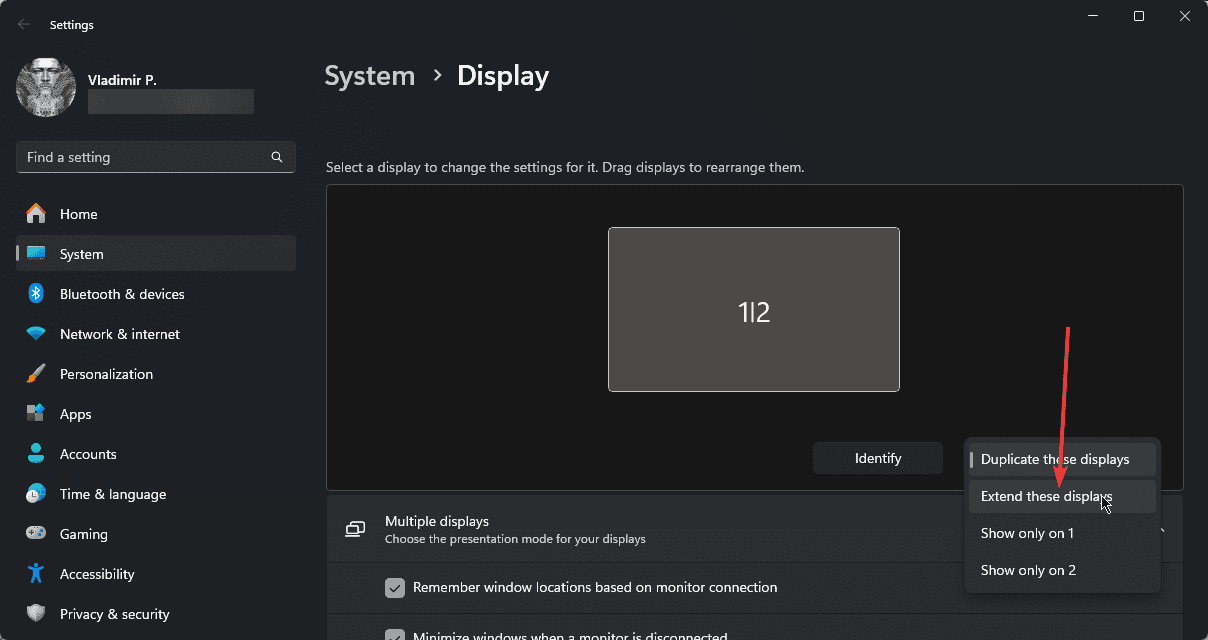
- If your second monitor appears, select it and choose Extend these displays from the dropdown menu.
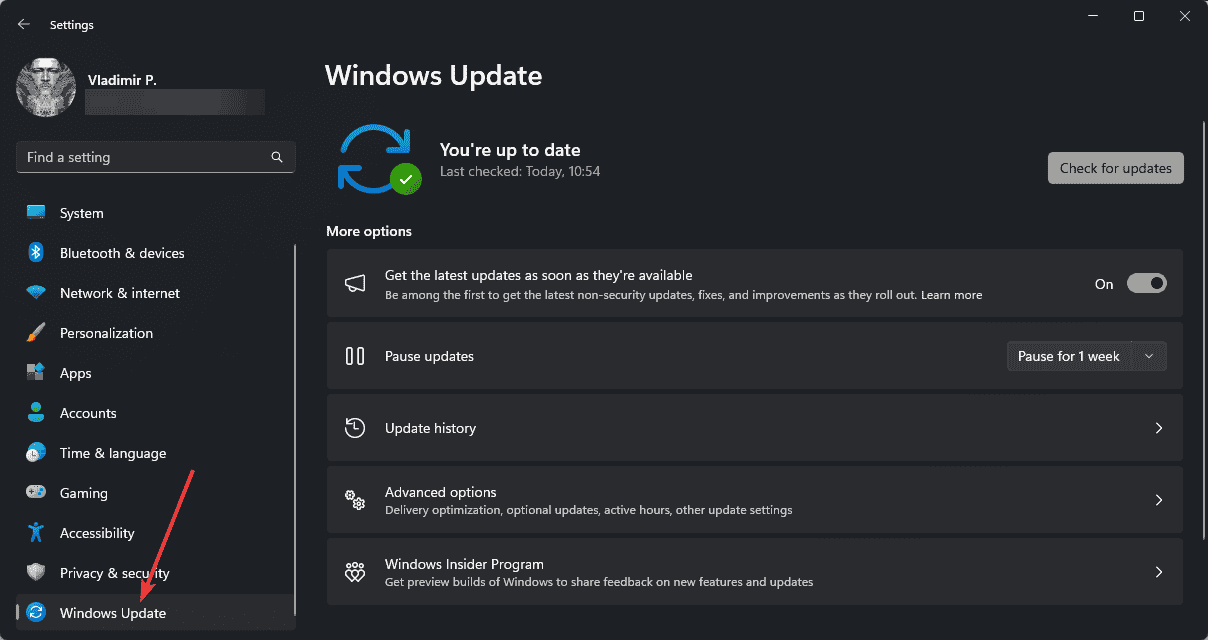
5. Update Windows
Ensuring your system is updated can resolve various compatibility issues. To do that:
- Go to Settings and click Windows Update.
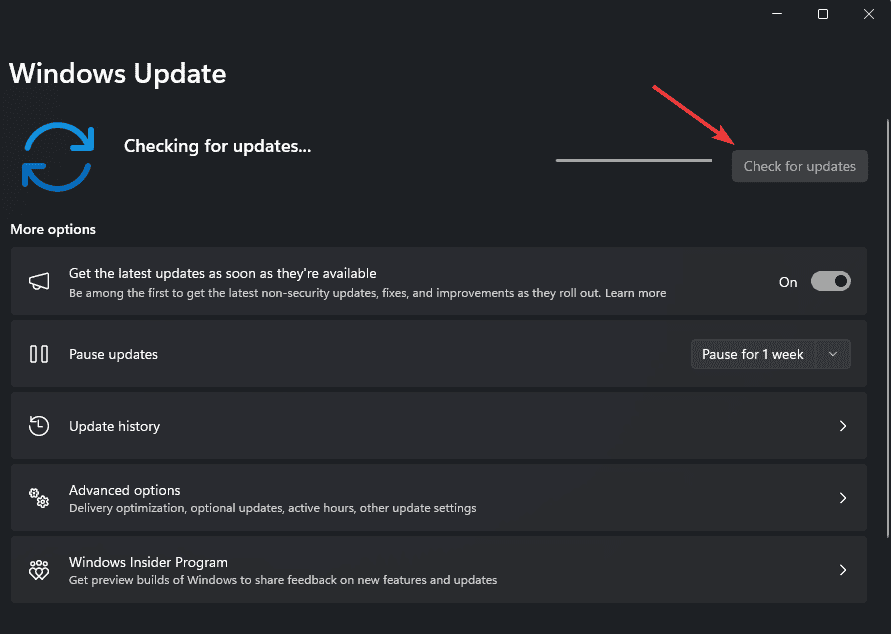
- Click Check for updates and install any available updates.
- Restart your computer after the update process is complete.
6. Disable and Re-enable the Graphics Card
- Press the Win + X key combination, then select Device Manager.
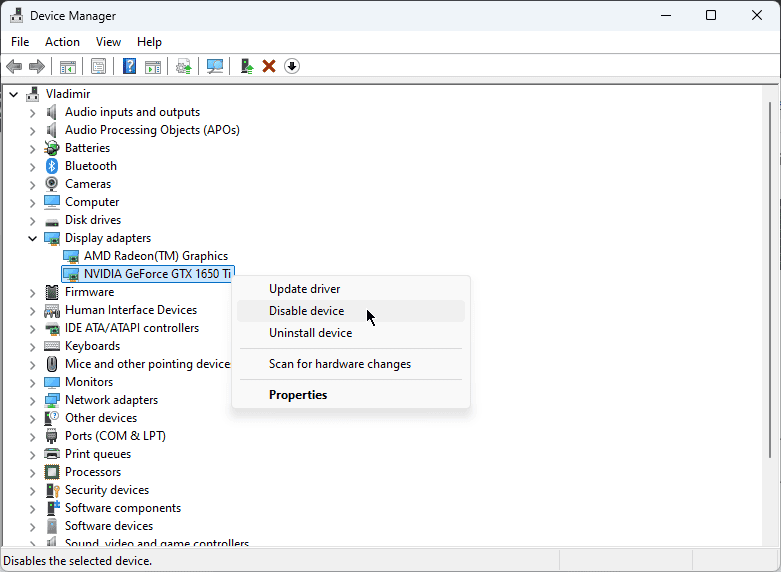
- Expand Display adapters.
- Right-click on your graphics card and select Disable device.
- Wait a few seconds, then right-click again and select Enable device.
7. Perform a Clean Boot
A clean boot can help identify if third-party applications interfere with your display. Follow these steps to perform it.
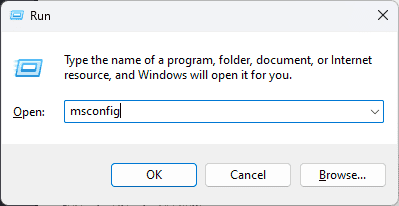
- Press Win + R, type msconfig, and press Enter.
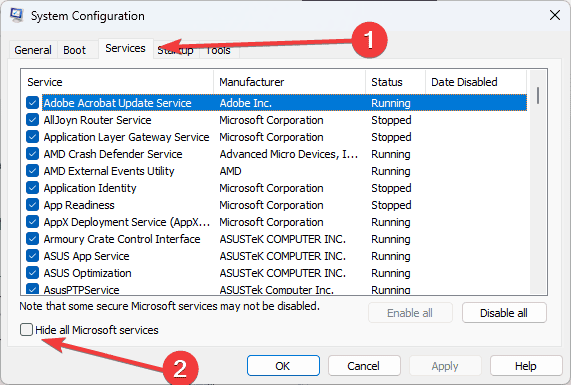
- Go to the Services tab and check Hide all Microsoft services.
- Click Disable all.
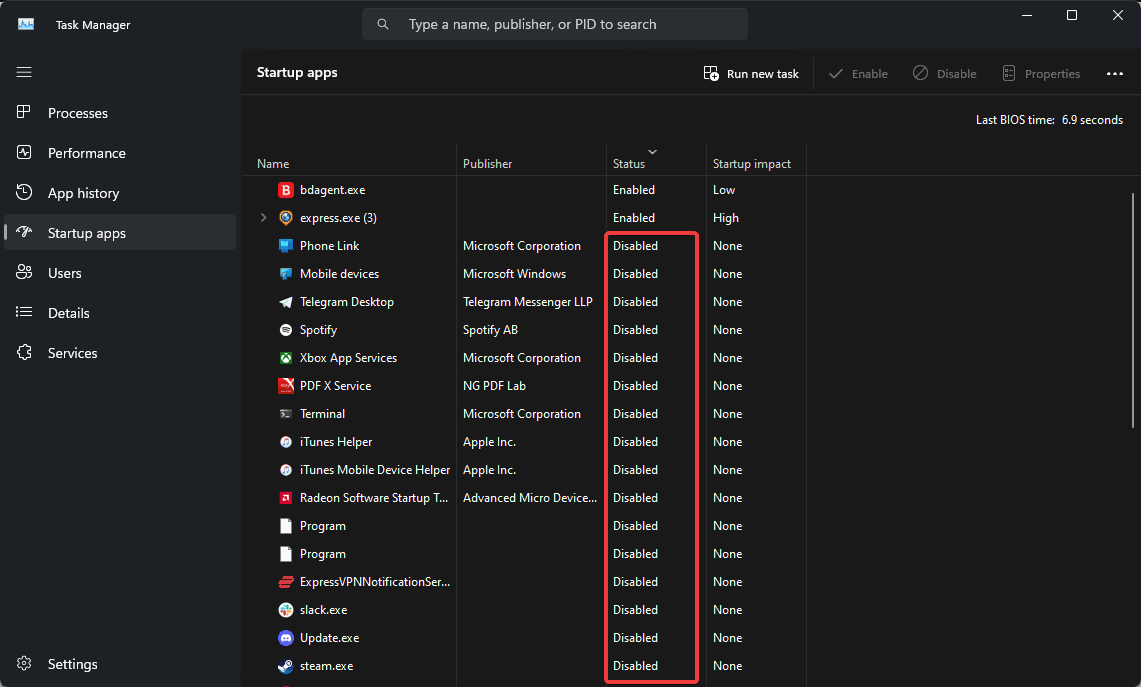
- Go to the Startup tab and click Open Task Manager.
- Disable all startup items.
- Restart your computer and check if the issue persists.
If your second monitor is still undetected on Windows 11, consider contacting Microsoft Support or your computer manufacturer for further assistance.
Always back up your important data before making a significant system change. Moreover, if you keep having problems with your second monitor turning on and off repeatedly, we can help out.
Read our disclosure page to find out how can you help MSPoweruser sustain the editorial team Read more


User forum
0 messages