Kernel Power Error 41: 8 Easy Ways to Fix It
Kernel Power Error 41 is a Windows event triggered by unexpected system shutdowns or restarts.
Some of the reasons are usually inadequate power supply for increased hardware demands, overheating issues, and faulty or outdated drivers. Moreover, problematic power settings can also lead to this error.
In this guide, I’ll walk you through the top fixes to help you overcome this issue and get your PC back to working normally.
But before we jump into the fixes make sure you:
- Check your PC’s hardware – Listen for strange noises and replace faulty hardware, like a damaged hard drive or defective RAM. If experiencing random restarts, check for overheating or overclocking, and dust on the RAM. Also ensure correct connections for RAM, wires, GPU, and motherboard power connectors.
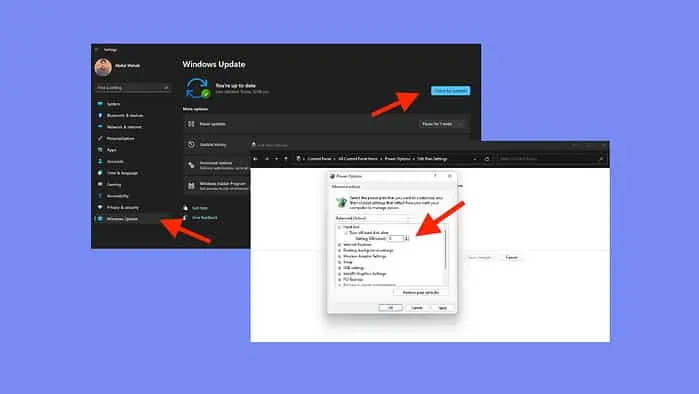
- Install pending Windows updates – Go to Settings>Windows Update>Check for Updates>Install all. Restart your system to apply them.
If those didn’t help, let’s move on to the more advanced solutions:
1. Change Your PC’s Power Settings
To fix the kernel-power event ID 41 error in Windows 10, adjust your Power Options:
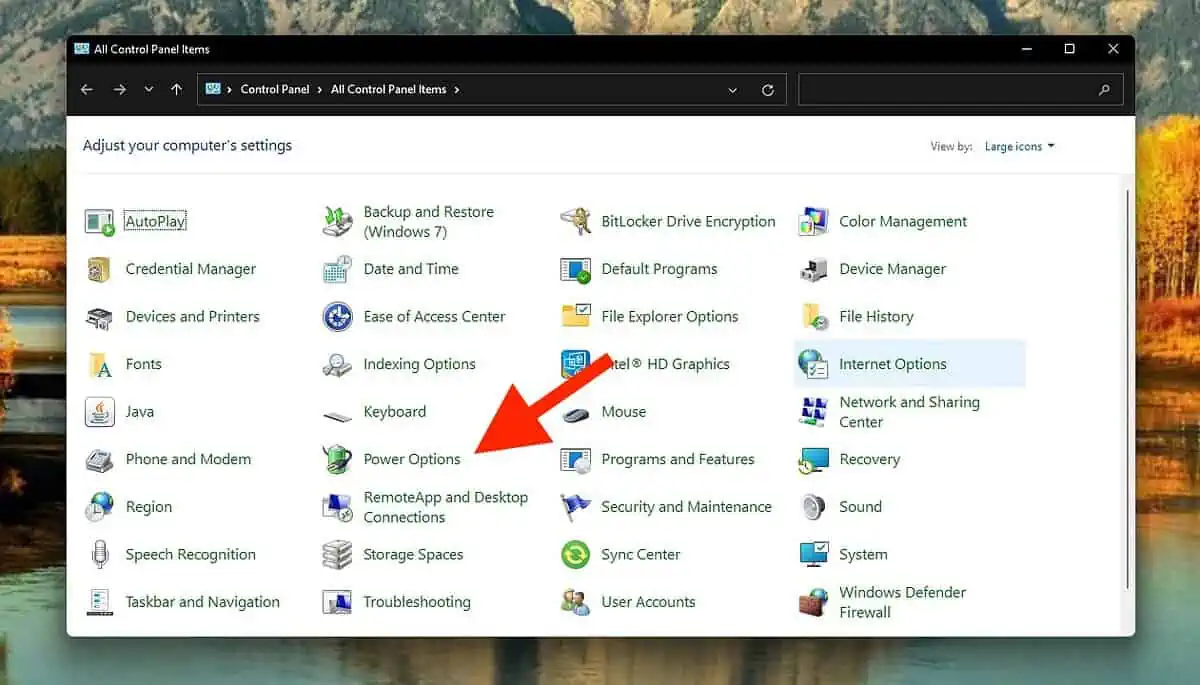
- Search and open the Control Panel.
- Click on Power Options.
- Next to your current plan, click “Change plan settings.”
- Then, select “Change advanced power settings.”
- Expand “Hard disk” and “Turn off hard disk after,” set it to “Never” or input 0.
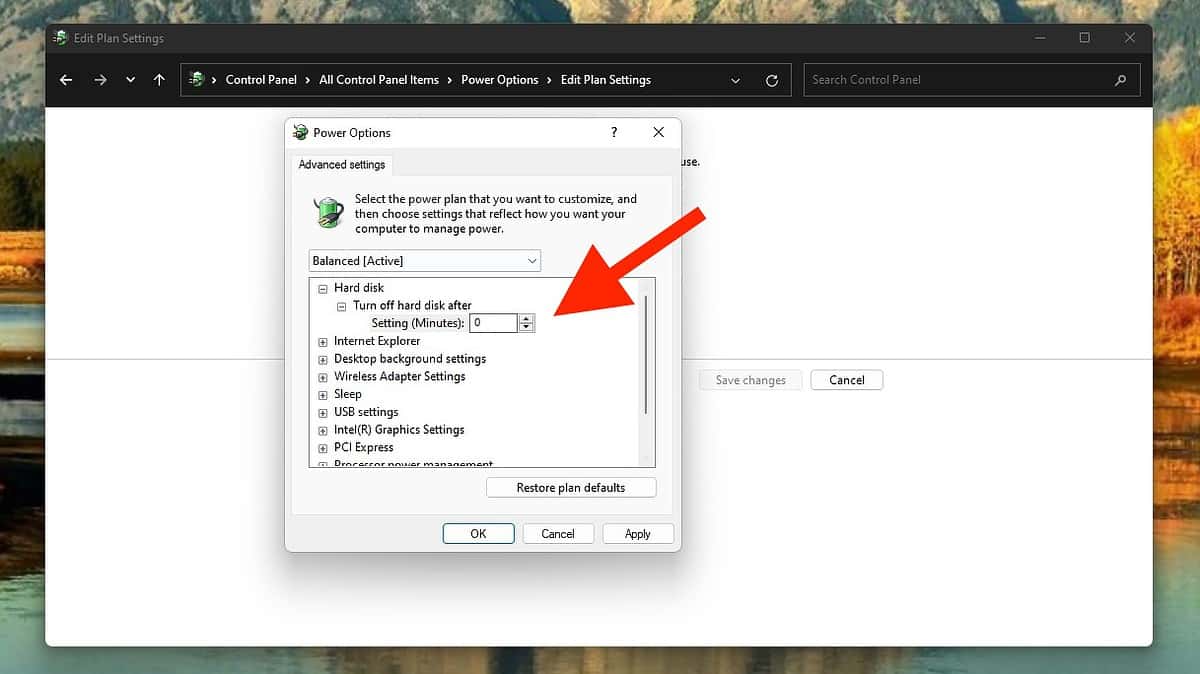
- Expand “Sleep” and “Sleep after,” set it to “Never” or input 0.
- Click Apply and OK to save changes.
- Reboot your computer to check if the error persists.
2. Disable Fast Startup
The Kernel Power error 41 on Windows can also be caused by the Fast Startup feature, designed to speed up boot times.
- Open Power Options and select “Choose what the power button does.”
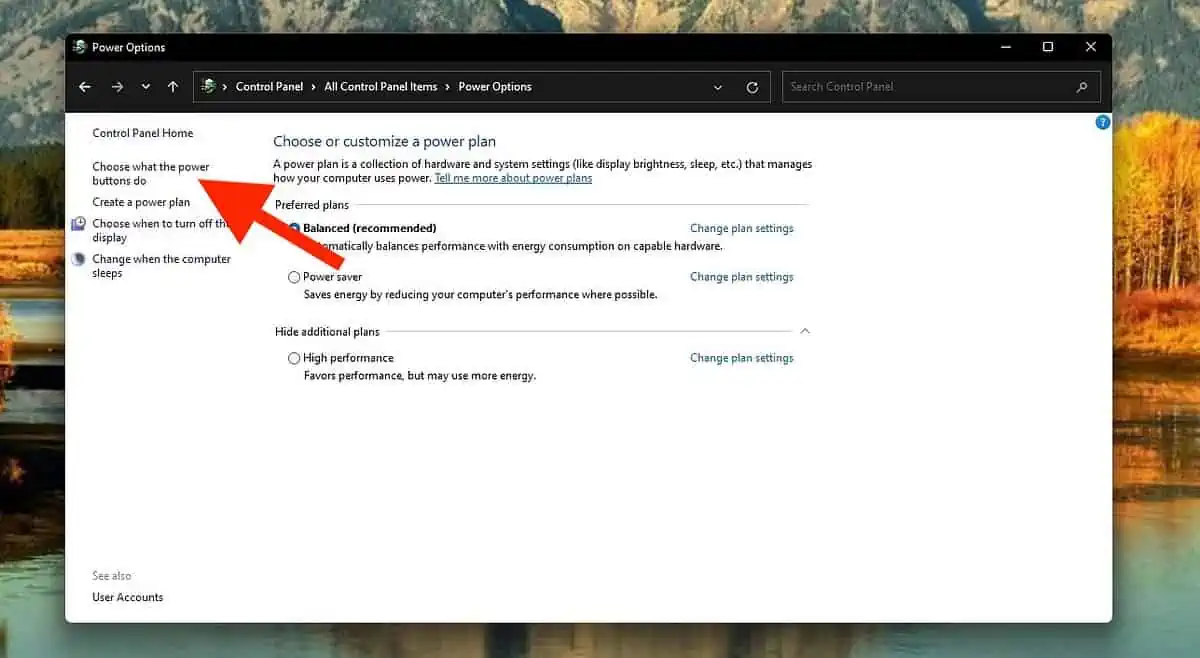
- Click “Change settings that are currently unavailable.”
- In the Shutdown settings section, uncheck “Turn on fast startup (recommended)” and click “Save changes.“

Keep in mind that disabling this feature will slightly increase your computer’s boot time. It ensures a more thorough shutdown and prevents unexpected restarts.
3. Update All Drivers
The kernel power event ID 41 error can also be due to outdated drivers. Device drivers play an important role in instructing your system on how to interact with specific hardware.
While Windows updates typically include driver updates, some may remain outdated.
- Right-click the Start button and select Device Manager.
- In Device Manager, expand the relevant device, right-click, and choose “Update driver.”

- Opt for “Search automatically for updated driver software.“
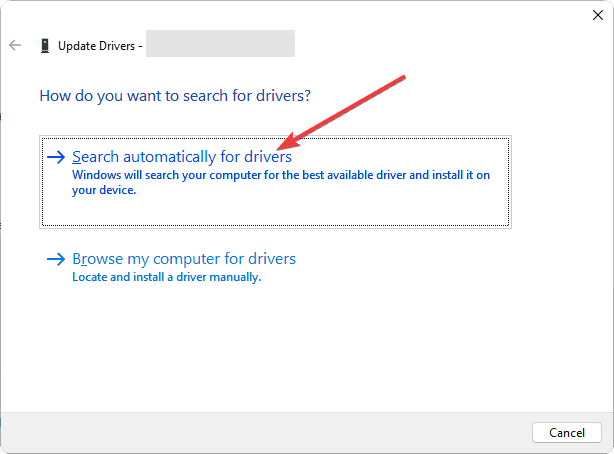
- Follow on-screen prompts to complete the driver update.
- After updating all drivers, restart your computer to check if the error persists.
If you’re looking for other options for updating your drivers, I recommend a good driver updater, as it can automatically find the latest versions for all outdated drivers from your device.
4. Disable Auto-restart
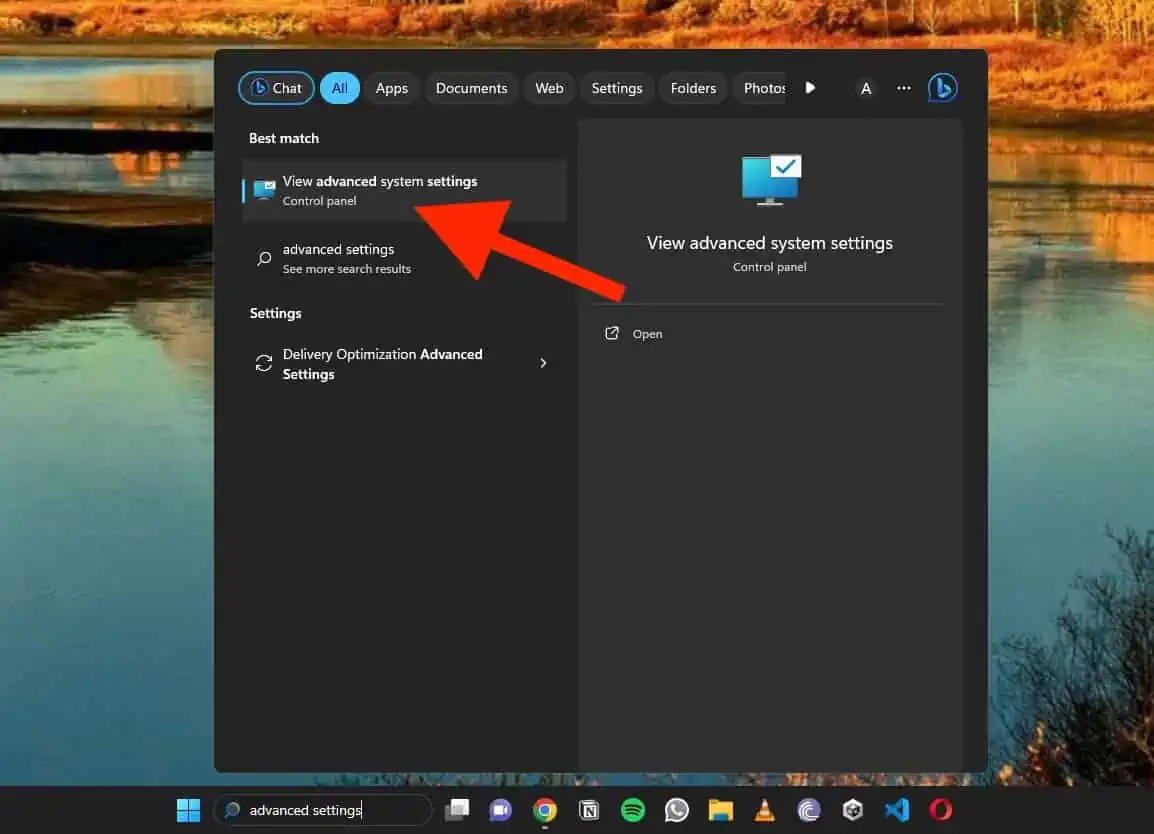
- Type “Advanced settings” in the Search bar and select “View advanced system settings.”
- In the System Properties window, go to the Advanced tab.
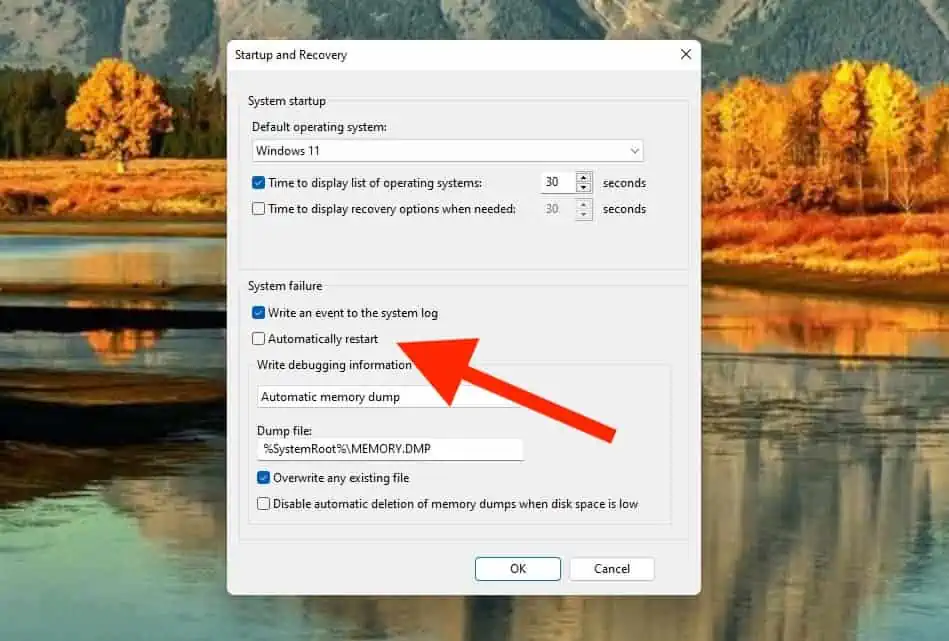
- Click “Settings” under the Startup and Recovery section.
- Uncheck the “Automatically restart” box and click OK to confirm changes.
- Restart your computer to see if the Kernel Power error 41 is resolved.
By turning off Auto-restart, you give yourself more control, avoiding abrupt system restarts and potentially resolving the issue without any hardware adjustments.
5. Repair Corrupted System Files
If you’re still experiencing issues despite trying other fixes, corrupted system files might be the culprit. To address this, you can use the System File Checker (SFC) tool.
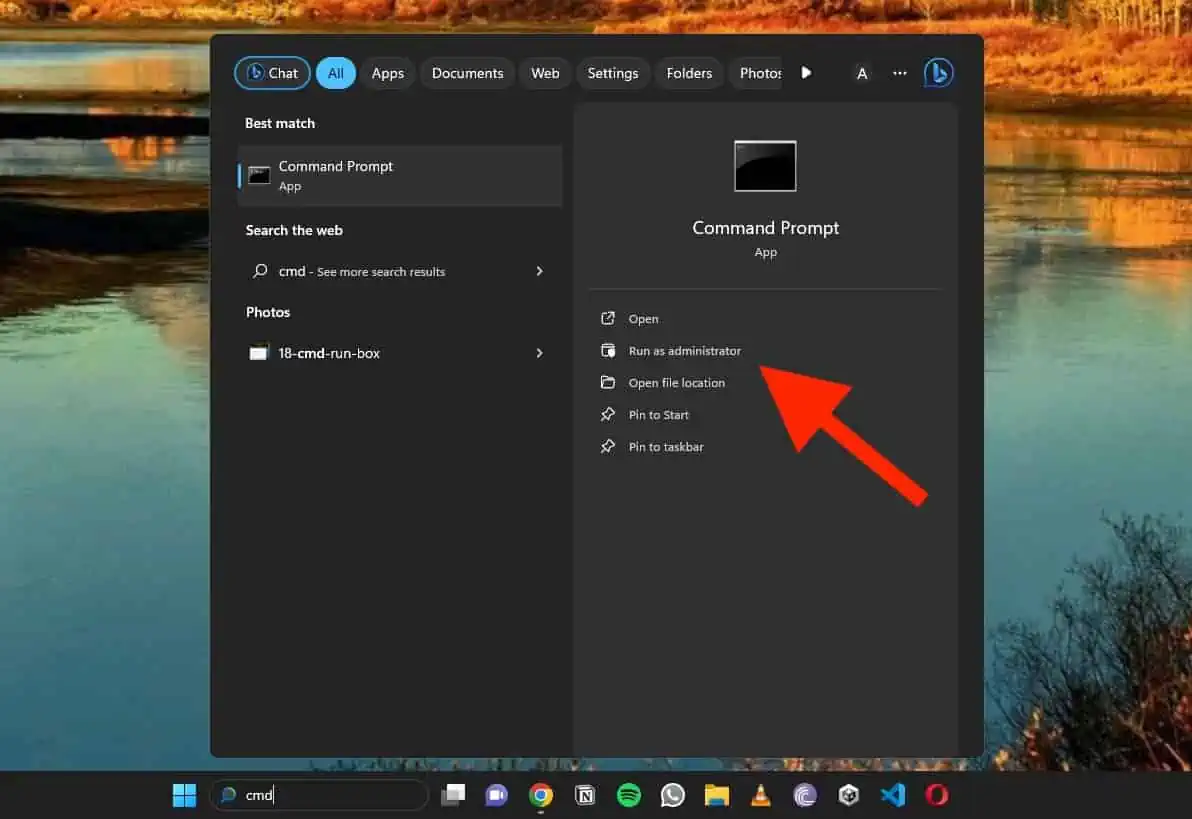
- Press the Windows key and type “Command Prompt” or “cmd” in the search bar.
- Right-click on Command Prompt in the search results and choose “Run as administrator” to open it with administrative privileges.
- In the Command Prompt window, type “sfc /scannow” and press Enter.

- The tool will start scanning and may take some time. It’ll identify and attempt to repair any corrupted or missing system files.
- Once the scan is complete, review the results.
6. Update BIOS
An outdated BIOS can also lead to the Kernel Power error 41. Update your BIOS to the latest version with caution:
- Ensure your PC won’t shut down mid-update as a sudden power loss can damage your system.
- Identify your motherboard’s make and model, consulting your user manual for guidance.
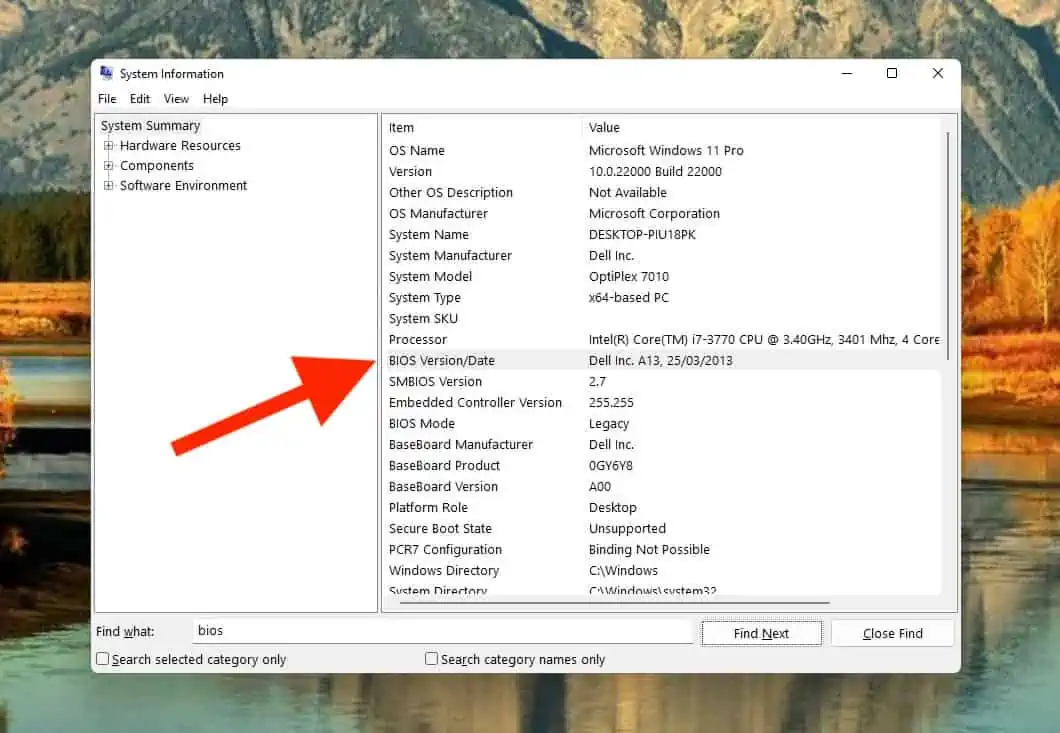
- Type ‘System Information‘ in the Windows Search Box to find your current BIOS version.
- Note down the BIOS version from the System Summary.
- Visit the official website of your motherboard’s manufacturer.
- Follow the provided instructions for a safe BIOS update.
7. Disable Overclocking in BIOS
- Reboot your system and turn it off during the Windows logo display for three consecutive cycles. This triggers the Automatic Repair environment.
- In Automatic Repair, navigate to Advanced options > Troubleshoot > Advanced options.
- Click UEFI Firmware Settings and choose Restart.
- The system should reboot into BIOS mode.
- In BIOS settings, find Advanced > Performance > Overclocking.
- Disable overclocking, save BIOS changes, and reboot your system.
- Check if the error persists after disabling overclocking.
8. Increase the CPU Core Voltage
Sometimes, the Kernel Power Error 41 is due to insufficient CPU power. In such a case, you can try increasing the CPU core voltage. Here’s a straightforward way to use a CPU overclocking app, like MSI Afterburner:
- Open MSI Afterburner and go to the Settings menu.
- Look for options related to CPU voltage adjustments.
- Adjust the CPU voltage settings as needed.
Remember to be cautious when performing this procedure as it carries some risk. Incorrect adjustments can potentially damage your PC components. I only recommend this method to those familiar with overclocking and system settings.
You may also be interested in:
And that’s it! Now you know how to get rid of Kernel Power Error 41. In most cases, changing your PC’s power settings and updating your drivers does the trick.
Which method are you going to try first? Let me know!
Read our disclosure page to find out how can you help MSPoweruser sustain the editorial team Read more


Improve this guide


User forum
0 messages