How to run a JAR file on Windows
4 min. read
Published on
Read our disclosure page to find out how can you help MSPoweruser sustain the editorial team Read more

Do you need to run a Java Archive (JAR) file on your device and can’t get it to work? You must have encountered different issues causing this. Resolving this, nonetheless, should be easy. Read on, and we’ll show you some of the most helpful tips and procedures you can try to run a JAR file on Windows effectively.
Check your device for Java. Ensure your device has Java, which is needed to run JAR files on Windows. You have the option between Java JDK (Java Development) or JRE (Java Runtime Environment). If you already have the latter, you can still run a Java file on your machine. Yet, many choose to have JDK due to the convenience it offers and since it has everything JRE has alongside other tools like compilers and debuggers. Yet, remember that without any of the two, running Java will not be possible. You will also encounter a problem if Java is not the default program for your .jar files.
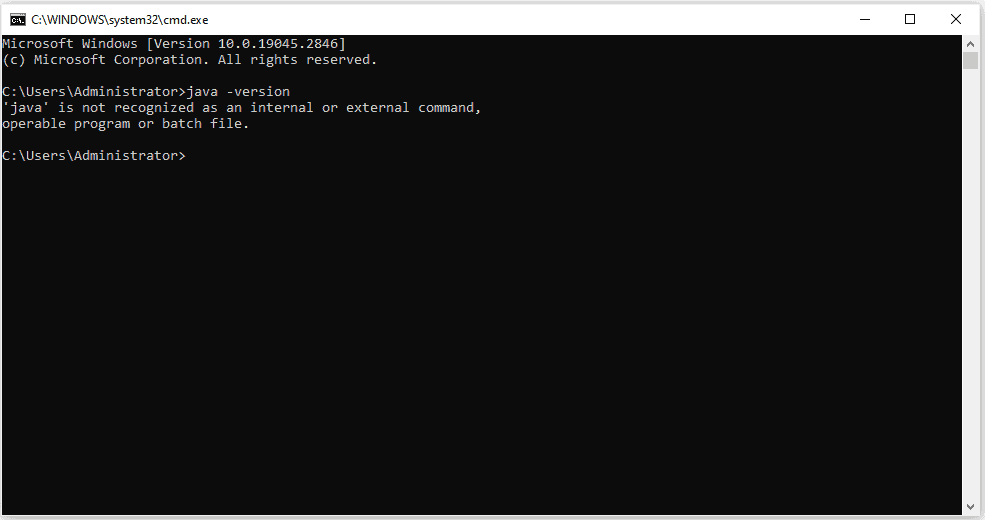
So to check if you have Java on your device, launch your Command Prompt (you can type it in your Start search bar and type cmd or use the Windows + R shortcut). Once the Command Prompt is open, type java -version and press Enter.
If you have Java installed on your PC, the version of Java will be displayed. If not, you’ll get a message that reads: ‘java’ is not recognized as an internal or external command, operable program or batch file.
To download Java, go to its download page, where you can choose among the different versions available. Once downloaded, click the installer and follow the instructions for installation. Restart your PC after this.
Make Java the default for your .jar files. Before this step, you might notice that your Java file looks nothing like a Java file. Instead of a Java icon, it might appear as a blank or a WinRAR. With this, it is time to set it as the default for running your .jar files.
To start, open your File Explorer and go to Options under the View tab. From the dropdown, select Change folder and search options. This will open a small window where you need to go to the View tab. From the list there, look for Hide extensions for known file types. Click Apply, then the OK button. This should add the .jar extension to the file name of your Java file.
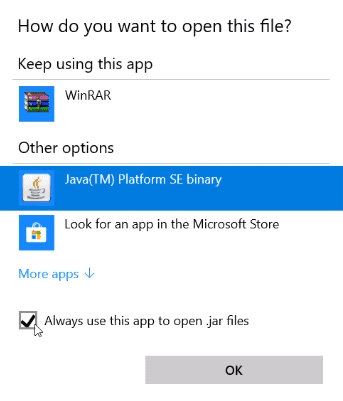
Next, right-click on the Java file and select the Open with option. You might immediately see the Java(TM) Platform SE Binary from the list of options, but select Choose another app instead. This will allow you to access the option to set Java(TM) Platform SE Binary as the default for running Java in your system. There, choose it and check the Always use this app to open .jar files. Click OK, and your .jar file should now appear with a Java icon.
Java file not working when double-clicked. If your .jar file still fails to launch when double-clicked, there is another way you can resolve this issue.
Go to the location where your .jar file is located. In that location, right-click on the black space and select New. Choose Text Document. Once the text document is created, rename it to any name you want, but change the file extension from .txt to .bat. Click Yes to confirm the action when a prompt or warning appears. Again, ensure that the .bat file you created is in the SAME LOCATION where your .jar file is located.
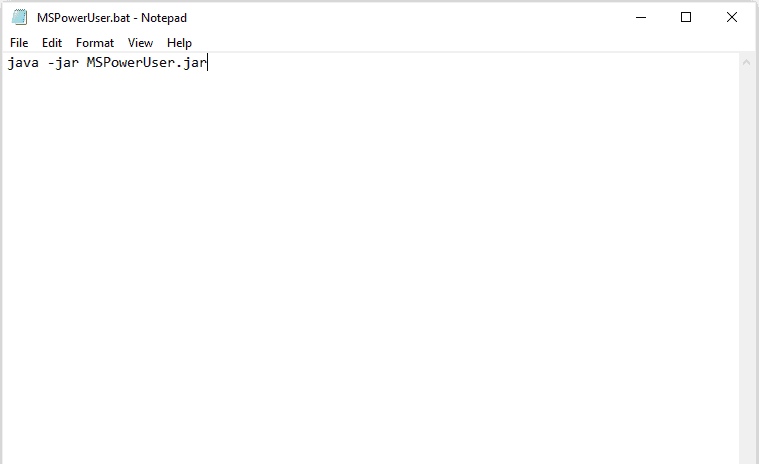
Once the text document is turned into a Windows batch file, right-click on it and select Edit. In the blank note that will appear, type java -jar (file name including the .jar extension). For example: java -jar MSPowerUser.jar. To prevent errors, just copy the file name of the file. Once pasted, save and close the file. After this, instead of clicking the .jar file, you will now use the .bat file to launch the Java application.


User forum
3 messages