Fylm AI Review: AI Color Correction From Your Browser
This Fylm AI review will give you a complete picture of this potent in-browser color editor. It offers a blend of advanced options for experts and AI-powered features for beginners.
So, let’s discover what all the fuss is about and how it can help you.
What Is Fylm AI?
Fylm AI is a cloud-based tool for color grading. It has an intuitive editor, standard color grading tools, and some interesting AI features. What sets it apart from traditional tools is that you can run it on a low-end PC.
Up until now, processing images required extensive knowledge and hardware resources. Let’s see how Fylm AI changed this from the bottom up!
Features
Since AI features are the core of this tool and speed up the workflow, I’ll focus on them. To make it easier for you, I also included samples for each feature so you can see immediately what result you can expect.
I’ll use the image below to test all available options.

Image by Julia Borodulina from Pixabay
Please note: Some of the samples might lose quality due to the optimization settings on this page. All of the outputs from Fylm AI were of equal quality as the input.
Neural Tone
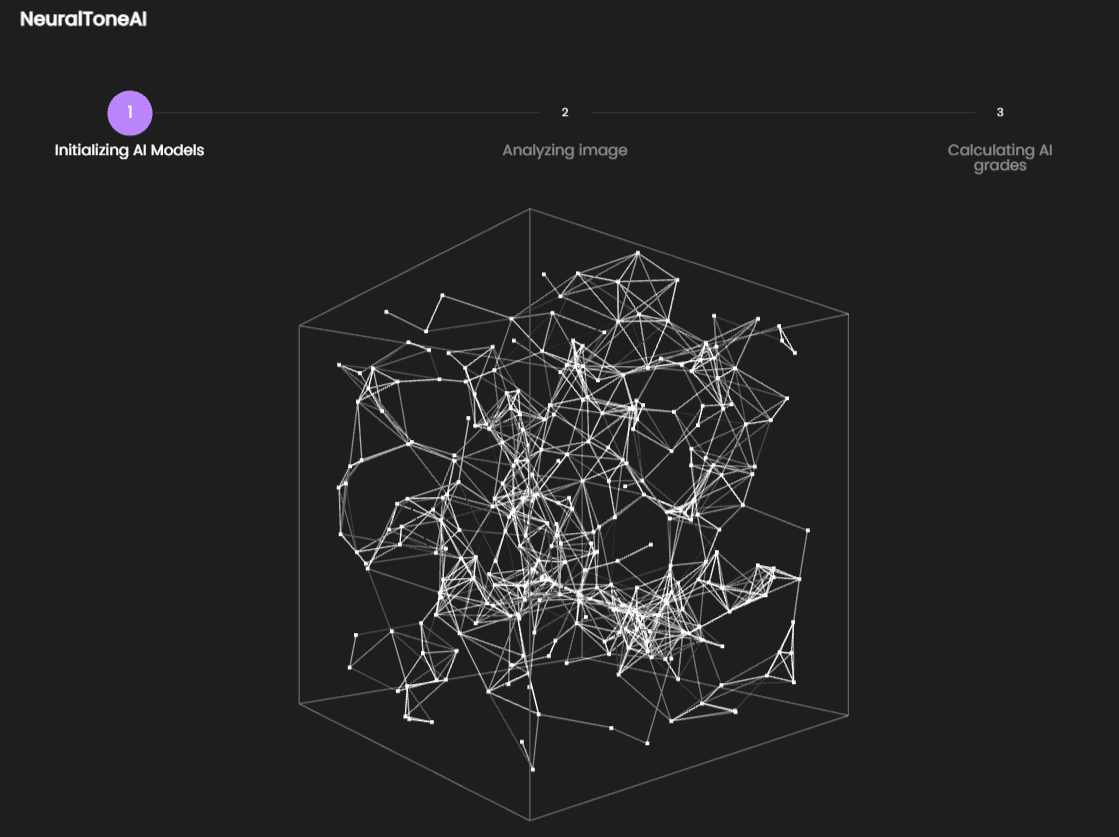
Once you upload your initial image, you only have to let the neural network find suitable models.
Unlike general-purpose image tools, like Fotor, Fylm AI grants you a high level of control. Although AI is steering the general creative direction, manual settings are still available.
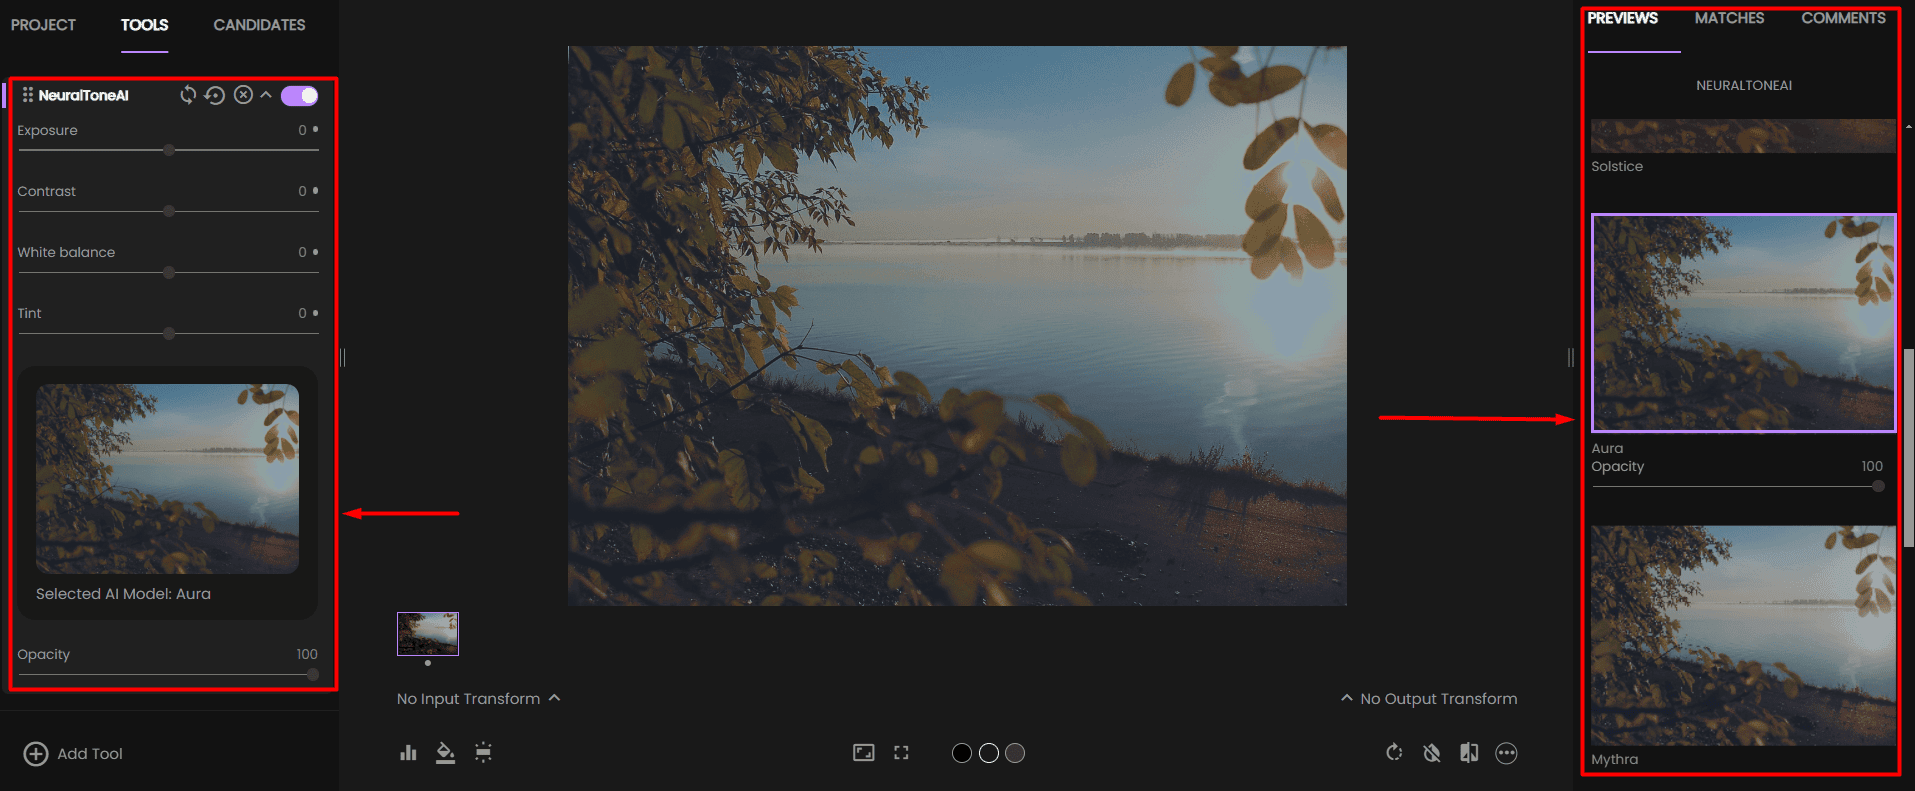
Once the neural network finishes processing, it’ll propose several previews. From here, you can select a suitable one and tweak it by adjusting:
- Opacity
- Exposure
- Contrast
- White balance
- Tint.
The initial assumption is that AI won’t perfect it on the first try. However, it helps you experiment with potential outputs.
This is how Neural Tone changed my original sample:

I’ll include steps to achieve similar results in the tutorial section of this Fylm AI review.
For the majority of beginner users, this will be more than enough. However, all the tools are organized in a layer-style sidebar so that you can combine them.
AI Tools
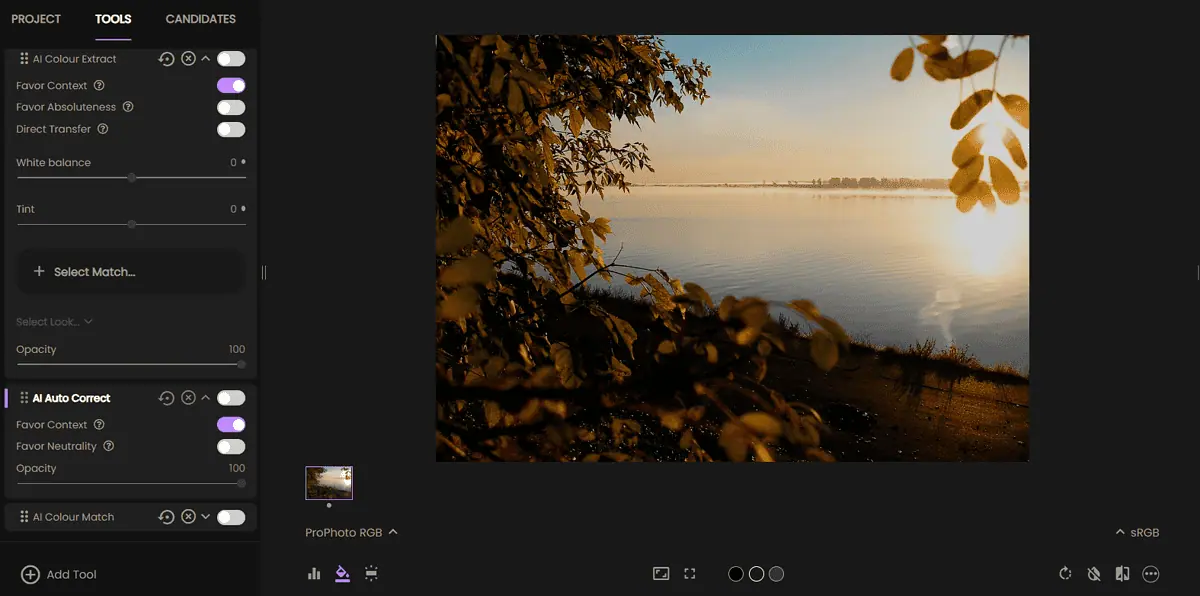
Next in the line are:
- AI Color Extract
- AI Auto Correct
- AI Color Match.
Besides the AI model, which runs in the backend, what connects them all is space for automatization.
Let’s take AI Color Extract/Match as an example. It allows you to provide a reference image, either a processed or raw one. What’s important is that you’ll want to include the best one from your collection (speaking about the colors).
From now on, all the other pictures you process with this option will have (almost) identical color schemes. If you’re a photographer, you know what that means!
No more manual color correction. Make a few references and let AI handle the rest.
Tools like Photoshop offer even a faster process. The problem is that you don’t get an overview of the workflow, which means sacrificing the quality of the results. In other words, if you want to balance AI automatization and your skillful eye, use Fylm AI.
Regardless of the input format, previously applied procedures, and lighting, you can always use the AI Auto Correct option. It’s ultra simple and has the potential to work with smaller projects.
Below is the sample edited by the AI Auto Correct feature of Fylm AI:

It has a setting for favoring context or neutrality. Regardless, you can always change the opacity and get what you think is a perfect result.
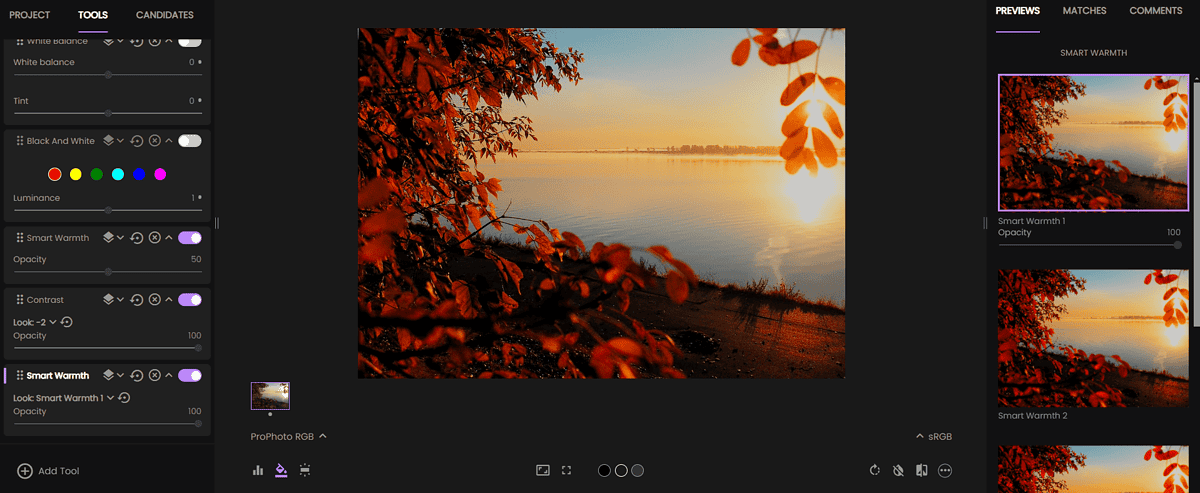
Magic Mode
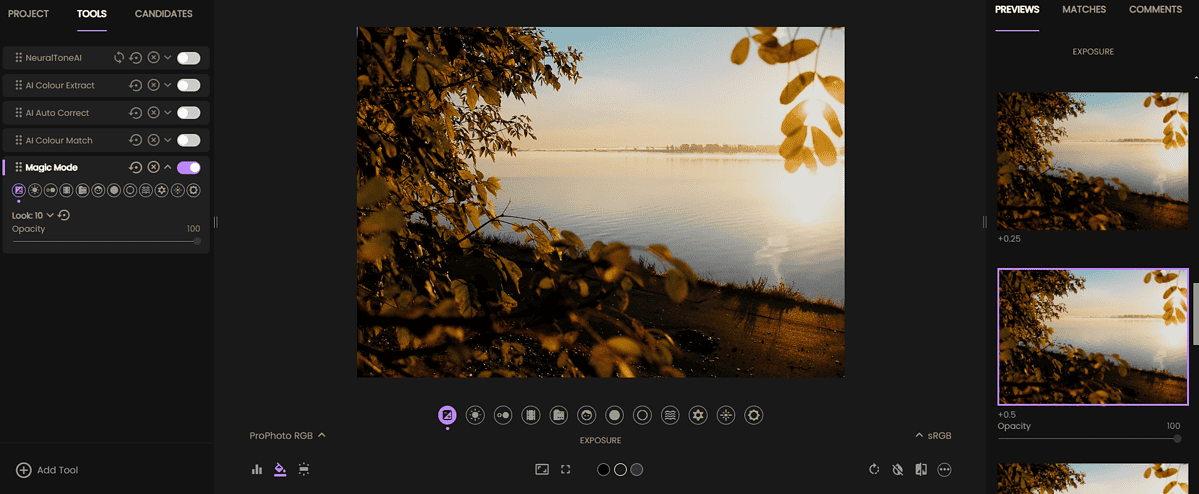
The easiest way to use Fylm AI is through the Magic Mode feature. Once enabled, you’ll have options for adjusting dozens of looks and tones you want to apply to your input.
Moreover, Magic Mode allows you to set the opacity for every setting, creating a perfect mixture for your image.
There are countless premade looks from which you can choose and experiment with. Once again, the flexibility to experiment while speeding up the process with AI-powered features puts Fylm AI ahead of competitors like ColorLab.
After applying Magic Mode, I got several outputs to choose from, so I downloaded this one:

It’s a simple yet effective way to get color grading, even if you’re a beginner!
Intuitive Editor
I’ve said a lot about AI features, as they’re the platform’s core, but this Fylm review can’t be complete without focusing on the editor.
Organized into three main sections, it offers a complete overview of your project:
- Left Sidebar
- Project
- Tools
- Candidates
- Main Workspace
- Tool-based settings
- Input transformation options
- File managing options
- Right Sidebar
- Previews
- Matches
- Comments.
Most of these are self-explanatory, but some are specific to Fylm AI. Candidates, for example, allow users to save a look they want to consider for the final output.
Matches, on the other hand, allow for seamless AI extraction and matching. Whenever you like the colors of what you created, you can save it and use it later.
Unlike Fotor (a popular multipurpose photo editor), Fylm AI has advanced collaboration features.
You can work with your teammates in the Comments section. Most importantly, the collaboration is kept private so you can safely complete your professional projects and partner with your team members.
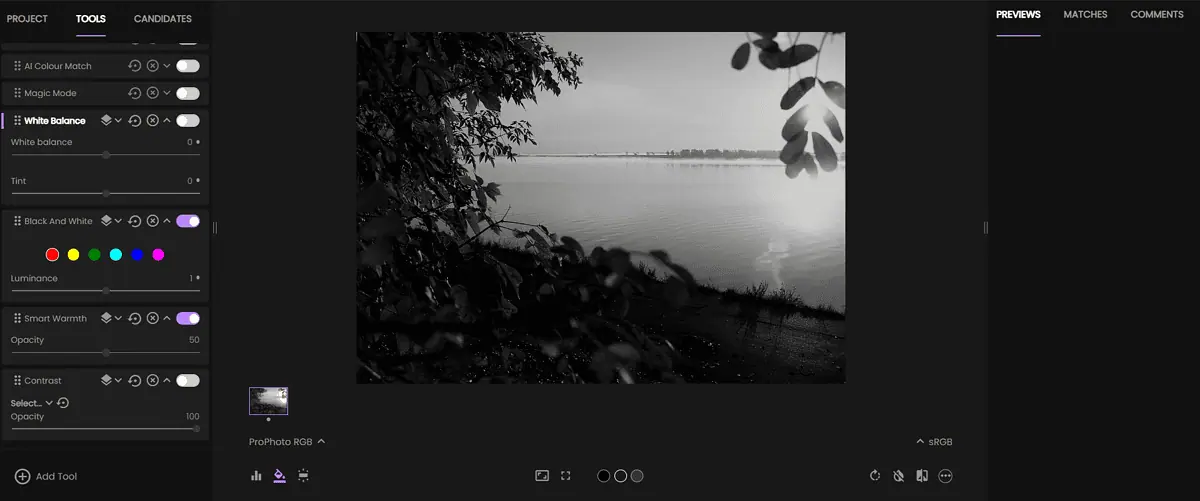
Manual Editing
Some users appreciate the AI-powered features but still want more control.
Although not primarily made for manual editing, you can use all the tools I mentioned previously. You just have to select the ones you usually use in your workflow.
Everything I said about layers, looks, and opacity stays relevant.
Should you use Fylm AI if you only want to do manual work? No, I don’t think it’s the best idea. However, it’s perfect if you want to use AI-powered features and make some manual adjustments.
After all of the AI-adjusted samples, here’s an unconventional one I made:

Premade LUTs
LUTs (LookUp tables) are a conventional method for achieving the same look on images and videos. They were standardized in every processing software long before the recent AI revolution.
Fylm AI can create LUTs you can use on other platforms. This is particularly convenient if a workflow includes a tool (Lightroom, Photoshop, etc.) that relies on such files.
This way, you and your teammates don’t have to change your work process.
How To Use Fylm AI?
Here’s a quick tutorial to get you started. I’ll demonstrate the Neural Tone feature:
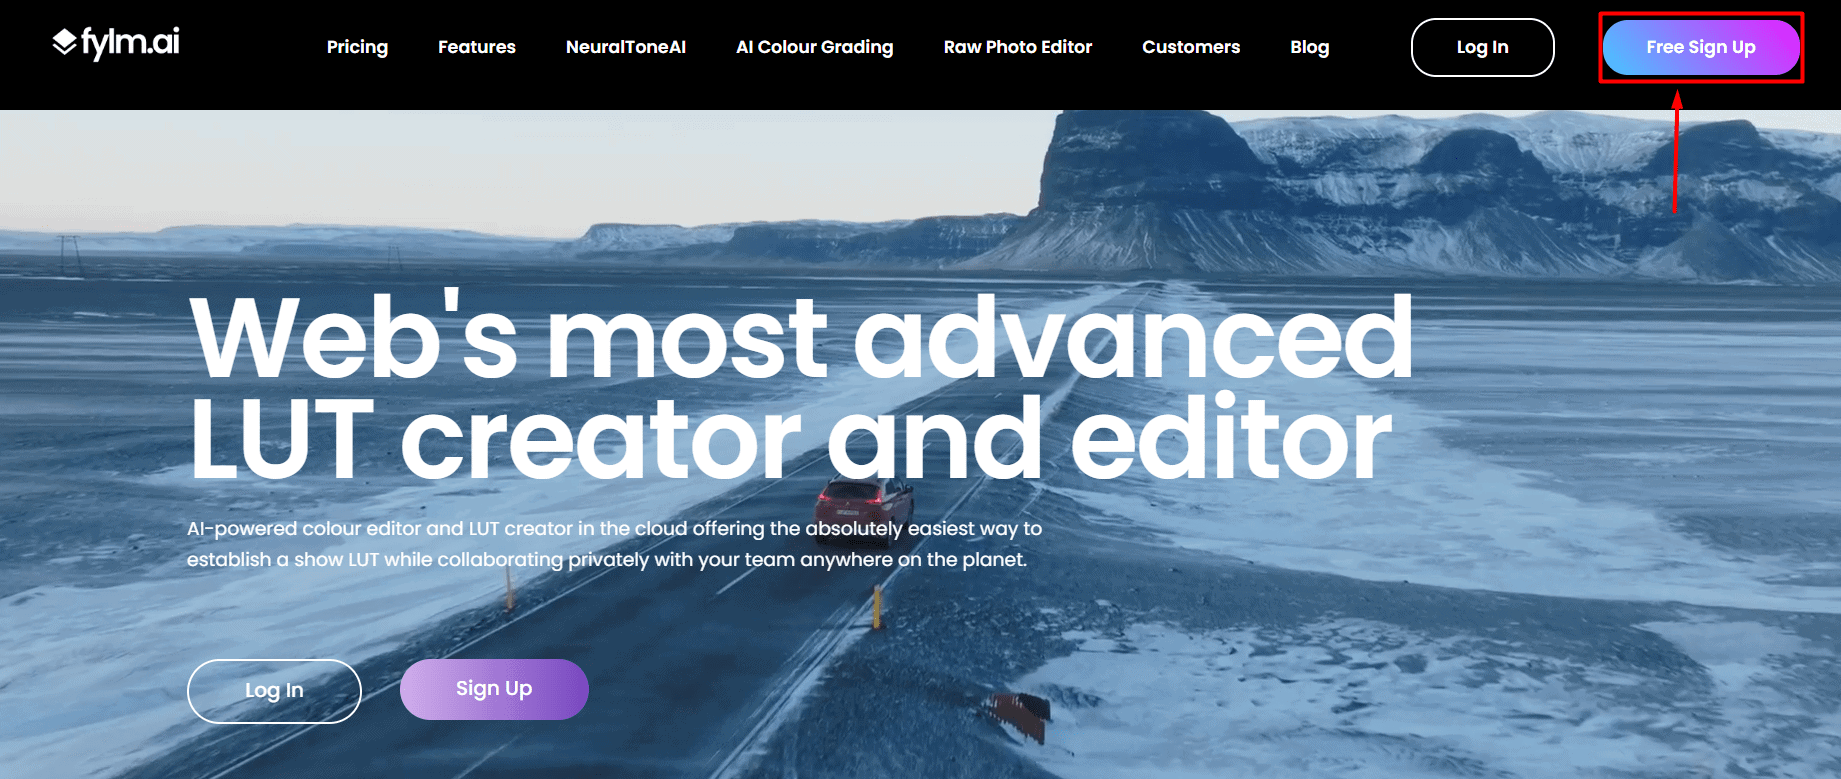
- Head to Fylm AI and hit the Free Sign Up button.
- Fill in the necessary details, agree to ToS, and hit the Sign Up button.
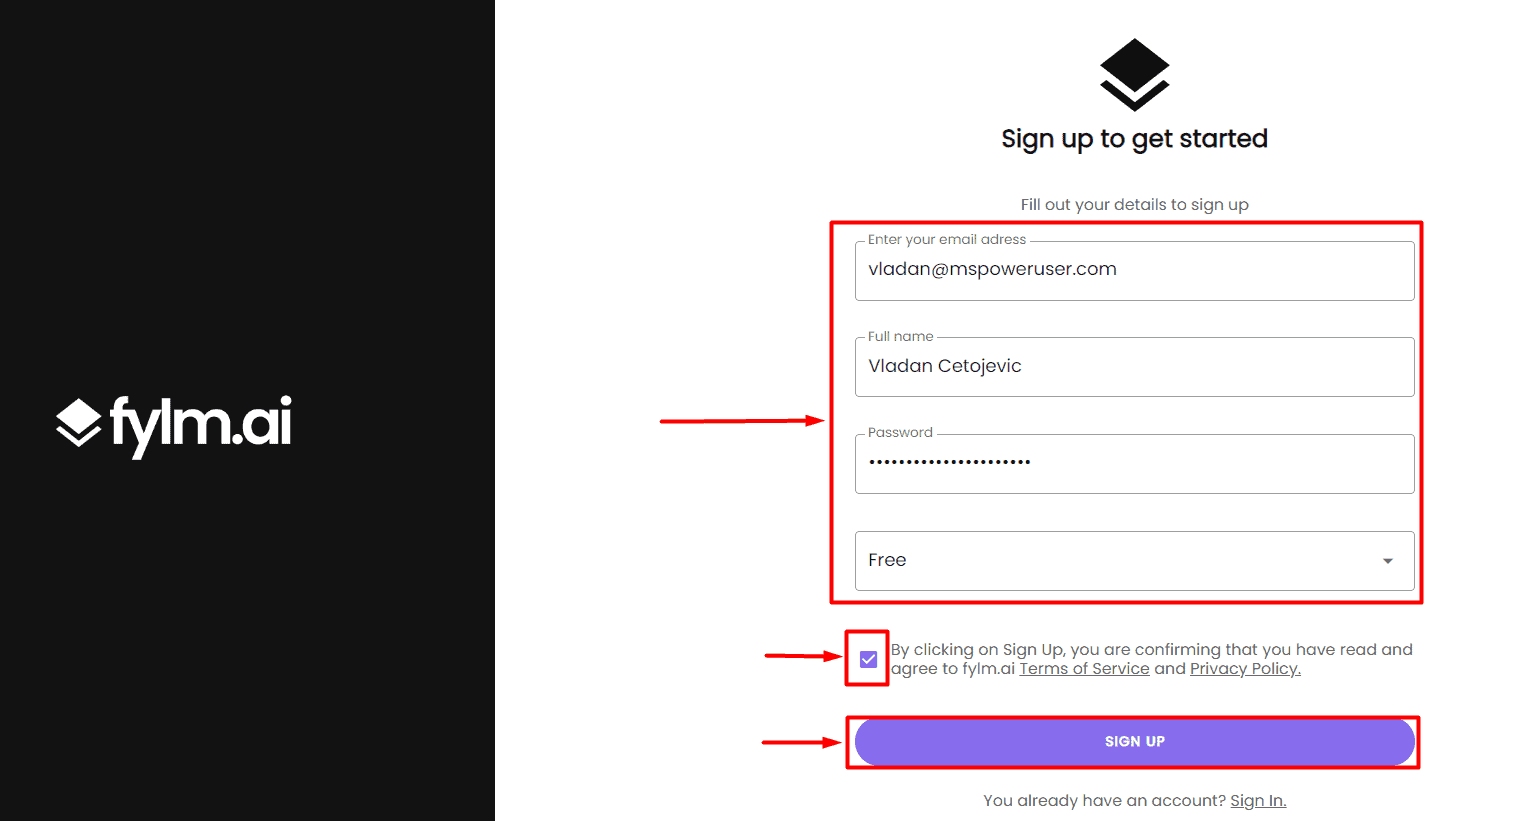
- Verify your account by clicking the link in your email inbox.
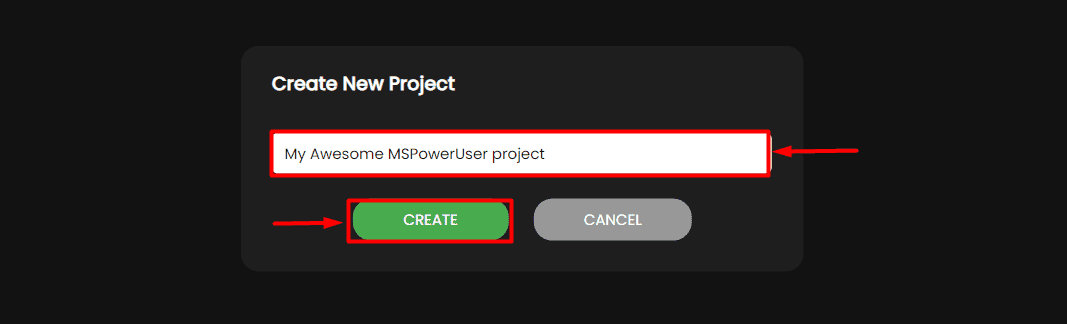
- Write the name of your first project and hit Create.
- Click on the Upload File button to upload your image input.
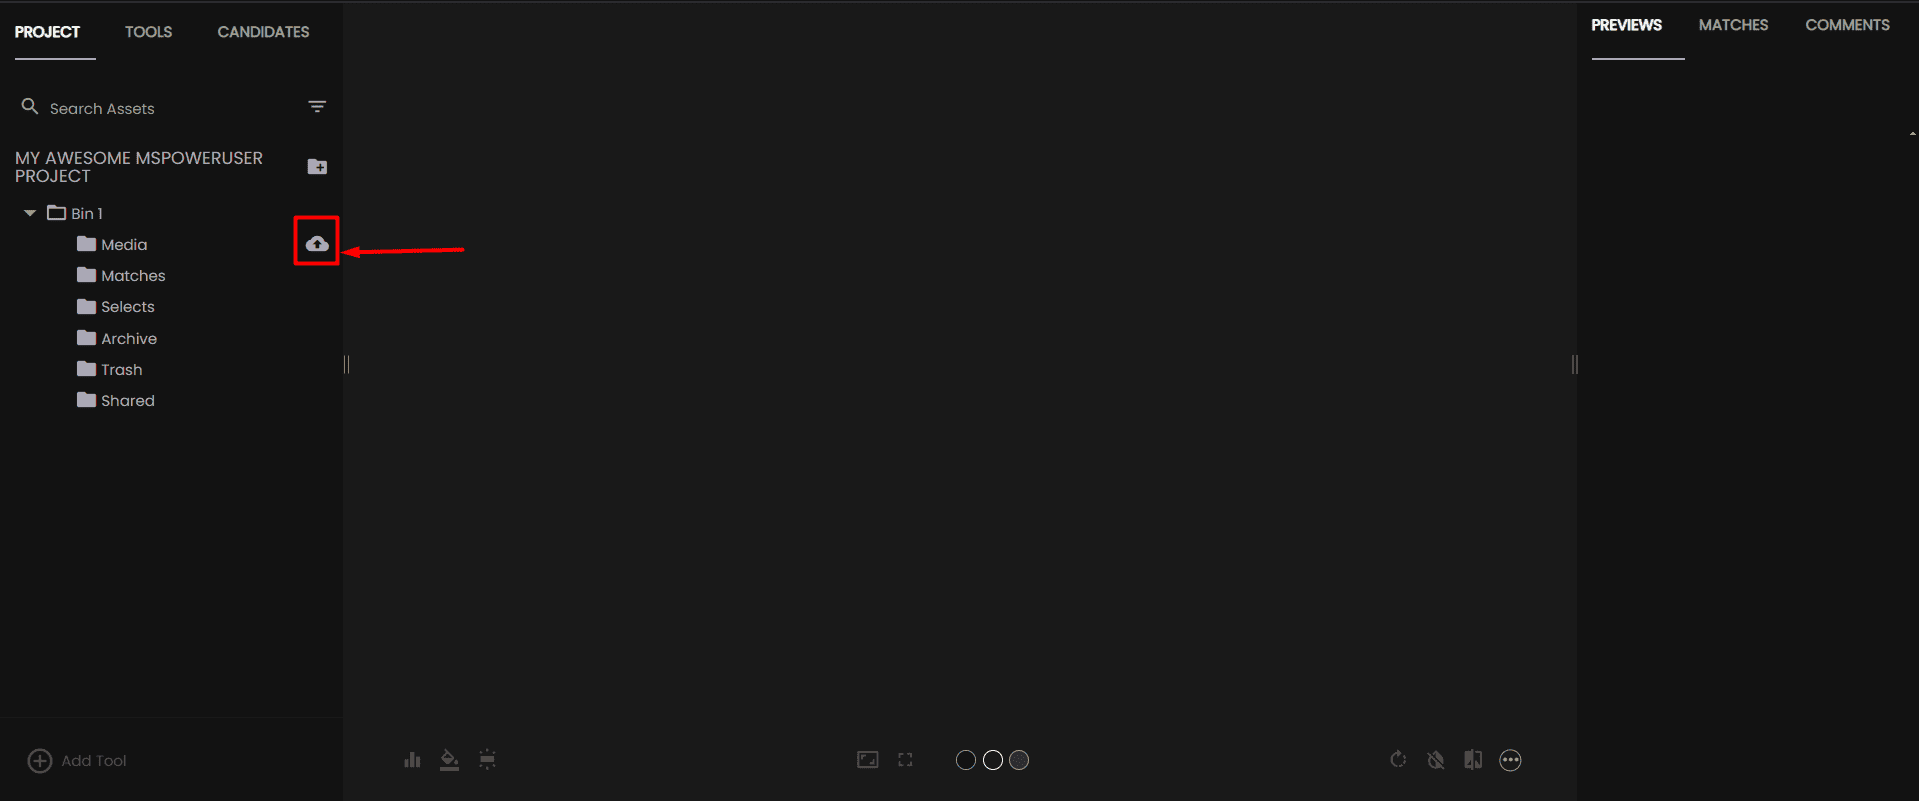
- Click on the Add Tool button.
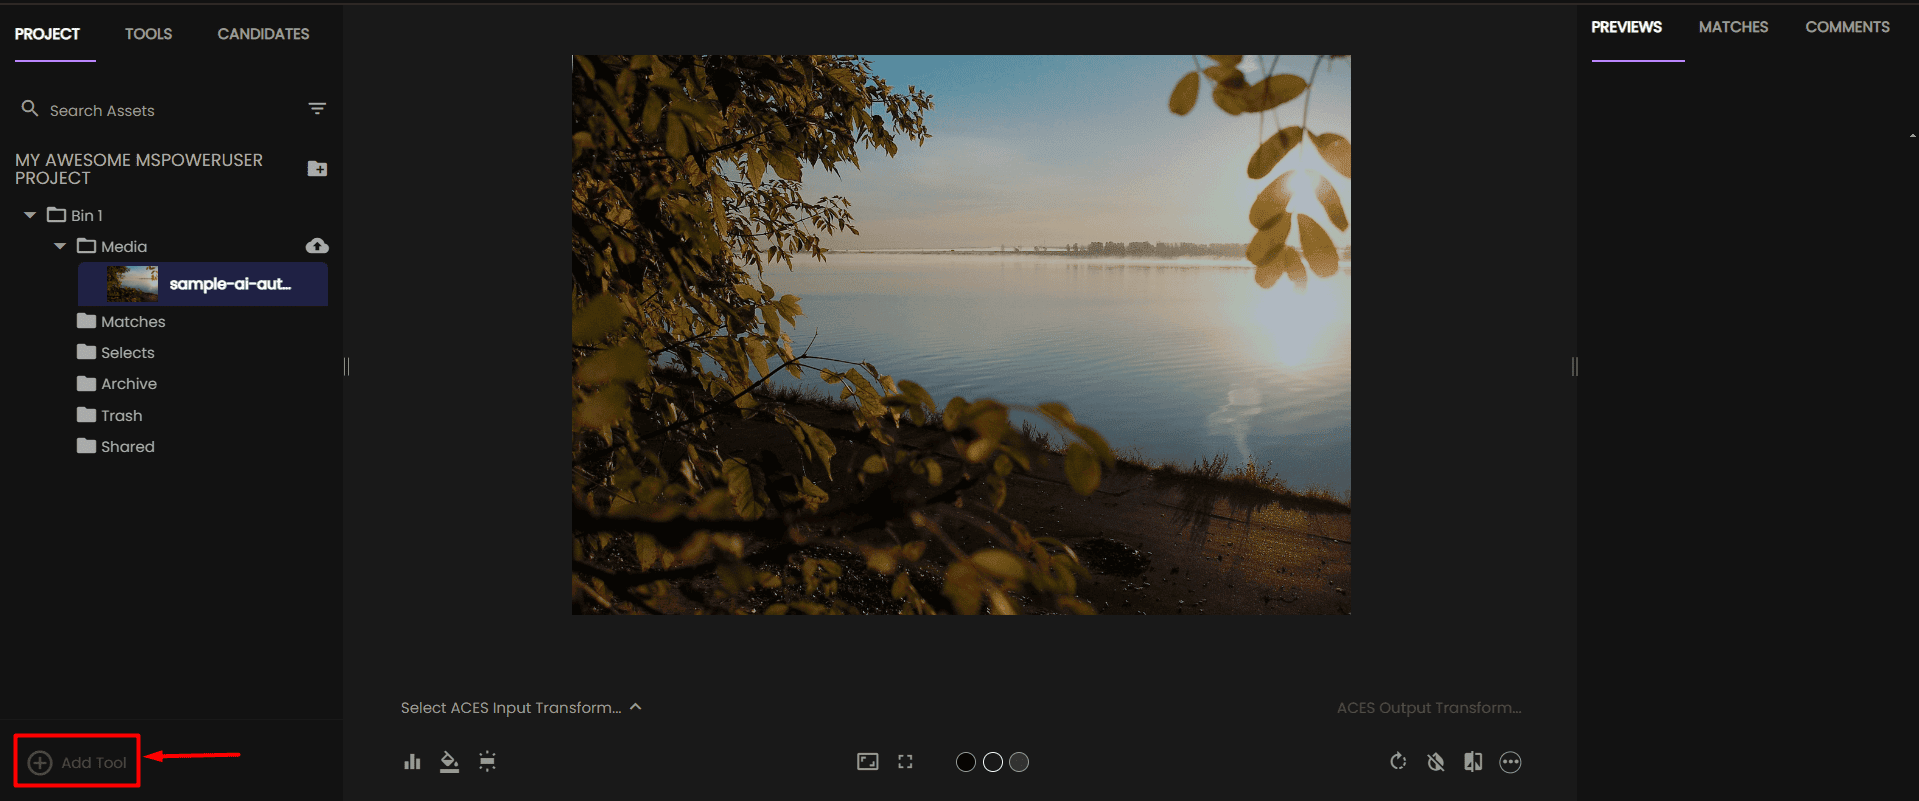
- Select any of the available tools.
As promised, I’ll use the NeuralToneAI.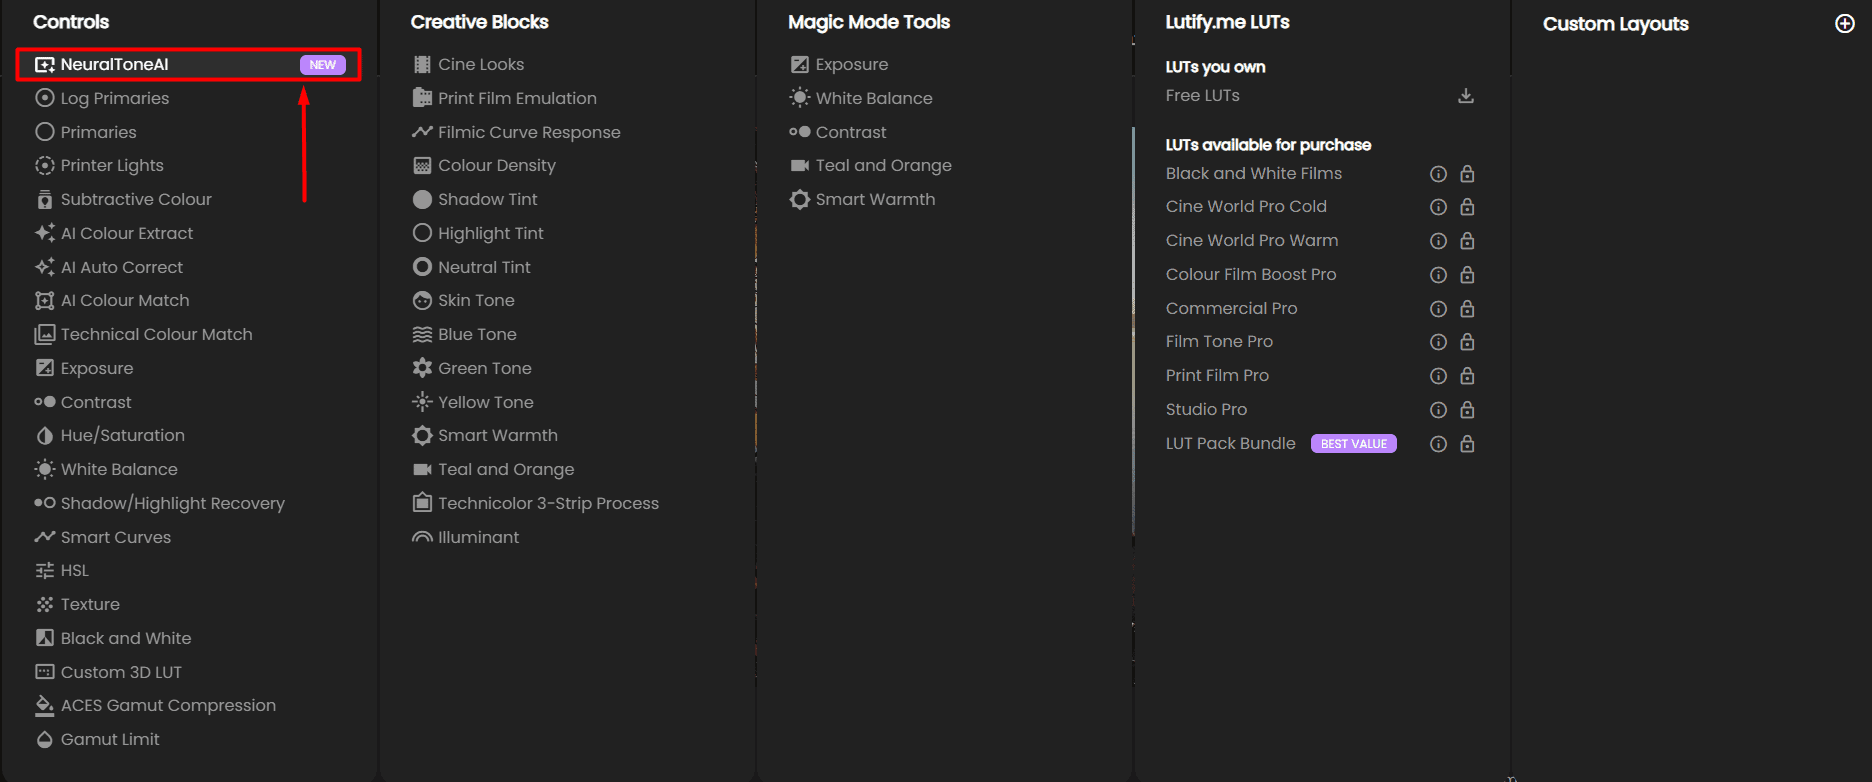
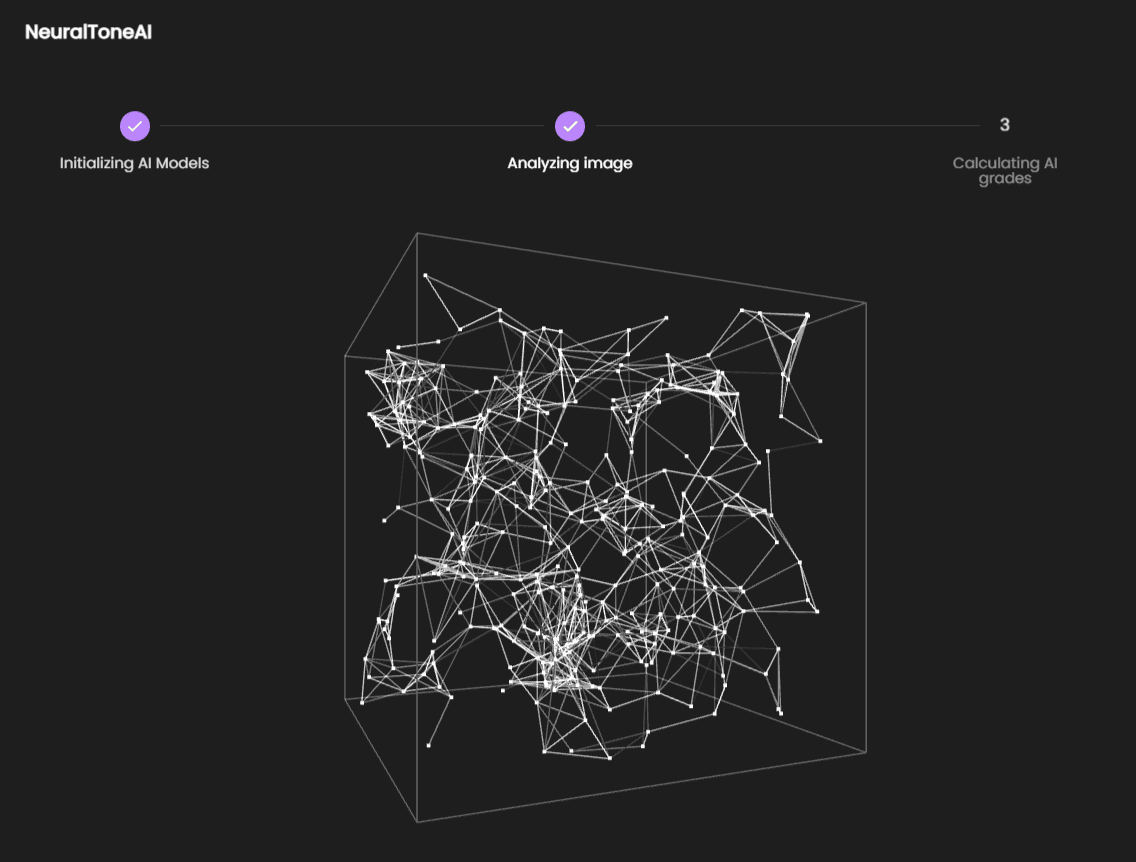
- Wait until the process is completed.
- Select any available Previews from the right sidebar and tweak them in the left sidebar section.
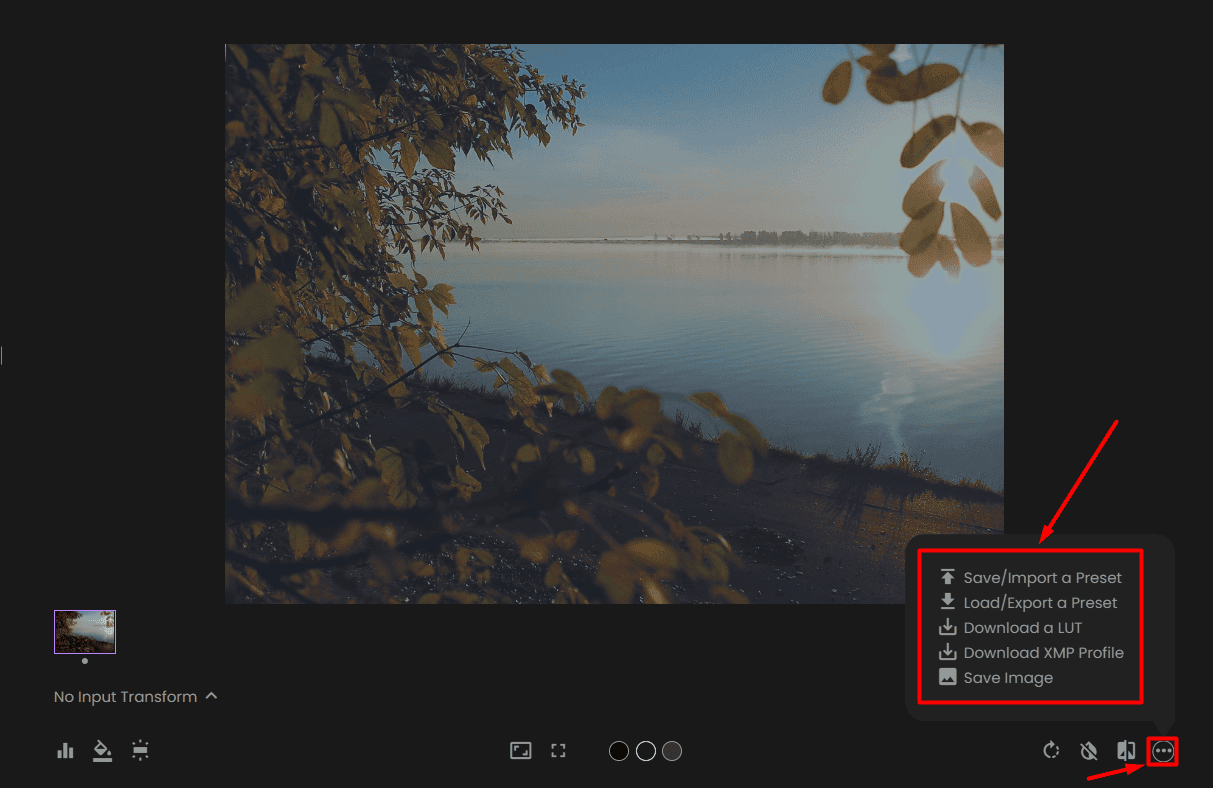
- Once done, click the three dots and select the desired output format.
This tutorial briefly covered the essentials. As with any complex color grading tool, there’s much more to explore.
Pricing

Fylm AI’s pricing is subscription-based, and it’s billed annually. There are five available plans:
- Free ($0)
- Lite ($5.75/month)
- Pro ($15/month)
- Team ($30/month)
- Enterprise (Custom pricing).
Since the Free plan is available, there’s no free trial for premium features.
It includes most of the standard features and everything showcased in this review. The only significant feature it’s missing is team collaboration. It also gives you access to 1GB of cloud storage.
The Lite plan allows LUT creation and preset management. It’s for individuals and doesn’t support team collaboration and guest sharing. Files are stored locally.
To get more cloud storage, you’ll have to subscribe to Pro or Team plans (10GB and 25GB, respectively). With them, you can have unlimited projects and up to five users (10 for Team plan).
Additional users can be granted for $15 per month. If you decide to cancel them, you’ll get the money back for all unused days until the end of the billing period.
With these two plans, you can have unlimited guests who can review your projects.
However, none of the above-mentioned plans support API access. To get it together with dedicated support, you’ll have to contact the Fylm AI sales team to get the quota for the Enterprise plan.
After subscribing to an annual plan, you have up to seven days to request a refund. Canceling it afterward will allow you to keep the account until the end of the billing cycle, but you won’t get your money back.
Fylm AI Review – Verdict
Fylm AI is an excellent cloud-based AI platform for color grading. It comes with fantastic collaboration features, an intuitive interface, and support for LUTs.
The only downside is that you’ll have some difficulties establishing a manual workflow. The platform is designed to be snappy, and manual tools fill the gap between AI-made output and usable results.
Finally, if you want to streamline some of your workflow steps, this app might be an ideal fit due to its flexibility and LUT support. Hopefully, this Fylm AI review will help you make up your mind about this service.
Read our disclosure page to find out how can you help MSPoweruser sustain the editorial team Read more


Improve this guide


User forum
0 messages