Face ID Not Working on iPhone? Here Are 8 Easy Ways To Fix It
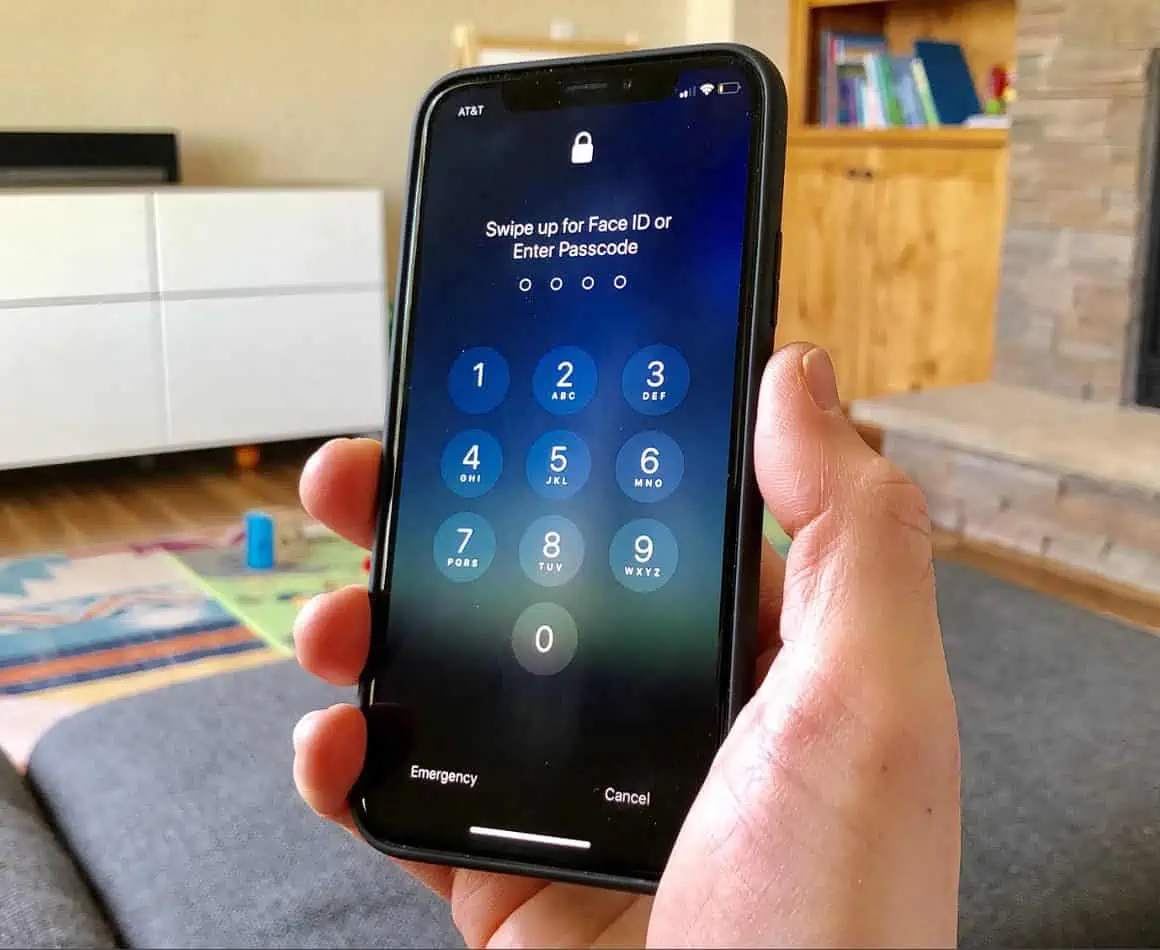
Face ID, the facial recognition technology introduced by Apple, offers a secure and convenient way to unlock your iPhone, authorize payments, and more. However, you may encounter situations where Face ID isn’t responsive.
This guide explores common reasons behind the issue and provides various easy ways to fix Face ID not working on iPhone. I’ve tested and compared several recommended solutions from Apple Community and online guides, and singled out 8 methods that work. Ready?
Why is Face ID Not Working on iPhone?
Several factors can lead to Face ID not working on your iPhone. These include:
- Software Glitches: Temporary software glitches or bugs may disrupt Face ID functionality.
- Hardware Issues: Physical damage or problems with the TrueDepth camera components can affect Face ID.
- Third-Party Apps: Some apps may not support Face ID by default, requiring manual configuration.
- Face Changes: Significant changes in your appearance, like growing a beard, can impact Face ID recognition.
- Misconfiguration: Incorrect settings or changes in Face ID configuration can lead to failures.
Now, let’s dive into the solutions to address these issues.
Fix Face ID Not Working on iPhone
1. Apply Basic Troubleshooting
Restart Your Device
In my experience, a simple restart can resolve most temporary software issues. To restart your iPhone:
- Press and hold the volume up/down and right side buttons simultaneously.
- Release the buttons when the power slider appears.
- Drag the slider to turn off your iPhone.
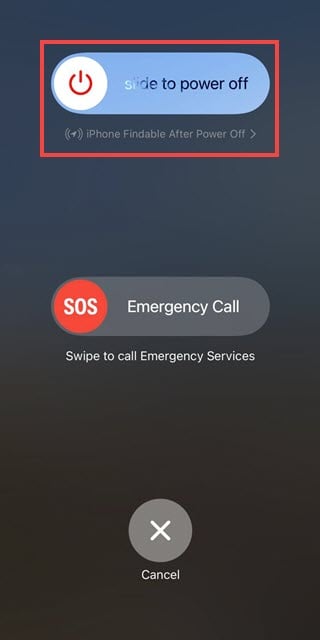
- After a few seconds, press and hold the side button again until the Apple logo appears, indicating your iPhone is restarting.
Check for iOS Updates
Updating your iOS can fix known bugs and improve Face ID performance. To check for updates:
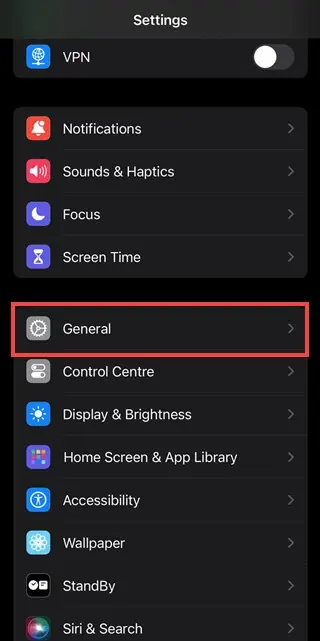
- Launch the Settings app.
- Scroll down and select General from the Settings menu.
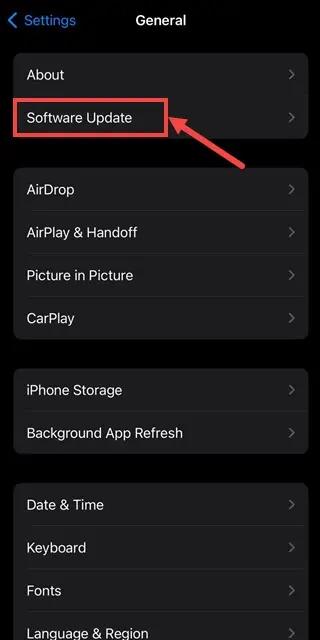
- Next, tap on the Software Update option.
- The OS will check for the latest update.
- If an update is available, follow the on-screen instructions to download and install it.

Check Face ID Settings
It’s also possible that you’ve temporarily disabled Face ID and forgot to re-enable it. So, you should make sure the feature is active with these steps:
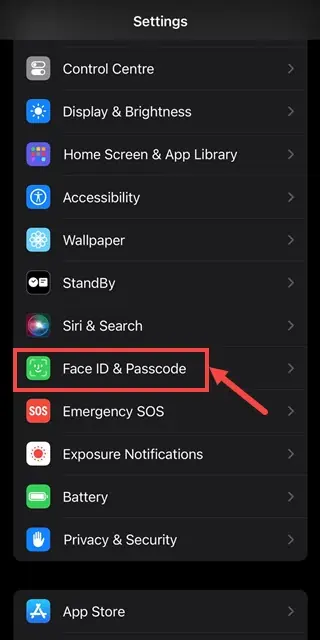
- On your iPhone, navigate to Settings > Face ID & Passcode.
- Enter your passcode when prompted.
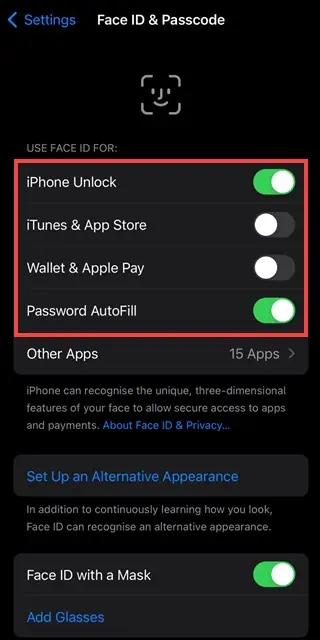
- Ensure that iPhone Unlock and any other relevant options are toggled on.

Ensure Your Face Isn’t Covered
Obstructions like a scarf or mask can hinder Face ID recognition. So, your face should be unobstructed when trying to unlock your iPhone. Starting from iOS 15.4, Apple has also introduced the Face ID with a Mask option. You can navigate to Settings > Face ID & Passcode to set up and enable it.
Ensure TrueDepth Camera Isn’t Covered
The TrueDepth camera system is responsible for Face ID, so it must be unobstructed. It’s located at the top side of the screen. You should check whether it’s clean and free from dirt, debris, or screen protectors.
2. Enable Face ID for Third-Party Apps
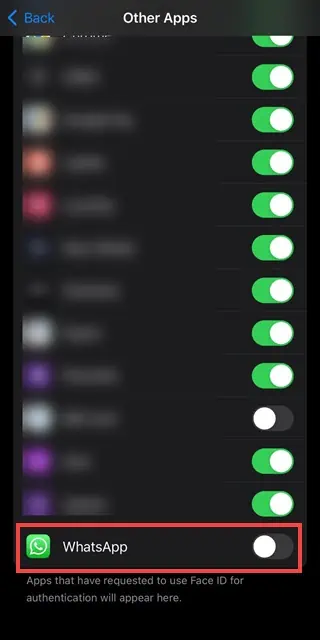
If you’ve disabled this feature for an application, you’ll have to enable it from the settings. Generally, only messaging apps or finance (payment, banking) apps can set up face recognition on iOS devices.
To allow Face ID for third-party apps, follow these steps:
- Launch Settings on your iPhone or iPad.
- Scroll down and select the Face ID & Passcode option.
- Enter your passcode to access the Face ID settings.
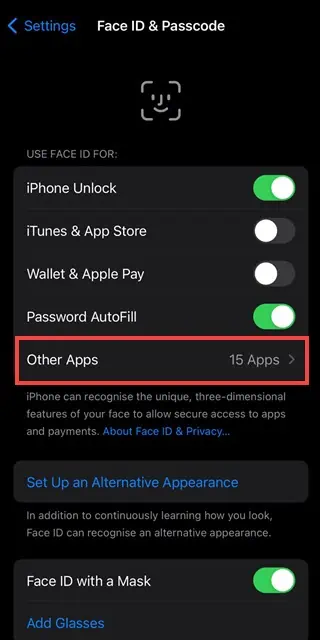
- Next, tap on the Other apps option. This will display all the apps on which Face ID can be enabled.
- Now, toggle the button to turn on Face ID for the apps you want.
3. Add an Alternative Face ID
Occasionally, significant and sudden changes to your appearance can lead to Face ID not working on iPhone. For example, a clean shave after growing a long beard can confuse the feature.
If that’s the case, you should add an alternative ID by following these steps:
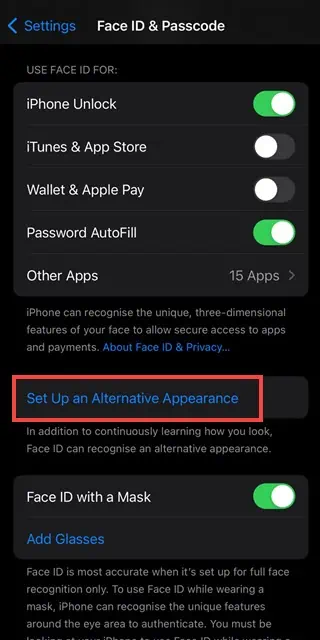
- On your iPhone, navigate to Settings > Face ID & Passcode.
- Enter your passcode.
- Tap on the Set Up an Alternative Appearance option.
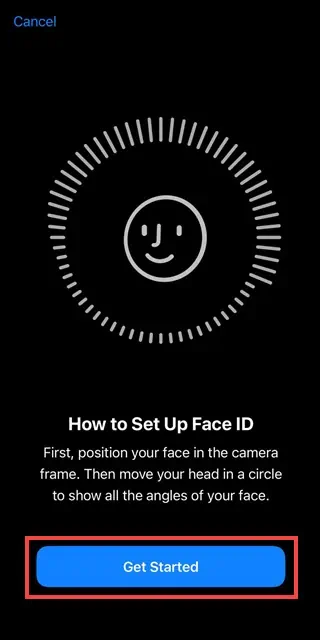
- Next, push the Get Started button on the following screen.
- Follow the on-screen instructions to set up Face ID again with your changed appearance.
- Finally, tap Done to finish the process.


4. Reset Face ID
If all else fails, you can reset this functionality:
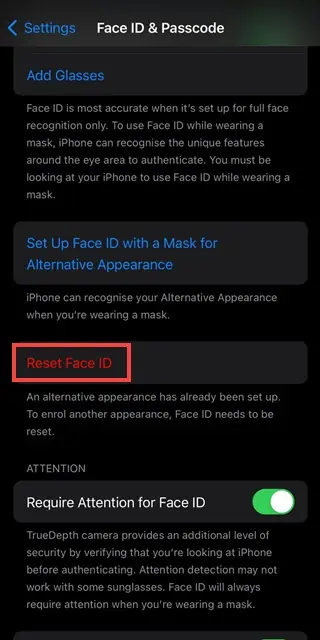
- On your iPhone, go to Settings > Face ID & Passcode.
- Enter your passcode.
- Scroll down and select “Reset Face ID.”
- Set up Face ID again from scratch.
FAQs
1. Is Face ID more secure than Touch ID?
Face ID and Touch ID offer similar security levels, but Face ID is generally considered more convenient for users as it doesn’t require physical contact.
2. Can Face ID recognize me with different hairstyles or accessories?
Yes, Face ID adapts to changes in your appearance over time, so you can usually wear different hairstyles or accessories without issue. However, big and sudden changes like shaving a full beard can cause issues.
3. Can Face ID be fooled by a photo or video of my face?
Face ID uses depth perception to prevent spoofing by photos or videos, making it highly secure against such attempts.
Conclusion
Face ID not working on your iPhone isn’t just a frustrating experience — it can significantly hinder your privacy. But with these easy fixes, you can restore this feature and enjoy the convenience of secure unlocking and authentication.
Whether it’s a simple restart or adjusting settings, these solutions ensure that Face ID functions as intended, offering a seamless and secure iPhone experience. If you have any tips you’d like to share, feel free to let us know in the comments below.
Read our disclosure page to find out how can you help MSPoweruser sustain the editorial team Read more


Improve this guide

User forum
0 messages