How to clear live tile cache data on Windows 10
2 min. read
Updated on
Read our disclosure page to find out how can you help MSPoweruser sustain the editorial team Read more
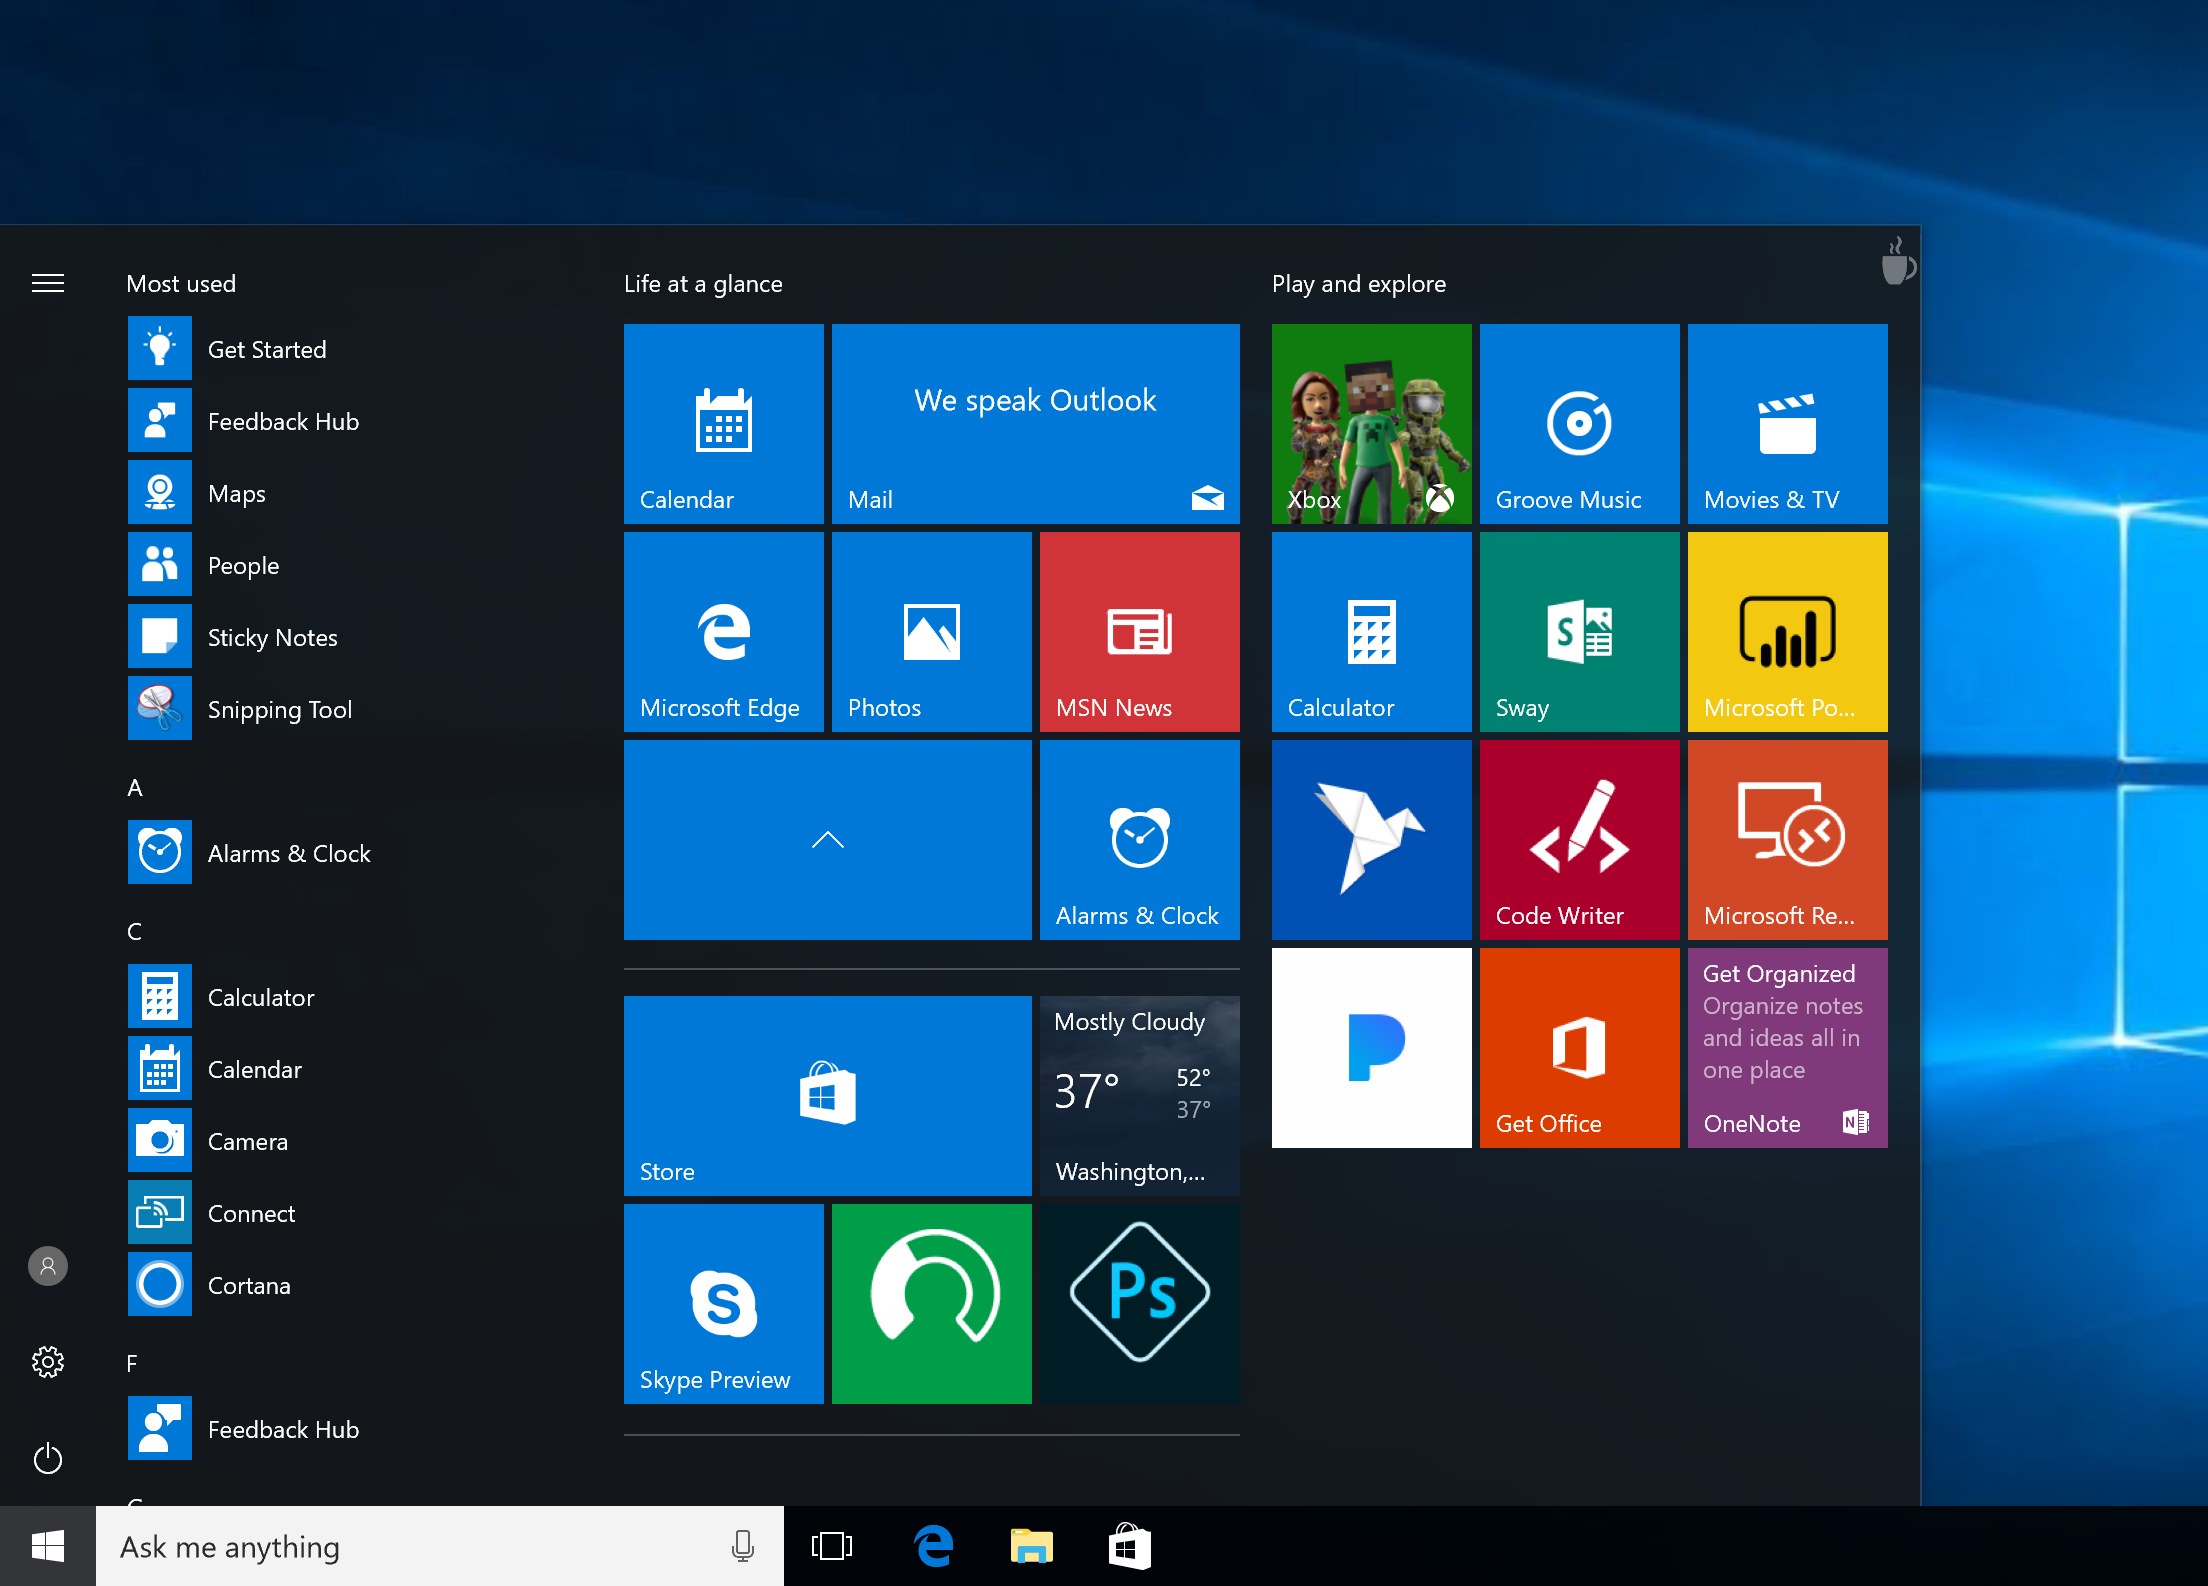
The Windows Start Screen (Menu) is the pseudo notification center/home screen/app launcher of Windows 10 PCs, hybrids and 2 in 1s.
However, like I said when writing a guide about disabling the live tiles, sometimes the Start Screen’s live tiles may get in your way. and hinder more than they help.
In this case, as Microsoft’s Windows 10 live tiles store and cache data on the live tiles even after that information is no longer relevant, users may want to take matters into their own hands and clear obsolete app cache themselves.
Examples include old and deleted photos appearing on the Photos app tile or the News app showing old news. While innocuous on their own, such instances reduce the usefulness of the “live” tiles and render their main selling point meaningless.
Without further ado, here’s how to clear tile caches on your Windows 10 device:
- Open the registry editor by searching “Regedit” in the Windows 10 search bar.
- Once this is done, go to the following registry key:”HKEY_CURRENT_USER\SOFTWARE\Policies\Microsoft\Windows\Explorer “. This key should already exist on your PC, if it doesn’t, you can create it right clicking on “HKEY_CURRENT_USER\SOFTWARE\Policies\Microsoft\Windows\” and creating a new key.
- In that key, create a new 32-bit Dword and call it “ClearTilesOnExit.”
- Modify the data so its value is 1. This allows your PC to now clear all data from tiles after a successful logout or reboot – and is essential should you want to turn off all live tiles on your Windows 10 PC- see here.
- Reboot your PC to apply the changes.







User forum
0 messages