Chrome://net-internals/#dns - How to Clear DNS Cache on Chrome
![]() 3 min. read
3 min. read
![]() Updated on
Updated on
Share this article
Improve this guide
Read our disclosure page to find out how can you help MSPoweruser sustain the editorial team Read more
Key notes
- chrome://net-internals/#dns leads to Chrome’s internal section where you can perform a DNS lookup and clear the cache.
- This will help if you’ve noticed Chrome slowing down or websites not loading properly.
- You can easily clear Chrome’s DNS cache both on the desktop and mobile apps.
If you’re struggling with slow browsing speed, use chrome://net-internals/#dns to flush the Chrome DNS cache and speed up your connection.
Chrome is one of the fastest internet browsers, but it can slow down due to internal issues. Recently, I noticed that some websites take forever to load despite no network or internet issues on my computer.
After some research, I discovered that clearing the DNS cache is the solution.
I’ll show you how to do that in a bit, but first:
What Is chrome://net-internals/#dns
The “chrome://net-internals/#dns” is actually the URL to Chrome’s internal section where you can perform a DNS lookup and clear the cache.
But why would you do that? Every time you visit a new website, your browser stores its DNS information to speed up future visits to the same site.
However, this data can become outdated or corrupt. Clearing the DNS cache forces your browser to retrieve the latest DNS information, resolving issues with websites not loading or updating properly.
How to Flush DNS Cache on Google Chrome
1. Clear DNS Cache on Chrome PC
Clearing the DNS cache on Chrome’s desktop version is straightforward and safe. It will not disturb your browsing history or other browser settings.
Here are the steps:
- Launch Chrome browser on your device
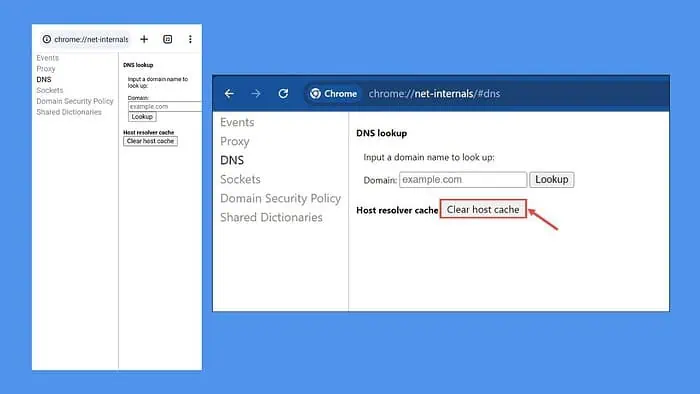
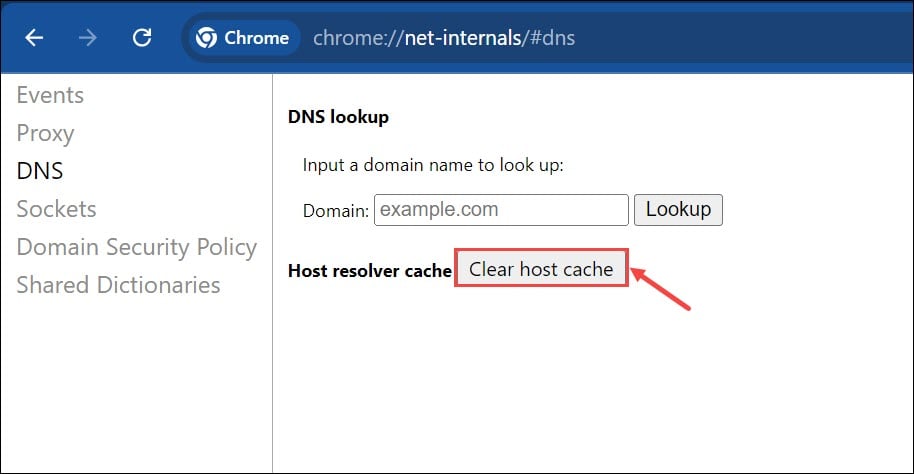
- In the address bar, type
chrome://net-internals/#dnsand hit the Enter key. This will redirect you to the DNS section of Chrome’s Net-Internals. - On this page, you’ll find a button labeled Clear host cache. Click on it to flush the browser’s DNS cache.

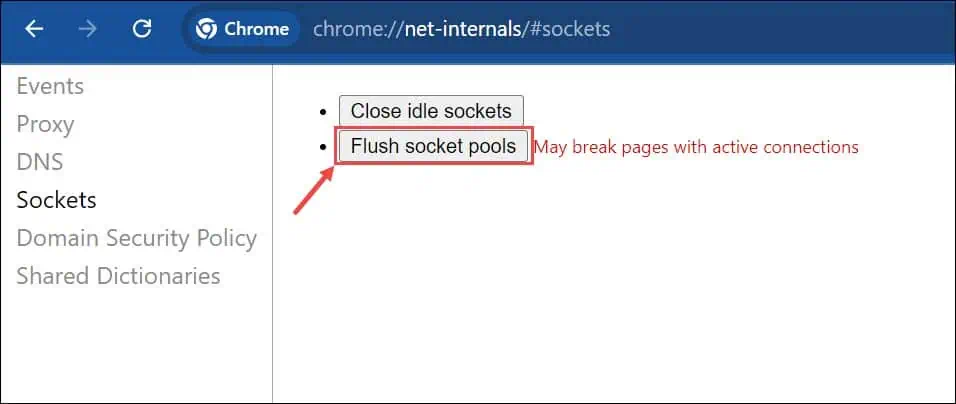
- Restart your browser, and now navigate to the
chrome://net-internals/#sockets. - Click the Flush socket pools button.

- Restart your browser and check if the browsing speed is optimized.
2. Clear DNS Cache in Chrome on Android/iOS
On Android and iOS devices, the process is almost similar. Again, the process is completely safe. Here’s how to go about it:
- Tap the Chrome icon on your mobile device to launch it.
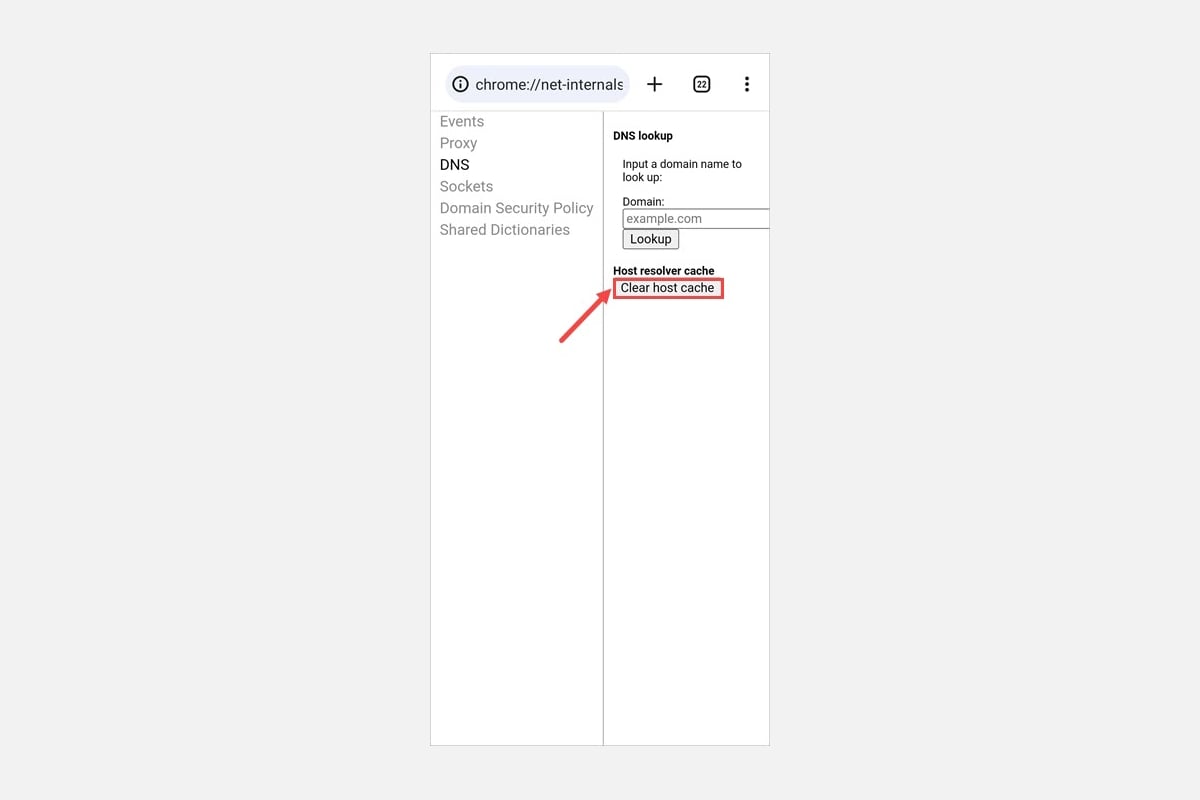
- Now, in the address bar, type the same URL:
chrome://net-internals/#dns, and press enter. - Finally, tap the Clear Host Cache button.

How to Flush DNS Cache on Windows
If you’re still facing slow browsing speed even after clearing the Chrome cache, you can clear the DNS cache from your Windows OS as well. The process to do that is pretty straightforward:
- Right-click on the Start button and select the Terminal (Admin) or Command Prompt (Admin) option from the Windows Power Menu.
- On the command line window, type or copy and paste the following command:
ipconfig /flushdns, and hit the Enter key. - You’ll get a message about the successful completion of DNS cache clearing.
Clearing Chrome’s DNS cache, whether on desktop or mobile, is a straightforward process that can significantly improve your browsing experience. It’s a quick fix for many common internet issues, from slow-loading pages to outdated content.
I hope this guide helped you to understand what chrome://net-internals/#dns is and how to use it.


User forum
27 messages