Resolved: STATUS_CANNOT_LOAD_REGISTRY_FILE Error 0xC0000218

Last week, I came across the 0xC0000218 STATUS_CANNOT_LOAD_REGISTRY_FILE error, which caused the Blue Screen of Death (BSOD) on my Windows PC. It caught me off guard and I had to look for solutions immediately.
In this guide, I’ll share the effective strategies I discovered and applied, with step-by-step instructions.
What Is 0xC0000218 Error?
The 0xC0000218 error, commonly known as STATUS_CANNOT_LOAD_REGISTRY_FILE, is a BSOD that occurs when Windows can’t load the system registry file. It might be because the registry file is corrupted, missing, or inaccessible.
Imagine your PC trying to read an essential book for instructions, but the book is either missing or illegible. Your system’s registry is a critical component for Windows operation.
What Causes STATUS_CANNOT_LOAD_REGISTRY_FILE Blue Screen of Death?
Several factors can lead to 0xC0000218 STATUS_CANNOT_LOAD_REGISTRY_FILE:
- Corrupted Registry Files: Essential registry files becoming damaged or unreadable.
- Faulty or Incompatible Drivers: Drivers conflicting with the system can corrupt registry files.
- System File Corruption: Critical system files get corrupted, affecting the registry.
- Malware Infections: Malware can target and damage the system registry.
- Hardware Failures: Issues with hardware, especially the hard drive, can lead to file corruption.
- Improper Shutdowns: Sudden power losses or improper shutdowns can impact the registry.
How Do I Fix the STATUS_CANNOT_LOAD_REGISTRY_FILE Blue Screen Error?
If you don’t want to troubleshoot the issue manually, you can use BSOD repair tools.
1. Preliminary Checks
- Restart Your PC
- Before restarting, ensure all important data is saved.
- Use the Start menu to reboot your PC.
- After rebooting, check if the BSOD reappears.
- Unplug and Plug the External Hardware
- Turn off your computer.
- Remove all connected external devices (like USBs and external drives).
- Power on your PC without them. If the error doesn’t recur, reconnect each device one at a time to identify any conflicts.
2. Identify the Culprit Driver using Event Viewer
Event Viewer in Windows can provide error logs to identify problematic drivers or applications.
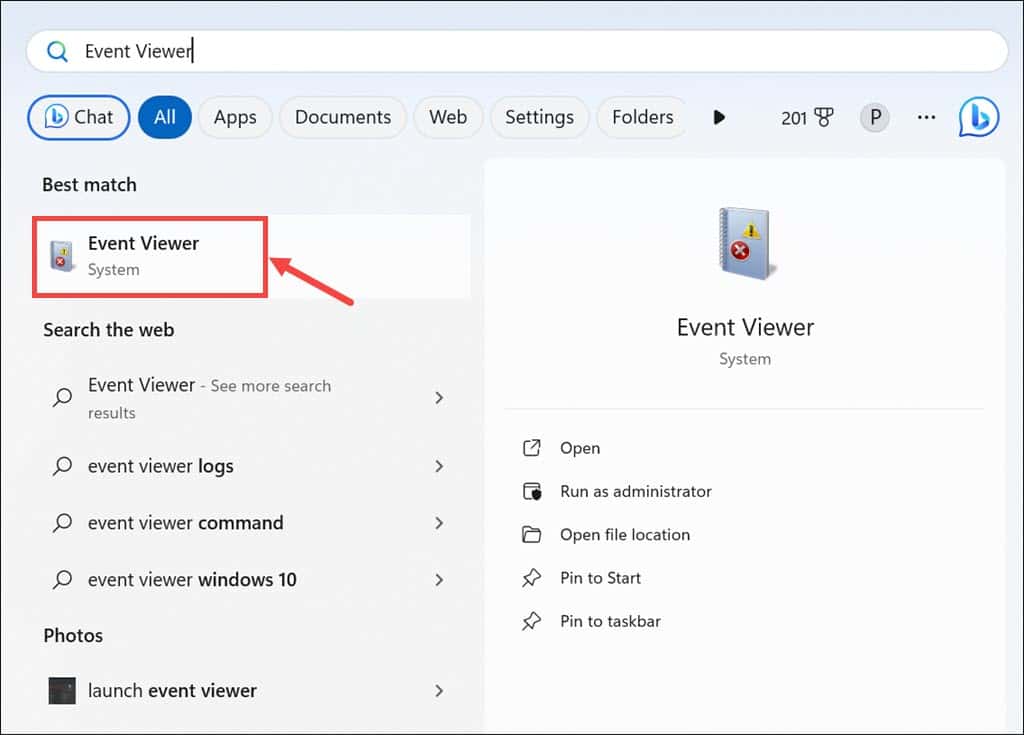
- Type “Event Viewer” into the Windows search box and open it by clicking on its icon.
- Search for error logs that are associated with the BSOD incident.
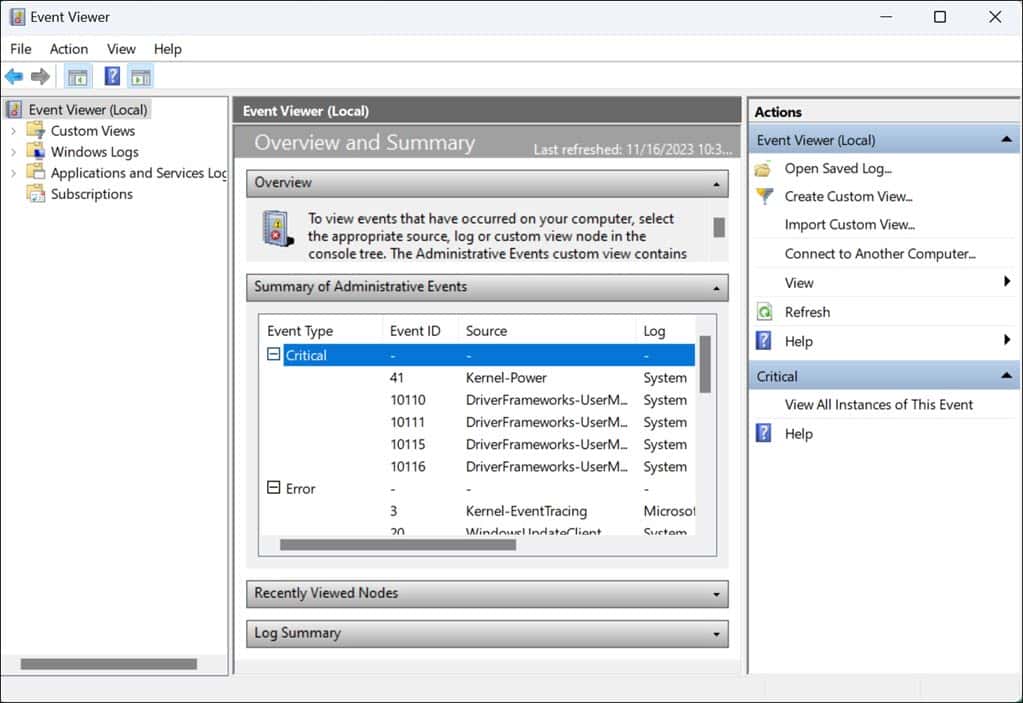
- Note any drivers or applications that are mentioned in these logs.
3. Find and Uninstall the Problematic Driver
Uninstalling the faulty driver removes potential conflicts with the system.
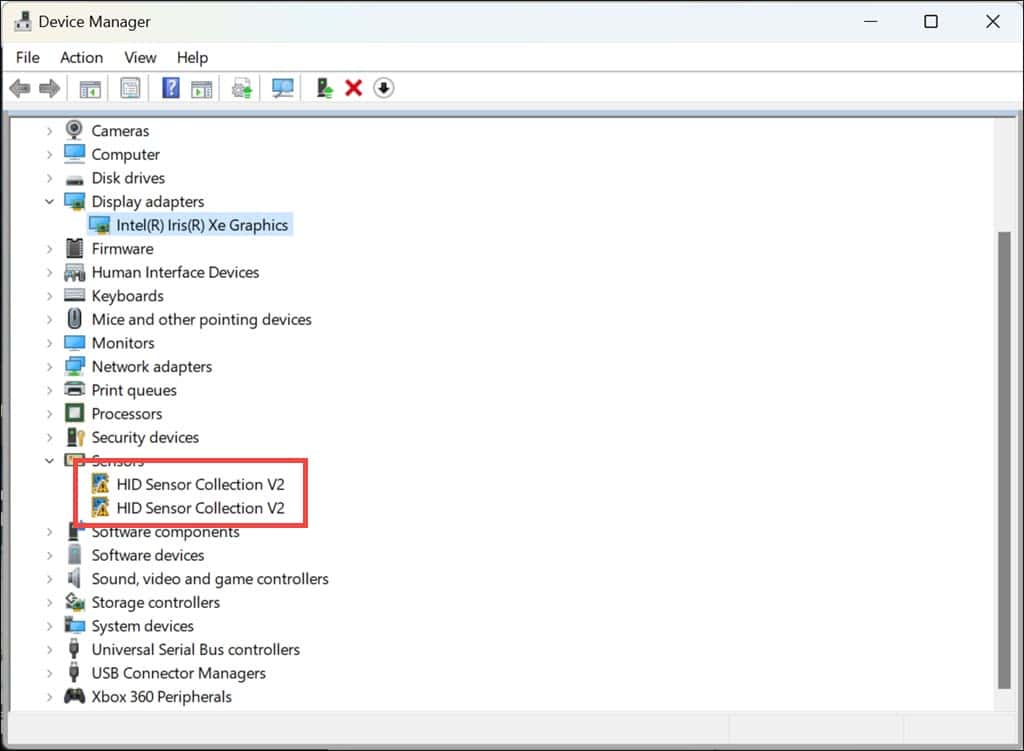
- Right-click on the Start button and choose Device Manager from the menu.
- In the Device Manager window, identify the problematic driver, as indicated in the Event Viewer, or look for any driver marked with a yellow exclamation mark.
- Right-click on it and select Uninstall device.
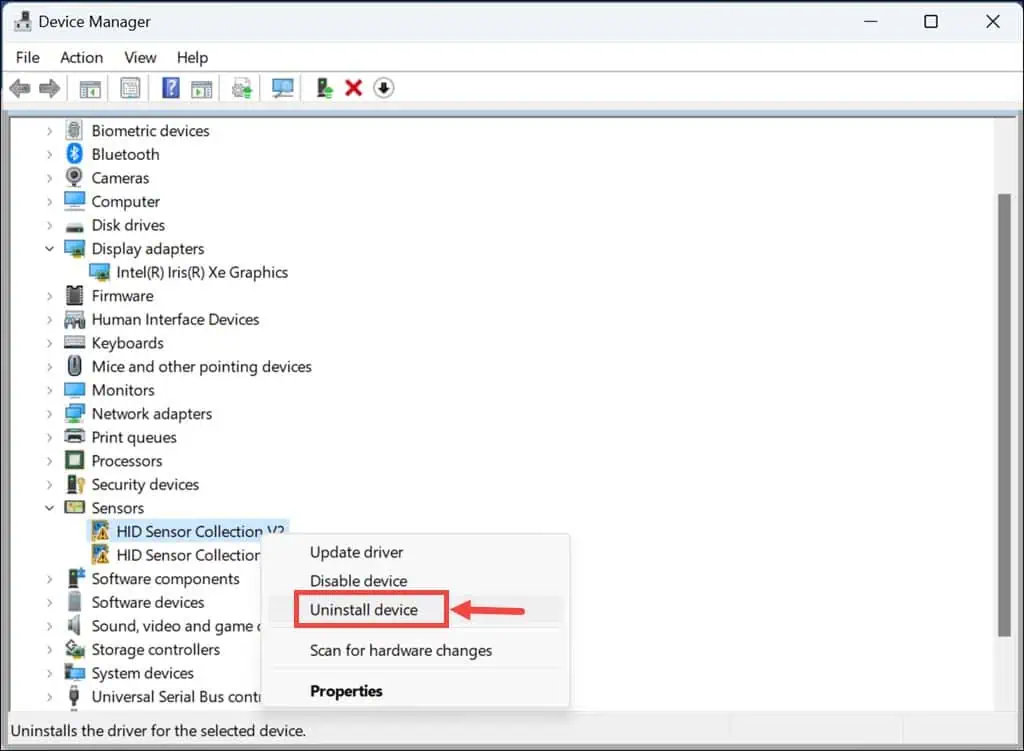
- Confirm the uninstallation when prompted.
- Repeat this process for any other drivers showing issues.
4. Apply Startup Repair
Startup Repair is a built-in tool that can fix certain system issues preventing Windows from starting, including registry-related problems.
- If you can’t access Windows normally, restart your PC and hold the Shift key while selecting Restart to enter Advanced Startup.
- In the Advanced Startup menu, navigate to ‘Troubleshoot’> ‘Advanced options’> ‘Startup Repair.’

- Follow the on-screen instructions.
- Your system will restart as part of this process.
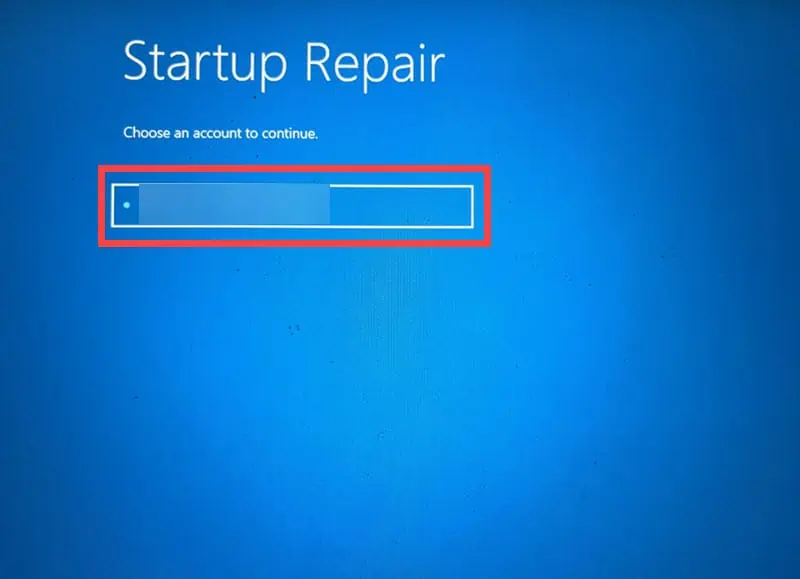
- Select an account to continue. If you have multiple accounts, opt for the one with administrative privileges.
- Enter the password for the account you’ve chosen.
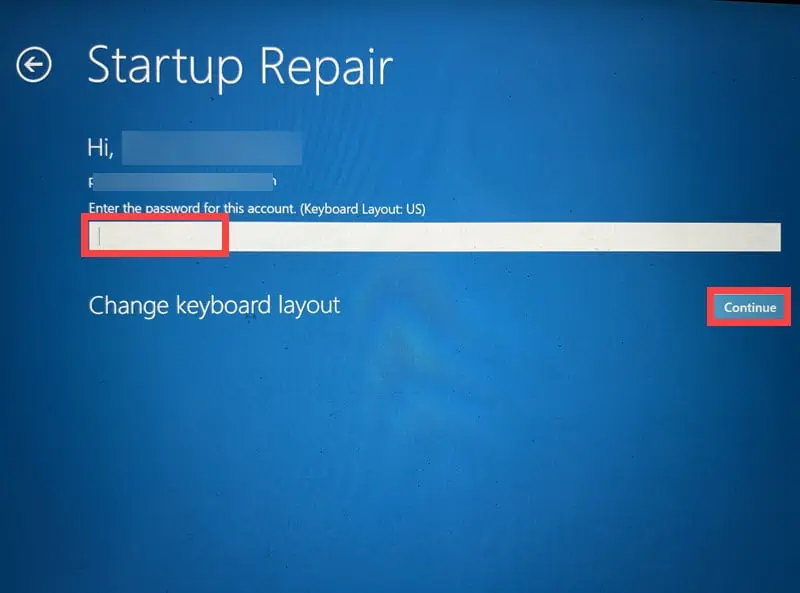
- Follow the on-screen instructions to complete the Startup Repair process.
5. Run SFC and DISM Commands
System File Checker (SFC) and Deployment Image Servicing and Management (DISM) are tools that repair corrupted system files, which can help fix BSODs.
- Open Command Prompt or Terminal with administrator rights.
- Type
sfc /scannowand press Enter. This command scans for and tries to repair corrupted system files. - Once the SFC scan is complete, run the DISM tool by typing
DISM /Online /Cleanup-Image /RestoreHealthand pressing Enter. - After running these commands, restart your PC and check if the problem is fixed.
6. Uninstall Recent Windows Updates
New Windows updates can sometimes inadvertently cause system conflicts, leading to BSODs.
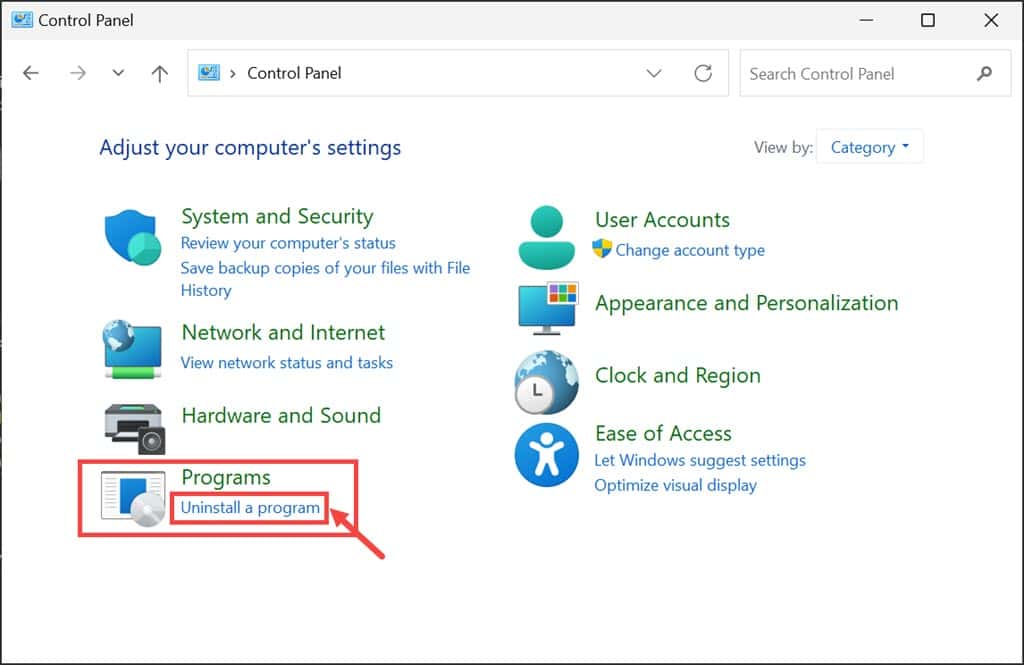
- Type “Control Panel” into the Windows search box and open it by clicking on its icon.
- In the Control Panel, go to the “Programs” section and select Uninstall a program.
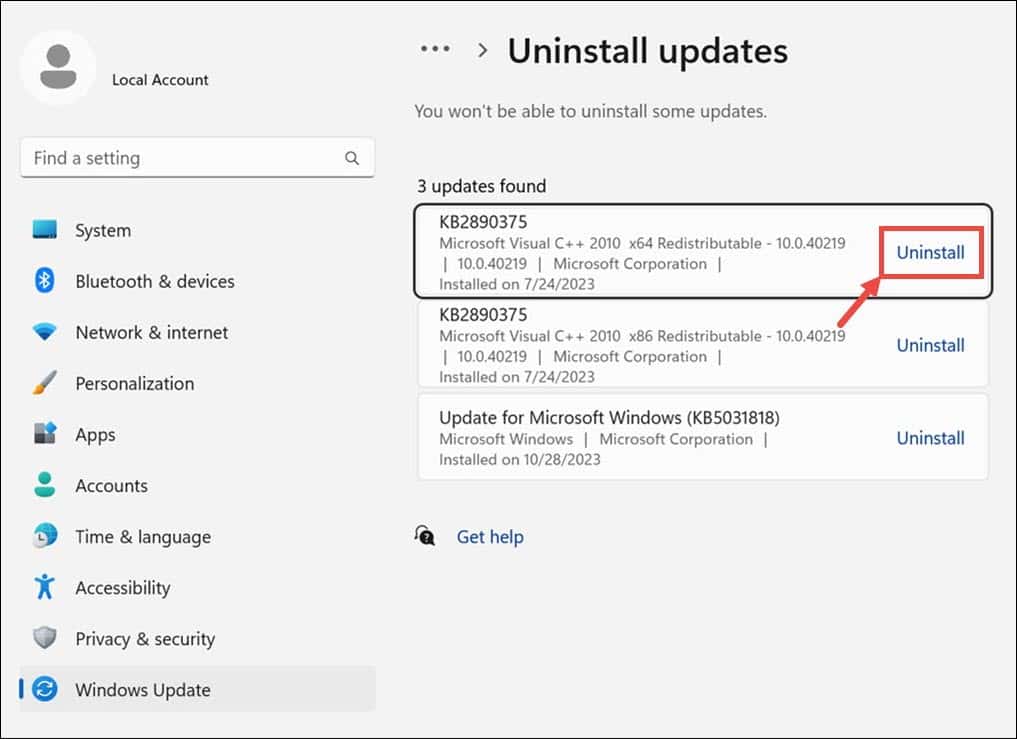
- Click on View installed updates, which is located on the left side.
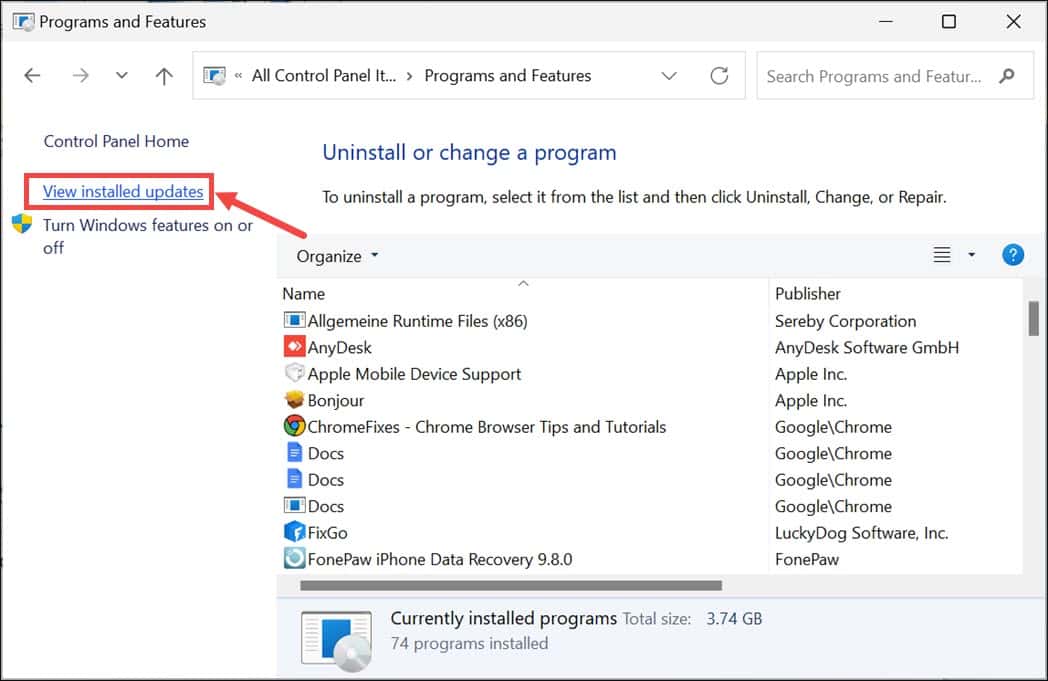
- Locate and select any updates that were installed recently, then click the Uninstall button.
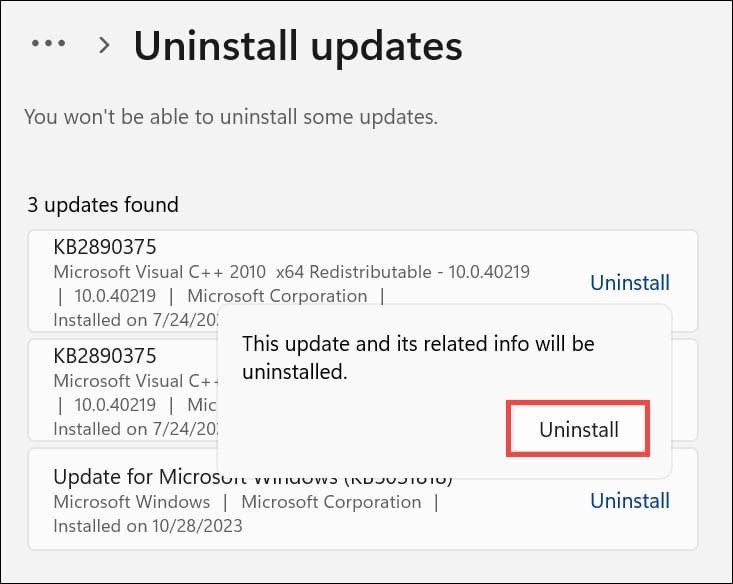
- When a confirmation pop-up appears, click Uninstall again.
7. Uninstall Recently Installed Applications
Newly installed applications can sometimes cause conflicts with the system, potentially leading to registry errors.
- Open the Control Panel.
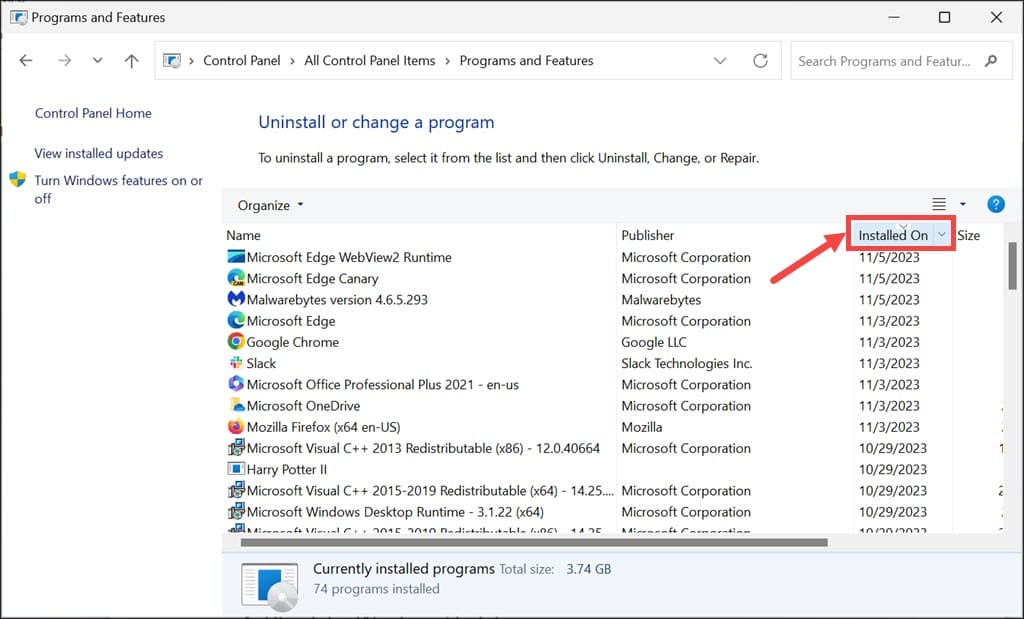
- Click on Uninstall a program, found under the “Programs” section.
- Sort the programs by their installation date by clicking on the Installed on column header.
- Identify and select the most recently installed application, then click the Uninstall button.
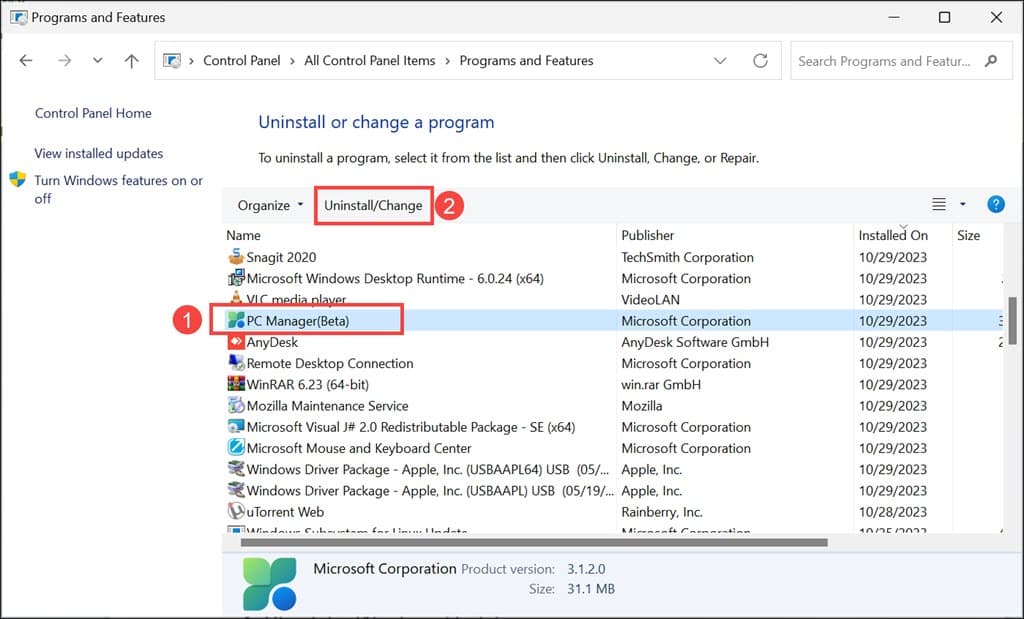
- Confirm the uninstallation when prompted.
- Apply this process to each recently installed application.
8. Restore Windows
System Restore can revert your system’s settings to a previous state without affecting personal files.
- Restart your system multiple times to trigger the launch of Automatic Repair Mode.
- Once your system boots into Automatic Repair Mode, select the System Restore option found under “Advanced options.”
- In the following screen, click Next to start the system restore process.
- Choose a previously saved restore point.
- Confirm and then click Finish.
9. Reset Windows
Resetting Windows can help fix deeper system issues by reinstalling the operating system.
- Force restart your PC several times to launch it in Automatic Repair Mode.
- Once in Automatic Repair Mode, choose the Troubleshoot option.
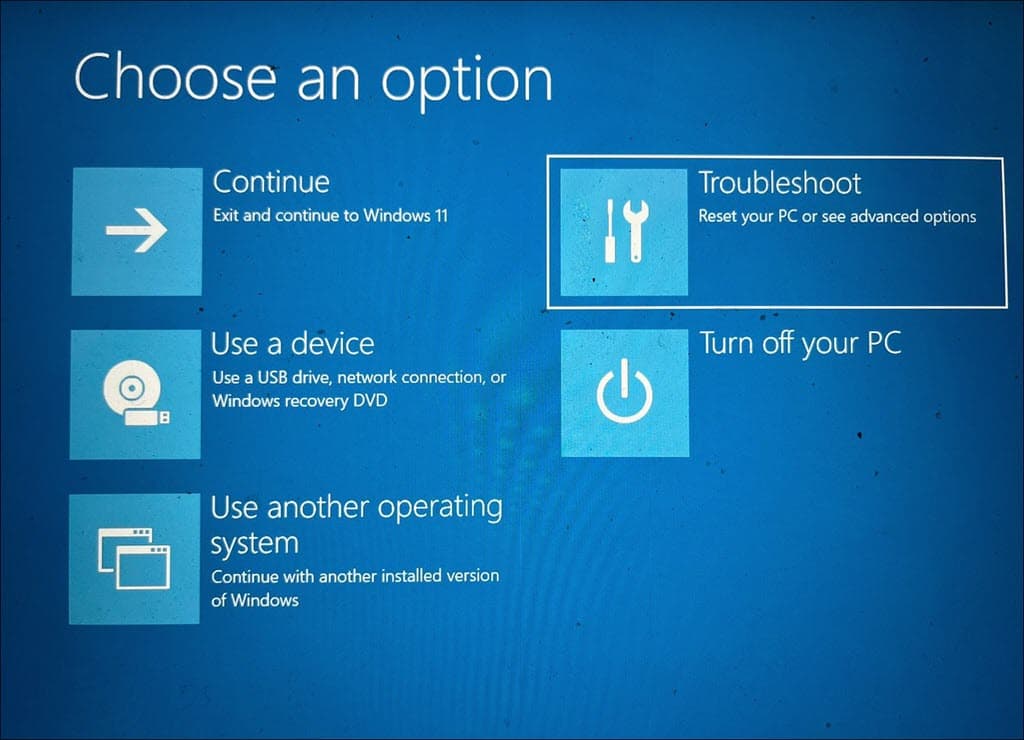
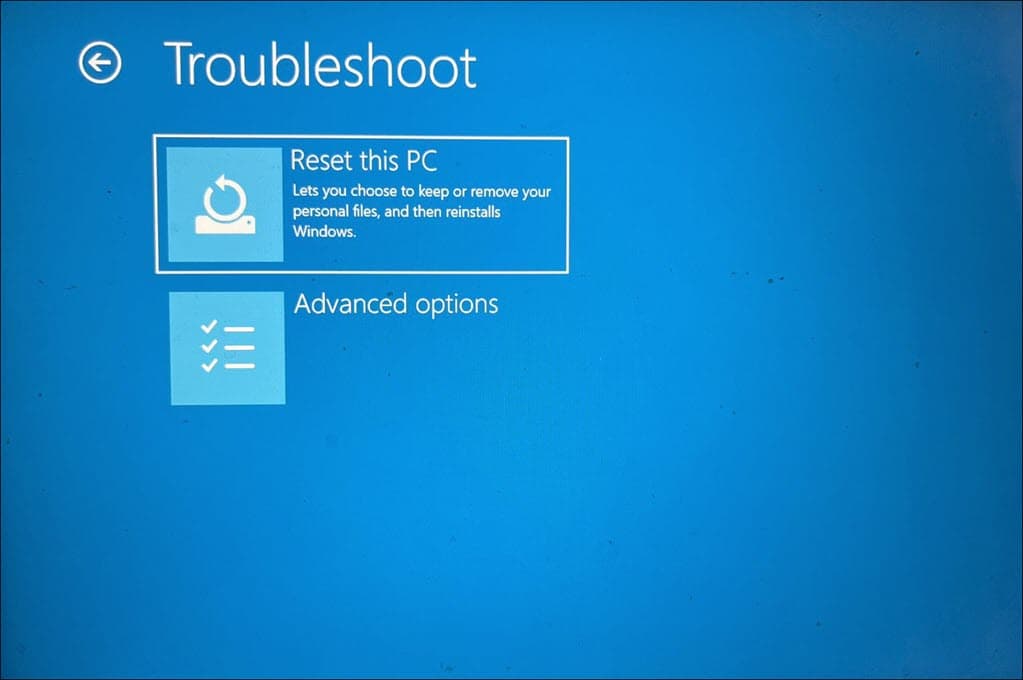
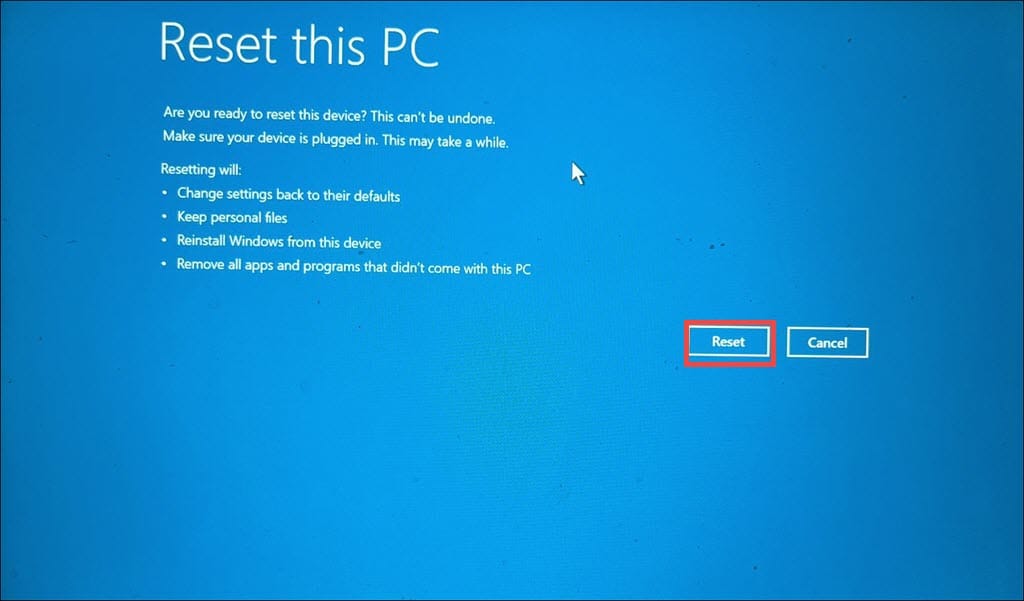
- On the following screen, select Reset this PC.
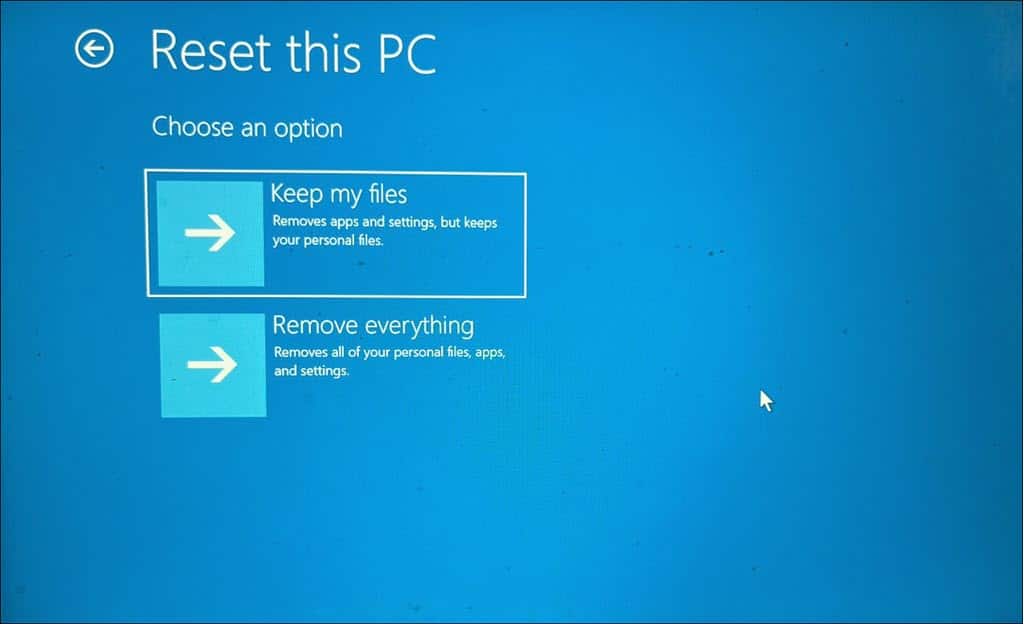
- Decide whether to keep your files or remove everything. For a complete reset, it’s advisable to choose Remove everything.
- Next, choose your preferred method for reinstalling Windows, either ‘Cloud’ or ‘Local’.
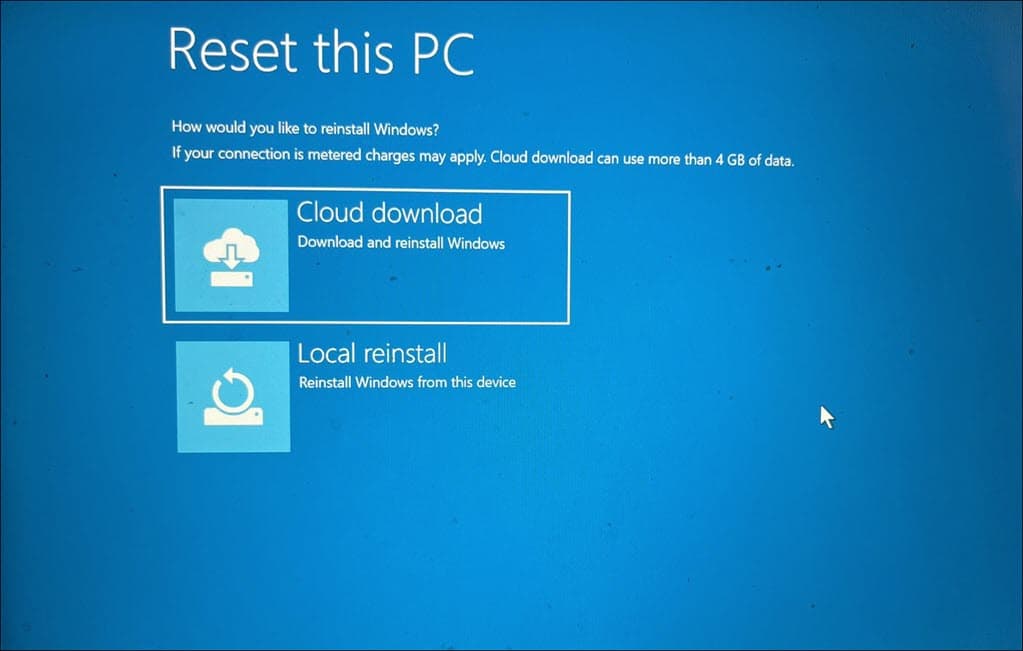
- Finally, click the Reset button.
You may also be interested in:
- PAGE_NOT_ZERO Blue Screen Error (0x00000127)
- 0x000000F4 CRITICAL_OBJECT_TERMINATION
- 0x00000065 MEMORY1_INITIALIZATION_FAILED
Summary
In this troubleshooting guide, I’ve explored various methods to troubleshoot and resolve the 0xC0000218 STATUS_CANNOT_LOAD_REGISTRY_FILE BSOD in Windows.
From preliminary checks to more advanced solutions like system restore and Windows reset, every method addresses the specific cause of the issue.
If the problem persists, it’s best to get professional help.
Read our disclosure page to find out how can you help MSPoweruser sustain the editorial team Read more


Improve this guide


User forum
0 messages