0x00000053 NO_BOOT_DEVICE Error - 15 Easy Ways To Fix It
If you’re facing the 0x00000053 NO_BOOT_DEVICE error when trying to access your Windows system, my experience with solving the issue might help you.
Picture this: you turn on your computer, expecting it to boot up smoothly, but instead, you’re met with this threatening error screen. It’s like a roadblock preventing you from accessing your system. I’ve been there, and I know the frustration it brings.
In this comprehensive guide, I’ll lead you through the steps to resolve this error. No technical jargon, just plain and simple practical solutions to get your Windows system back on track.
What Is “0x00000053 NO_BOOT_DEVICE” Error?
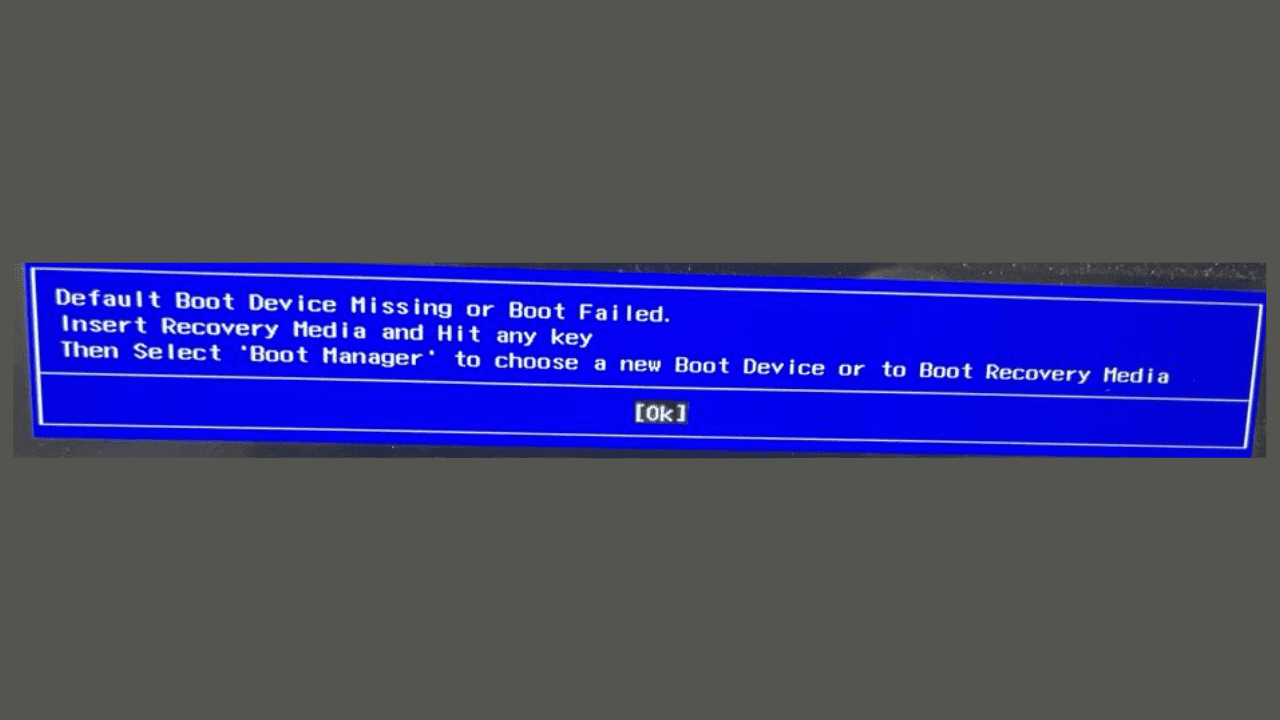
The “0x00000053 NO_BOOT_DEVICE” error is a critical issue that occurs when your OS can’t find the essential components required for booting, such as the hard drive or SSD.
It typically manifests as a blue screen of death (BSOD) or a black screen during boot, preventing your system from loading properly. It’s like the device is unable to find the door to your OS.
What Causes “0x00000053 NO_BOOT_DEVICE” Error?
So, what could lead to this issue? Well, several factors can trigger it:
- Corrupted System Files: Due to various issues, your computer’s system files can get corrupted, making it impossible for your PC to read them.
- Incorrect Boot Order in BIOS/UEFI: If the boot order is incorrect, the OS won’t be able to load, causing the no boot device error.
- Faulty Hardware Connections: If your computer’s hardware components aren’t connected correctly, it might lead to blue screen errors.
- Recent Windows Updates or Installed Apps: Sometimes, updates or newly installed applications can create conflicts with the attached hardware, leading to this error.
- Malware Infections: Malware or viruses can corrupt or delete files, causing the malfunction and leading to 0x00000053 NO_BOOT_DEVICE error.
How To Fix “0x00000053 NO_BOOT_DEVICE”
Sometimes, when you encounter BSOD errors, you won’t be able to access your Windows system at all. The same happened to me, too. Because of this, troubleshooting becomes a bit challenging.
However, I was still able to apply various fixes by booting the system in Automatic Repair Mode.
But before that, let’s discuss some fixes that you can apply if you’re able to boot your Windows OS.
When Windows Is Able To Load
1. Restart Windows in Safe Mode with Networking
Sometimes, the 0x00000053 NO_BOOT_DEVICE error might be caused by a recently installed application or a problematic update.
So, to apply the various fixes, it’s best to reboot your Windows in Safe Mode. Since this mode only loads essential apps and services, you can easily find the culprit app or update and get rid of it.
Here’s how:
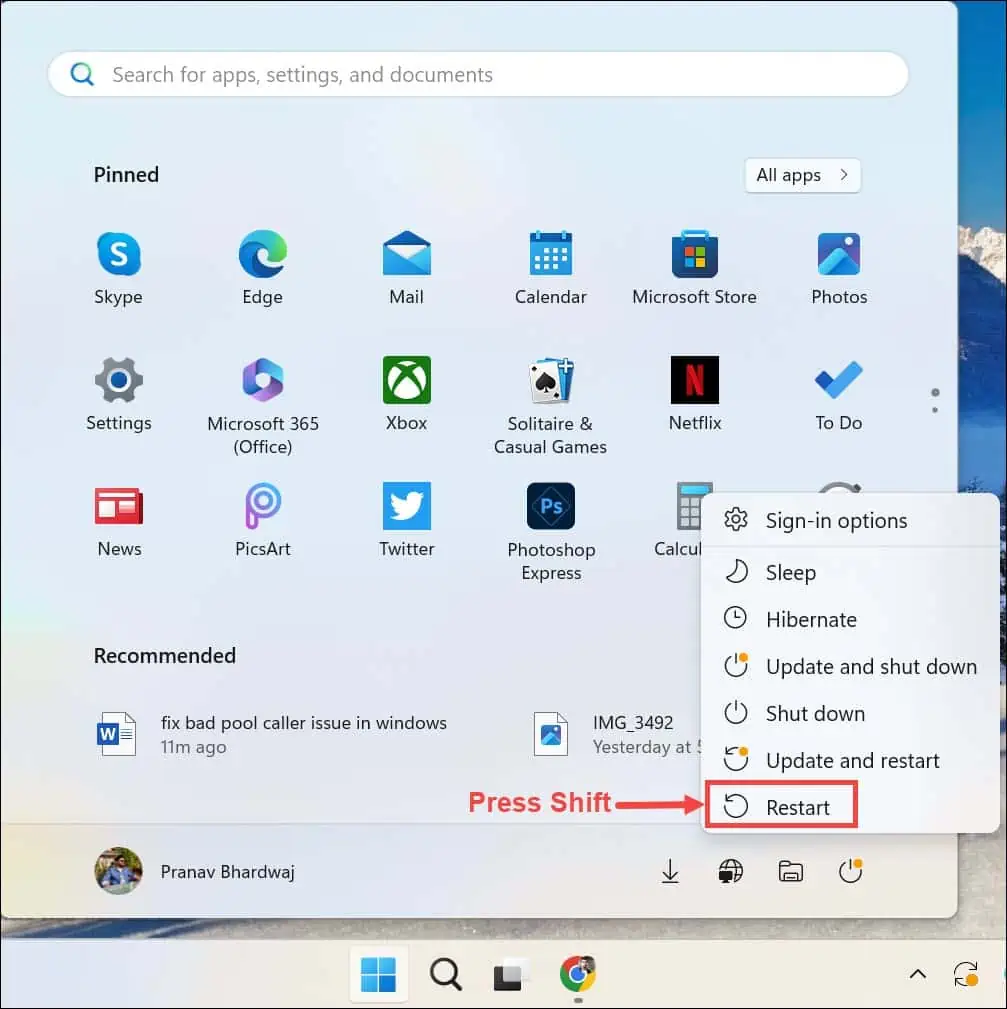
- Open the Start Menu, press Shift, and click the Power->Restart option.
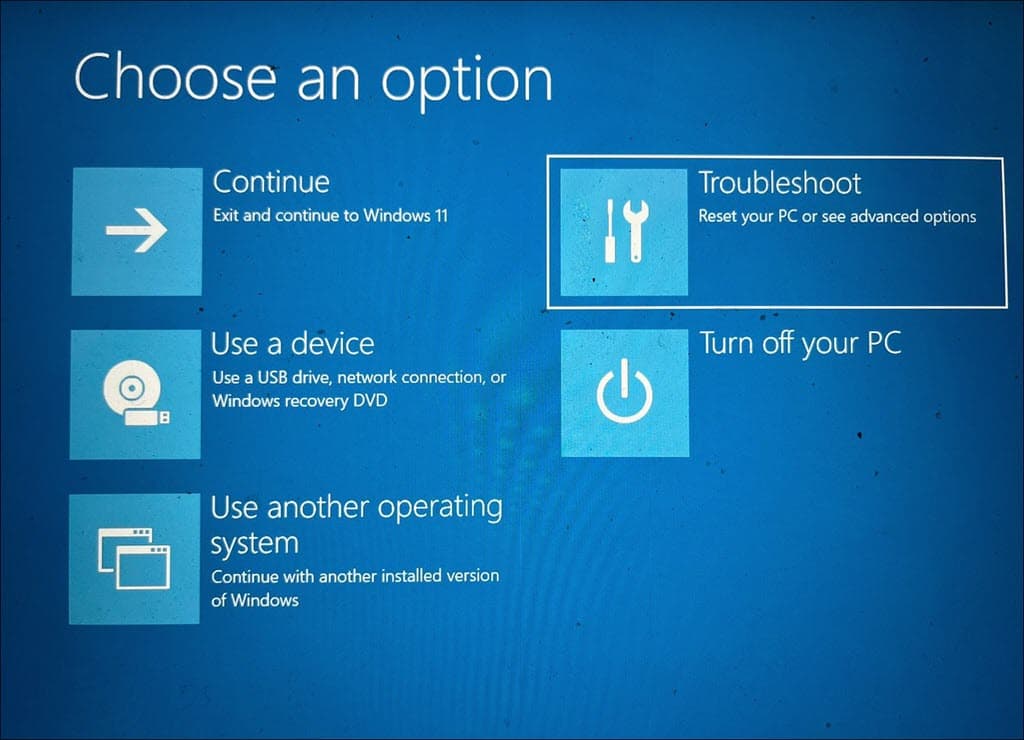
- After the system is restarted, select Troubleshoot.
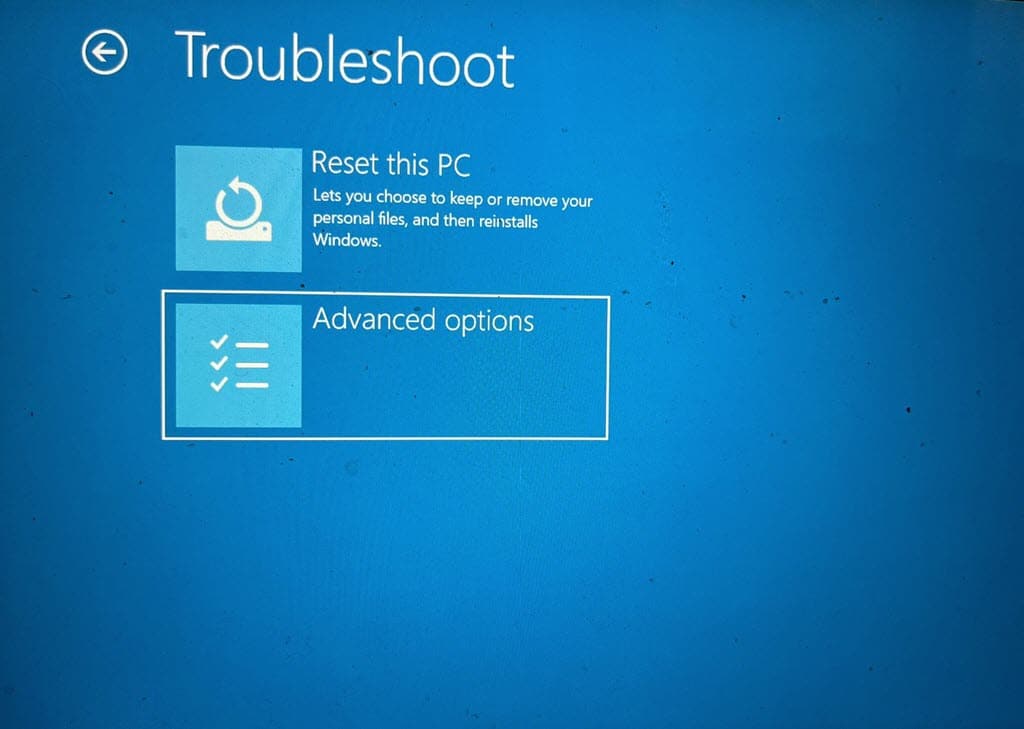
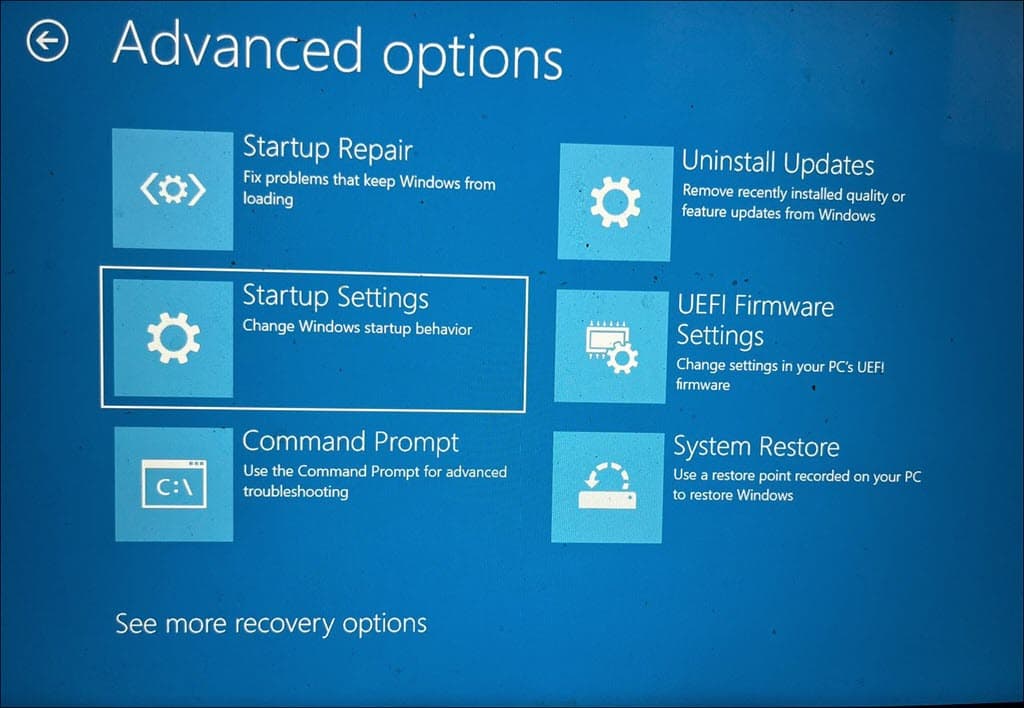
- Next, select Advanced options.
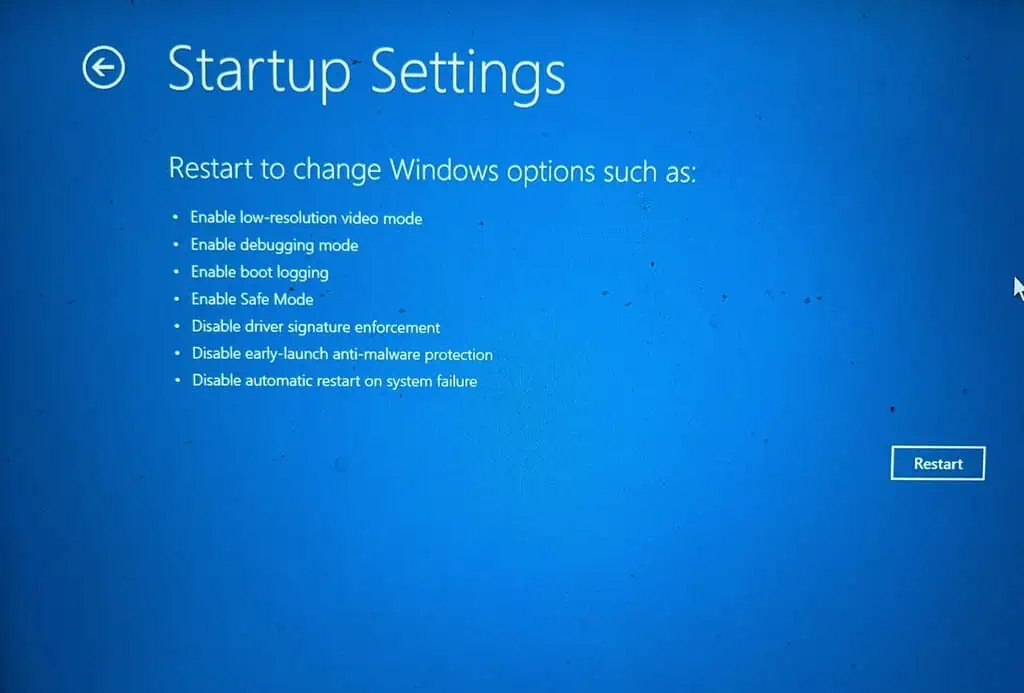
- Under the Advanced options, choose Startup Settings.
- On the next screen, click the Restart button.
- When the system is restarted, press F5 on your keyboard to boot Windows in Safe Mode with Networking.
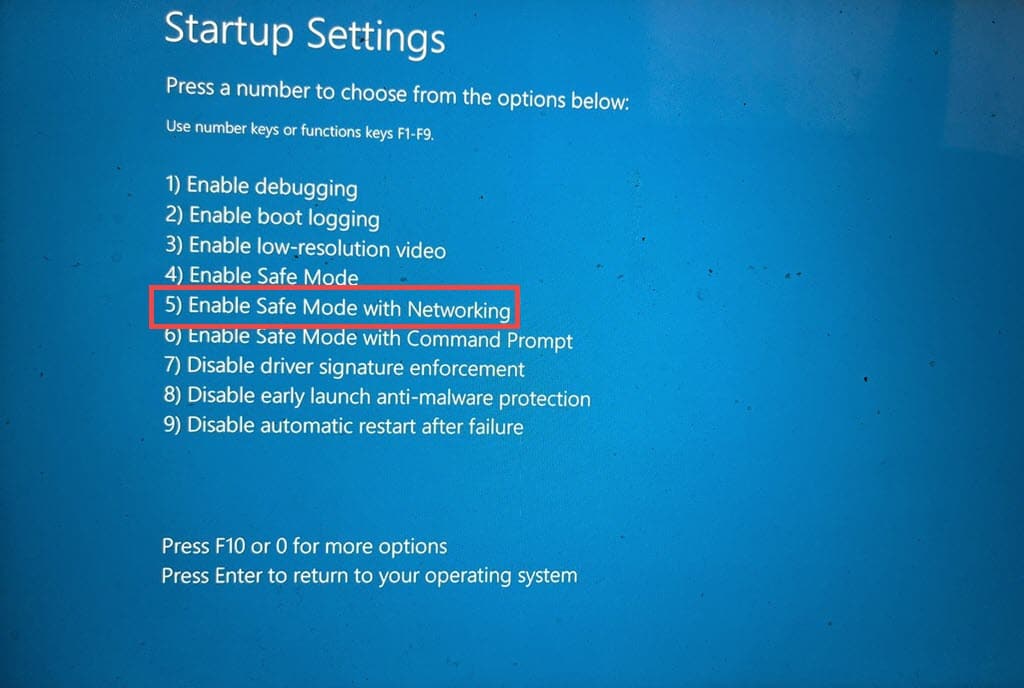
- Your system should now be started in Safe Mode.
Now you can perform the upcoming fixes.
2. Uninstall Recent Updates
If the “0x00000053 NO_BOOT_DEVICE” error occurred after a recent Windows update, you may want to uninstall it. Here’s how:
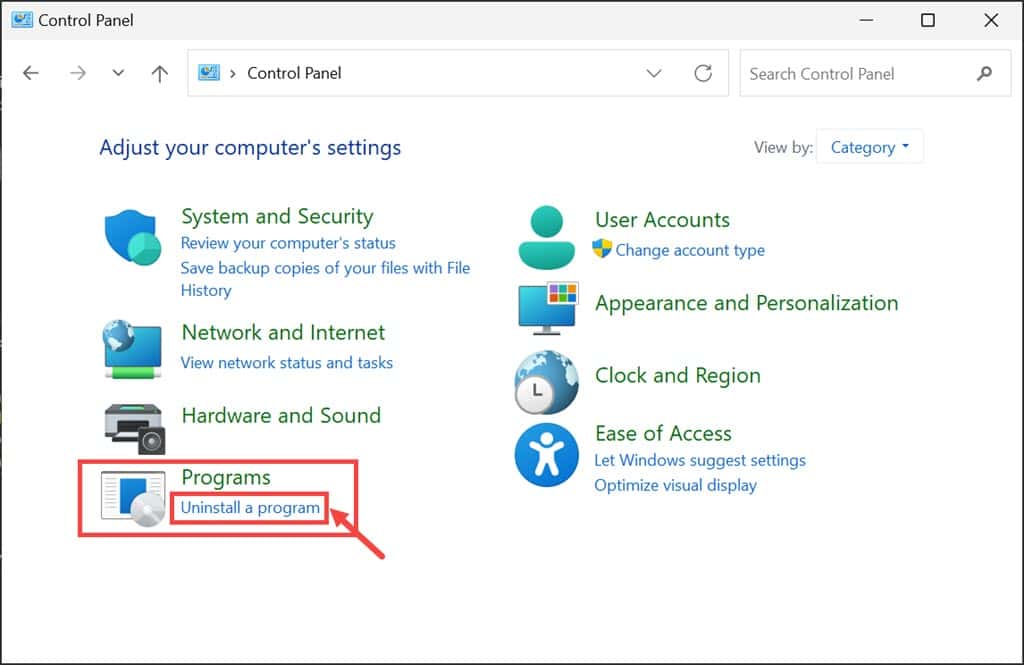
- On the Windows search box, type Control Panel and click its icon to launch.
- Click the Uninstall a program option under the Programs section.
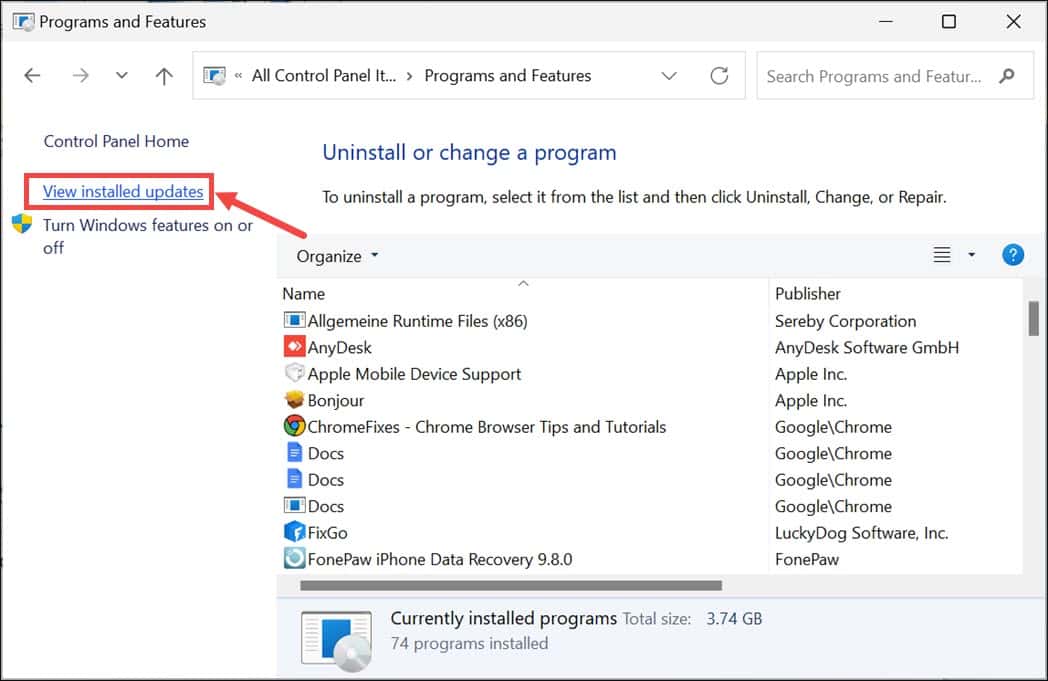
- Click the View installed updates on the left section. This will launch the Windows Update settings.
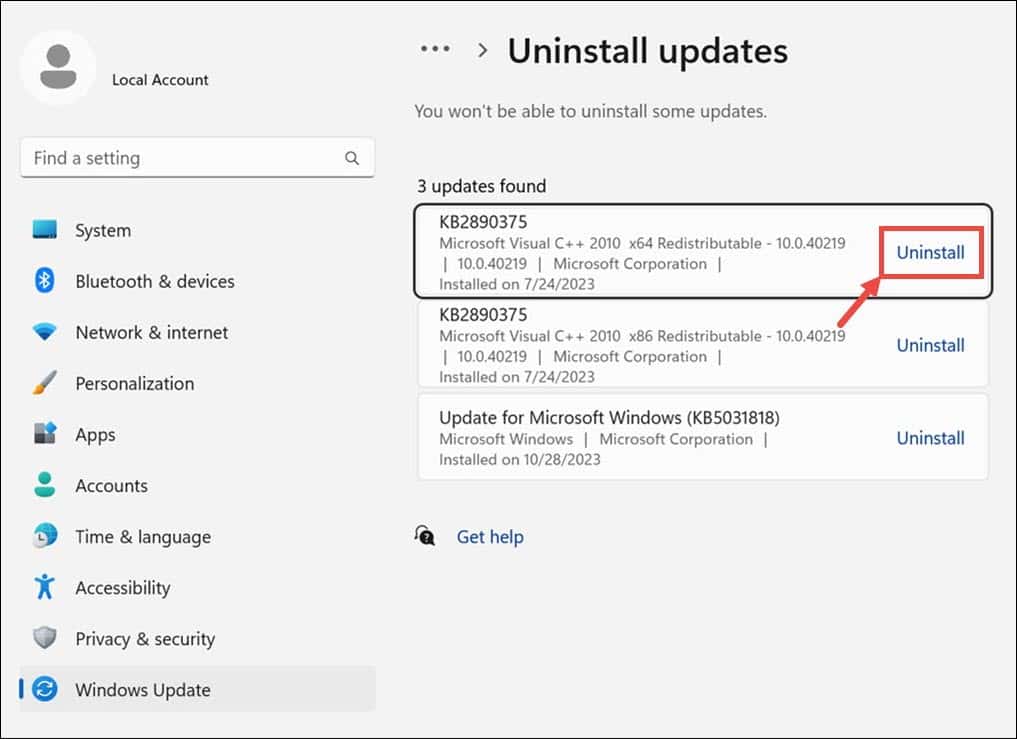
- Look for the recently installed updates and click the Uninstall button.
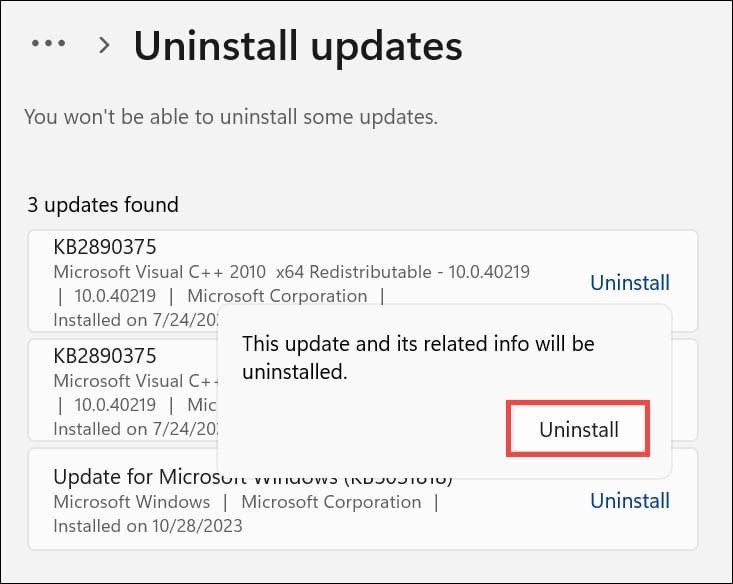
- On the pop-up, click Uninstall to confirm.
3. Uninstall Recently Installed Apps
Similarly, if you suspect that one of the recently installed applications is the root cause of the issue, you can uninstall them.
Here is how to uninstall them in Windows 11 Safe Mode:
- Launch the Control Panel.
- Under the Programs section, click the Uninstall a program option.
- Click the Installed on button under the “Programs and Features” window to sort apps by recent installation.
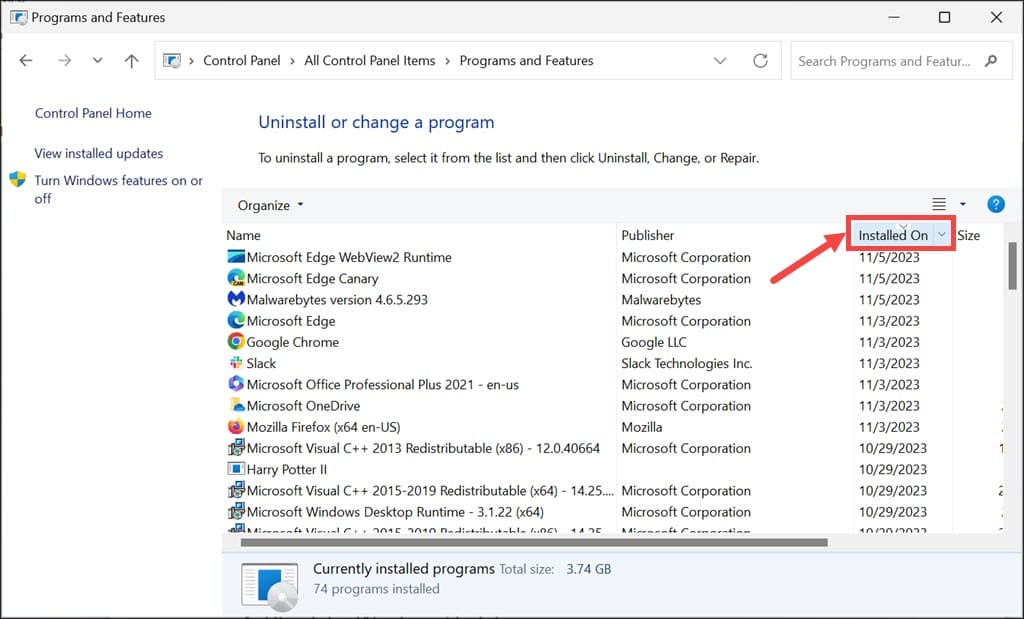
- Select one of the recently installed applications and click the Uninstall button.
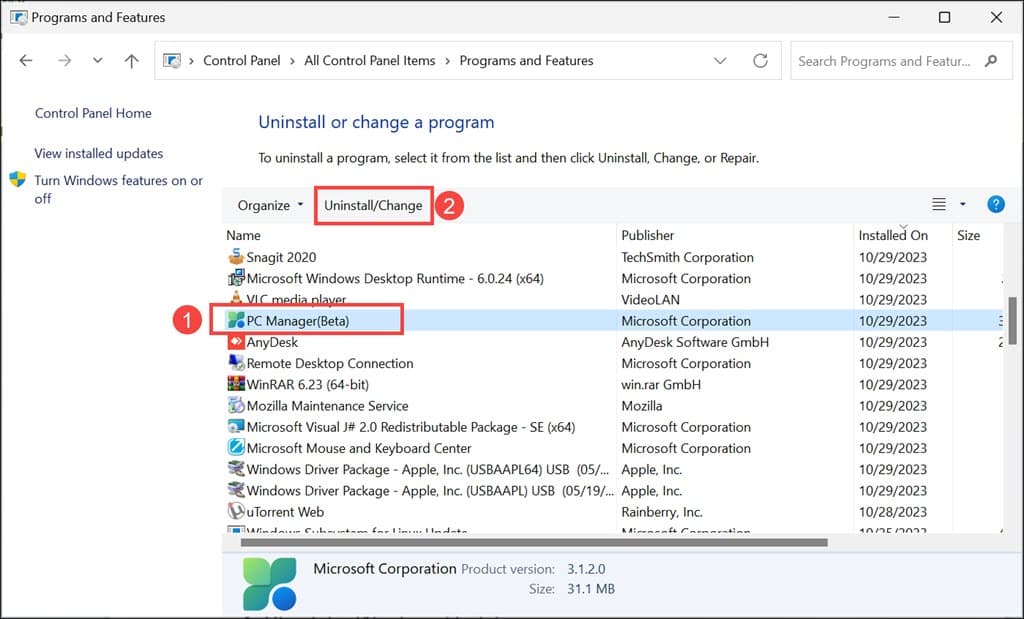
- Confirm uninstallation.
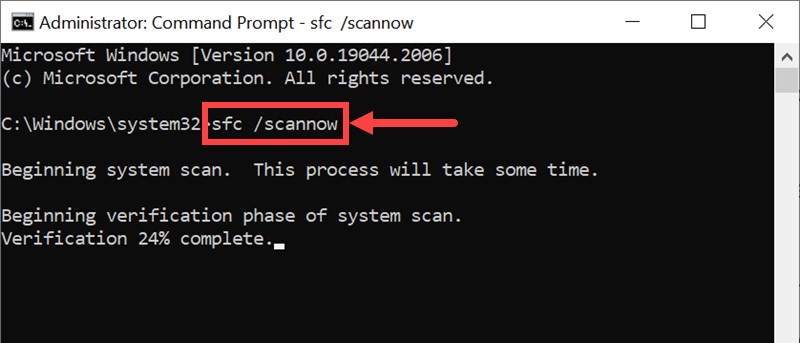
4. Run SFC Command
System File Checker (SFC) is a built-in tool that can help repair corrupted system files. Here’s how to run it:
- Launch Command Prompt with administrator rights by right-clicking the Windows Start button and selecting “Terminal (Admin)” or “Command Prompt (Admin).”
- Type the sfc /scannow command and press Enter.
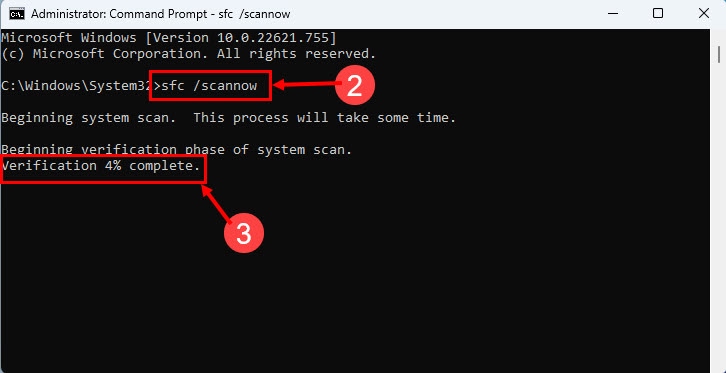
- The command will start scanning your system for corrupted files and attempt to fix them.
5. Check for Windows Updates
Windows updates often include patches for known issues. Make sure your system is up to date to fix the issue.
- Launch the settings by pressing the Windows + I keys.
- Switch to the Windows Update section on the left pane, and click the Check for Updates option on the right.
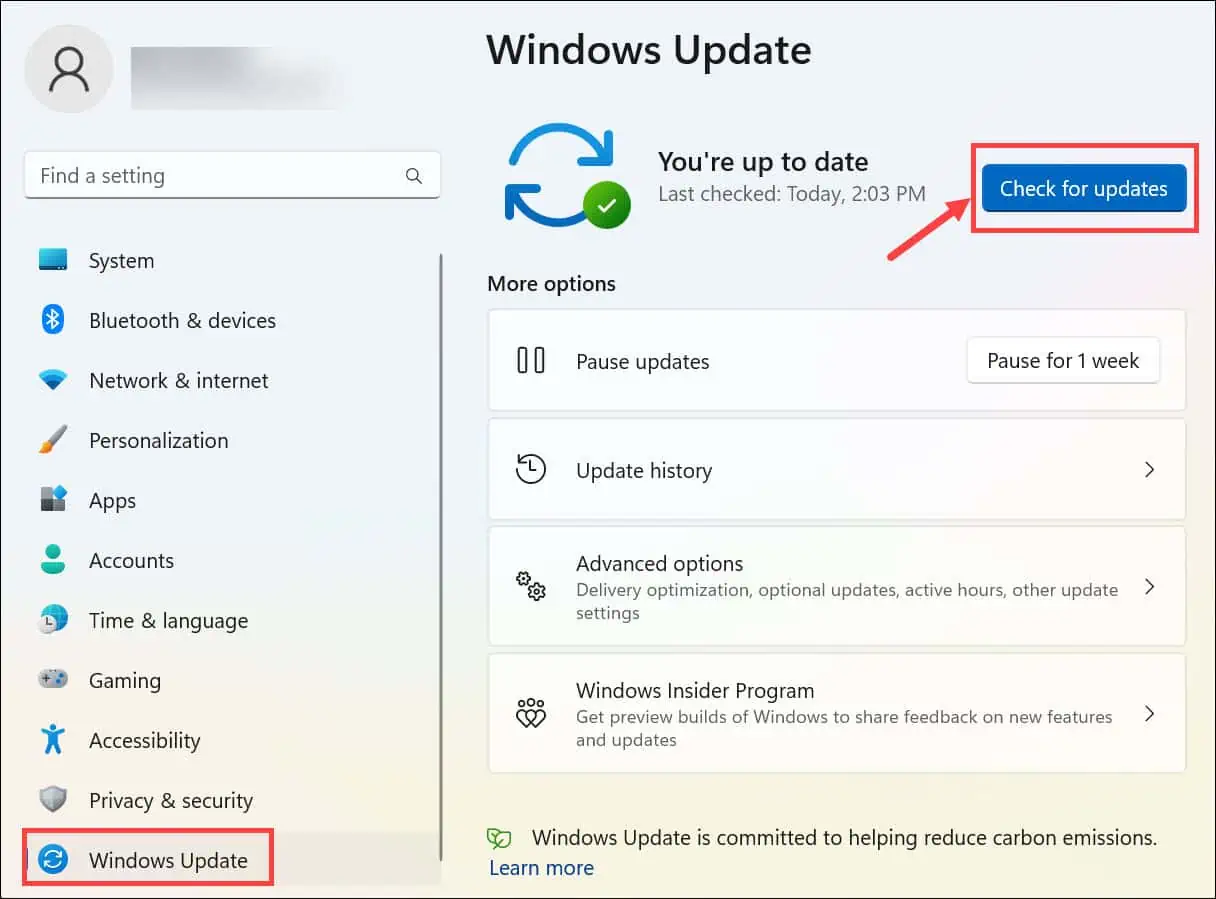
- If any update is available, download and install it.
6. Scan for Malware
Malware and viruses are uninvited guests in your system that can cause chaos, such as BSOD errors. Use a reliable antivirus or antimalware tool to scan your system.
If you don’t have any third-party malware remover, Windows has an in-built scanner that’s more than capable of finding malicious files. Here’s how to use it:
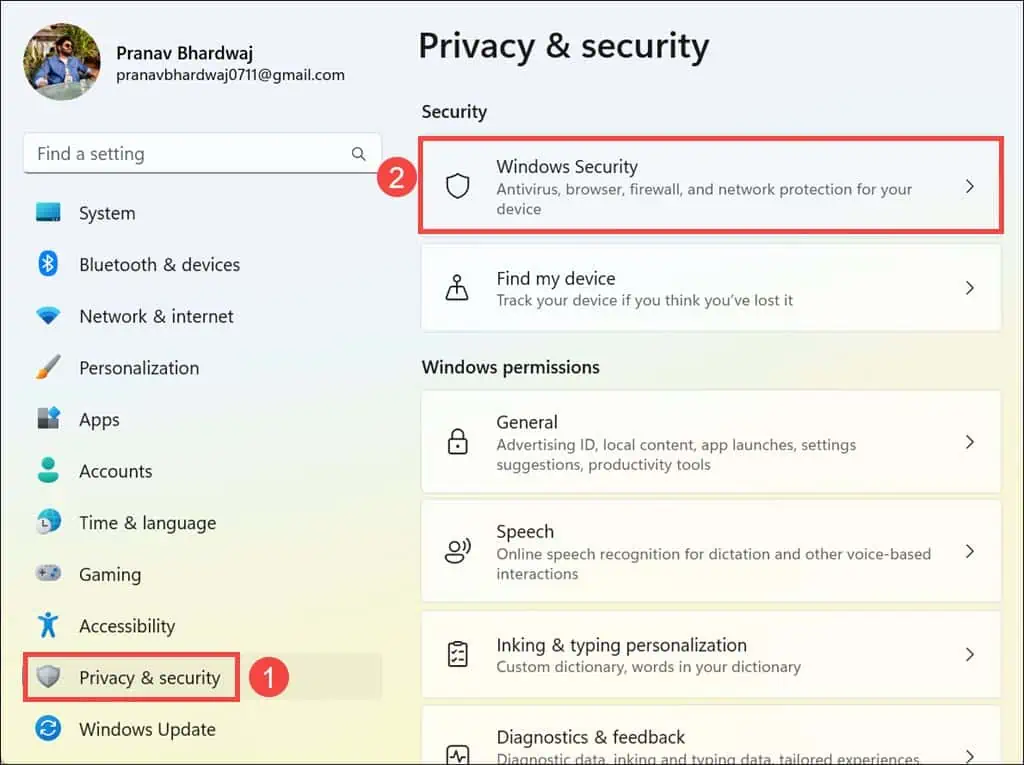
- Press Windows + I to launch Windows settings.
- On the left, switch to the Privacy & security section and select Windows Security on the right.
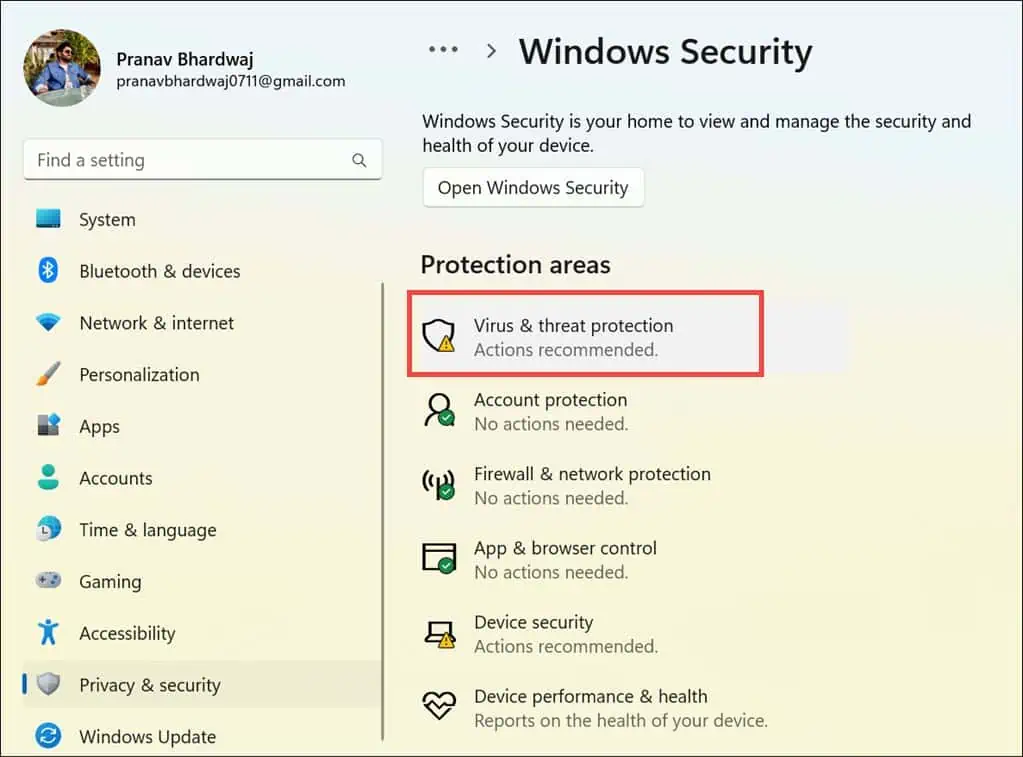
- Under Windows Security, click the Virus & threat protection option.
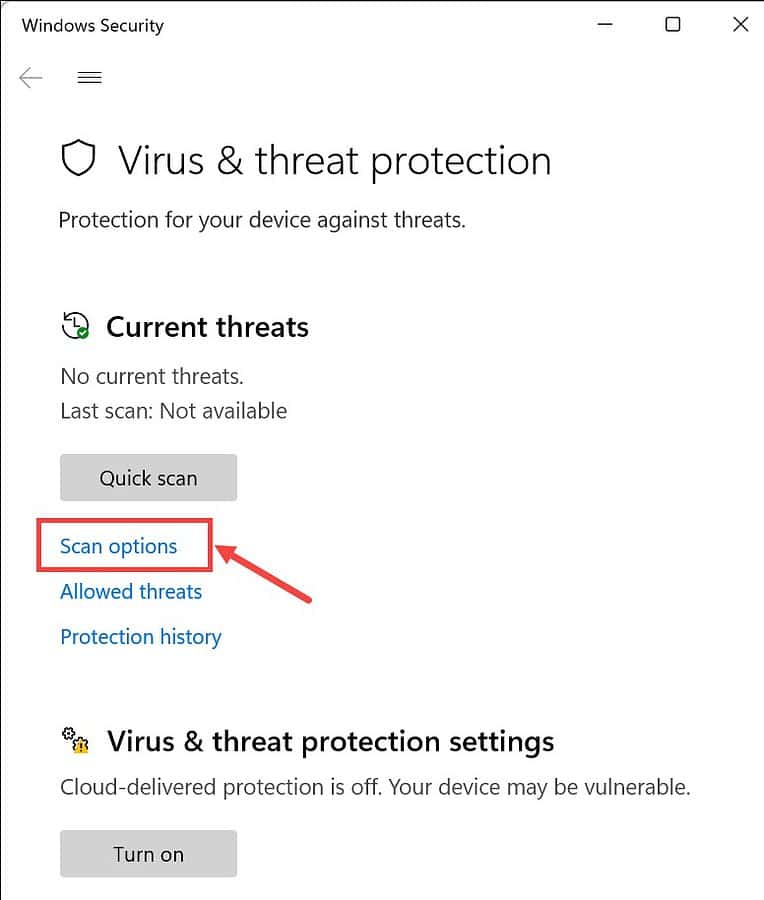
- Click the Scan options.
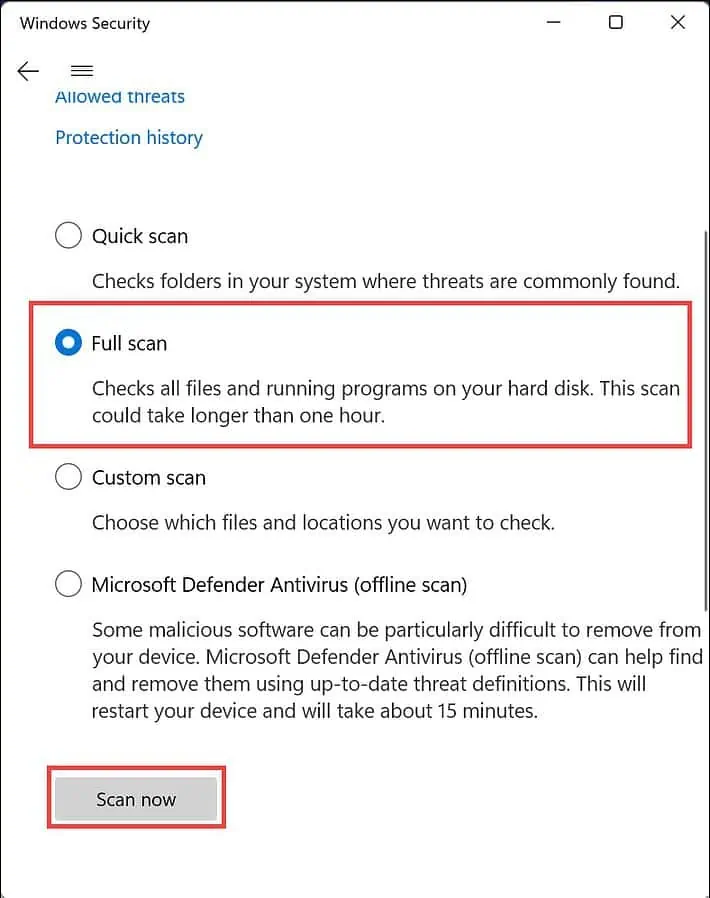
- Choose the Full scan option and click the Scan now button to perform a thorough full system scan.
When Windows Is Unable To Load
1. Check the Cable Connections
Loose connections can result in no response from the hard disk or other system hardware components.
So, ensure all cables connecting your hard drive or SSD to the motherboard are securely attached:
- Power off your computer and unplug it from the electrical outlet.
- Open your computer case to access the internal components.
- Check the connections between the hard drive or SSD and the motherboard.
- Reconnect any loose cables and make sure they’re firmly in place.
2. Check Your HDD or SSD
You should check whether the hard disk where you’ve installed your OS is in working order.
Simply follow these steps:
- If you have another computer available, test the storage drive from the problematic computer on a different system.
- If the drive works fine on the other computer, it may indicate that the issue lies elsewhere.
- If the drive exhibits the same problem on the second computer, you may need to consider replacing it.
3. Unplug Recently Added Hardware
If you recently added a new device to your system, it’s possible that this could be causing the issue. To fix this, try unplugging it:
- Power off your computer.
- Disconnect any hardware that you’ve recently added.
- Reboot your system to see if the issue is resolved.
4. Check Boot Order in BIOS/UEFI
Your BIOS or UEFI settings determine the order in which your computer searches for a bootable device. If this order is incorrect, your PC won’t know where to start.
To check and adjust the boot order:
- Reboot your computer. During the startup process, look for an on-screen message that instructs you on which key to press to access the BIOS or UEFI settings (usually Del, F2, F12, or Esc).
- Navigate to the “Boot” or “Boot Order” section. The exact location and wording may vary depending on your system.
- Ensure that your primary boot device is set to your HDD or SSD.
- Save the changes and exit the BIOS or UEFI.
5. Restart Your PC into Automatic Repair Mode
To apply further fixes, you’ll need to launch Repair Mode on Windows.
If you’re stuck on a BSOD due to the “0x00000053 NO_BOOT_DEVICE” error, don’t worry. After a few restarts, your PC will boot into Automatic Repair Mode.
If that doesn’t happen, you can create and use a bootable USB or DVD drive containing the Windows installation files. Once you’ve booted into Windows Recovery Environment (WinRE), you can try a number of options, such as system restore.
To open Automatic Repair Mode using a bootable USB, follow these steps:
- Insert the USB and restart your PC.
- You’ll get the “Press any key to continue..” option. Press any key to launch the Windows Setup Window.
- Now enter your preferences – Language to install, Time & Currency format, Keyboard or input method. Click Next to continue.
- On the next Window, click Repair your computer at the bottom.
- Next, select the Troubleshoot option.
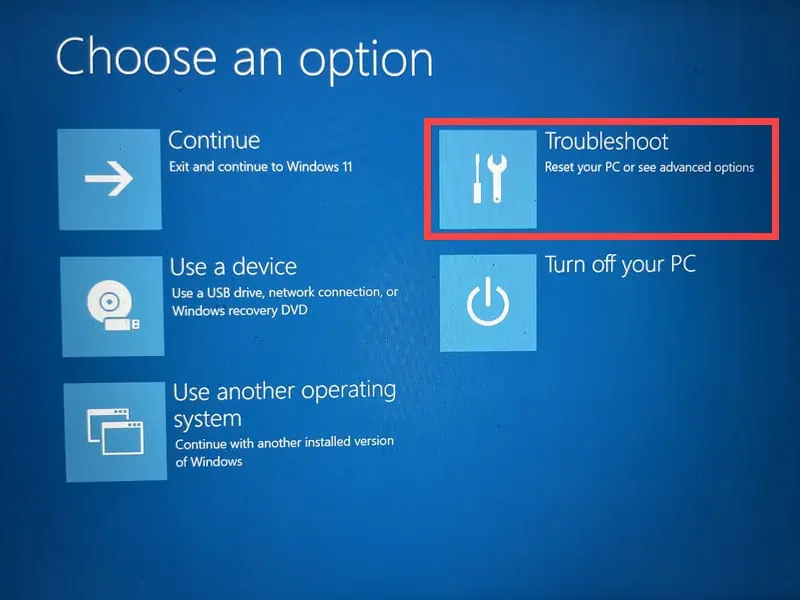
- Then select the Advanced options

- This is the Repair Mode. You’ll get various troubleshooting options here.
6. Use the Startup Repair Option
After reaching the automatic repair mode using the above steps, you can start applying the troubleshooting. You should first do the Startup Repair option.
Here’s how:
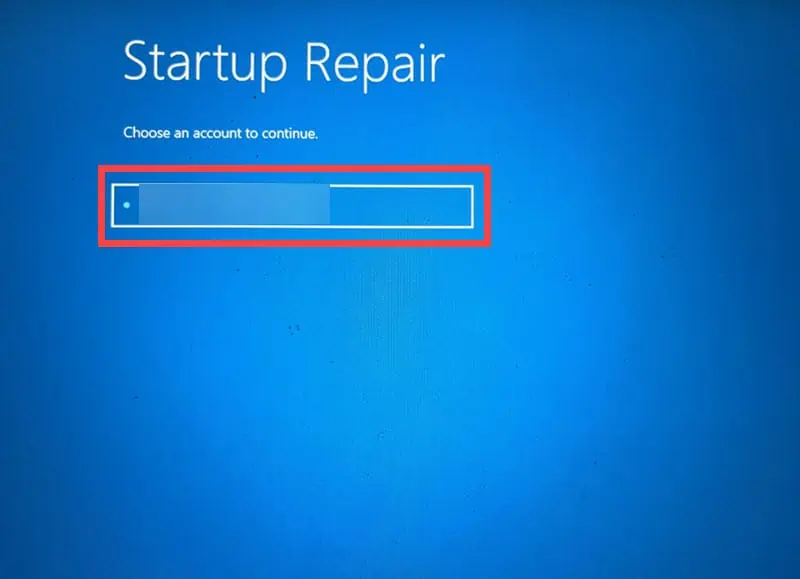
- Under the Advanced options, choose Startup Repair.

- Your system will be restarted.
- Choose an account to continue. If you have multiple accounts, it’s recommended to select the one with administrative rights.
- Next, enter the password for the selected account.
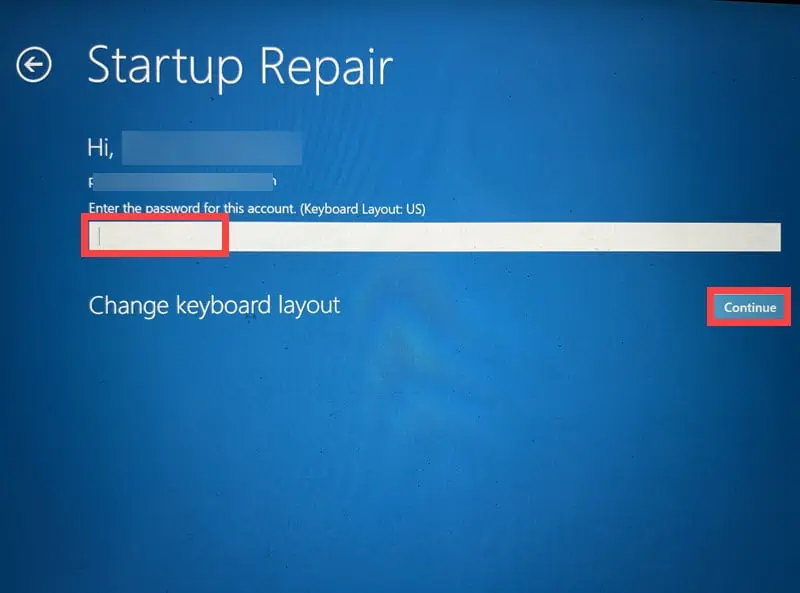
- Follow the on-screen instructions to complete the Startup Repair.
7. Run SFC and DISM Commands Using the Command Prompt
After using the Startup Repair option, if you still find yourself seeing the “0x00000053 NO_BOOT_DEVICE” error, it’s time to run SFC and DISM commands.
Here’s a step-by-step guide:
- Under the Advanced options, select Command Prompt.
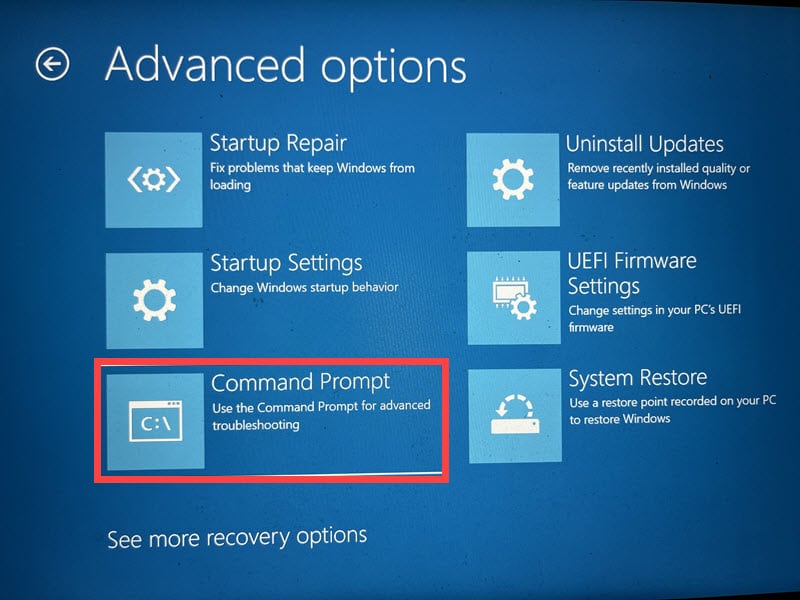
- Type sfc/scannow command and hit enter. This will scan your system for corrupted files and replace them.
- Once it’s done, type dism/online/cleanup-image/restorehealth command and press enter again. This will repair your damaged or corrupted system files.
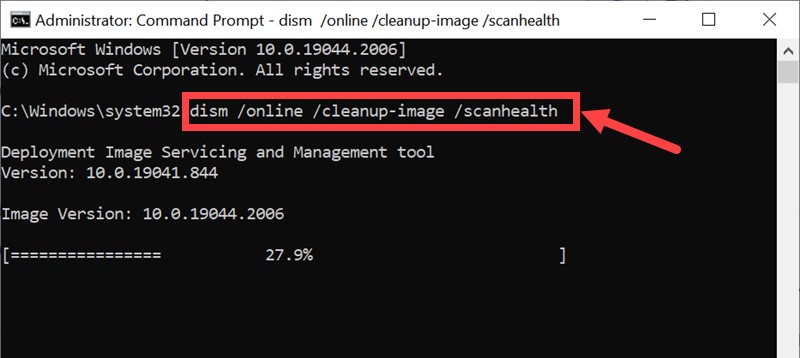
After the process is complete, restart your system.
8. Uninstall Recently Installed Updates
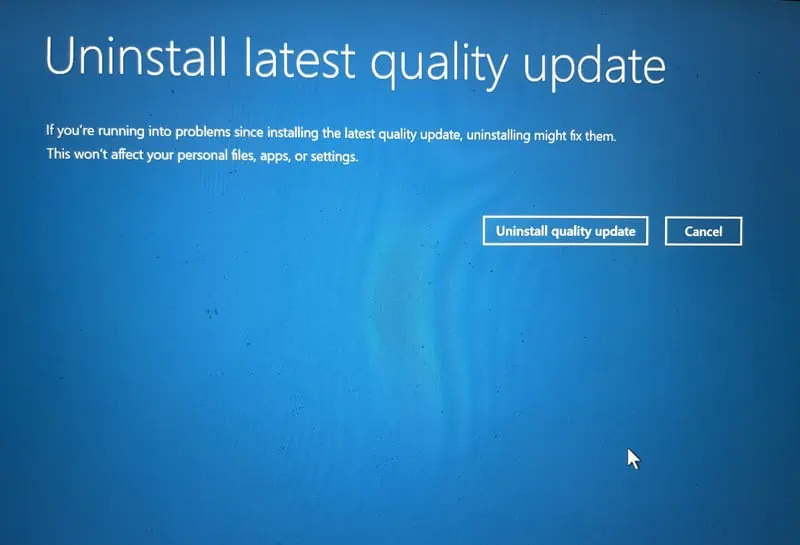
Next, you can try the Uninstall Updates option. This will help remove any recently installed updates that may be causing the “0x00000053 NO_BOOT_DEVICE” error.
Follow these steps:
- In Automatic Repair Mode, under the Advanced options menu, select Uninstall Updates.
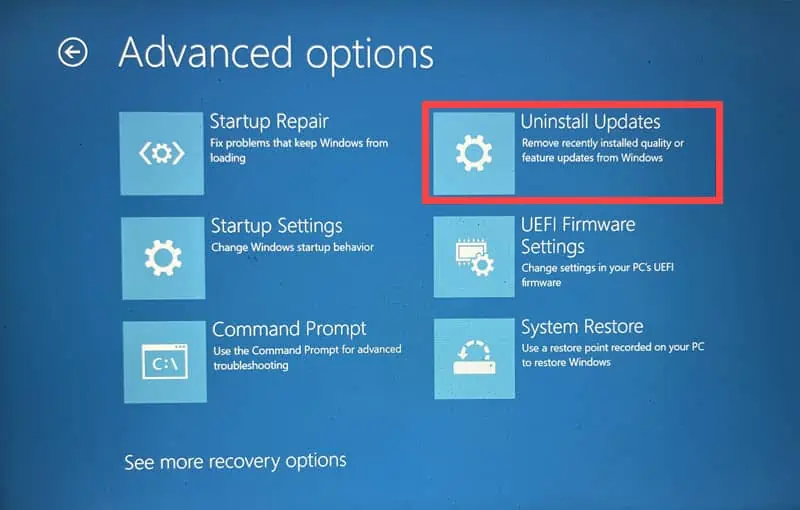
- Next, select the update that you might think has caused the issue.
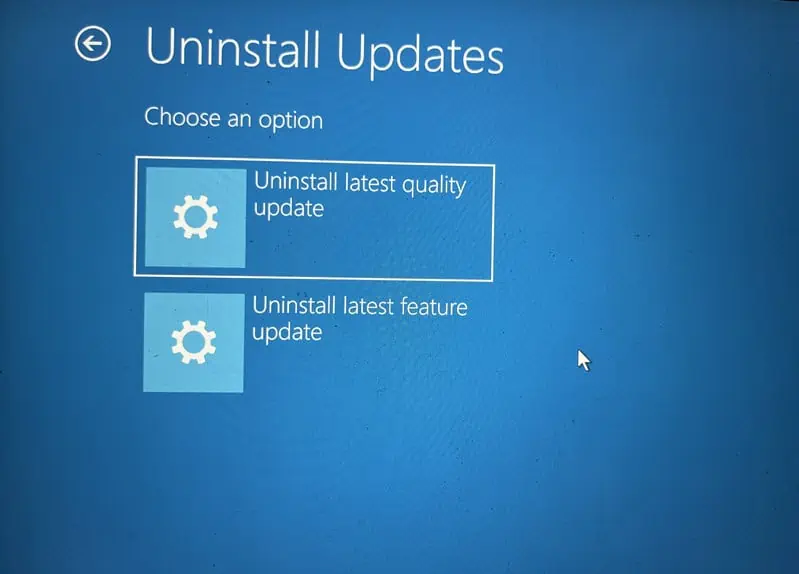
- Follow the on-screen instructions to uninstall it.
9. Restore Your Windows
If none of the above methods work, you can use the System Restore option to undo any changes your system has undergone. This will help you restore your system settings to a time when no such error existed.
To use this option, follow these steps:
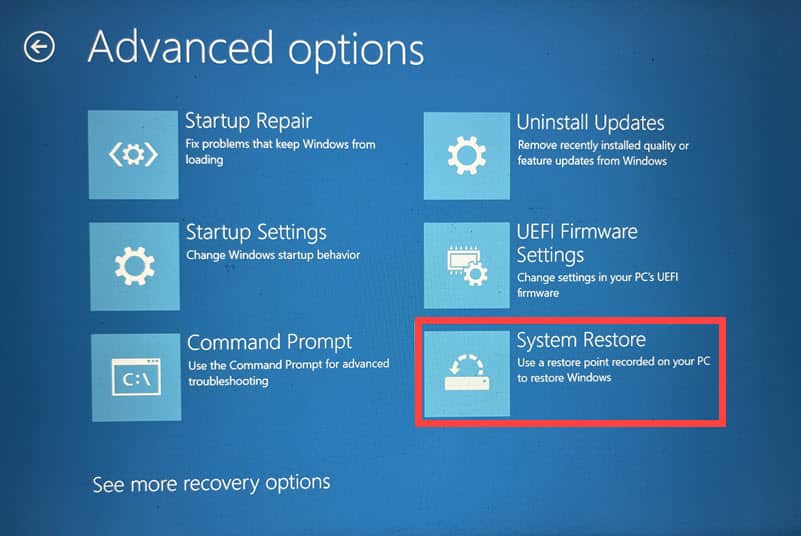
- In Automatic Repair Mode, under the Advanced options menu, select System Restore.
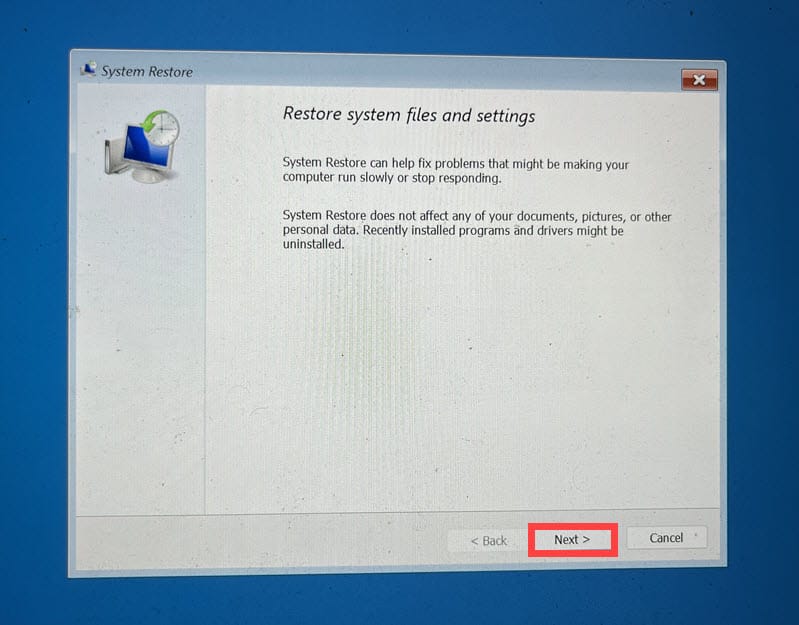
- Under the System Restore window, click Next to begin the process.
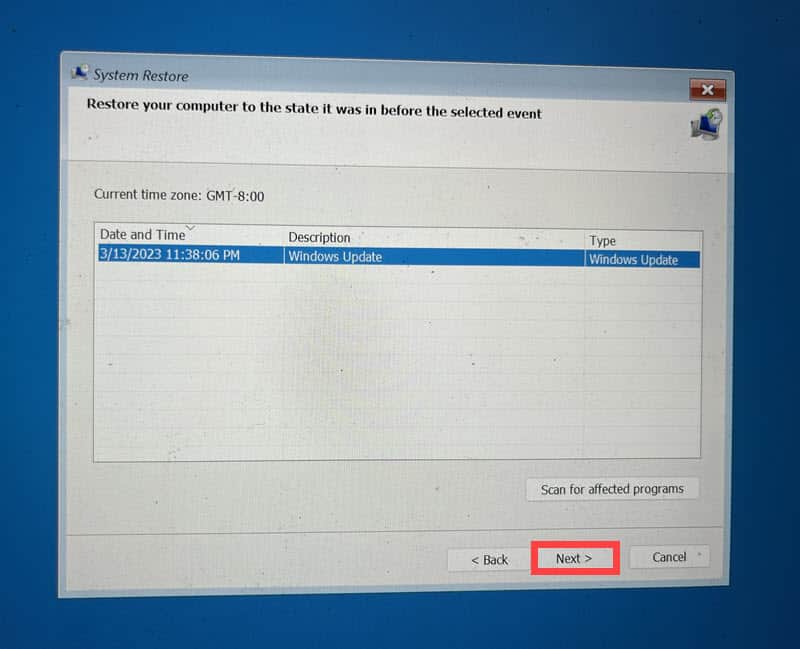
- Select a restore point and click Next.
- Confirm your system restore point and click the Finish option.
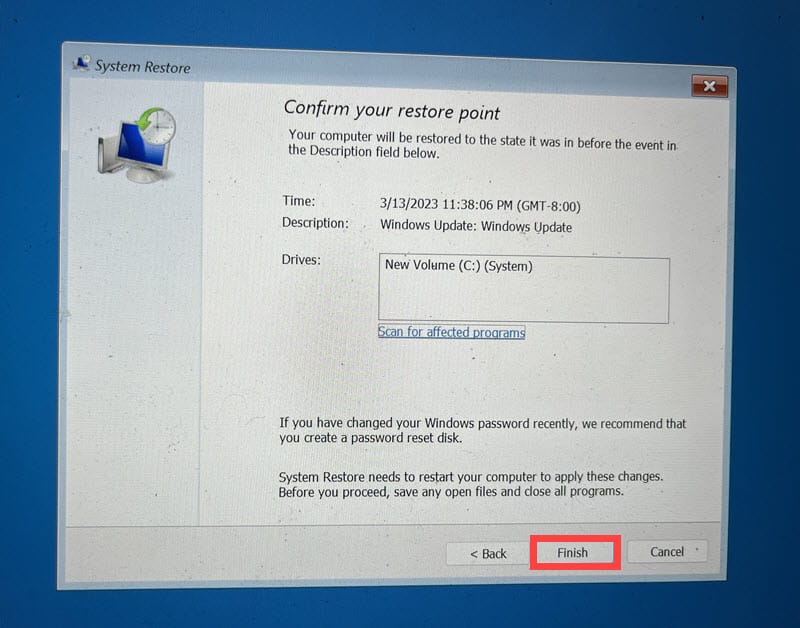
- Follow the on-screen instructions to complete the System Restore process.
Summary
The “0x00000053 NO_BOOT_DEVICE” error can be a real headache, but with patience and the right steps, you can get your Windows system back on track. Whether Windows is loading or unable to load, the key is to address the root cause, which can be a software conflict, hardware issue, or corrupted files.
Start with the solutions that match your specific situation. If all else fails, seek professional assistance for further guidance. I hope these solutions help you resolve the issue and get your computer running smoothly again.
Read our disclosure page to find out how can you help MSPoweruser sustain the editorial team Read more


Improve this guide

User forum
0 messages