PromeAI Review: Can It Compete With Other AI Generators?
![]() 18 min. read
18 min. read
![]() Published on
Published on
Share this article

Improve this guide
Read our disclosure page to find out how can you help MSPoweruser sustain the editorial team Read more
Are you looking for a PromeAI review that covers this massive platform in-depth? Well, it’s your lucky day!
I’ve used and reviewed every single feature PromeAI has to offer. I also included samples I’ve generated, so you can see for yourself what kind of results to expect.
Sounds good? Let’s get into it!
What is PromeAI?
PromeAI is a platform for generating and editing images and videos.
It offers some seriously advanced features and outputs packed in a user-friendly interface. However, some of the features seem a bit outdated, but you better see it for yourself as I break them open one by one.
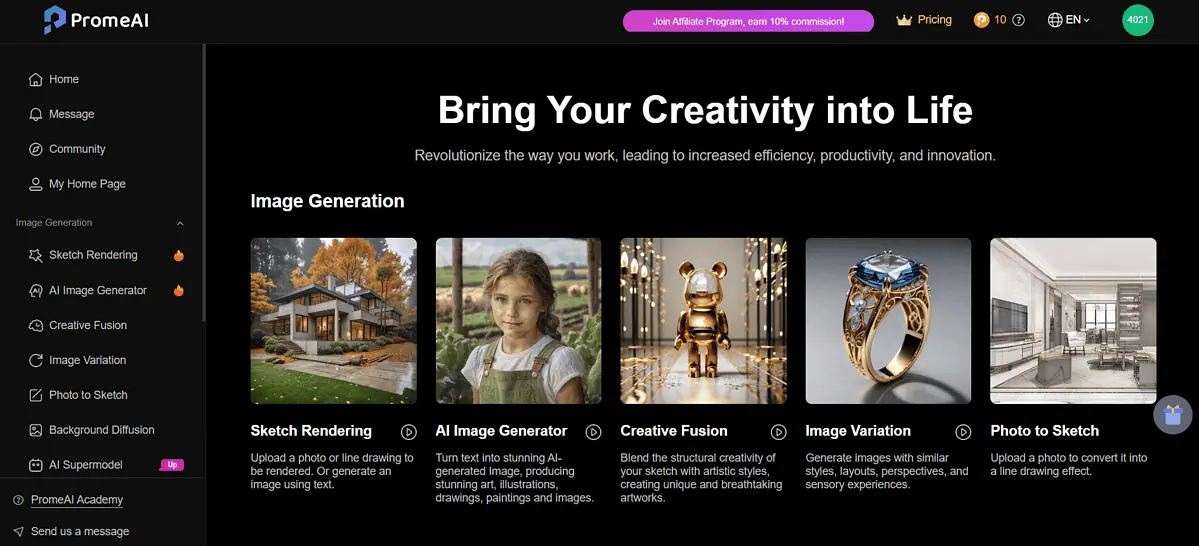
Features
All of the features are grouped into three categories:
- Image Generation (10 features)
- Image Editing (5 features)
- Video (2 features)
Here’s the complete list:
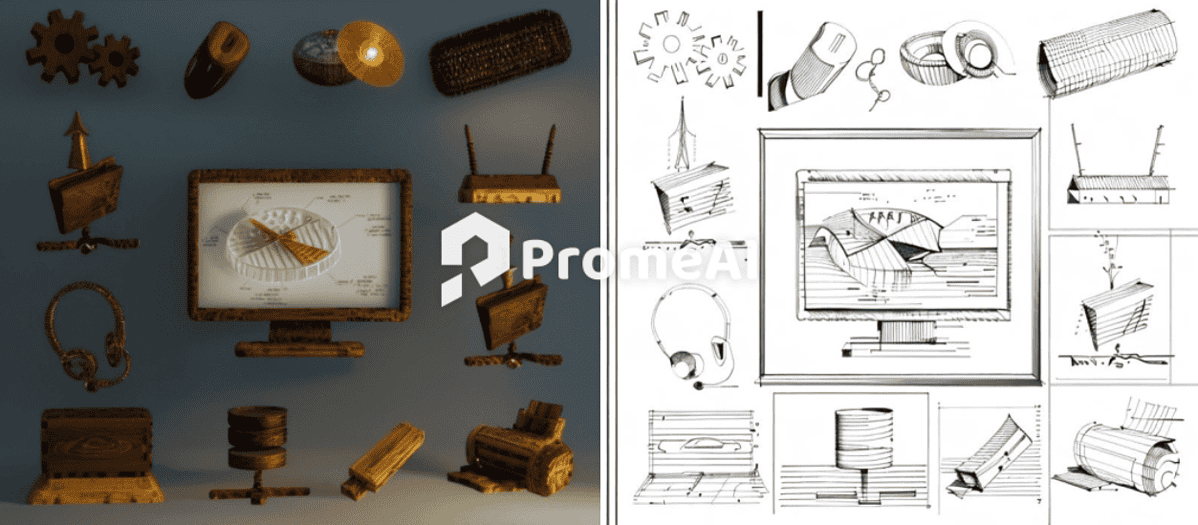
Sketch Rendering
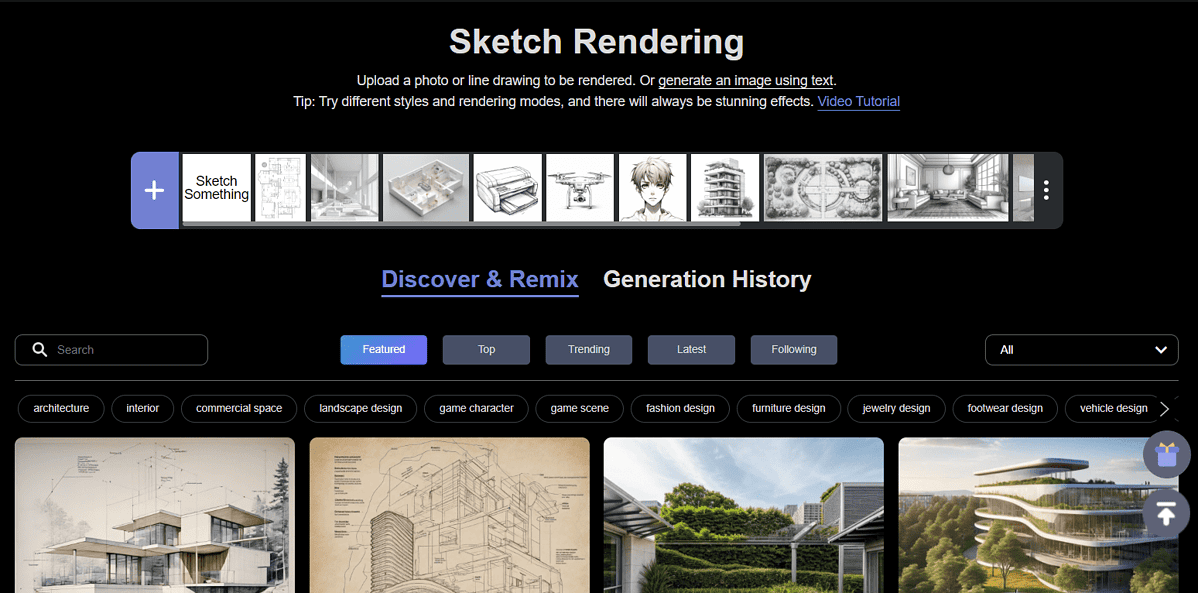
The biggest obstacle inexperienced users face when using AI image generators is describing what they want. This is how prompt engineering started as a serious profession that covers transforming ideas into words that AI models can use to generate a perfect output.
Nowadays, there’s even an easier way to do this.
Take a pen and paper and simply sketch what you want the AI model to design after. If you’re comfortable with digital tools, you can also create a digital sketch.
Whatever the case, you’ll need a photo (or export of a digital file) which you then upload to PromeAI Sketch Rendering. After a few moments, you’ll get several variations created based on your sketch.
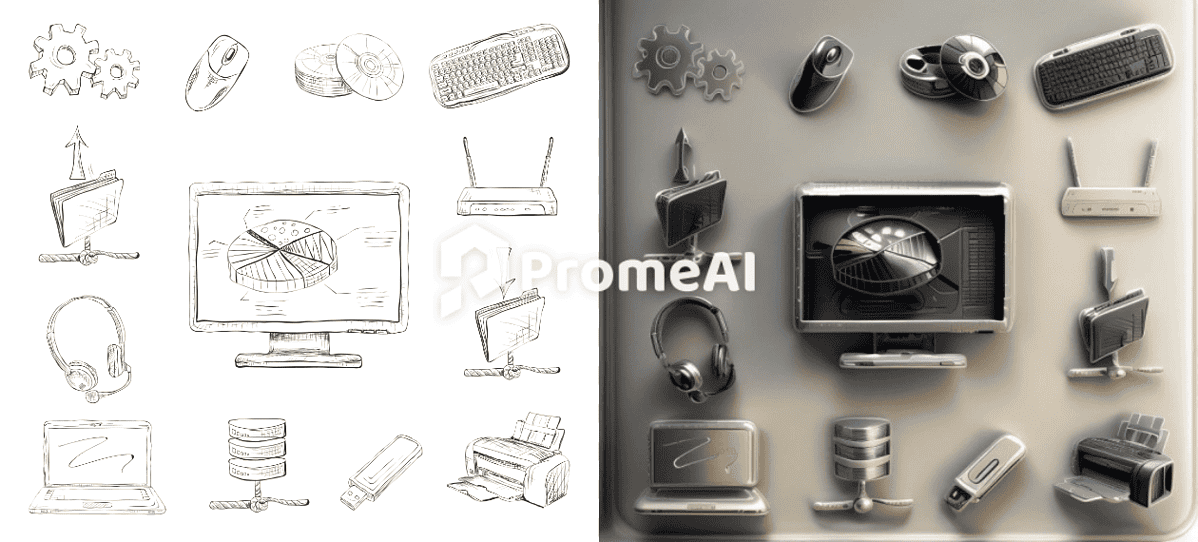
I’m not good at drawing or sketching so I took an image from the internet and put it in PromeAI, and here’s what I got:

Input designed by Freepik
As you can see, the AI perfectly detected the various shapes in the original sketch.
The best part is that you can use additional prompts to describe what you want to see in the final output. This way, I could say that I want the material to be aluminum, so instead of the wooden objects, I’d get something different.
AI Image Generator
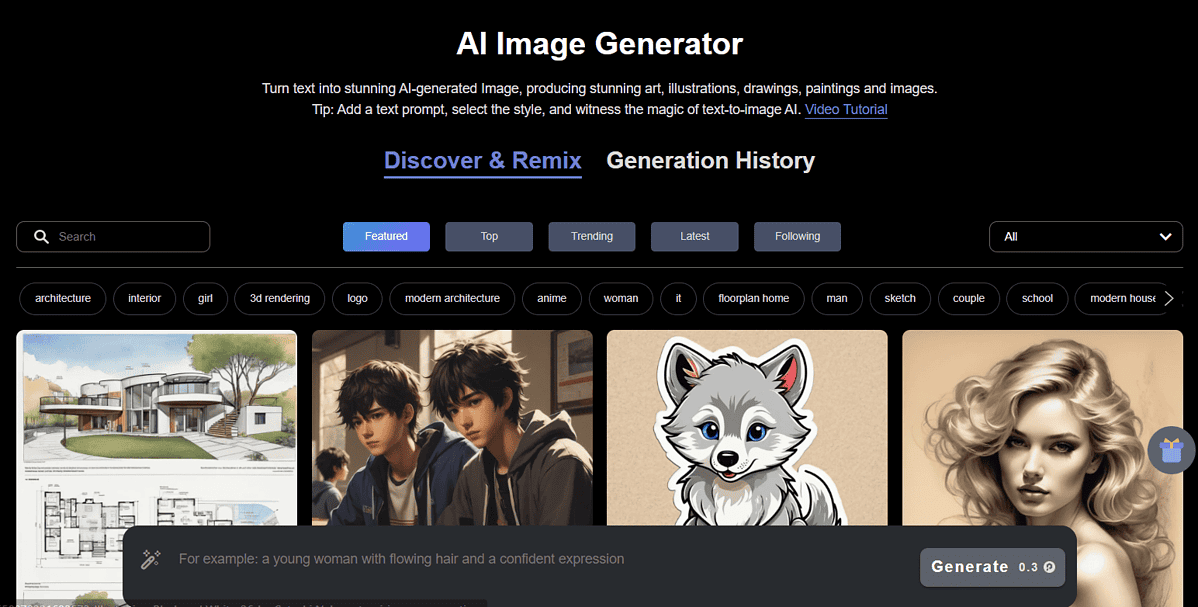
There are so many solutions on the market that it’s very difficult to have a universal pick for the best image generator. Let’s see if PromeAI can compete.
The interface is pretty simple, and besides the prompt, users can add:
- Style
- Scene
- Perspective
- Negative Prompt
- Size
- Artistry
- Lighting
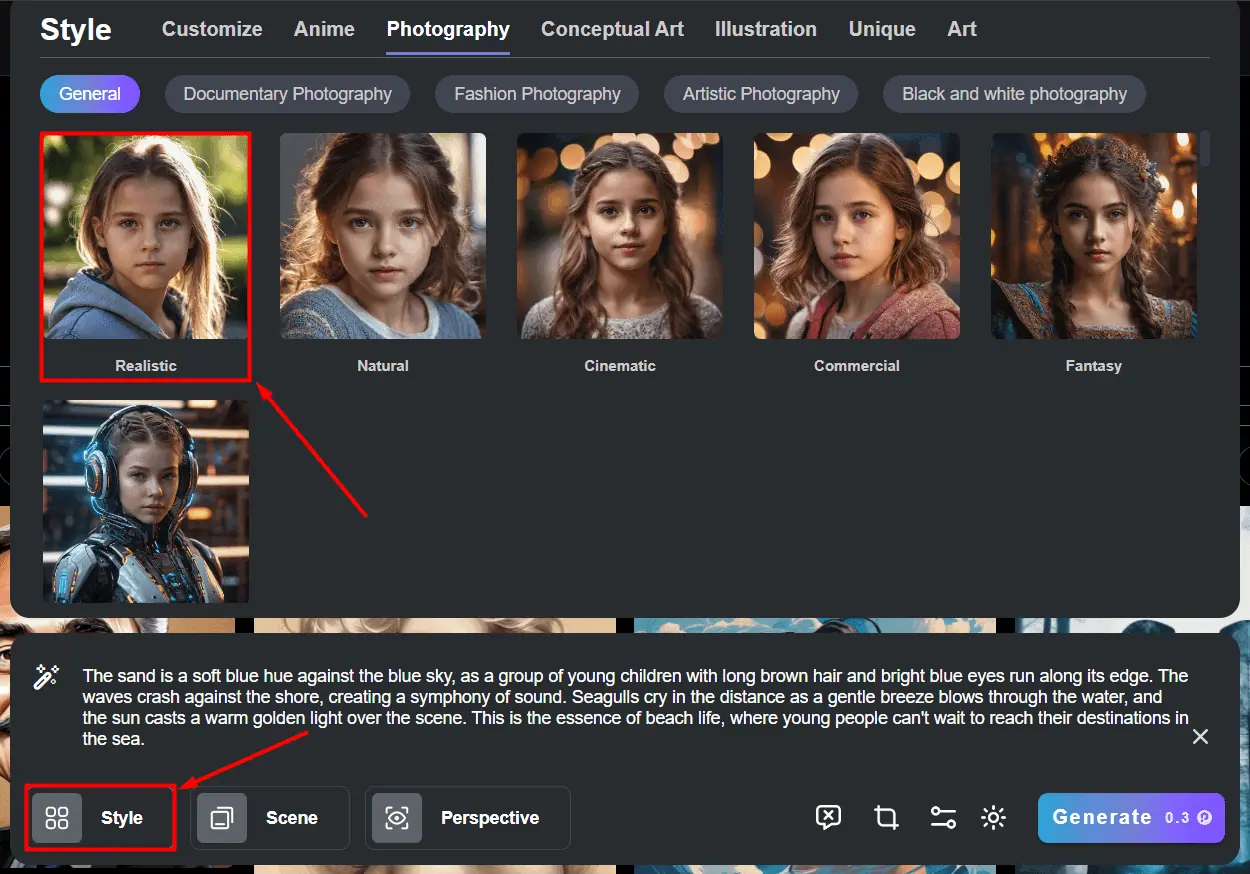
Currently, there are several Style options, but the default one is Photography. It’s divided into several categories so you can aim for realism, cinematography, commercials, and many more.
Other popular ones include anime, conceptual art, and illustrations. Each one has a subsection of virtually endless sub-styling options which you can choose on click.
The objective is to make it easy for the user to select what they want to see as the output.
If you’re after a specific Scene, PromeAI has you covered. Like with Style, you can choose from various categories like architecture, interior, or commercial spaces.
An additional selection is also enabled so you can put the focus on a villa with architecture, a living room interior, or an office space. Once again, there are so many options to choose from.
Perspective is an option that tells the AI model how you want your character to be placed. You can go all the way from macro shots to drone views to get perfect output.
Use a negative prompt to describe what you don’t want to see in the output.
There are 13 different Size options with both vertical and horizontal aspect ratios. Artistry is a slider that tells to the AI model how creative it should be.
Finally, you can choose from dozens of different Lighting options.
Here’s an image I generated with the following prompt:
People camp in nature with their families. Sunset on the central part of the sky and green trees on the sides.
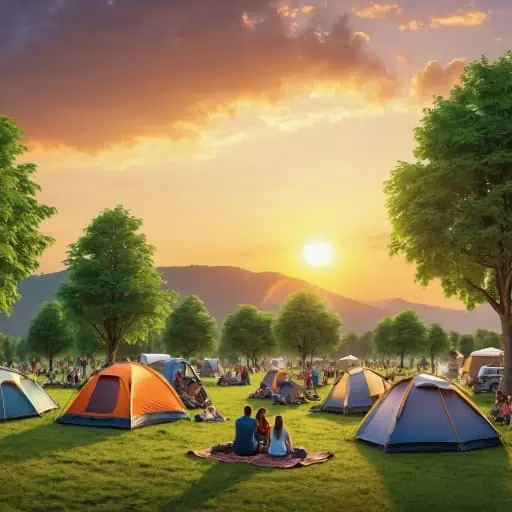
I got this result with the default settings.
Creative Fusion

Creative Fusion lets you mix two different images and copy styles from one image to another.
You can use any input image you have on your computer. For the style image, you must choose one of the available styles from the library.
Although this approach limits creativity, it’s reasonable. Allowing the user to upload the style reference image can cause poor results.
Additionally, styles in the library cover most of the potential needs you have, so you’ll have no issues there.
Besides the style, you can select Render Mode. The default one is Precise and it keeps the accuracy of the original image. To put in more AI creativity you can go for Outline.
There’s even a Depth mode that works great for real-life photos and screenshots of 3D models.
Finally, you can add a positive and negative prompt if you want to describe textually what you want to see in the output.
I used the sketch I showed you above with a Product Design style and no additional settings. Here’s the result:
Here’s a list of some of the best AI image generators for product design.
Image Variation
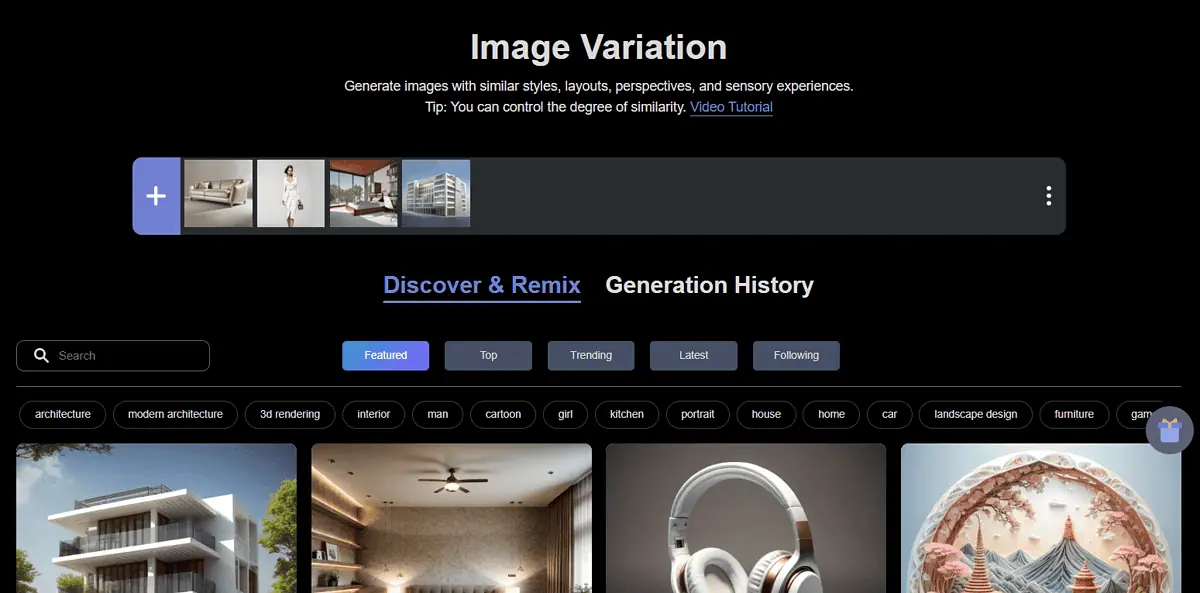
Generating images with similar styles is very important in many use cases. Regardless if you’re building a social media profile or presentation, you want to keep the same design, colors, and details over your visuals.
That’s why I’m thrilled to show you the Image Variation feature.
You can adjust the level of variation (from 0 to 100) using the slider. This, alongside the prompt, is the only setting you have on this feature.
I’ve uploaded the image I originally generated with the AI Image Generator feature and decided to add the following prompt:
Clouds on the sky and rain slowly falling.
This is the result:
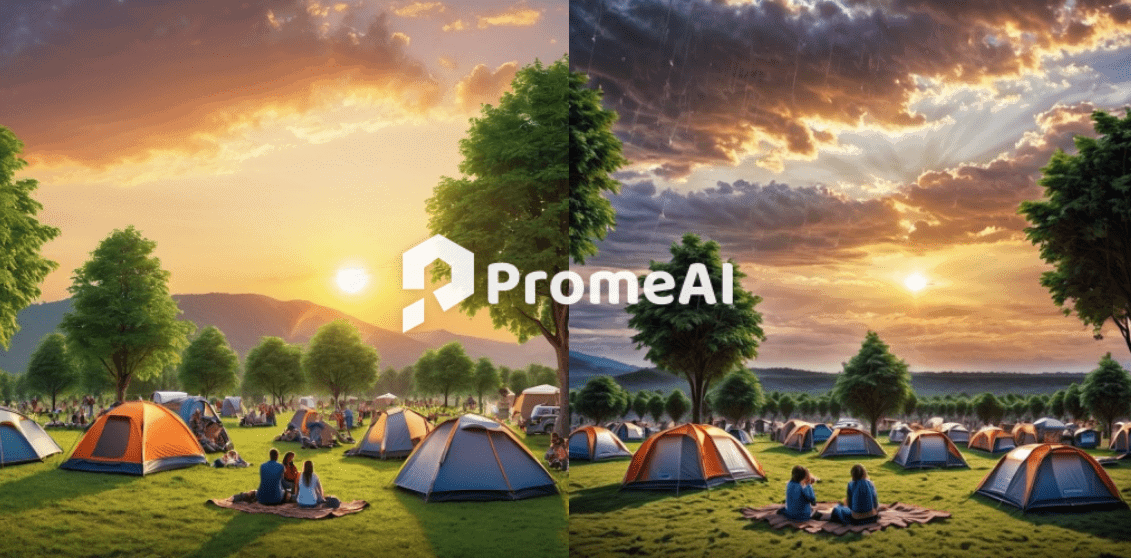
Something I genuinely was surprised with is that in the second image, there are much less people. This means that the model genuinely considered the prompt I added.
Photo to Sketch
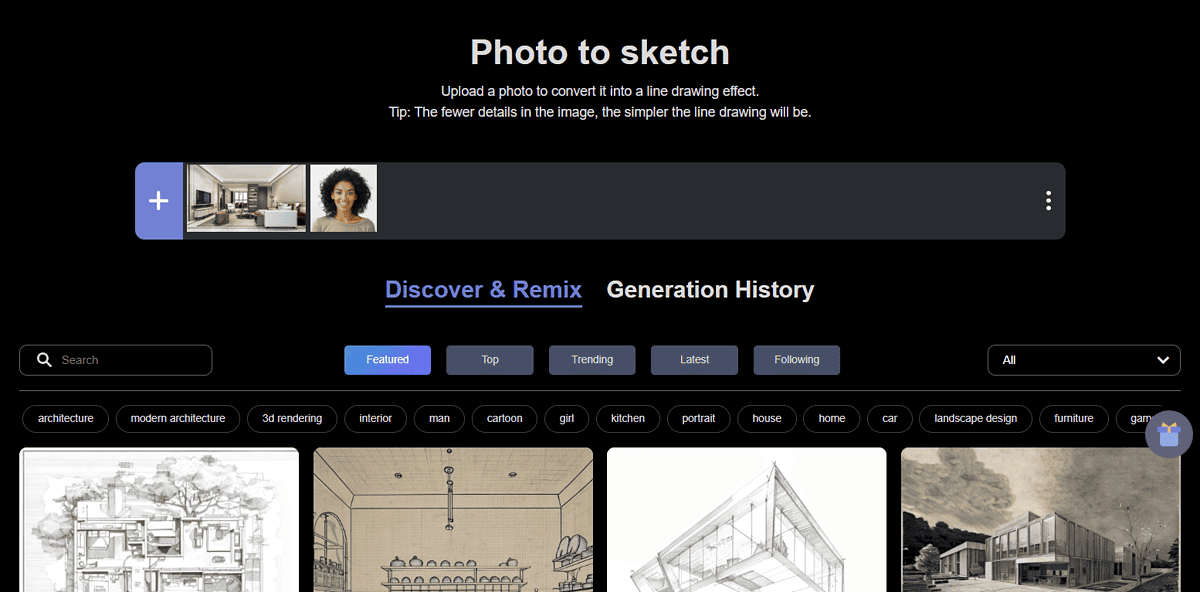
Remember how I praised the possibility of transforming a sketch into an image? Well, this time is the other way around.
If you want a detailed sketch you should upload an image with more details. Simple drawings can be generated from images with fewer details.
There are two types of sketches one can generate:
- Design
- Art
Design sketches are usually more precise and include only necessary details. On the other hand, Art sketches can include grayscale coloring and come in various settings (newspaper, comic, woodcut, etc.)
Here you have two options for Render Mode:
- Precise
- Outline
They function similarly to the ones in the Creative Fusion feature.
Since I wanted to make things a bit more interesting, I uploaded the image that PromeAI generated based on my sketch. I left the default settings and after hitting generate I got this:
I didn’t get the sketch that I initially began with, but that wasn’t the goal in the first place.
Background Diffusion
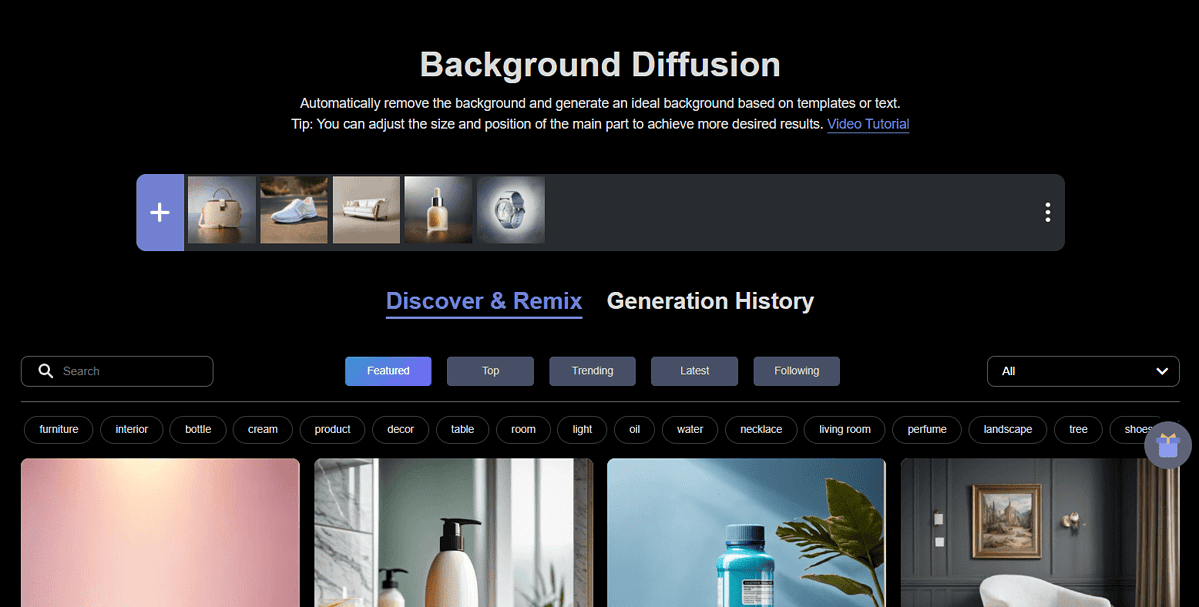
Creating a perfect product photo isn’t easy. However, even if you don’t have professional equipment or background, it’s still achievable.
With the Background Diffusion feature of PromeAI, you can upload the photo and get a top-notch result.
Here’s one sample from the gallery:
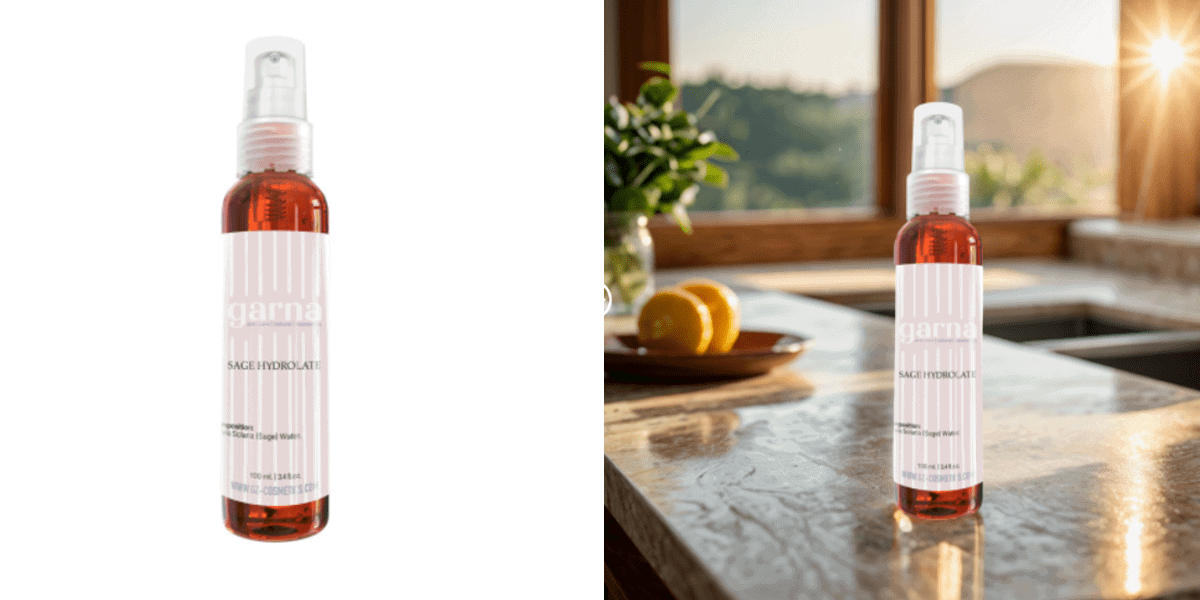
As you can see the product was initially captured on a plain white background. After uploading into the Background Deffussion, you have two options:
- Manually select the product
- Leave the selection to the AI
In either case, you can expect to get good results. However, it’s good to know that you can fix minor mistakes the model can make while recognizing the product on the input photo.
There are several presets for backgrounds:
- Custom
- Pure color
- Small objects
- Indoor furniture
- Portraits
Each one of these comes with dozens of options. Once again, you don’t need to be an expert to select and generate a perfect output, in this case, a product mockup.
Additionally, you can control the output’s scale and use the slider to adjust the balance between Enrichment and Precision.
AI Supermodel
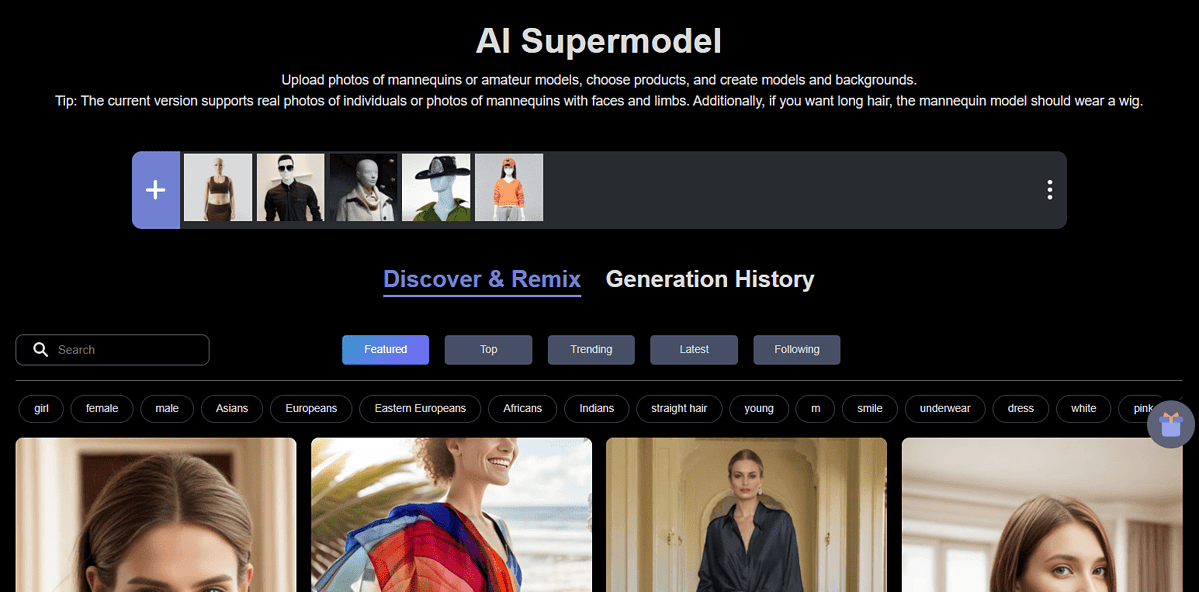
Although not much different result-wise compared to Background Difussion, there are some extras you get by using the AI Supermodel.
It does the same thing as the previous feature but for people. It can also be a mannequin with a face and limbs.
After uploading an image, I was prompted to select the area I wanted to keep. The selection was easy, although not super accurate.
Once that’s done, I choose a suitable model. These are divided into three categories:
- Female
- Male
- Custom
Each of the categories has several subcategories. For instance, Area describes the skin tone of your model, while expression defines how you want the facial expression of the output to look.
There are several pretty self-explanatory subcategories like age and hairstyle.
As for the available backgrounds, you can place your supermodel outdoors, indoors, or have a pure color background.
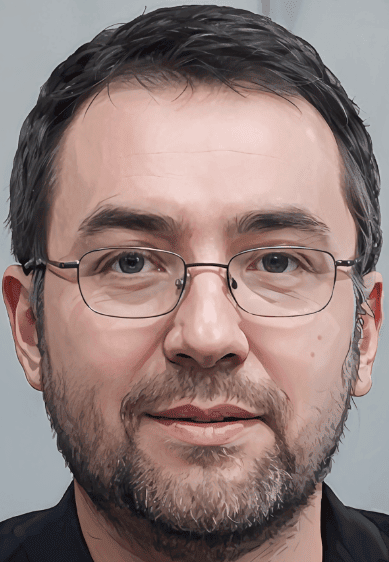
After making all the necessary selections, this is the result I’ve got:
The input was generated with thispersondoesnotexist.com.
Text Effects
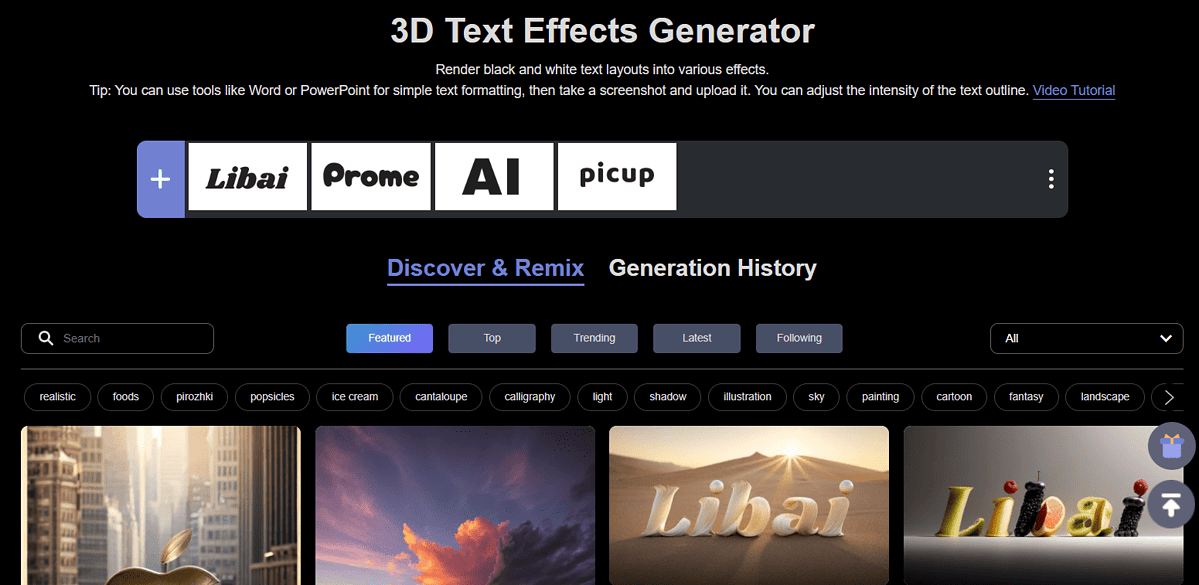
Text effects were one of the most popular forms of computer graphics when modern computers came up. With the recent AI developments, they’re regaining popularity.
That’s why many multipurpose AI tools, like PromeAI, include the Text Effects feature.
However, I instantly experienced a problem. There’s no text input option. For the input, you must use a screenshot of the text that you wrote elsewhere.
This instantly raised suspicion, since I’m aware of how much some AI models (used to) struggle with text, let alone screenshots of text.
After uploading the screenshot, I was prompted to choose one of the available styles:
- Realistic
 Calligraphy
- Light and shadow
- Material
The only other option is the Render Mode, which doesn’t differ from the previously described feature.
Opinion: This is a strong point of using PromeAI. Even if you don’t use all features initially, at some point you might want to do exactly that. You’ll be surprised by how easy it is to adjust when the same terminology for settings is used.
I took a screenshot of the title of this feature, and this is what I got with Calligraphy and standard Render Mode:
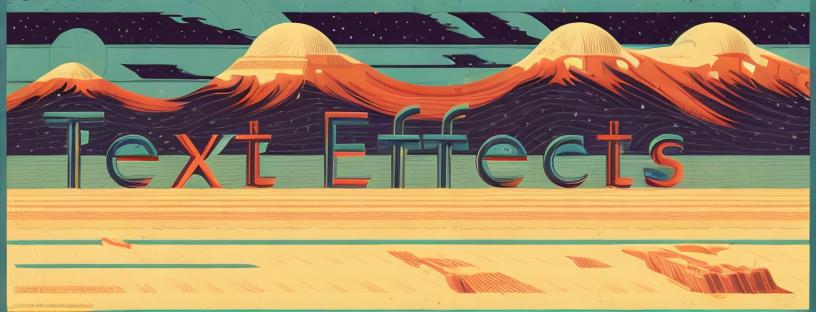
Unfortunately, the AI model will keep the original font, so if you want anything different, you must fix that before uploading the screenshot of the text.
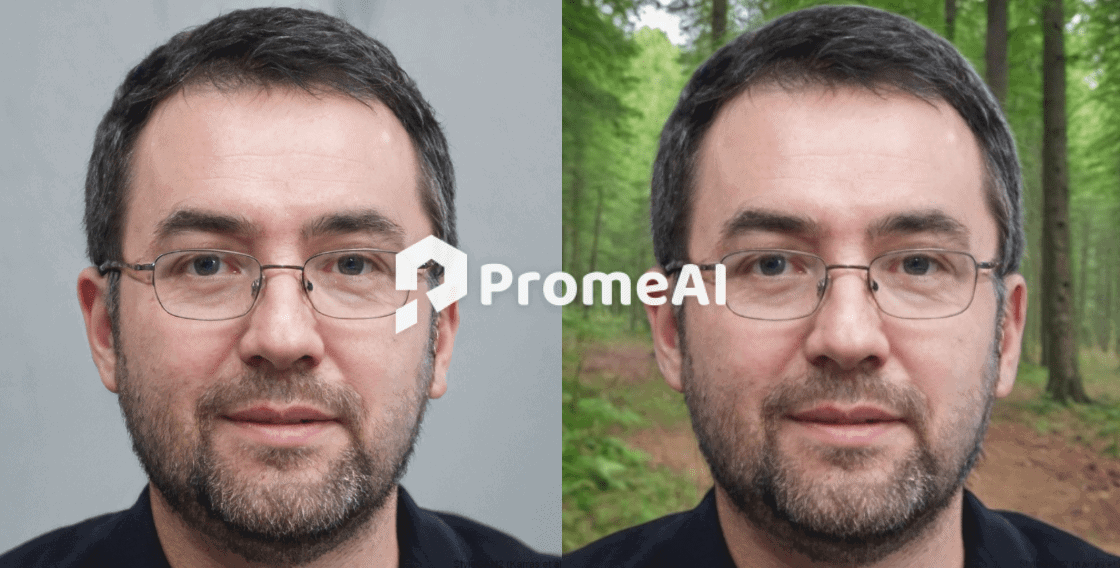
AI Headshot
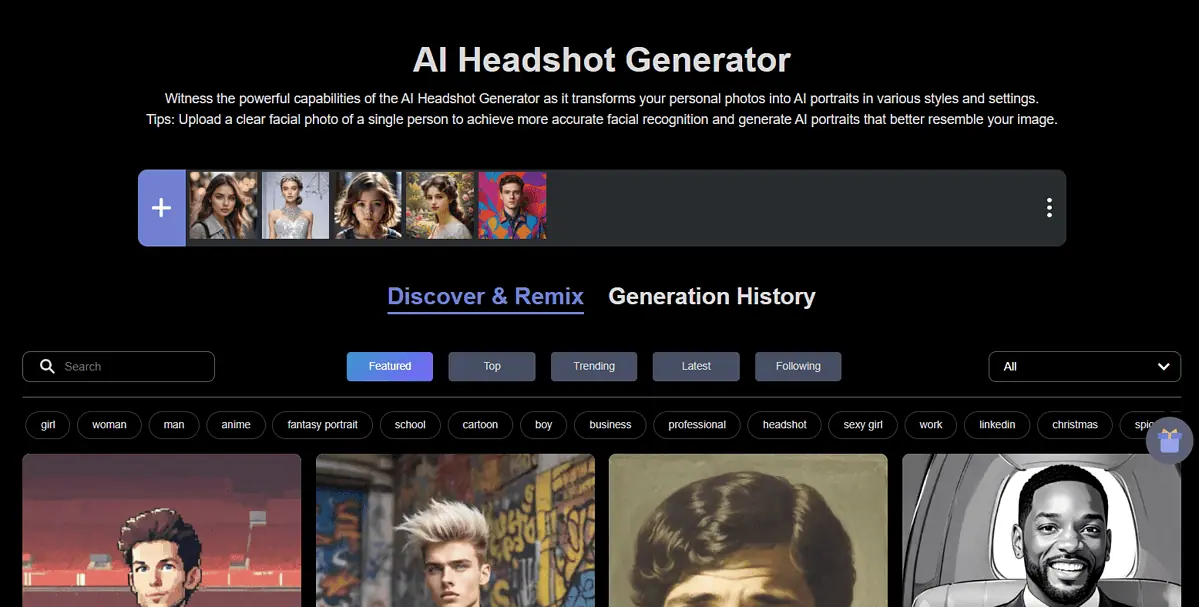
Since I already had a chance to experiment with various AI generators for faces, the AI Headshot feature intrigued me from the very beginning.
However, this PromeAI feature promises even more! Allegedly, you can upload a face and get images of the person in various situations.
I feel like this would be more suitable to be called AI Supermodel, so I used the same input. However, the face wasn’t recognized!
After a few more tries, I finally got it to work and added the following short prompt:
In the jungle.
The result was astonishing:
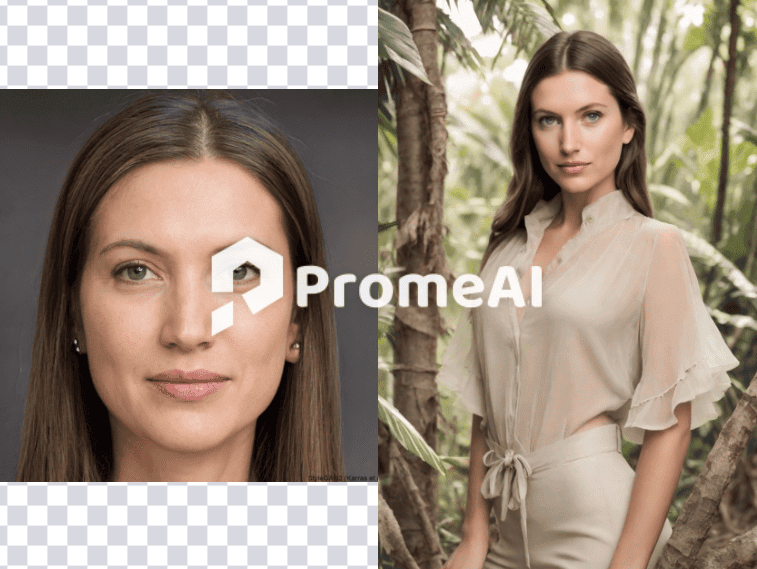
The input image was once again from thispersondoesnotexist.com.
The supported styles for this feature are Photography and Digital Art. A very cool part is that you can get your headshot on a realistic and natural setting, but also on a commercial one.
There are dozens of available scenes and they’re grouped as follows:
- Professional Headshots
- Lifestyle Headshots
- Creative Headshots
They’re further grouped into sub-categories and you can find anything from fashion and minimalism to luxury life and J-manga.
Below is another sample of how our initial model looks in the luxurious jungle edition:
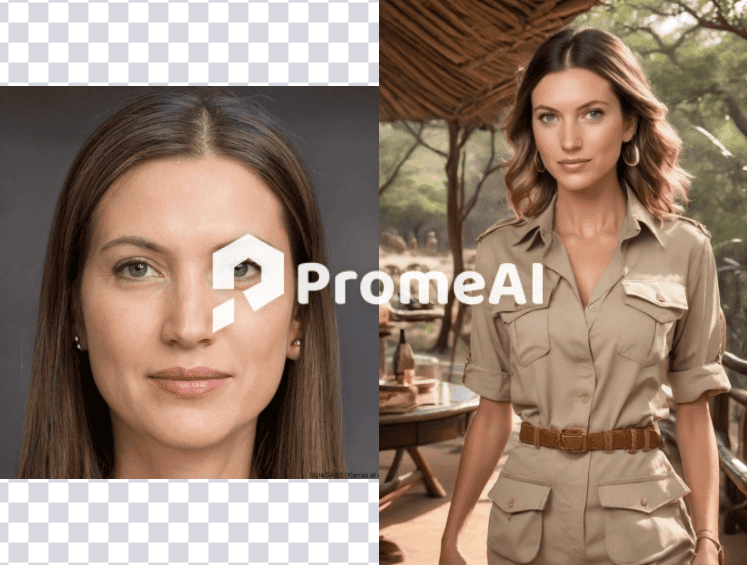
Alongside Sketch Rendering, this is the feature that surprised me the most with the output quality, so far.
AI PNG Generator
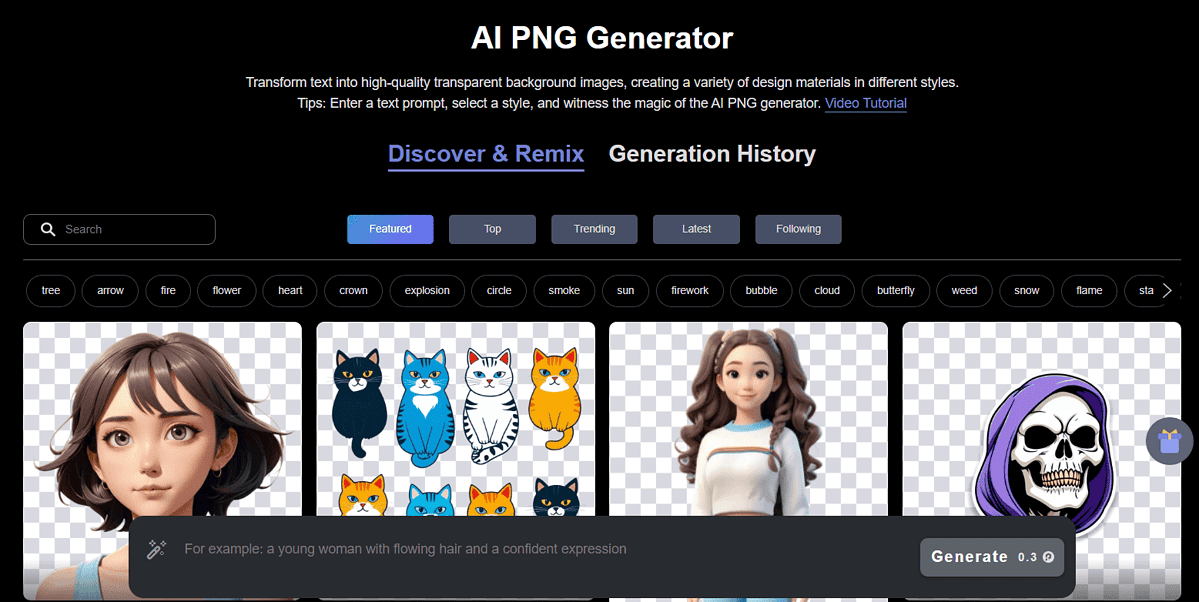
If you often need assets for your projects, generating them through the AI PNG Generator of PromeAI, might be a way to go. Not only it’s very economical (more about that later), but it also delivers some decent results.
The prompt can be enhanced automatically, but I don’t recommend you do it for this feature. (Prompts here should be short and to the point.)
This is the result I got with my ‘camping equipment‘ prompt and the default settings:
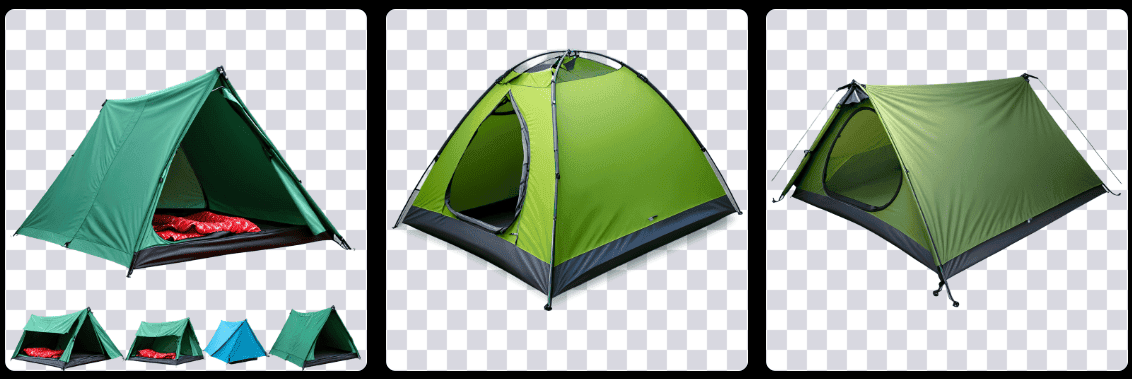
The additional settings include Style, Scene, and Perspective. Once again, the settings are similar (even identical) to the ones from previous features so I won’t go into much detail.
Here I conclude with the AI image generators and proceed with the image editing features PromeAI has.
HD Upscaler

Ever been in a situation where you need a high-quality photo of something or someone, but all you have is a low-resolution screenshot? Your struggles could end with the HD Upscaler of PromeAI.
Besides getting better quality you can also apply the Anime effect as a bonus.
Remember our hero from the Background Diffusion feature? Here’s what he would look like slightly animated and in higher resolution:
Users are also allowed to tweak the AI’s creativity between Low and High. The field for an additional prompt is also available.
Erase & Replace
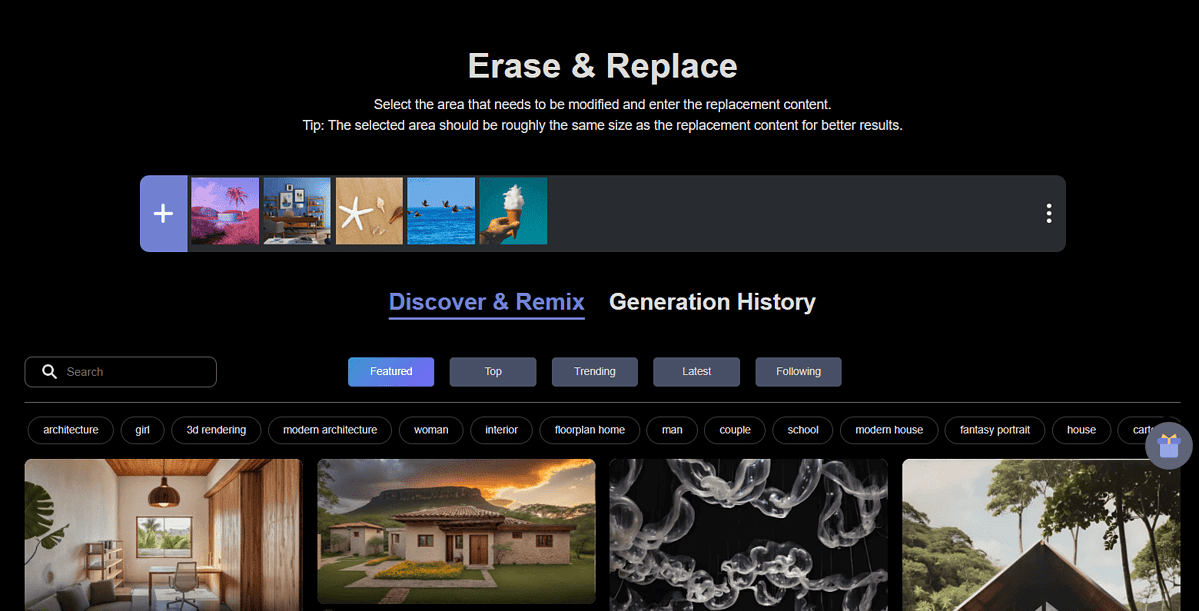
Before the current AI hype, people capable of doing advanced image manipulations would have to use tools like Photoshop.
However, things changed and now anybody can replace or completely delete parts of the image using the Erase & Replace feature.
After uploading an image, I was asked to make a selection of the area I wanted modified. There was also an option to make an automatic selection.
I was bothered by one of the tents I generated with the AI Image Generator feature, so I marked it for removal:
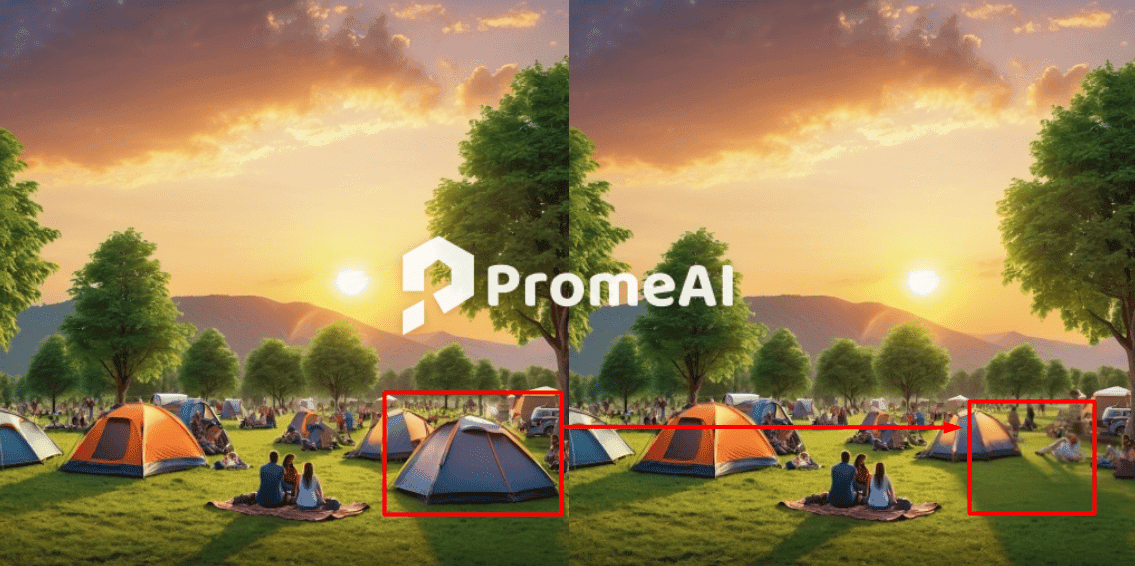
It worked like a charm!
Another option would be to replace it with another object (which can be described in a textual prompt.)
As a neat addition, AI photo retouch is also available, for the complete input.
Finally, you can do recoloring by selecting a suitable color and describing what part of the input you want affected by the change.
Outpainting
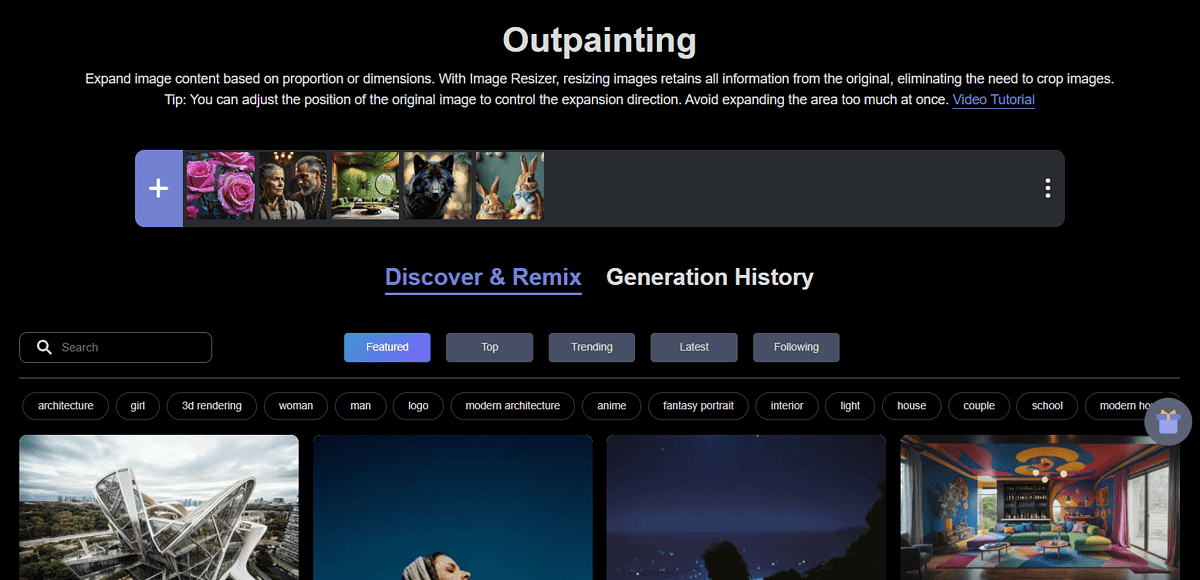
Another feature that adorably reminds me of Adobe content-aware filling is Outpainting.
In a nutshell, the idea is that you provide an image, and the AI model expands outside the image. It predicts what can potentially be placed around in the given context.
Usage is very simple, as you only have to upload the input image and place it on the canvas. The more space you leave on the canvas empty the more unpredictable the results will be.
That’s why it’s recommended you expand little by little.
Here’s how it went for me:
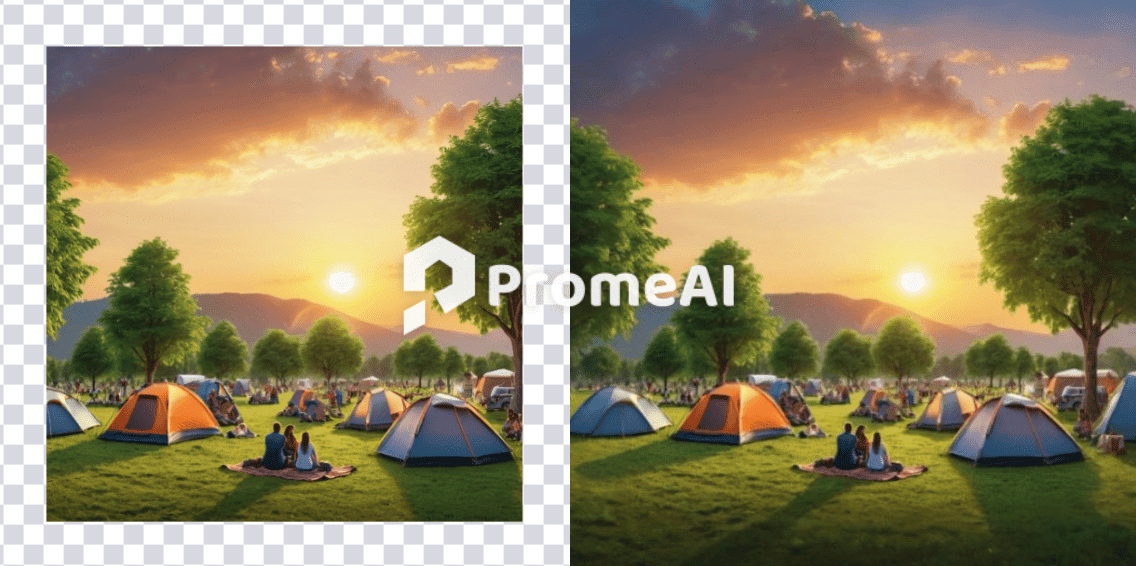
Once again, great result.
There’s also a field for an optional prompt. This way you can describe what you want the outside frame to include.
Background Remover
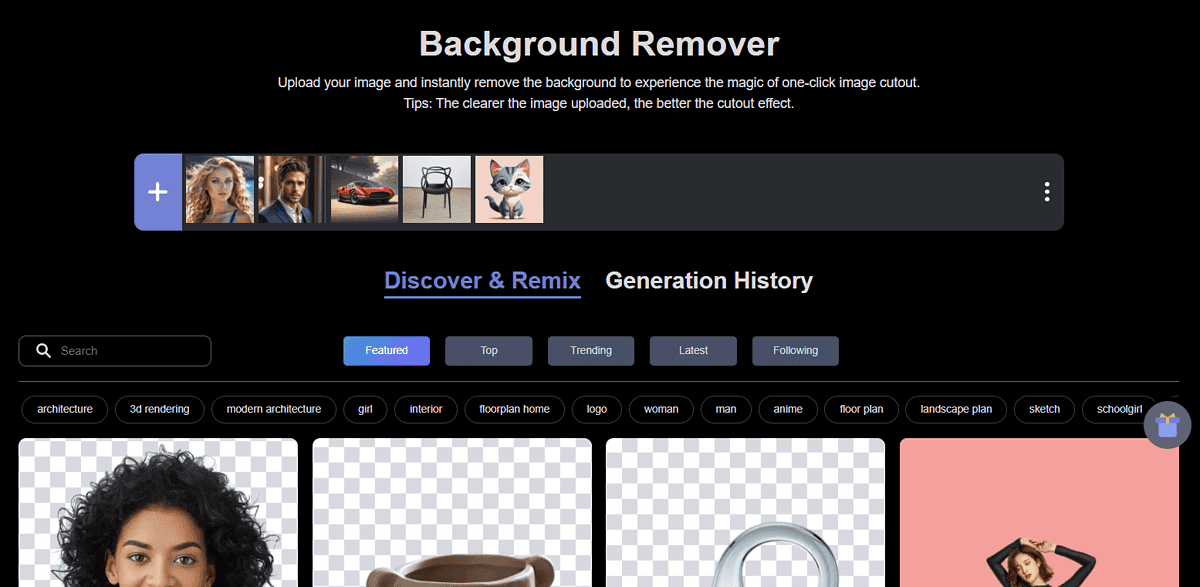
If you have an image that you wish to be on a transparent background, here’s a solution!
Background Remover allows you to upload an image, select what kind of background you want and a moment later you get it!
The background can be any (RGB) color or simply transparent.
I took a sample photo of a teacup and requested it on a transparent background:
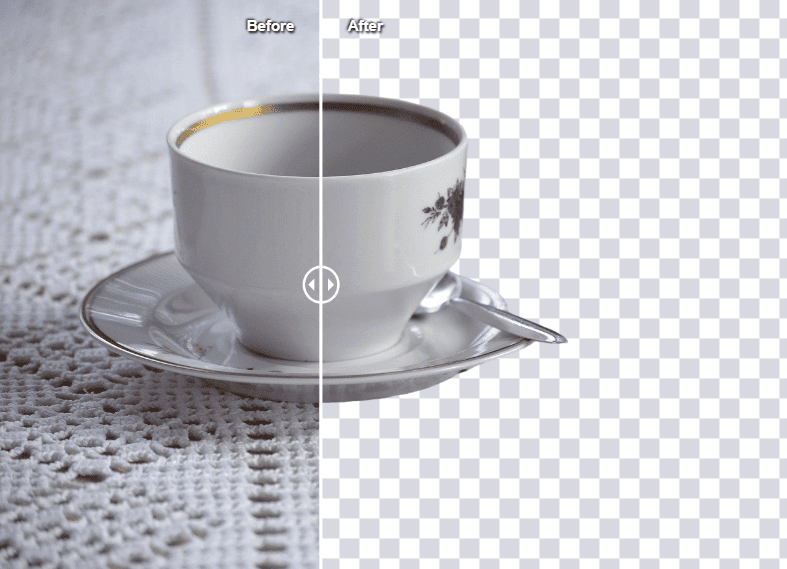
The edges are decent and the automatic selection successfully recognizes the object. (Although the cup and the pattern are white, there aren’t any fragments left in the output.)
Relight
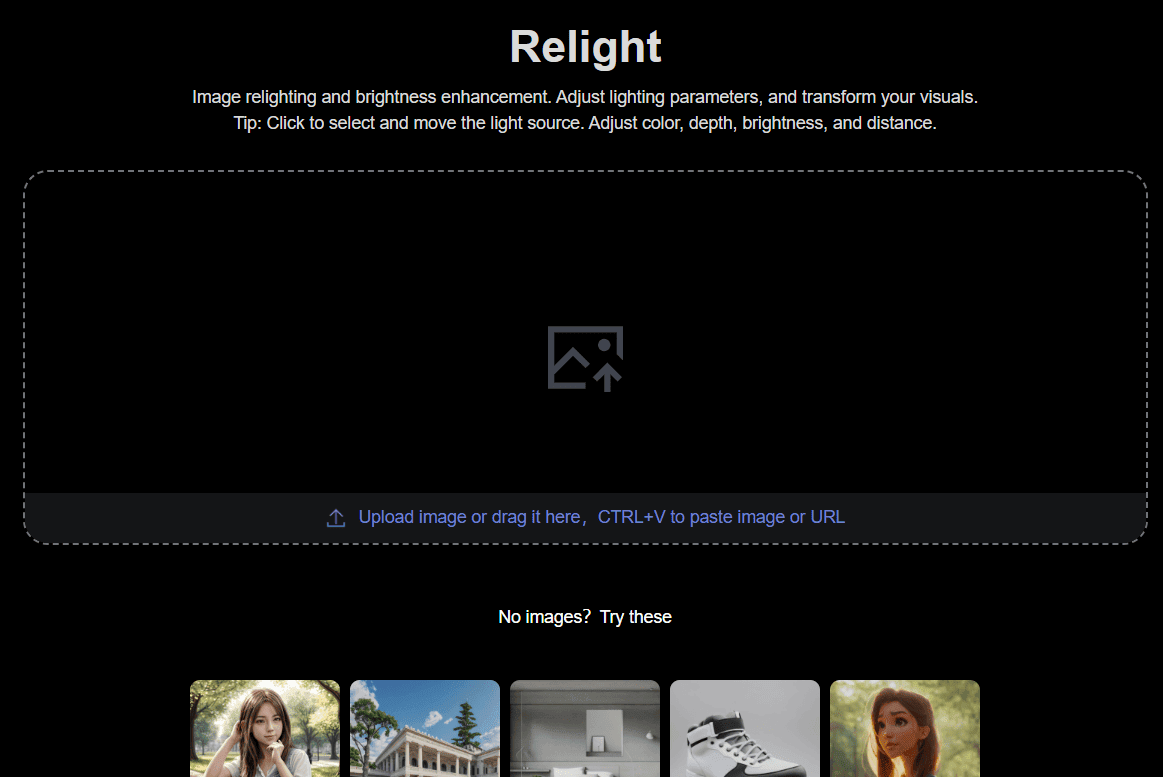
Ever made an incredible image, just to see that the lighting is poor? With the Relight feature, you can simply adjust it until you get the perfect-looking output.
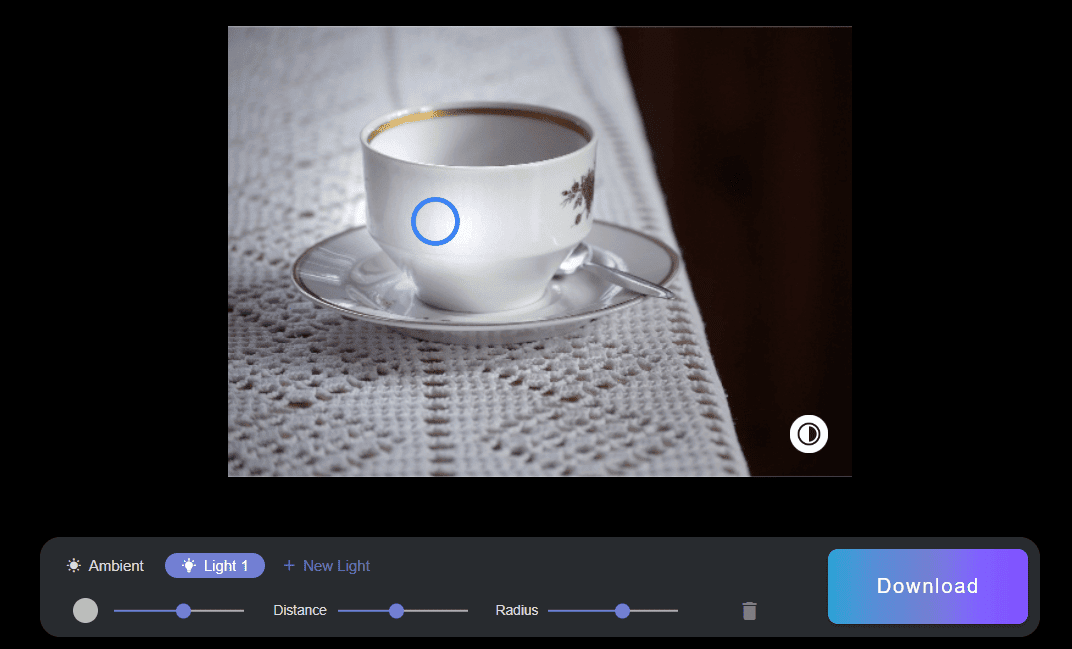
After uploading an image, a simple editor pops up.
By default, you have three light sources placed on the image based on what the AI model predicts will look good. However, if you feel comfortable you can move these across the editor, but also add additional sources.
Ambient is also automatically assigned, but you can adjust it with a slider as well.
The final two features are dedicated to AI-powered video creation.
Image To Video
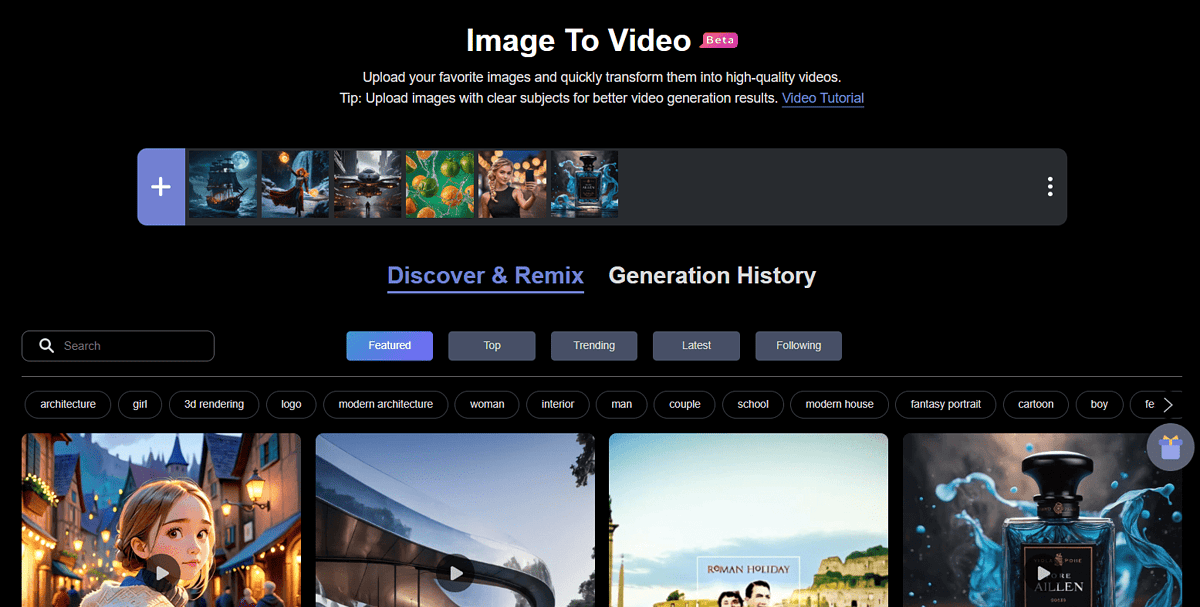
Recently I wrote about Based Labs, which is a dedicated image-to-video software. However, the PromeAI feature for creating videos from static images isn’t falling behind much!
The biggest upside here is that the interface is ultra-simple. All you have to do is provide an image and select between High or Low motion.
Since my image includes the campsite view, I went with the default High. If there are characters in focus it’s better to go with Low (for better results.)
Honestly, I’m not ultra-satisfied with the result, mostly due to object disfiguration. However, considering that this is a Beta feature, it’s clear that there will be improvements.
Text To Video
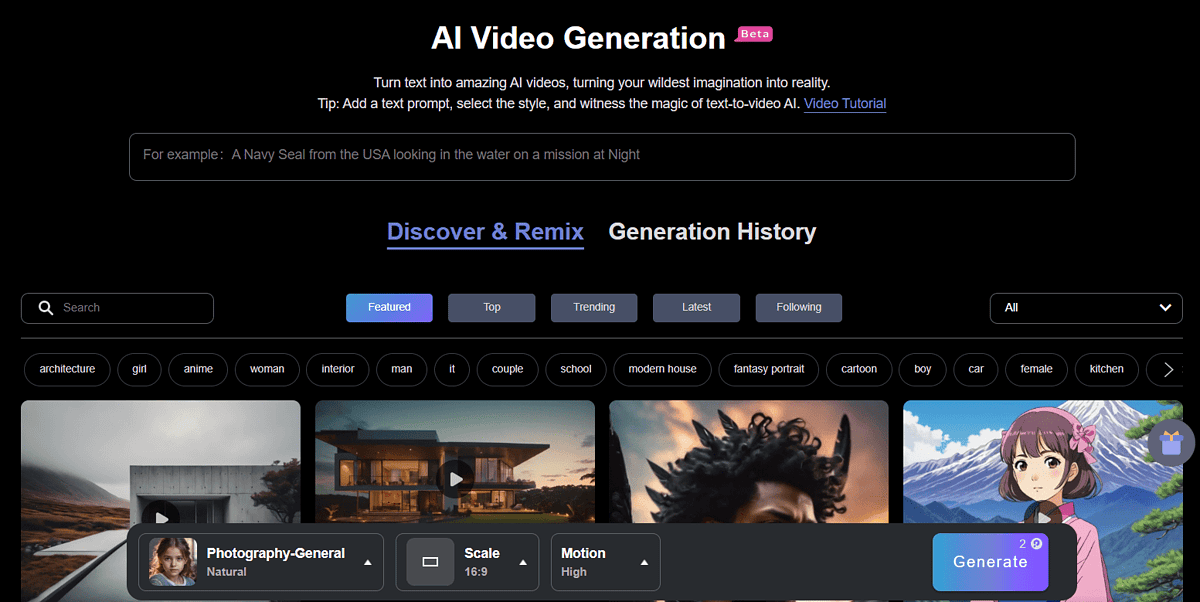
Text to Video feature comes with a bit more advanced interface, compared to the previous one.
Besides the textual prompt you can select among a few styling options:
- Photography
- Conceptual art
- Illustration
- Art
Each of these supports several different categories and presets within them. I’m not going to list them one by one, but they’re very similar to the ones found in the Image Generator.
I can’t say for sure, but it seems that this is simply a text-to-image and image-to-video feature combined in one.
You can select from 13 different aspect ratios and resolutions, together with Low or High motion (identical to the previous feature.)
I left settings to default and put this prompt:
Campsite under glowing stars in night
This is the result:
This time, the output was much more satisfying as there were no noticeable glitches on the screen.
Check out these tools to create videos on your Android device.
How to use PromeAI?
Here’s a tutorial to help you generate the first outputs with PromeAI:
- Head to PromeAI and hit the Sign Up button.

- Create your account with an email address or Google account.
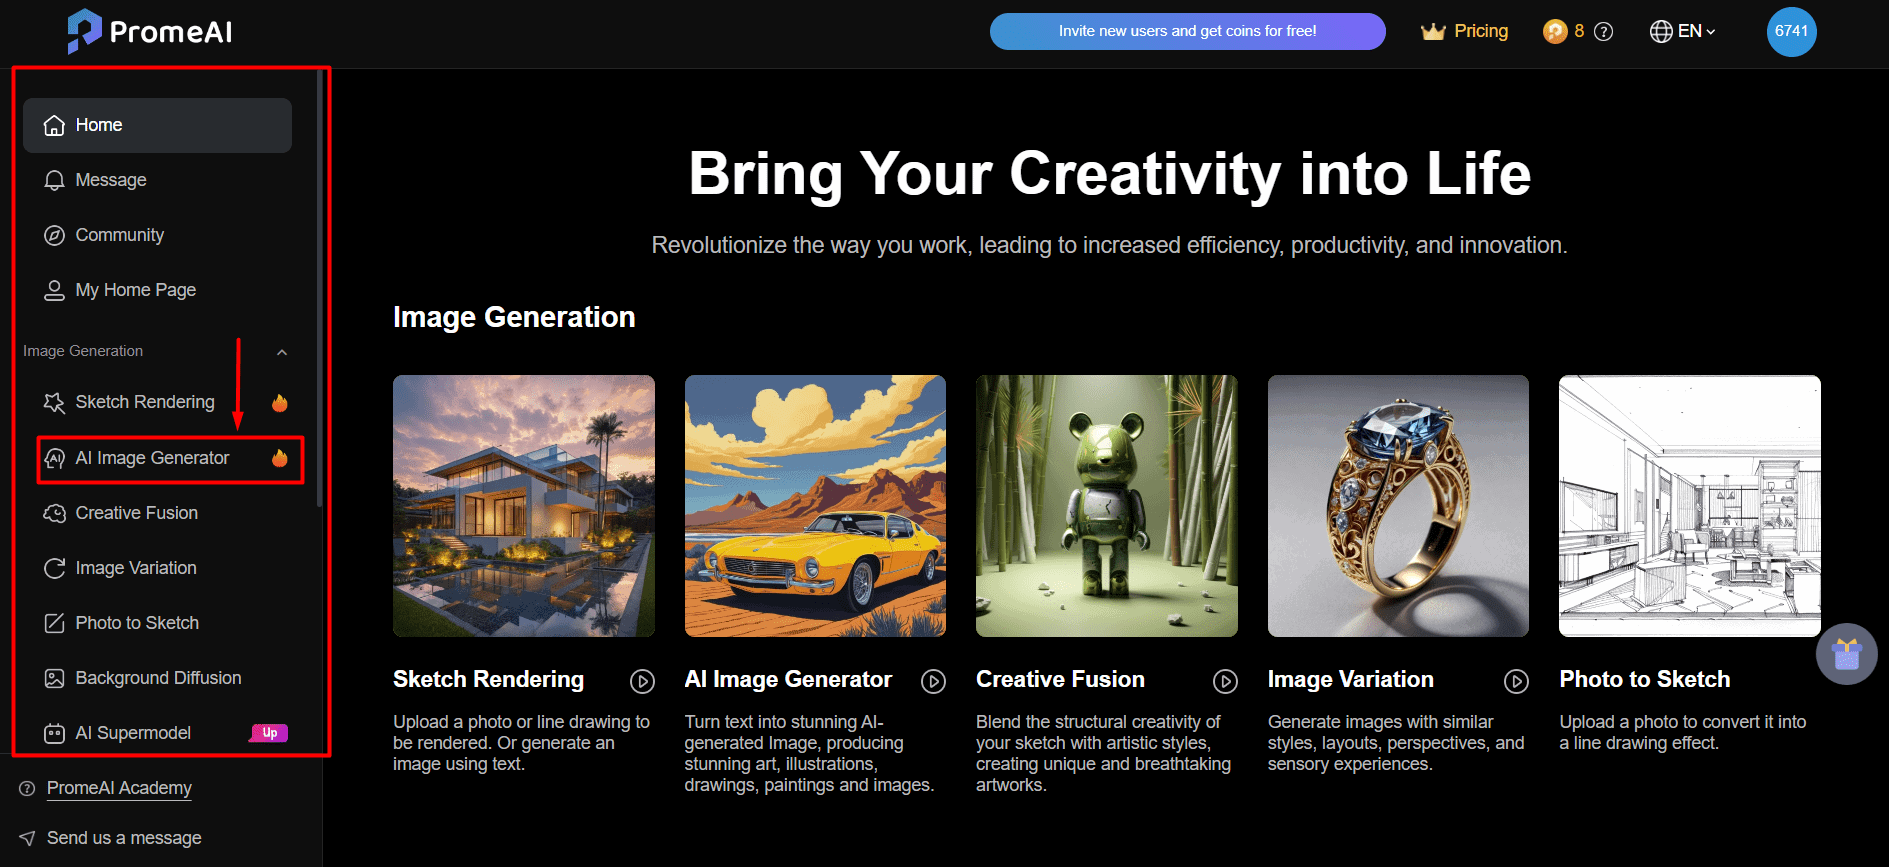
- Select the suitable feature from the left sidebar.
I’ll choose the AI Image Generator.
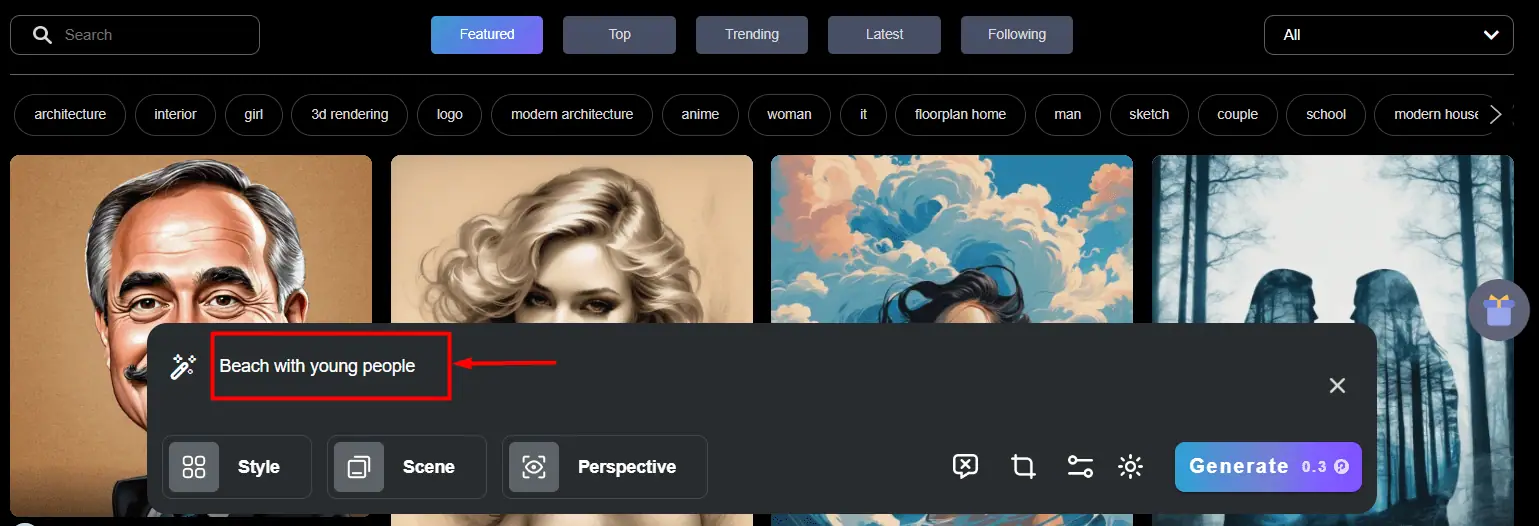
- Click on the prompt field and type what you want to generate.

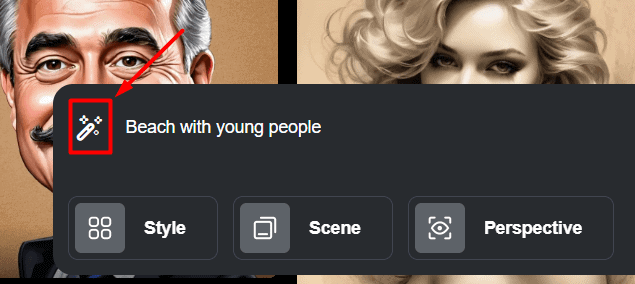
- (Optional) Hit the Enchance Prompt button to improve the description.

- (Optional) Click on the Style button and select a suitable option.
You can do the same for Scene and Perspective, or leave the default settings.
- After you’re done with adjustments, hit the Generate button.

- Hover over one of the generated images and hit the down arrow button to download it.


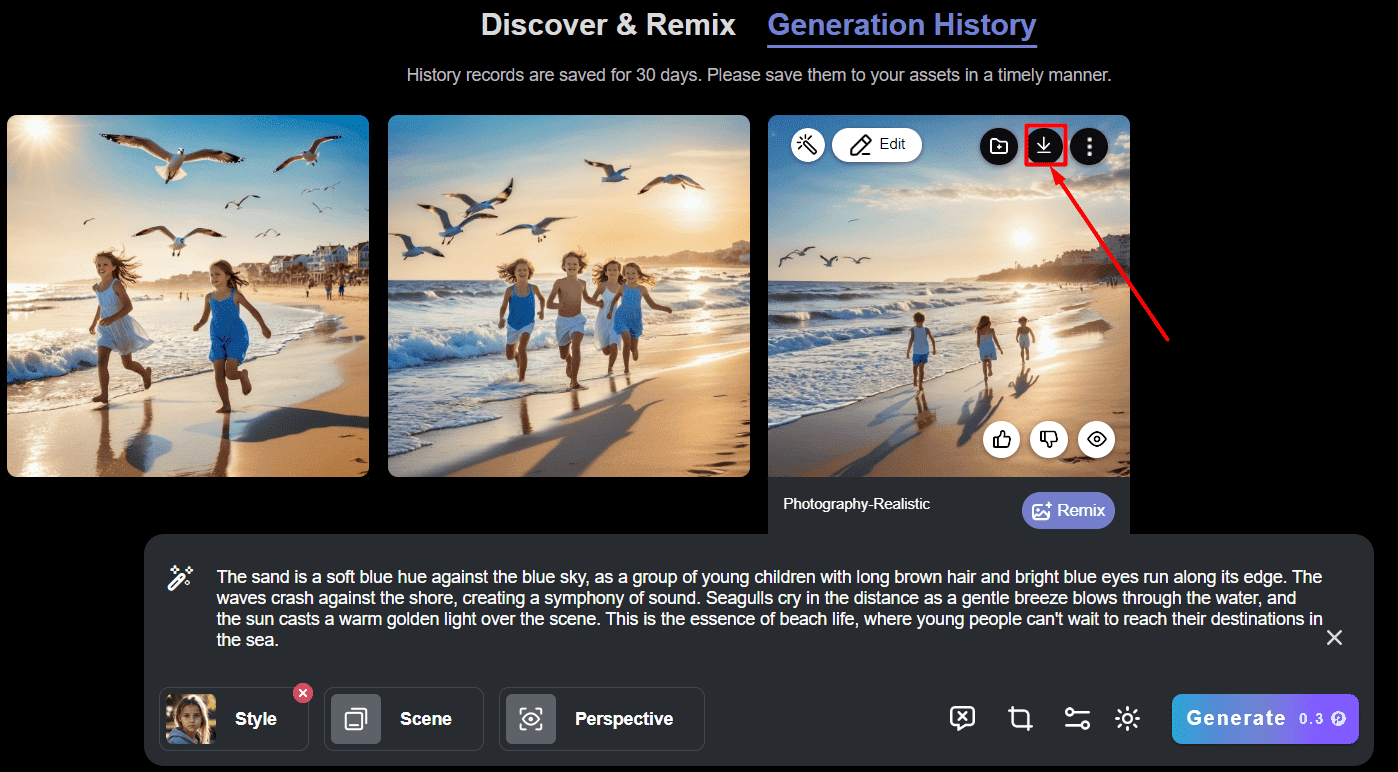
All of your generations are also saved on your account for up to 30 days. If you like what you see, better store it locally.
You can explore the rest of the features by scrolling through the sidebar on the left side of your screen. Before hitting the Generate button you can see on it how much the generation will cost you.
Pricing

PromeAI pricing is generally subscription-based (with the option to top-up coins.)
Starting from the beginning, these are the plans you can subscribe to:
- Free (10 coins/$0 per month)
- Base (500 coins/$19 per month)
- Standard (2,000 coins/$39 per month)
- Pro (6,000 coins/$79 per month)
All paid plans come with an additional 26% discount if you choose to be billed yearly.
I’ll start with the Free plan which blew my mind. All of the samples (including videos) highlighted in this PromeAI review were generated on it!
Although 10 coins don’t seem like much, most of the features use 0.1 coins per image generation. The most expensive are videos, which require 2 coins per video.
It doesn’t surprise that PromeAI doesn’t offer a free trial, since you can test all features with a Free plan account. No need to leave your billing details either.
With any of the paid plans, you get fast generations, HD downloads, and the ability to buy extra coins.
The coins come in several bundles:
- 200 coins for $10
- 2,000 coins for $100
- 10,000 coins for $500
There’s also a custom bundle option which starts from $20 for 400 coins. Pro subscribers get up to 80% discount on additional coins and priority support.
If you wish to use the outputs for commercial purposes, you’ll have to get a Standard or Pro plan.
Team plans allow you to subscribe yearly with the perks of Pro plans for a lower price per team member.
Finally, if you’re an educational institution you can apply for an Educational Discount (20% discount.)
If you wish to cancel your subscription you can do so within 7 days. You’ll get a refund for the unused days of your subscription. A refund after initial 7 days is possible in special cases.
PromeAI Review – Verdict
In my opinion, PromeAI can compete with other AI image generators because it offers many more features than competitors usually do. From generating images from hand-drawn sketches and great headshots to good-quality editing features – the platform has it all.
Above all, it’s a great value for money and offers an awesome free plan. I must once again highlight the superb AI headshot feature which left me speechless.
I’ll conclude my PromeAI review by reminding you that some features do offer mediocre outputs, primarily the ones related to videos. However, I’m sure this will also be addressed considering it’s currently in the Beta phase.