How to install Bash on Windows 10
![]() 3 min. read
3 min. read
![]() Published on
Published on
Share this article

Improve this guide
Read our disclosure page to find out how can you help MSPoweruser sustain the editorial team Read more
With the Windows 10 Anniversary Update, Microsoft is adding a major feature to Windows 10 for developers: Bash. This is a really nice addition to Windows 10 which will make using Windows 10 for development a lot easier for some developers. Now, as this feature isn’t enabled by default, you’ll probably have a hard time trying to use it — however, don’t fret as we’ll take you through how to install Bash on your Windows 10 machine.
1) Enable Windows Subsystem for Linux on Windows Features
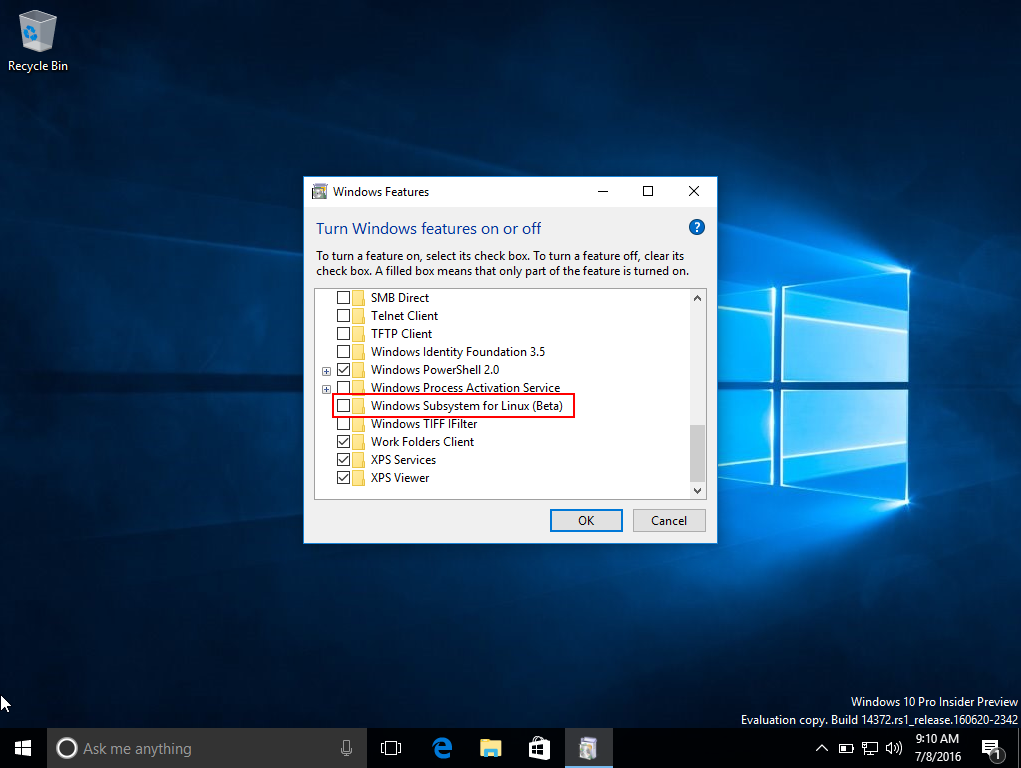
Firstly, we’ll need to enable the Windows Subsystem for Linux (beta) on Windows Features. To do that, just open up Cortana/Search and search “windows features.” After that, scroll down in the Windows Features dialog and tick the “Windows Subsystem for Linux (Beta)” and click on the OK button. Then, Windows 10 will install the Windows Subsystem for Linux. Once that’s done, you’ll be required to restart your machine.
2) Enable Developer Mode

After installing the Linux subsystem, you will need to enable the Developer Mode on Windows 10. To do that, just open the Settings app, click on the Updates & Security button, then click on “For Developers” from the sidebar. After that, just select the Developer Mode and Windows 10 will install the Developer Mode package. If you get any error at this stage, just ignore them — Bash will still install.
3) Install Bash
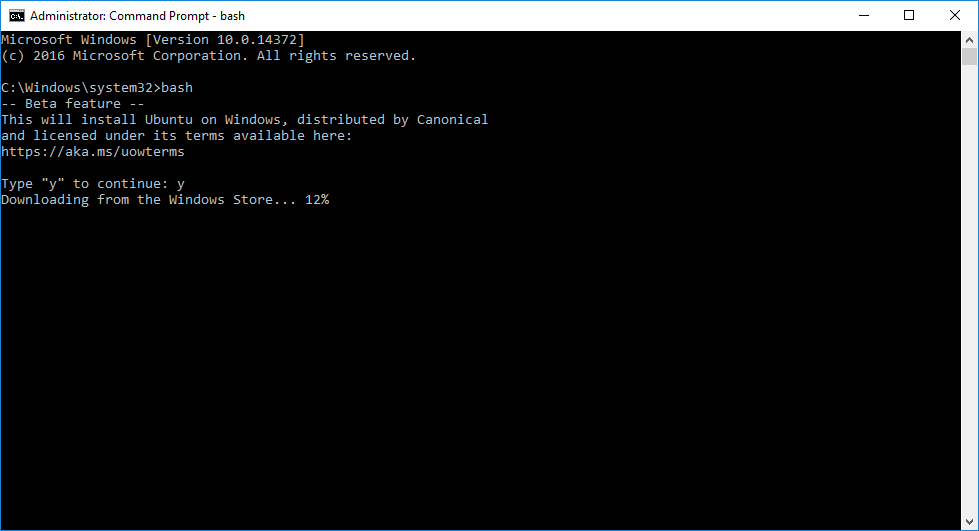
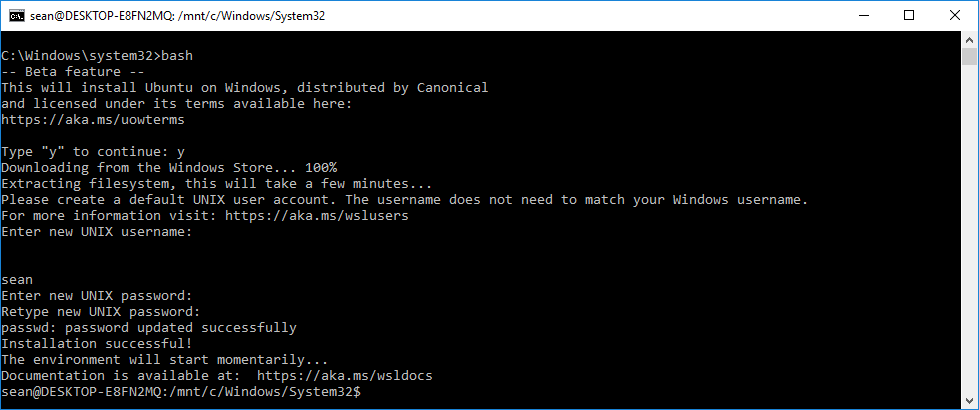
After that, we will need to install Bash itself. To do that, go ahead and open Command Prompt (CMD) by searching using Cortana/Search. Once CMD is ready, type in “bash” and hit enter. When you’re asked if you want to install Bash, just type “y” and hit enter. Once that’s done, Windows 10 will start downloading and installing Bash. This can take a bit of time, so be patient at this stage. Once Bash is installed, you’ll need to enter a username for Bash, so just enter the username you want and hit enter. Then, you’ll be required to set the password for your account. Once this is done, Bash will be ready to use:
4) Using Bash
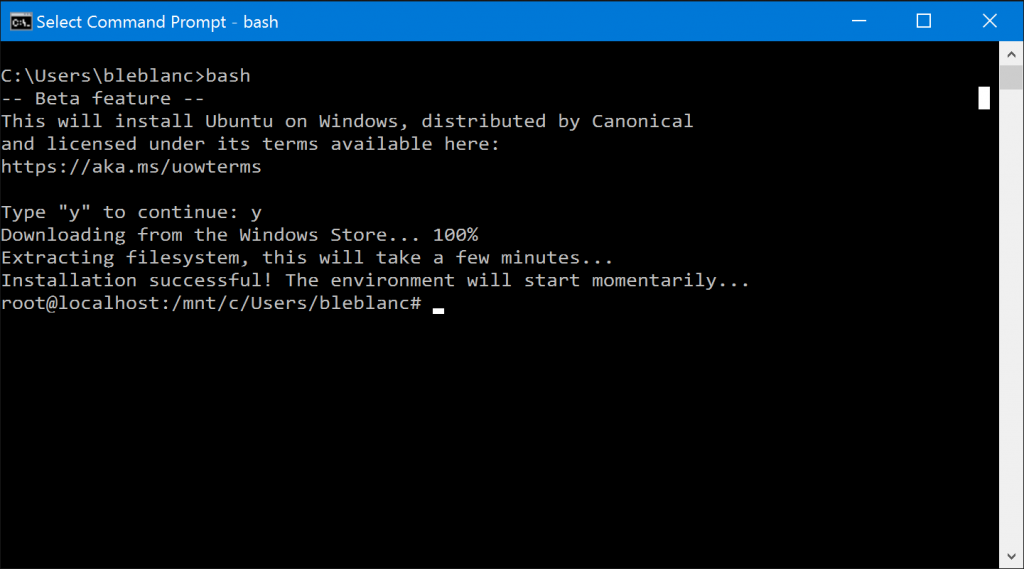
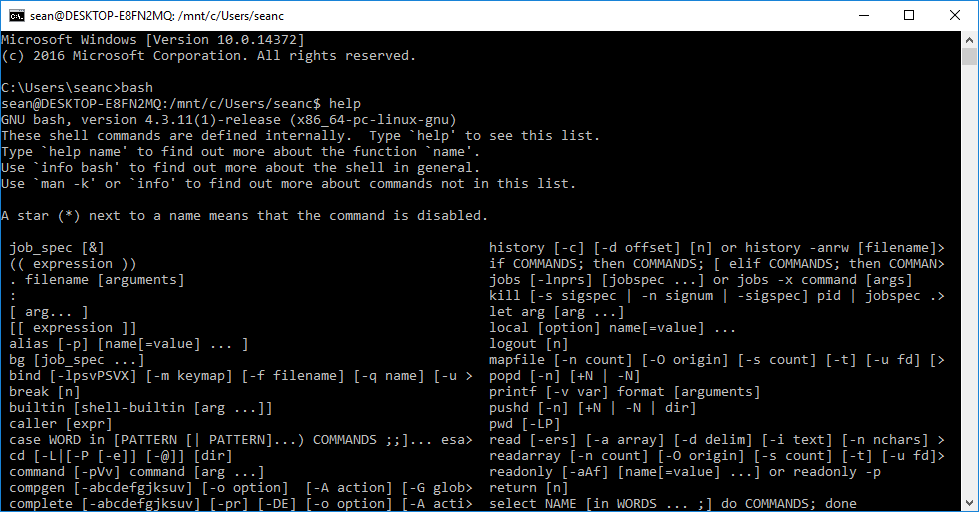
Now that Bash is installed on your Windows 10 machine, you can use Bash via the Command Prompt. To do that, just open up CMD, type in “Bash” and hit enter. This will take you to Bash, where you can use all the usual commands:
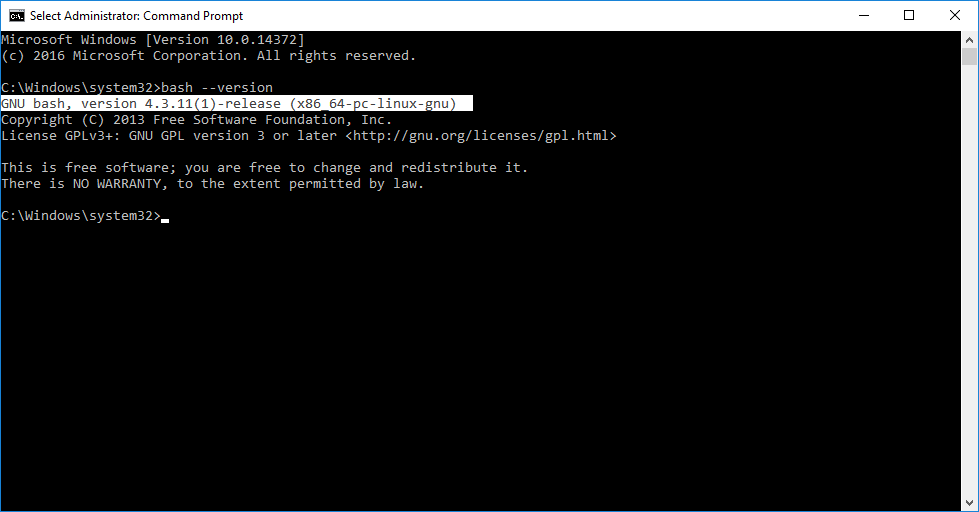
You can also checkout the version of Bash by typing in “bash –version” into CMD:
So there you have it, Bash is now installed on your PC. Once again, this is only available for Windows 10 Anniversary Update, which is coming as a free update to existing Windows 10 users on August 2. If you have any questions regarding Bash on Windows 10, feel free to let us know in the comment section below and we’ll try to help you out!