Fix: Snipping Tool not Working in Windows 11
The Snipping Tool is a handy feature in Windows 11 that allows users to take screenshots effortlessly. However, some users have encountered issues where the Snipping Tool stops working. This problem can be frustrating, especially if you rely on this tool for your daily tasks. The reasons for this issue can vary, from outdated drivers to corrupted applications. This guide will provide you with comprehensive solutions to fix the Snipping Tool not working on Windows 11, ensuring that you can continue capturing screenshots without any hindrance.
Why Snipping Tool Is Not Working on Windows 11
Understanding the root causes of the problem can help in finding the right solution. Here are the main reasons why the Snipping Tool might not be working:
- Focus Assist is turned on: This can prevent Snipping Tool from opening.
- Application Corruption: If the Snipping Tool crashes upon launch, it might be corrupted.
- Outdated Graphics Driver: An incompatible driver can interfere with the Snipping Tool.
- Interference from Other Apps: Other running apps might conflict with the Snipping Tool.
- Expired Certificate: A mistake in the upgrade process might cause this issu
Simple Solutions
These are suitable for most users and don’t require any special technical knowledge.
1. Update Windows and Microsoft Store Apps
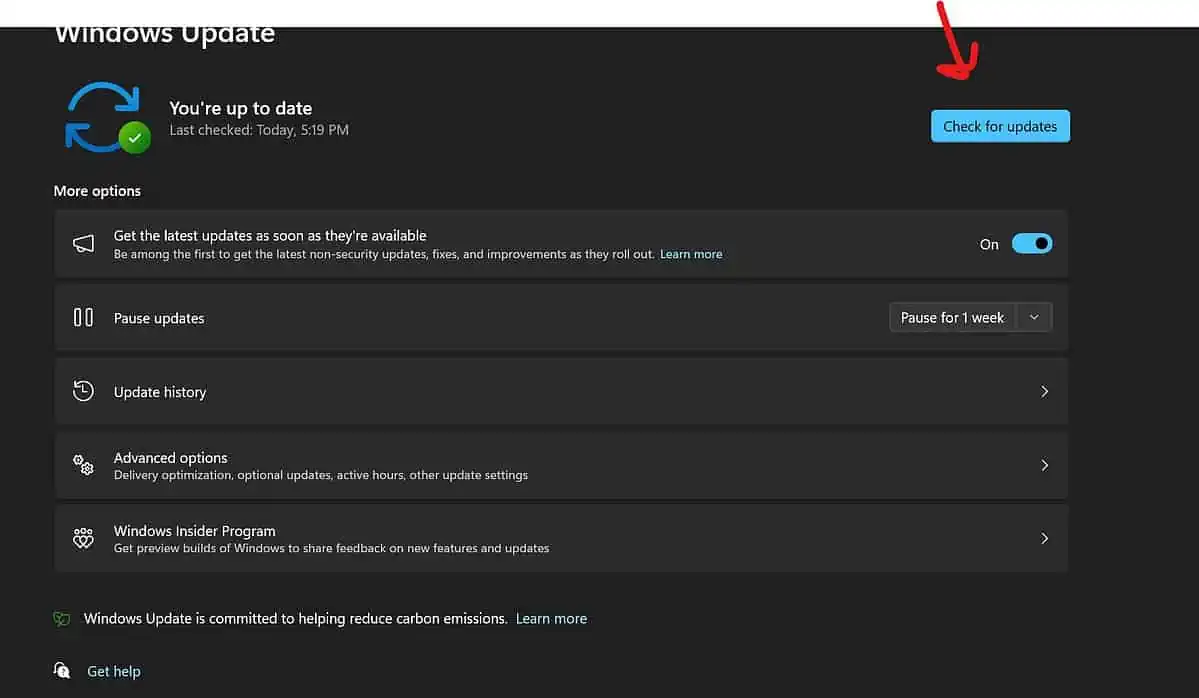
- Check for Windows updates:
- Open “Settings” by clicking the Start button and selecting the gear icon.
- Click “Update & Security.”
- Click “Check for updates” and install if available.
- Restart your computer if prompted.
- Update Snip & Sketch from Microsoft Store:
- Open Microsoft Store from the Start menu.
- Search for “Snip & Sketch”or “Snipping Tool”
- Click “Update” if available.
- Wait for the update to complete.
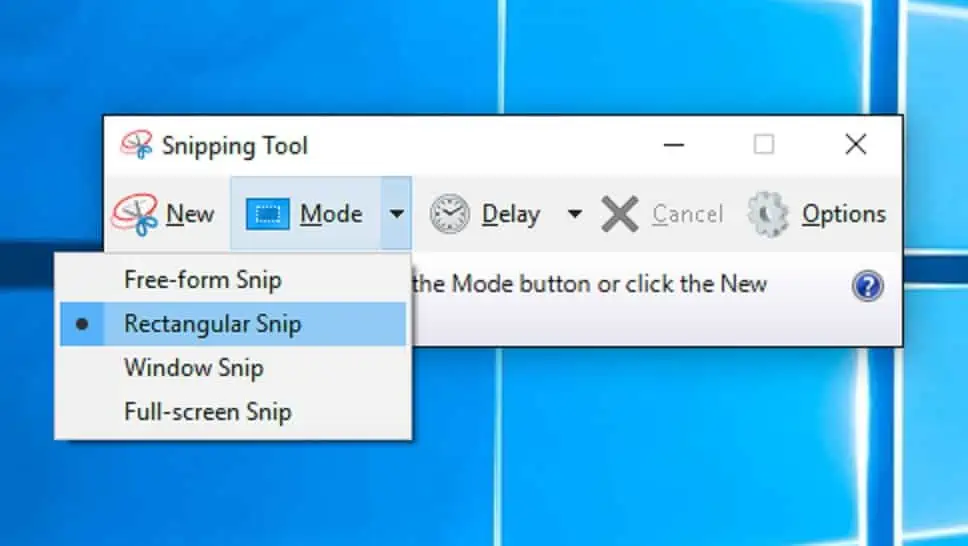
2. Open Snipping Tool Through Start Menu
- Launch Snipping Tool from the Start menu:
- Click the Start button.
- Type “Snipping Tool” into the search bar.
- Click on the Snipping Tool app to open it.
- Try taking a snip to see if the issue is resolved.
3. Check Default Settings
- Open Snipping Tool options and select default settings:
- Open Snipping Tool from the Start menu.
- Click “Options” inside the Snipping Tool window.
- Click “Restore Defaults.”
- Click “OK.”
- Close and reopen Snipping Tool to see if the issue is resolved.
4. Run Troubleshooter
- Run the Windows Store Apps troubleshooter:
- Open “Settings” > “Update & Security” > “Troubleshoot.”
- Click “Additional troubleshooters.”
- Click “Windows Store Apps.”
- Click “Run the troubleshooter.”
- Follow on-screen instructions and apply any fixes recommended.
5. Verify Windows Files
- Use Command Prompt to run ‘sfc /scannow’:
- Right-click Start > “Windows Terminal (Admin).”
- Type “sfc /scannow” and press Enter.
- Wait for the scan to complete.
- Follow any on-screen instructions to repair files.
- Restart your computer.
6. Turn Off Focus Assist
- Disable Focus Assist in Settings:
- Open “Settings” > “System” > “Focus Assist.”
- Choose “Off.”
- Restart your computer and check if Snipping Tool is working.
7. Delete and Reset Your Shortcut
- Delete and recreate Snipping Tool shortcuts:
- Right-click the Snipping Tool shortcut on your desktop > “Delete.”
- Go to Start > search “Snipping Tool.”
- Right-click the Snipping Tool app > “Pin to Start” or “Pin to Taskbar.”
- Try launching Snipping Tool from the new shortcut.
8. Check Your Save Destination
- Verify save location and settings for screenshots:
- Open Snipping Tool > “Options.”
- Check the “Save As” location and adjust if needed.
- Click “OK” and try saving a snip to see if the issue is resolved.
9. Disable Auto Copy to Clipboard
- Toggle off Auto Copy to Clipboard in Snipping Tool settings:
- Open Snipping Tool > “Options.”
- Uncheck “Automatically copy snips to the clipboard.”
- Click “OK” and try taking a snip to see if the issue is resolved.
Intermediate Solutions
These might require some familiarity with Windows settings and features but are still accessible to most users.
10. Use “Classic” Snipping Tool from “Windows.old” Folder
- Locate and use Snipping Tool from the Windows.old folder:
- Open File Explorer > C: drive > “Windows.old” folder > “System32.”
- Search for “SnippingTool.exe.”
- Double-click to run.
- If it works, consider creating a shortcut on your desktop for easy access.
11. Disable Automatic Time on Your Computer
- Manually set date and time to before October 30, 2021:
- Right-click the time on the taskbar > “Adjust date/time.”
- Turn off “Set time automatically.”
- Click “Change” > set date > “Change.”
- Restart your computer and check if Snipping Tool is working.
12. Enable the Print Screen Keyboard Shortcut
- Enable the Print Screen button for screen snipping:
- Open “Settings” > “Ease of Access” > “Keyboard.”
- Toggle on “Use the PrtScn button to open screen snipping.”
- Press the Print Screen key to see if it opens the Snipping Tool.
13. Use the Print Screen Key as an Alternative
- Enable the Print Screen button in Accessibility settings:
- Open “Settings” > “Accessibility” > “Keyboard.”
- Toggle on “Print Screen shortcut.”
- Press the Print Screen key to see if it takes a snip.
14. Repair or Reset the Snipping Tool App
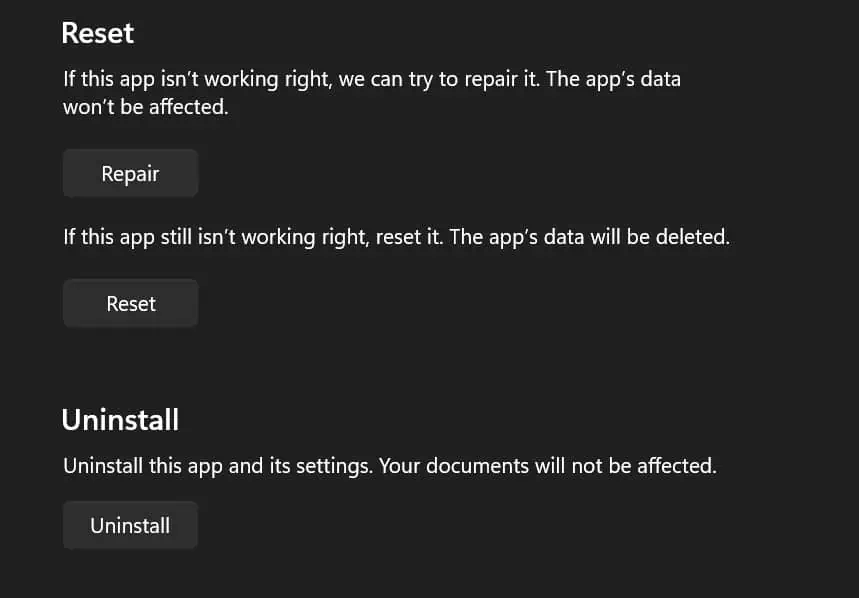
- Repair or reset Snipping Tool in App settings:
- Open “Settings” > “Apps” > “Apps & features.”
- Find Snipping Tool > “Advanced options.”
- Click “Repair” or “Reset” as needed.
- Restart your computer and check if Snipping Tool is working.
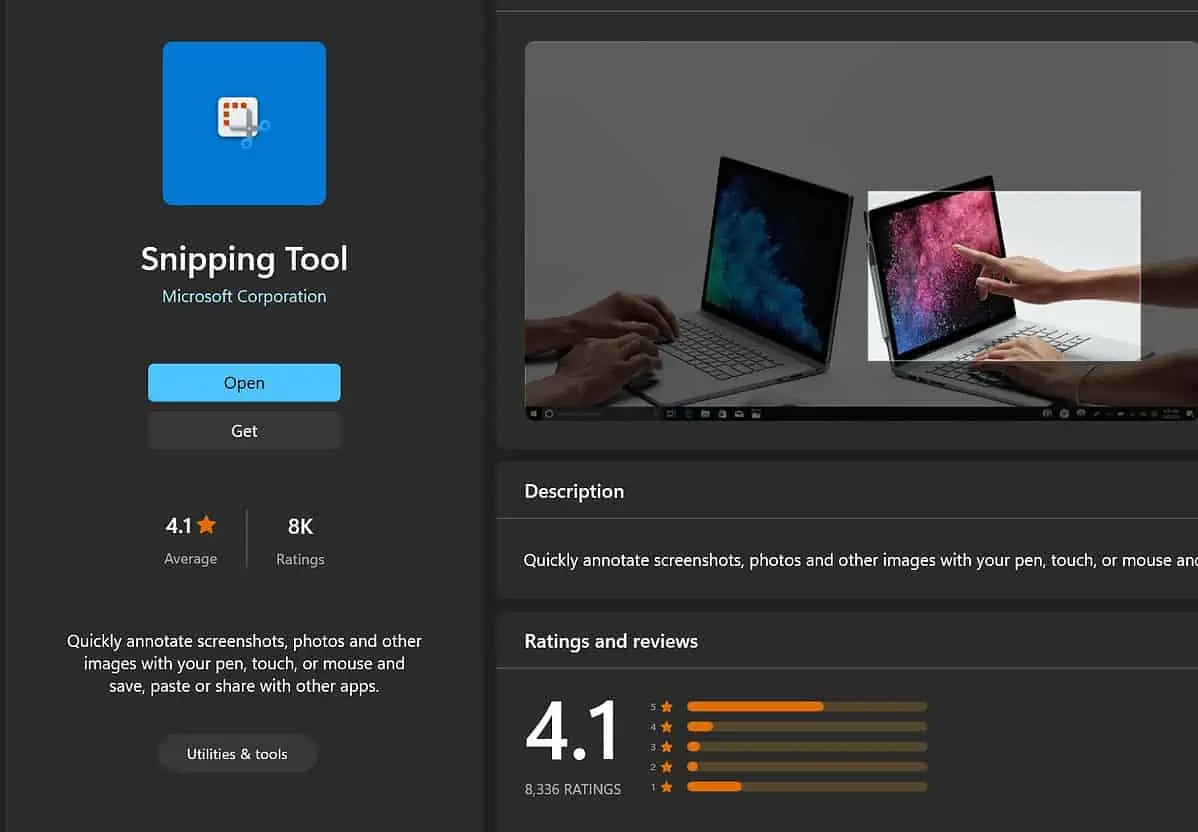
15. Upgrade to Snip & Sketch Tool
- Install Snip & Sketch from the Microsoft Store:
- Open Microsoft Store > search “Snip & Sketch.”
- Click “Get” to install.
- Open Snip & Sketch and try taking a snip.
16. Perform a Clean Boot
- Disable non-essential processes and perform a clean boot:
- Press Win + R > type “msconfig” > Enter.
- “Services” tab > check “Hide all Microsoft services” > “Disable all.”
- “Startup” tab > “Open Task Manager” > disable unnecessary startup items.
- Restart your computer.
- Check if Snipping Tool is working.
- If resolved, enable services one by one to identify the conflicting service.
17. Use Regedit to Enable Snipping Tool
- Modify Registry files to enable Snipping Tool:
- Press Win + R > type “regedit” > Enter.
- Navigate to “HKEY_LOCAL_MACHINE\SOFTWARE\Policies\Microsoft\TabletPC.”
- Right-click “DisableSnippingTool” > “Modify” > set Value data to 0 > “OK.”
- Restart your computer and check if Snipping Tool is working.
- Warning: Incorrectly editing the registry can cause serious system issues.
18. Check for Windows 11 Out-of-Band (OOB) Updates
- Check for the latest Windows updates, even if up to date:
- Open “Settings” > “Update & Security.”
- Click “Check for updates” and install if available.
- Restart your computer and check if Snipping Tool is working.
19. Disable Automatic Time Temporarily and Reset Its Manual Value
- Manually set date to October 30, 2021, and revert:
- Right-click the time on the taskbar > “Adjust date/time.”
- Turn off “Set time automatically.”
- Click “Change” > set date to October 30, 2021 > “Change.”
- Restart your computer and check if Snipping Tool is working.
- Re-enable “Set time automatically” if needed.
20. Run the Windows 11 Snipping Tool Directly from “Windows.old” Folder
- Locate and run Snipping Tool from Windows.old folder:
- Open File Explorer > C: drive > “Windows.old” folder > “System32.”
- Search for “SnippingTool.exe.”
- Double-click to run.
- If it works, consider creating a shortcut on your desktop for easy access.
21. Keep “Automatically Copy Changes” Enabled in Snipping Tool Settings
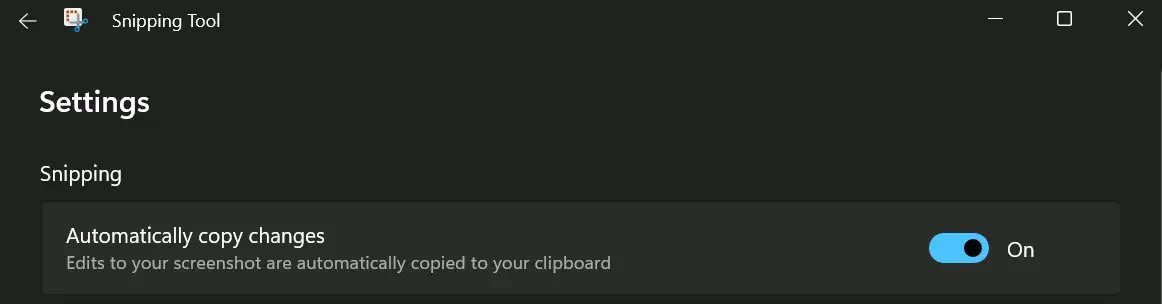
- Ensure “Automatically copy changes” is turned on:
- Open Snipping Tool > “Options.”
- Check “Automatically copy changes to clipboard.”
- Click “OK” and try taking a snip.
22. Turn Background App Permissions On to Take Pictures
- Enable background app permissions for pictures:
- Open “Settings” > “Privacy” > “Background apps.”
- Toggle on permissions for Snipping Tool or Snip & Sketch.
- Restart your computer and check if Snipping Tool is working.
Advanced Solutions
Warning: These solutions are for experienced users and should be used with caution.
23. Set Keyboard Print Screen Key to Launch Snipping Tool
- Enable Print Screen key for Snipping Tool:
- Open “Settings” > “Ease of Access” > “Keyboard.”
- Toggle on “Use the PrtScn button to open screen snipping.”
- Press the Print Screen key to see if it opens the Snipping Tool.
24. Uninstall and Reinstall Snipping Tool
- Uninstall and reinstall Snipping Tool from Microsoft Store:
- Open “Settings” > “Apps” > “Apps & features.”
- Find Snipping Tool > “Uninstall.”
- Restart your computer.
- Open Microsoft Store > search “Snipping Tool” > “Get” to reinstall.
25. Use Local Group Policy Editor in Windows 11 to Enable Snipping Tool
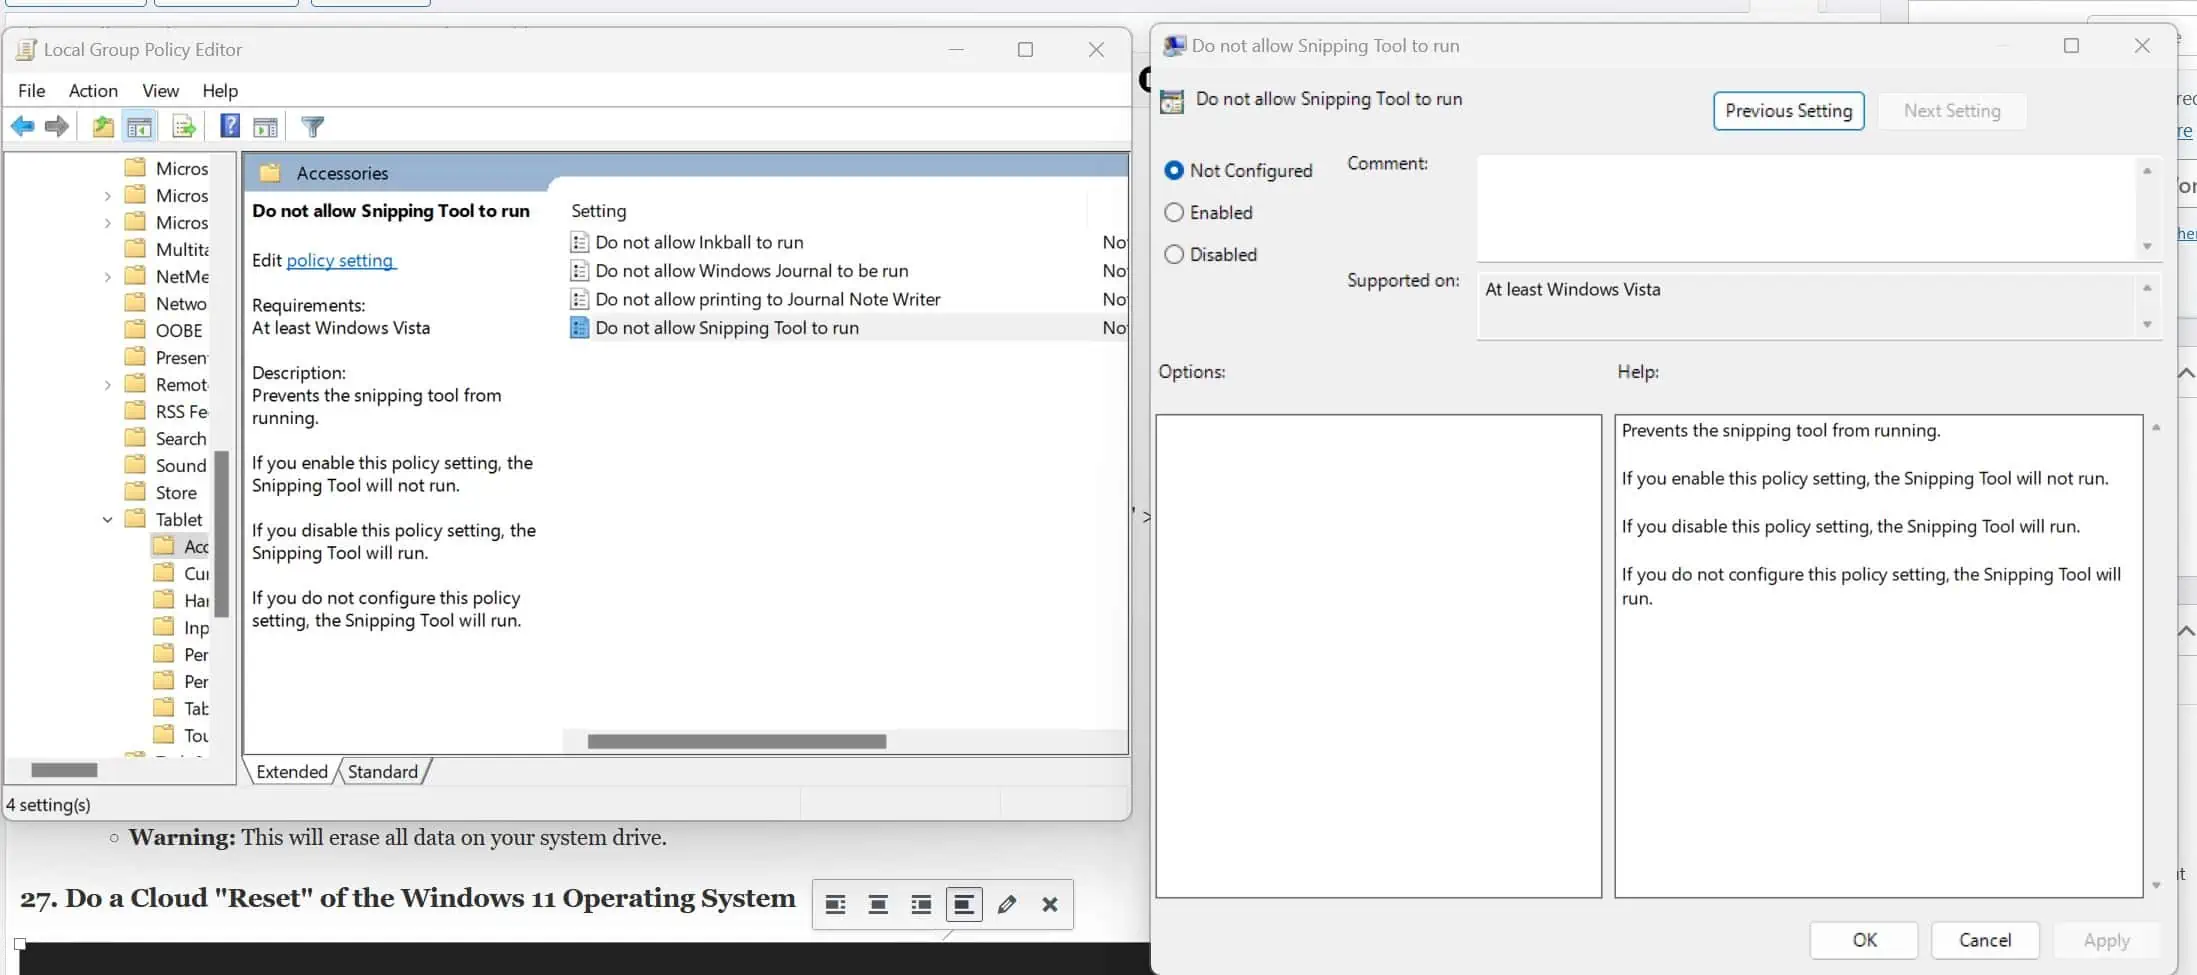
- Modify Local Group Policy to enable Snipping Tool:
- Press Win + R > type “gpedit.msc” > Enter.
- Navigate to “User Configuration” > “Administrative Templates” > “Windows Components” > “Tablet PC” > “Accessories.”
- Double-click “Do not use Snipping Tool” > select “Disabled” > “OK.”
- Restart your computer and check if Snipping Tool is working.
26. Perform a Clean Windows 11 Installation
- Perform a clean installation of Windows 11:
- Backup all important data to an external drive or cloud storage.
- Download Windows 11 installation media from the official Microsoft website.
- Follow the on-screen instructions to perform a clean installation.
- Warning: This will erase all data on your system drive.
27. Do a Cloud “Reset” of the Windows 11 Operating System
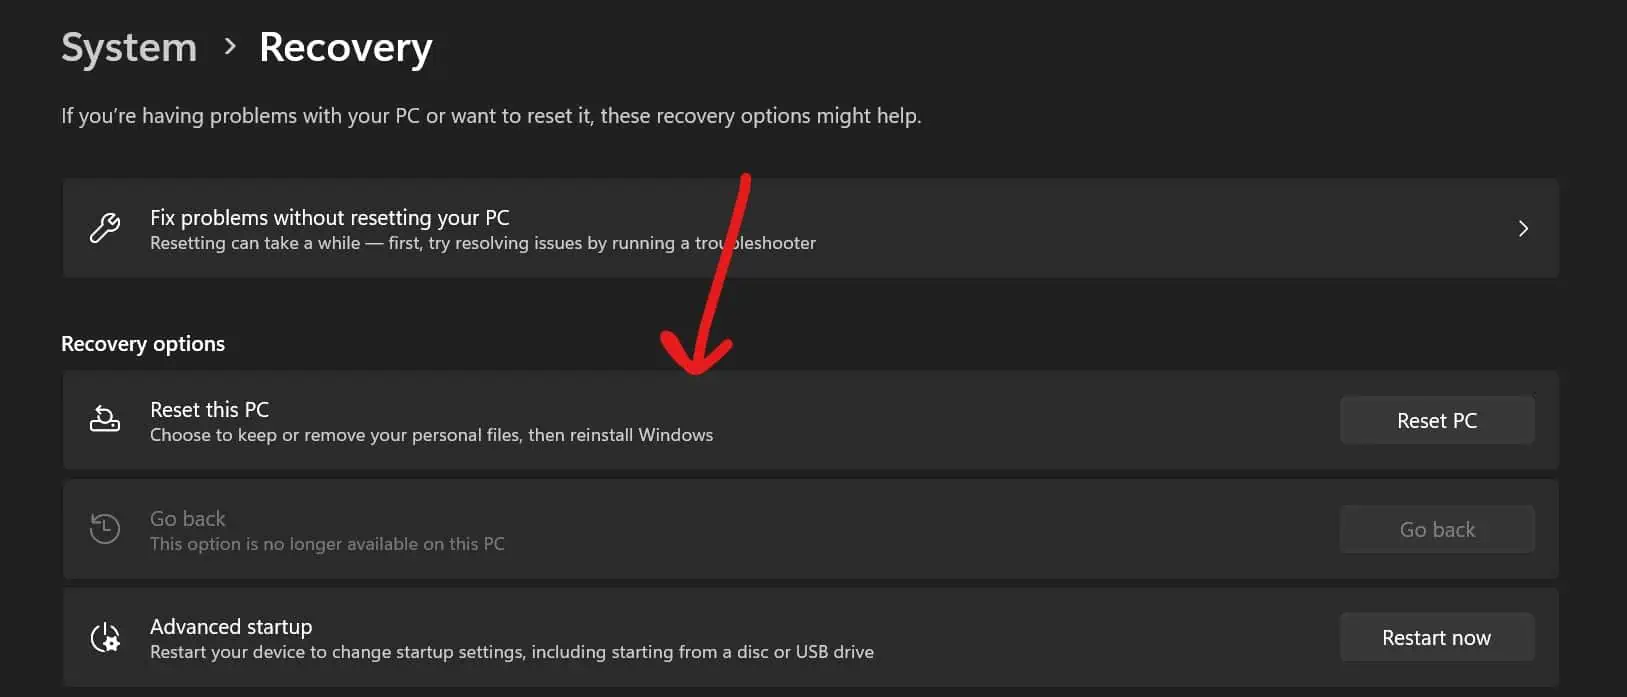
- Perform a cloud reset of Windows 11:
- Open “Settings” > “Update & Security” > “Recovery.”
- Under “Reset this PC,” click “Get started.”
- Choose “Cloud download” and follow the on-screen instructions.
- Warning: Backup data first, as this will reinstall Windows and remove personal files and apps.
We hope we didn’t overwhelm you with too many solutions, but we just wanted to make sure that Snipping Tool won’t misbehave any longer on Windows 11.
Read our disclosure page to find out how can you help MSPoweruser sustain the editorial team Read more


Improve this guide


User forum
0 messages