Problem With Wireless Adapter or Access Point Windows 11 Fixes
![]() 4 min. read
4 min. read
![]() Published on
Published on
Share this article

Improve this guide
Read our disclosure page to find out how can you help MSPoweruser sustain the editorial team Read more
If you keep encountering a problem with your wireless adapter or access point on Windows 11, you’re in the right place.
First, try out some simple solutions that tackle the most common causes behind the problem. If that doesn’t help, read on for more advanced steps!
Quick Fixes and Diagnostics
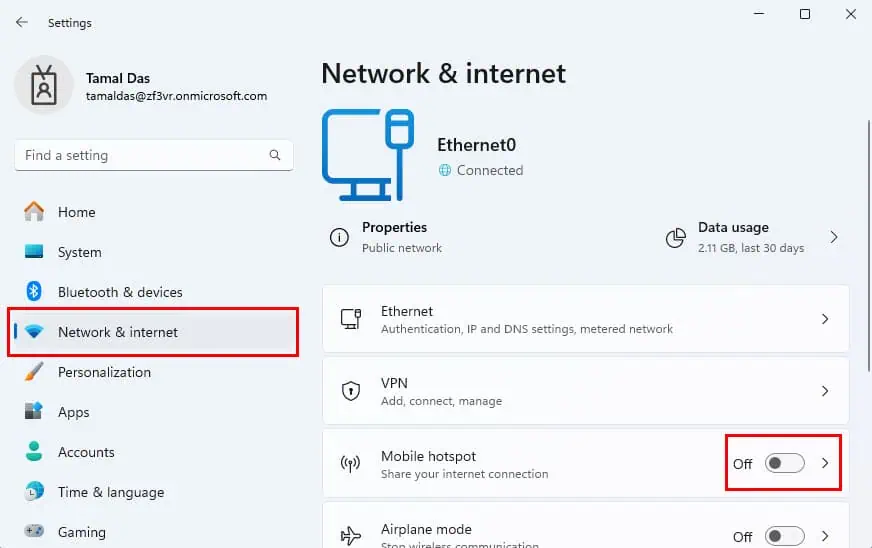
- Launch the Settings app by pressing the Windows + I keys. Select Network & Internet from the left and click on the Mobile hotspot toggle button to disable it.
- Don’t forget to switch on the main power outlet to which the Wi-Fi router’s adapter is connected.
- Switch off and on the Wi-Fi router.
- Reboot your PC.
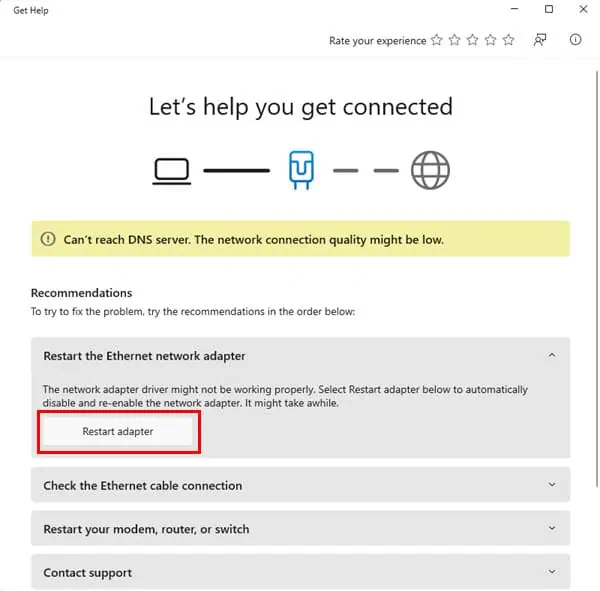
- Press the Windows + I keys together to launch the Settings app. Select the Network & Internet menu and click Get Help. Now, follow the troubleshooter’s instructions.
- Disconnect and reconnect the Ethernet cable to the PC and router’s LAN ports.
- Unscrew the antenna cable from the PC I/O panel, clean the ports with a dry paintbrush, and put the cable back into its port.
- If your Wi-Fi isn’t working, try restarting the modem connected to the outlet. If you can’t find the outlet, contact your ISP’s service center for assistance with the restart.
Reset Router
- Log in to the router control portal by visiting 192.168.1.1. This is the default IP for most devices.
- If yours is different, check on the back.
- Enter your user ID and password to authenticate.
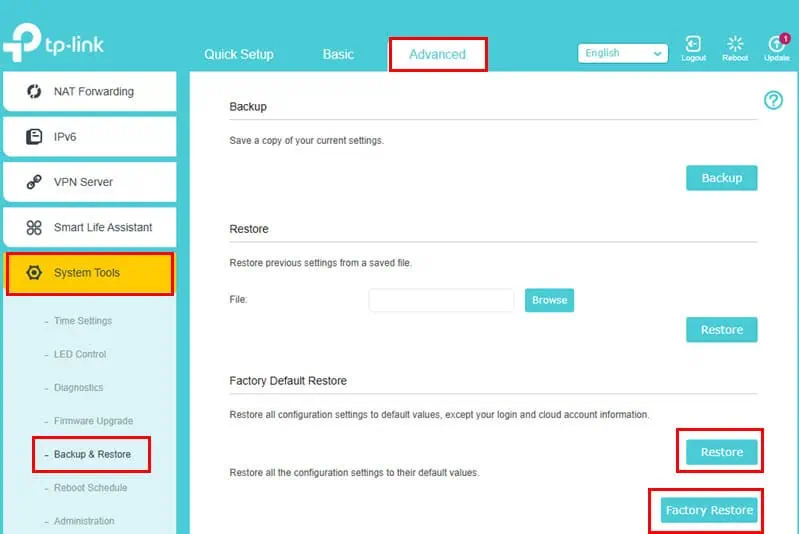
- Click the Advanced tab on the top and select System Tools from the left-side panel.
- Hit the Backup button to download a binary file containing router settings.
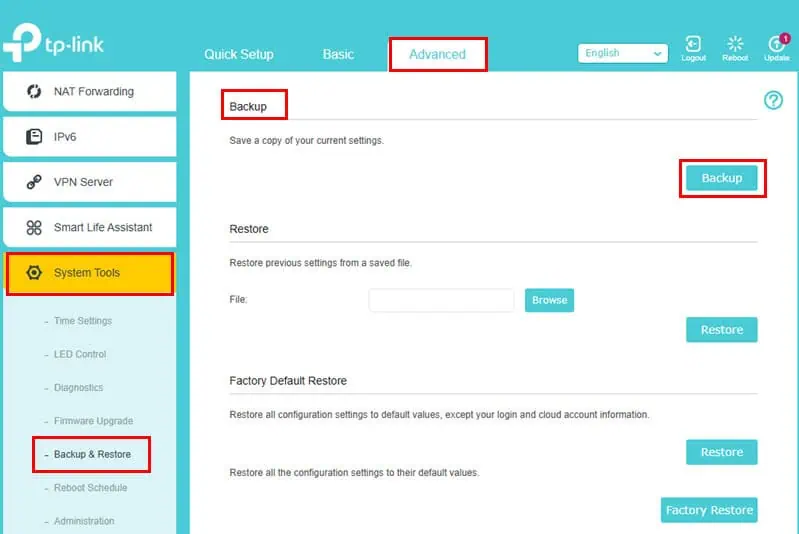
- Now, click the Restore button in the Factory Default Restore section.
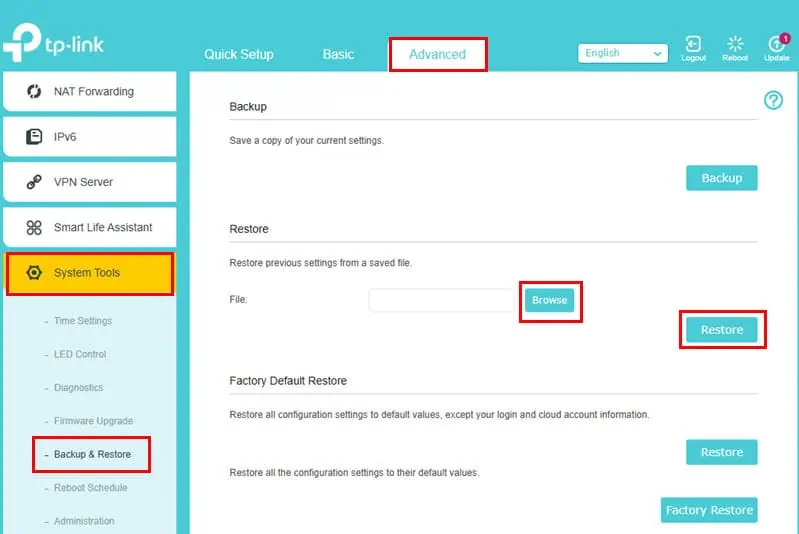
- When the router restarts, return to the Backup & Restore menu > click Browse > select the previously downloaded router settings’ binary file > hit the Restore button.
- You can also click the Factory Restore button if the issue doesn’t disappear.
- Once that’s done, use the same binary file to reinstate the router’s Wi-Fi gateway settings.
Reset PC Network Settings
Follow these steps only if you know the Wi-Fi network password:
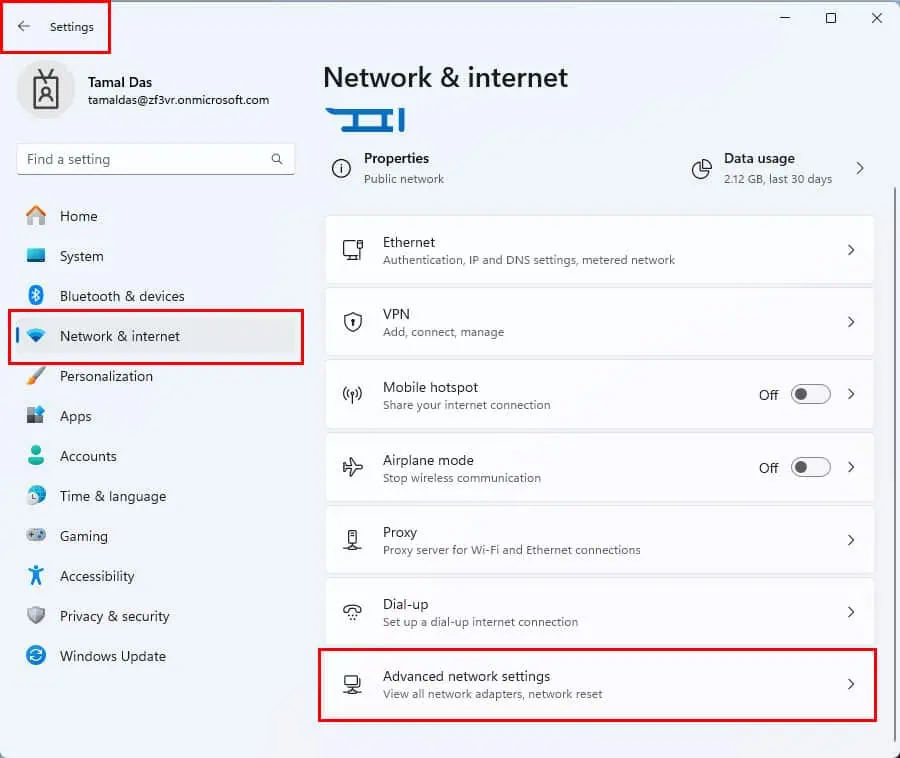
- Open the Settings app and select the Network & Internet menu on the left.
- Scroll down on the right-side menu and select the Advanced network settings option.
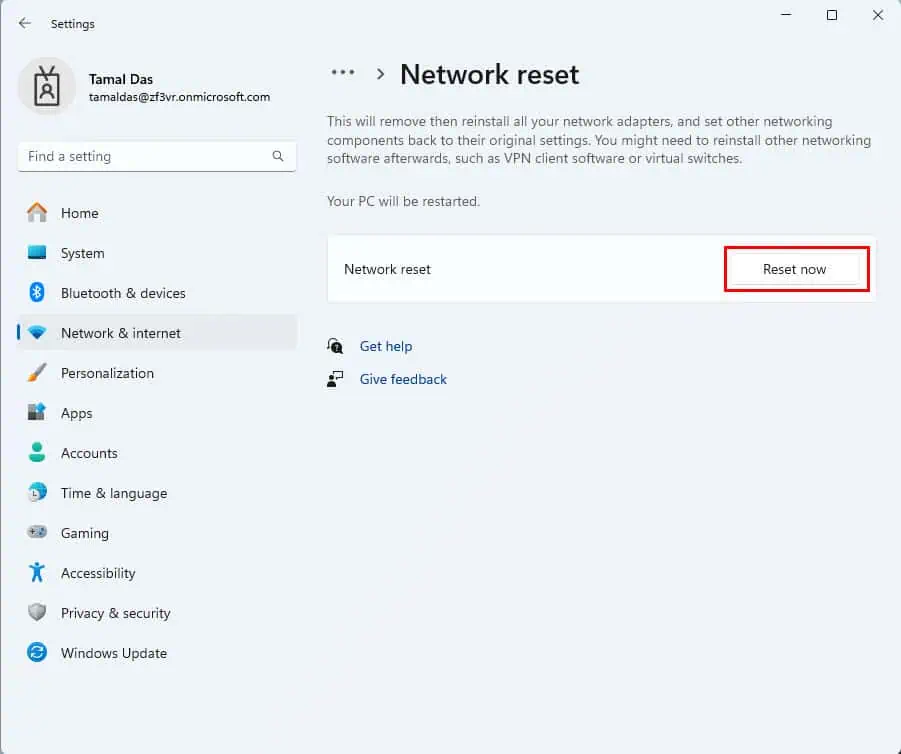
- Click on the Network reset option below the More settings section.
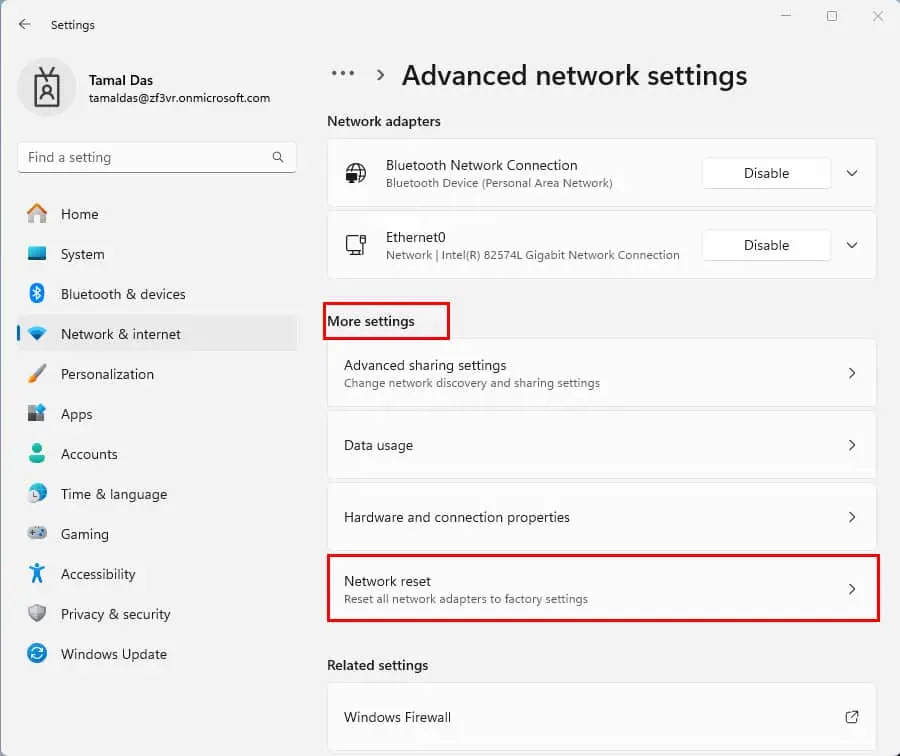
- Select the Reset now button.
If you don’t know the Wi-Fi password, do this first:
- Right-click on the Start menu or the Windows flag to bring up the Power User menu.
- Click Terminal (Admin) from the context menu.
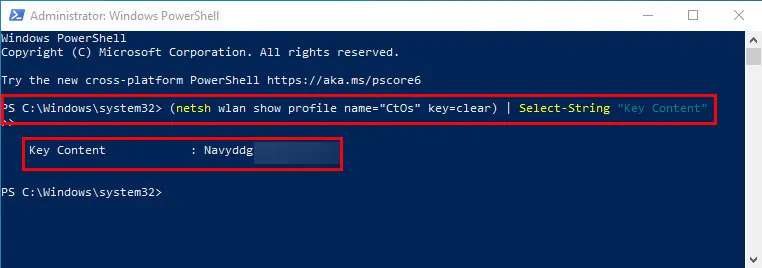
- In the Windows PowerShell terminal, copy and paste the following command:
(netsh wlan show profile name="CtOs" key=clear) | Select-String "Key Content"- Replace the codelet CtOs with the network name or SSID to which your PC is connected.
- Hit Enter.
- The Windows terminal will show the password.
Update Network Adapter Driver
There are two ways to achieve this:
Manual Update
- Press the Windows + X keys to launch the Power User menu.
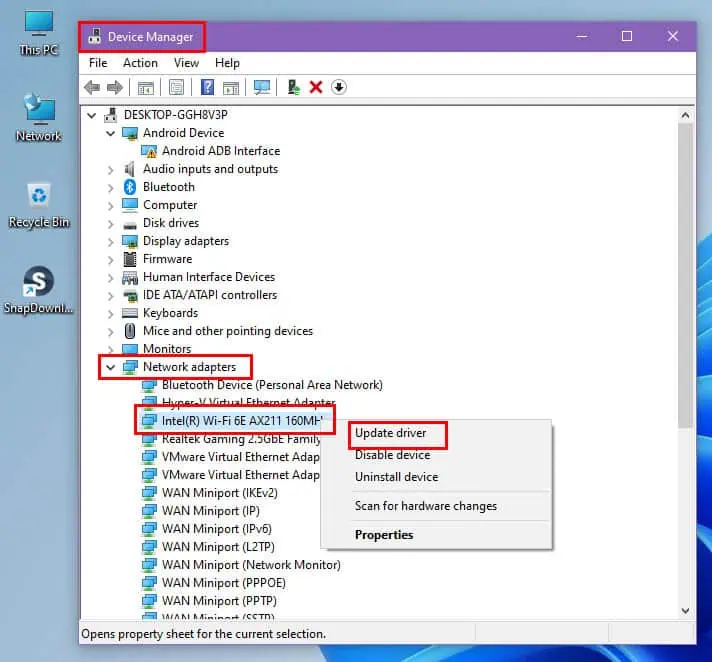
- Click on the Device Manager option.
- Look for the Network adapters and double-click to expand.
- Find your Wi-Fi adapter. It might say the manufacturer’s name, like Intel, Tenda, TP-Link, etc.
- Right-click and choose Update driver.
- Choose Search automatically…
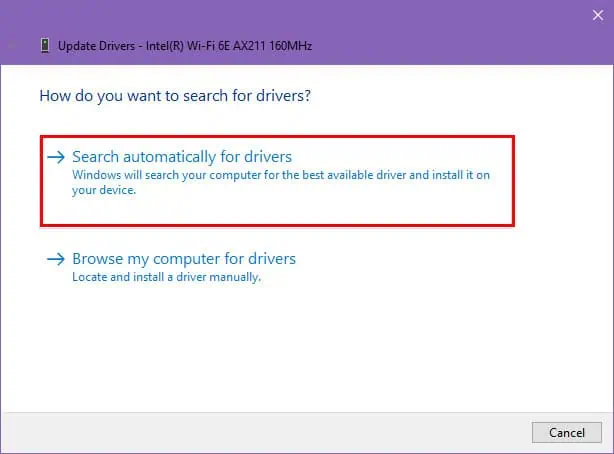
- If this doesn’t update the driver, select Search for updated drivers… on the next screen.

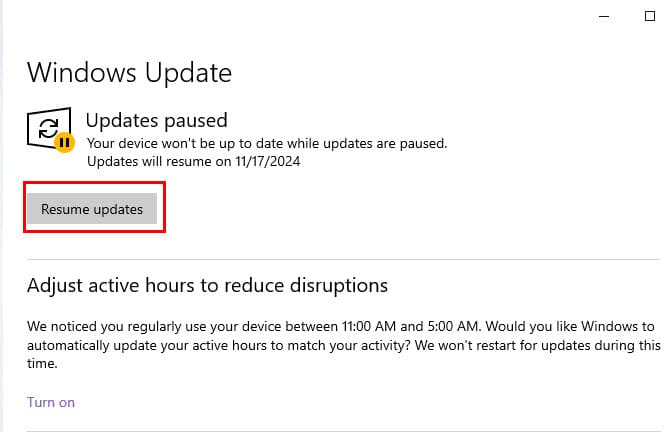
- You’ll see the Windows Update dialog.
- Click Resume updates or Check for updates.
Using the PC HelpSoft Driver Updater
This tool automatically detects and updates all outdated drivers in your PC including the Network & Internet one. This should fix all the drivers that might be related to the problem with the wireless adapter or access point on Windows 11.
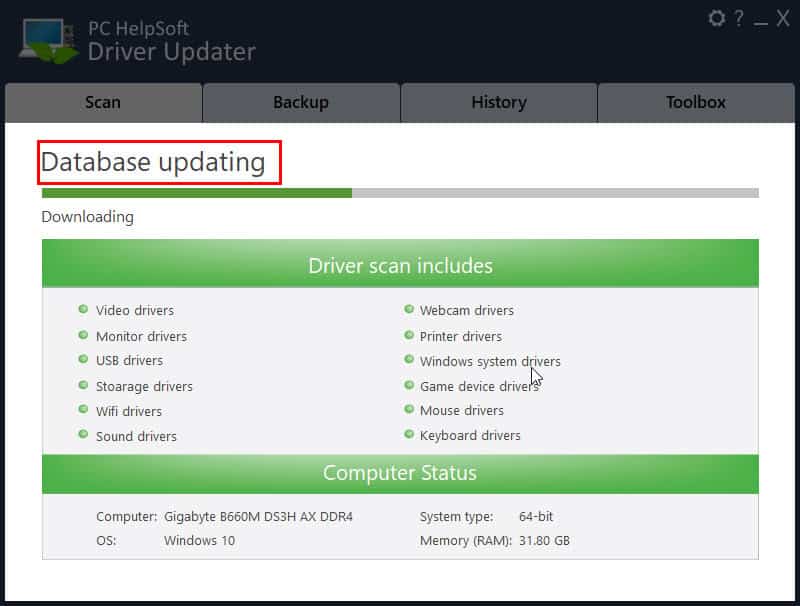
- Download and install the PC HelpSoft Driver Updater.
- Double-click the installer.
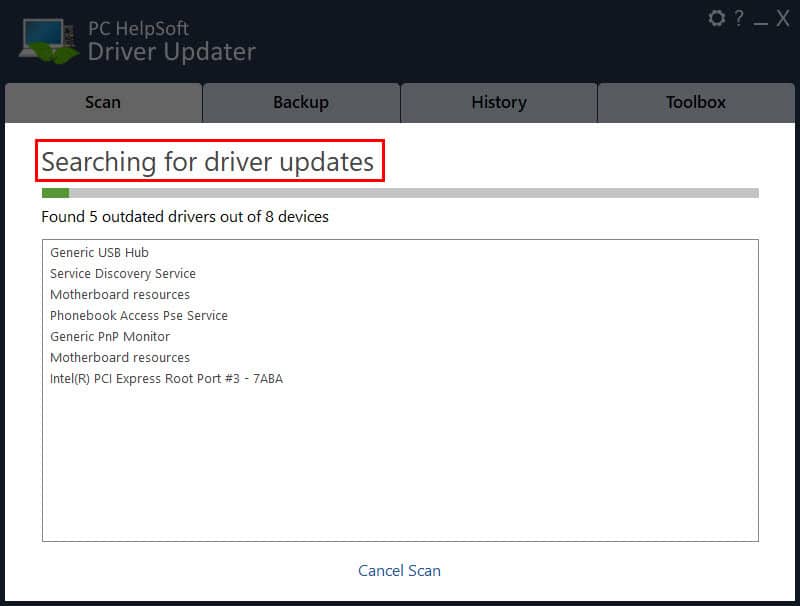
- The app will launch automatically and scan the device.
- Then, it’ll fetch driver updates online from official sources.
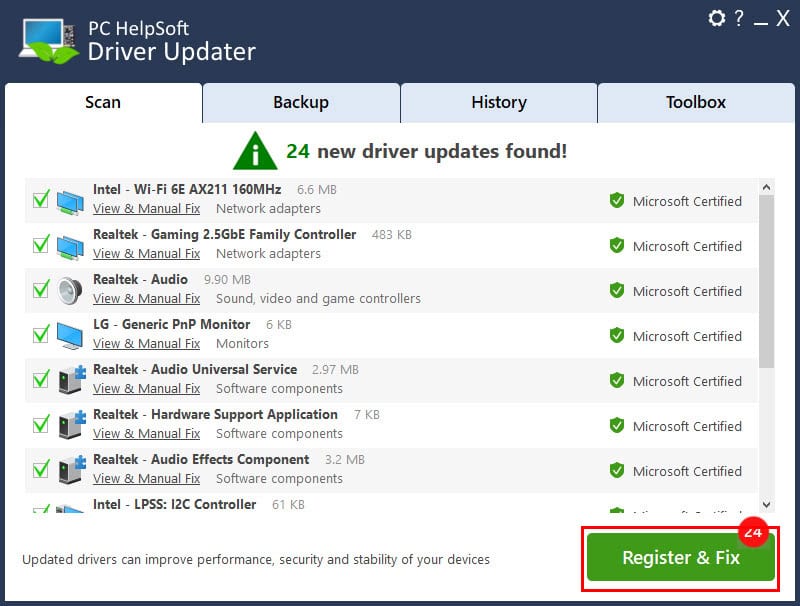
- Finally, it’ll show the Register & Fix button.
- If you’re okay with licensing the app, click Register & Fix, and follow the onscreen instructions.
Use CMD
Finally, you can run these Windows Command Prompt or PowerShell commands to fix the temporary wireless adapter and accept point/router issues:
- Reset the TCP/IP Stack: This command requires a restart at the end.
netsh int ip reset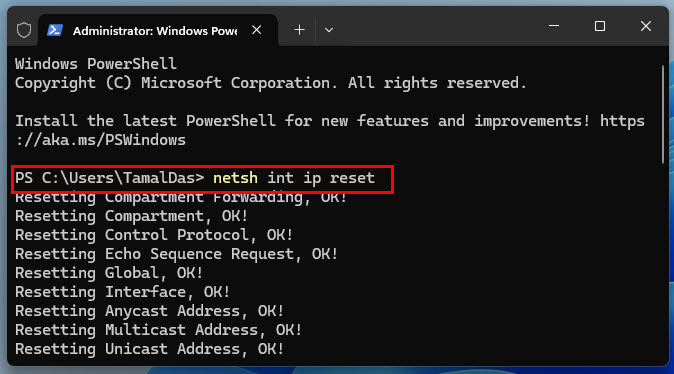
- Release and Renew IP Address: Reboot the PC when done.
ipconfig /release
ipconfig /renew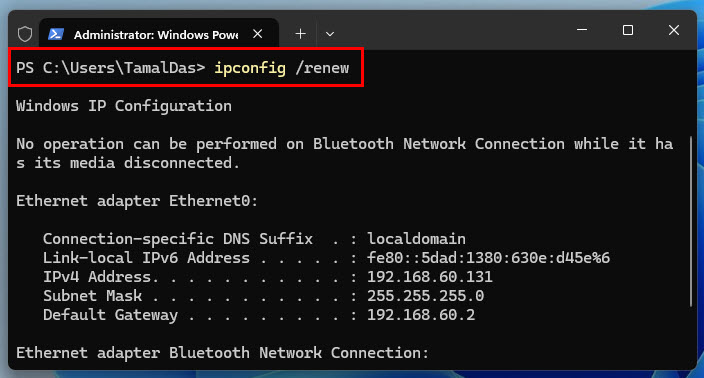
- Flush the DNS Cache:
ipconfig /flushdns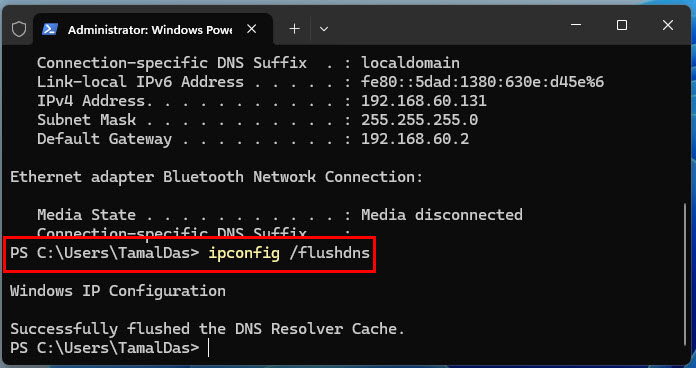
- Reset Winsock Catalog:
netsh winsock reset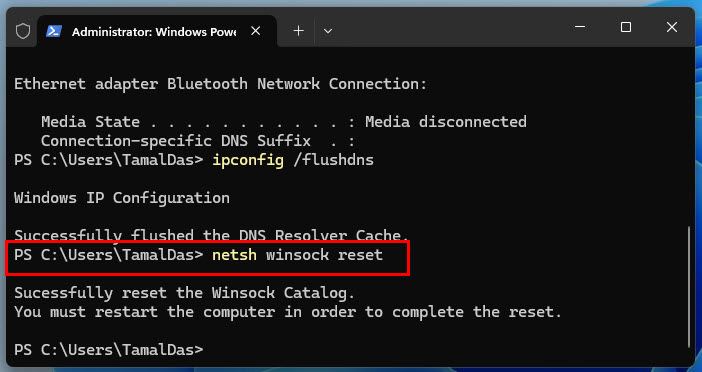
You can try these methods in the order of their appearance to fix the problem with the wireless adapter or access point on a Windows 11 PC.
Comment below to let me know which one worked for you. If you know of a better tactic, feel free to share it!


User forum
0 messages