Guide: Download & Install Microphone Driver for Windows 10
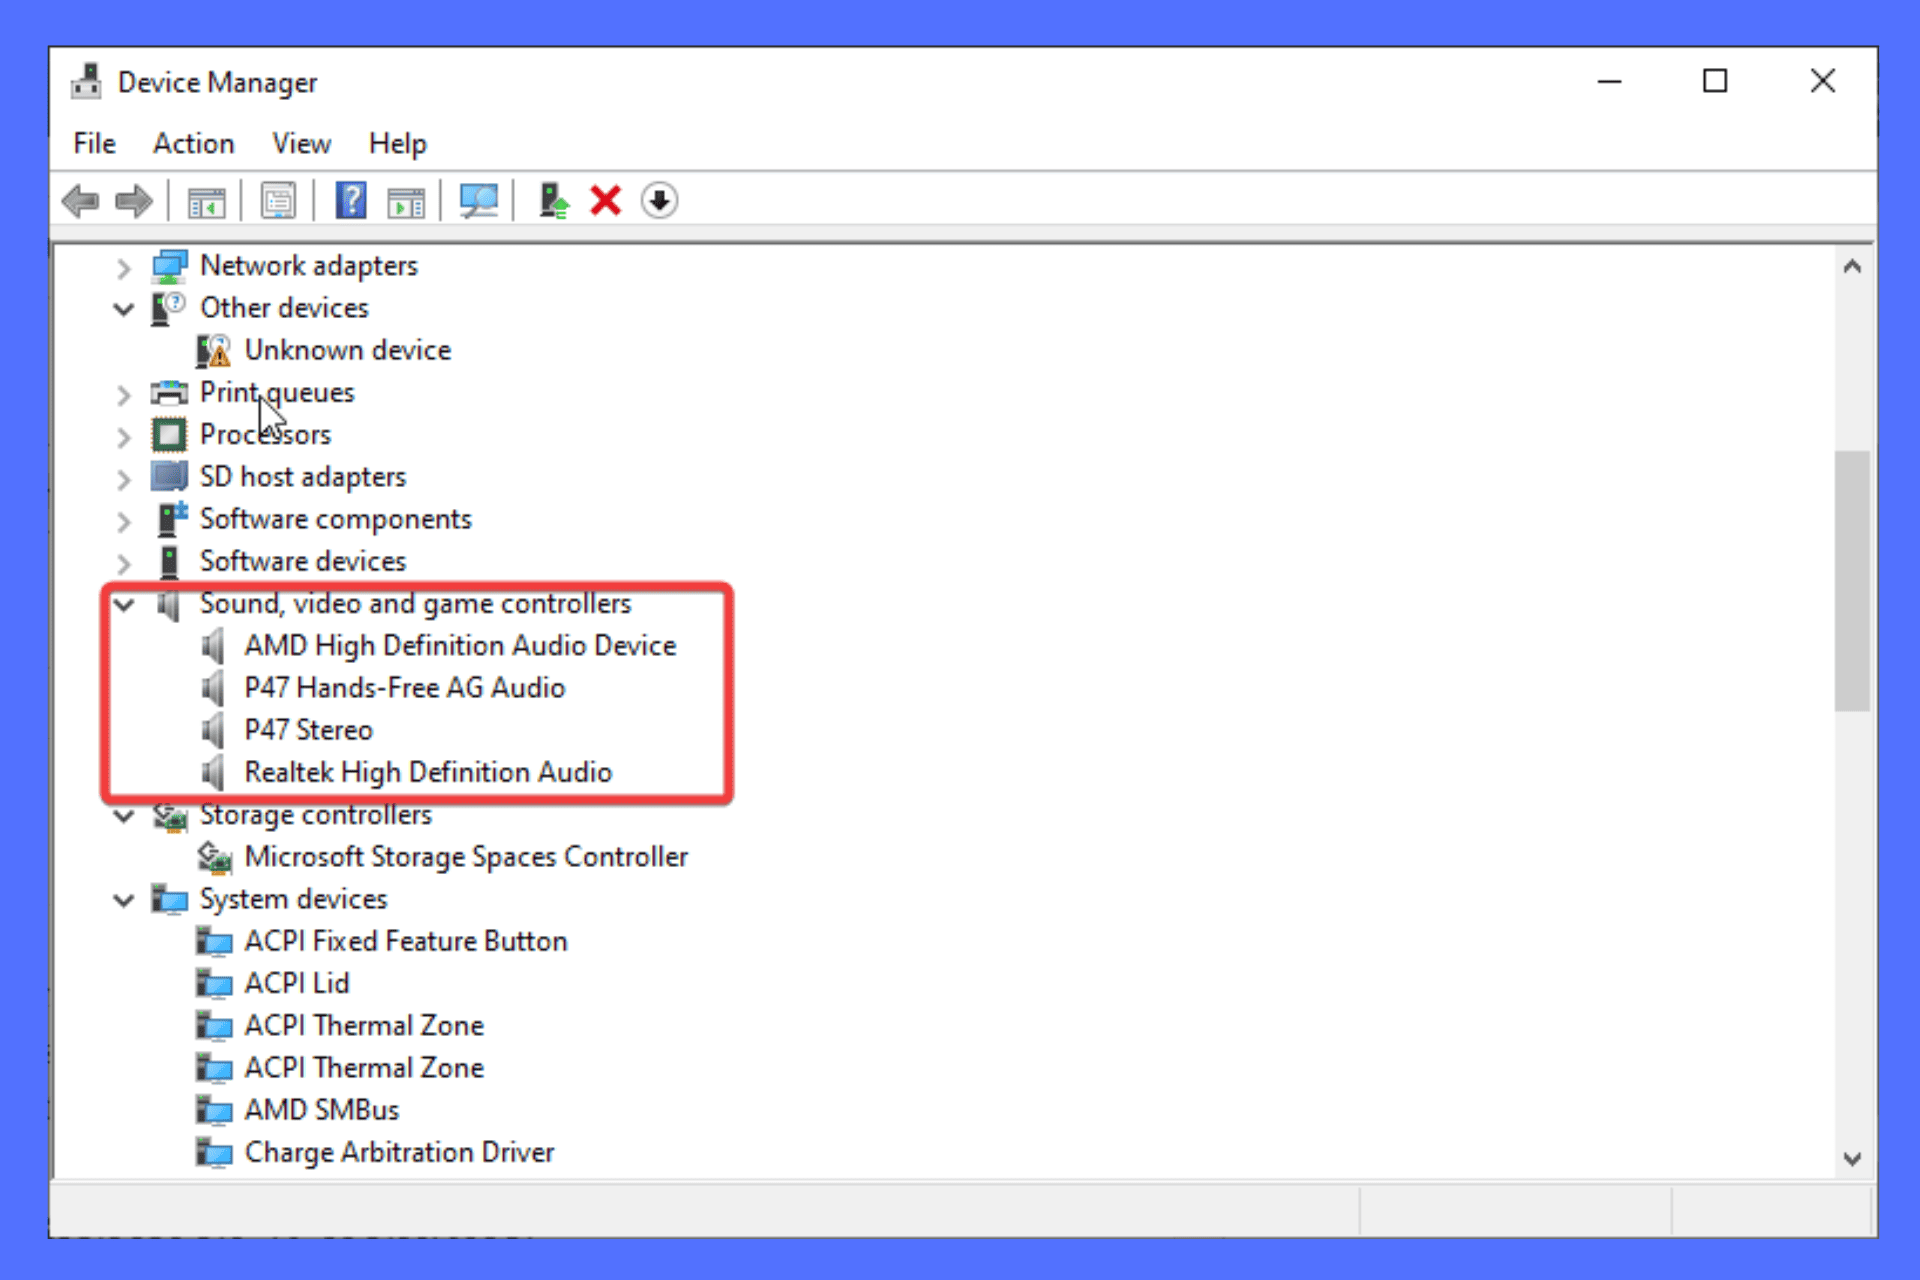
This guide will help you download and install the microphone driver for Windows 10 efficiently. Do you want to get optimal sound performance and quality for your microphone device? If the microphone is not working properly, has poor sound quality, or has extremely low volume, the driver could be outdated, missing, or corrupted, and the solution is to download a newer version. In this guide, you will find the best ways to download & install it. Make sure to keep on reading!
Why You Need a Microphone Driver for Windows 10
The microphone driver for Windows 10 is essential for your device to function properly. This driver communicates between your mic and the operating system, ensuring clear audio during your digital communications. Most importantly, it should be up-to-date for it to function properly.
Otherwise, you’ll notice strange audio issues, or Windows might not even recognize it. You may notice it’s missing in the Device Manager. You also won’t be able to make calls or use other features that depend on the mic.
In any case, the latest drivers ensure everything is in working order.
How To Download the Microphone Driver
There are several methods to download the microphone driver for Windows 10. You can get it directly from the manufacturer’s website, through Windows Update settings, an automatic driver updater, or via Device Manager.
1. Download the mic driver for Windows 10 from the manufacturer’s website
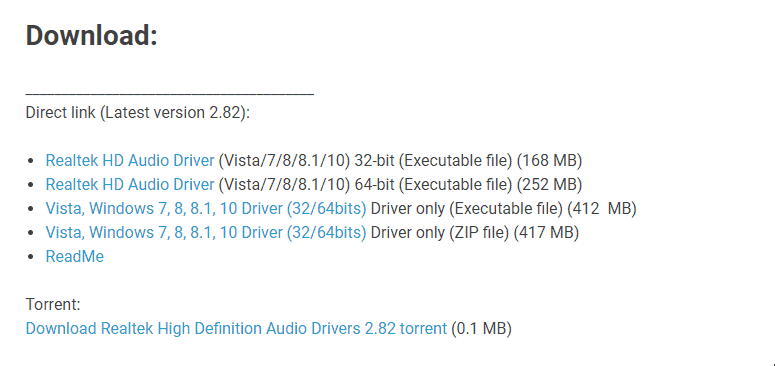
- Visit the manufacturer’s download page, such as Realtek which is widely used in many modern computers.
- Look for the correct driver and click the one you want.
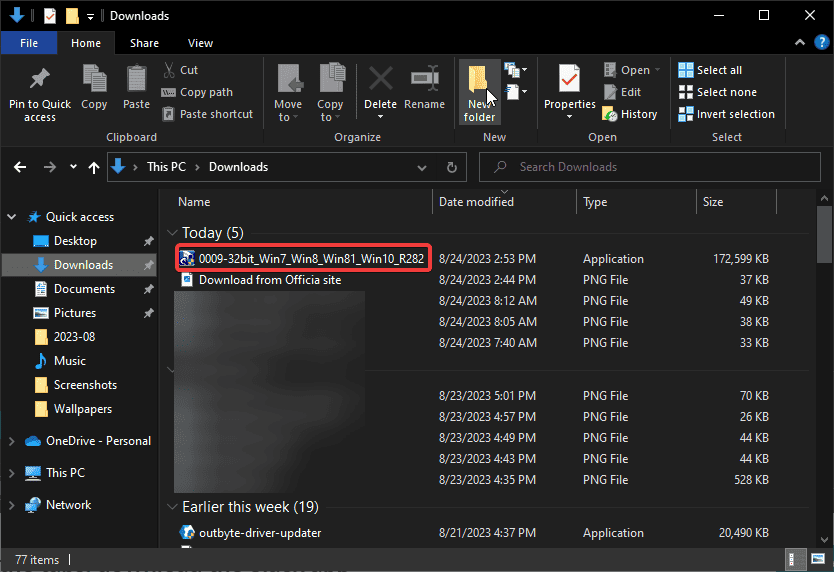
- The file will be saved in your downloads folder. Locate and click it to run the file.
- Follow the directions on the screen to complete the installation.
- Restart your PC and check if the driver is available in the Device Manager.
2. Download the microphone drivers via Windows Update settings.
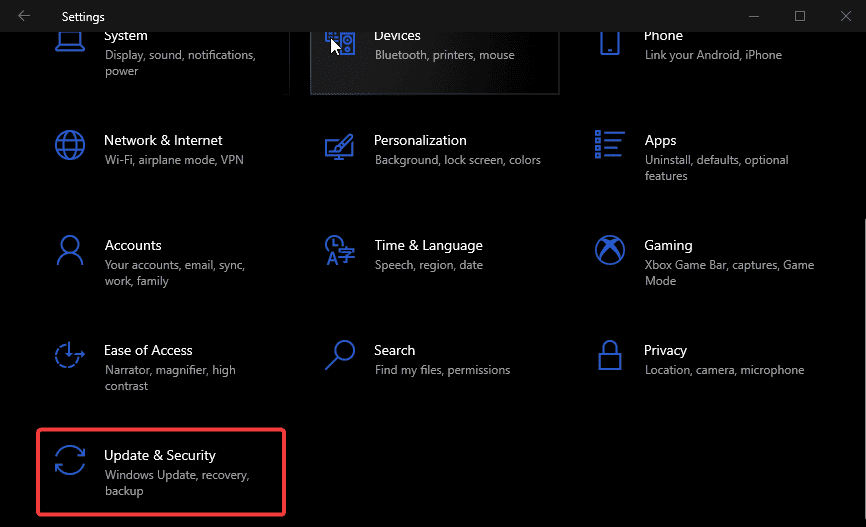
- Open the Windows Settings app by pressing the Windows button + I. Click on the Update & Security option.
- Select Check for updates and wait for Windows to check any available driver updates.
- If it is available, click Download and install.
3. Use an automatic driver updater
Sometimes, manual methods are tiresome, or get a driver that is not compatible with your computer or Windows version. The best way to avoid all these issues is by using an automatic driver update tool where you won’t need to go through a tedious process to install only one driver.
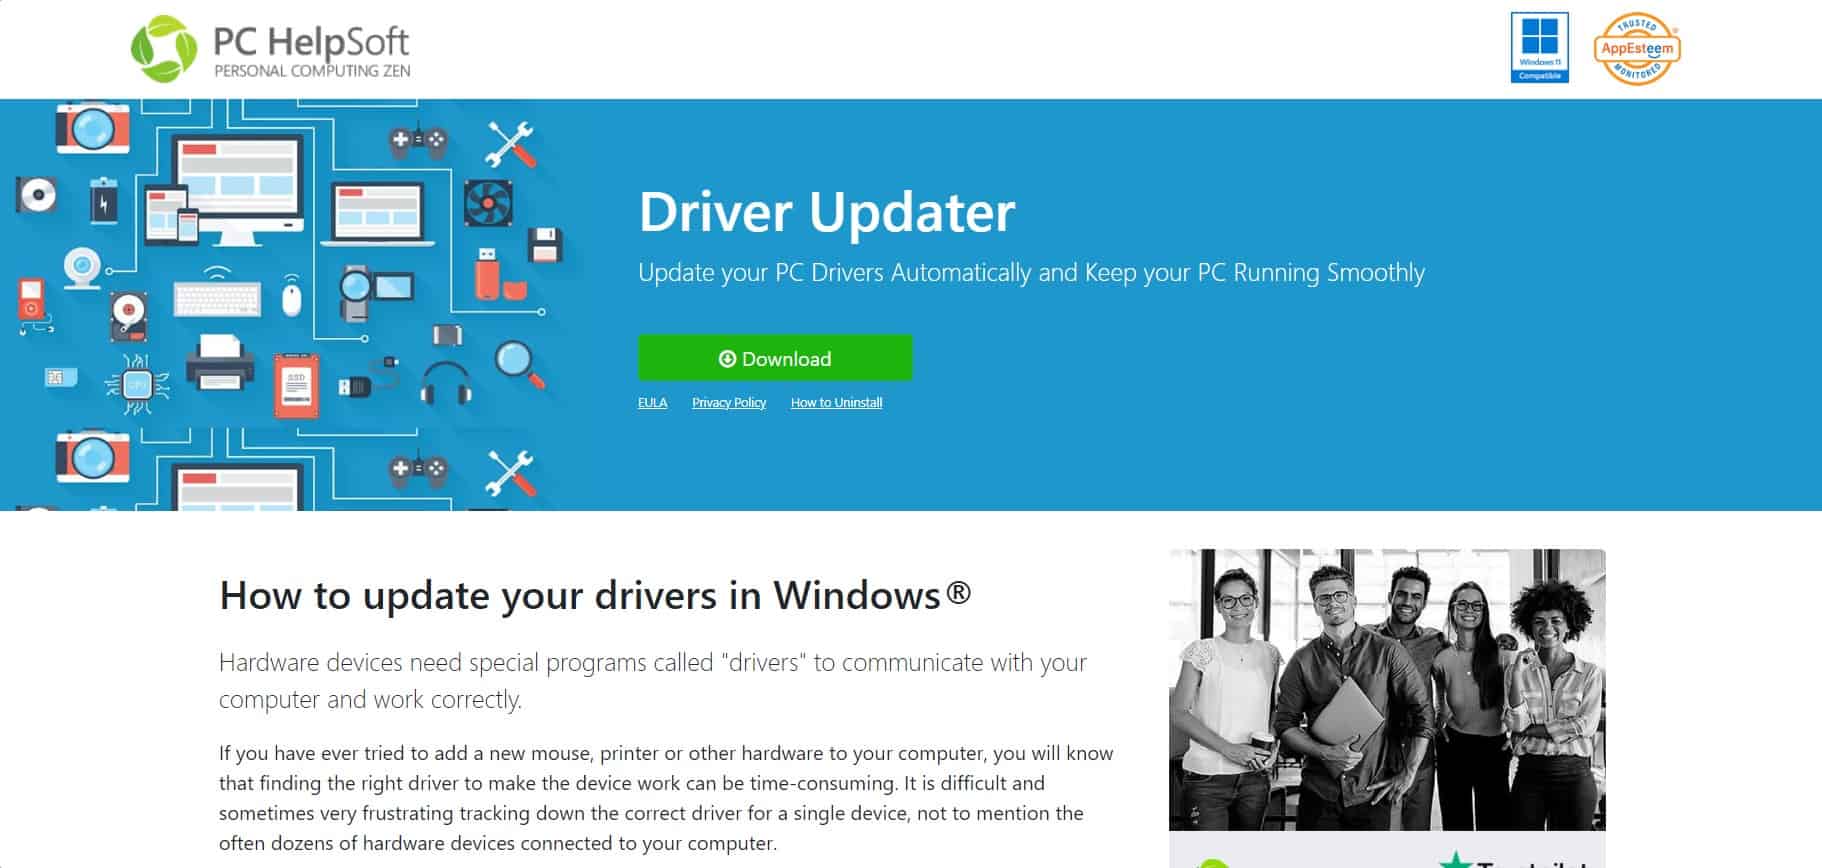
We recommend a verified and tested tool, the PC HelpSoft Driver Updater to download the microphone driver for Windows 10:
- Download and install the app from the official PC HelpSoft website.
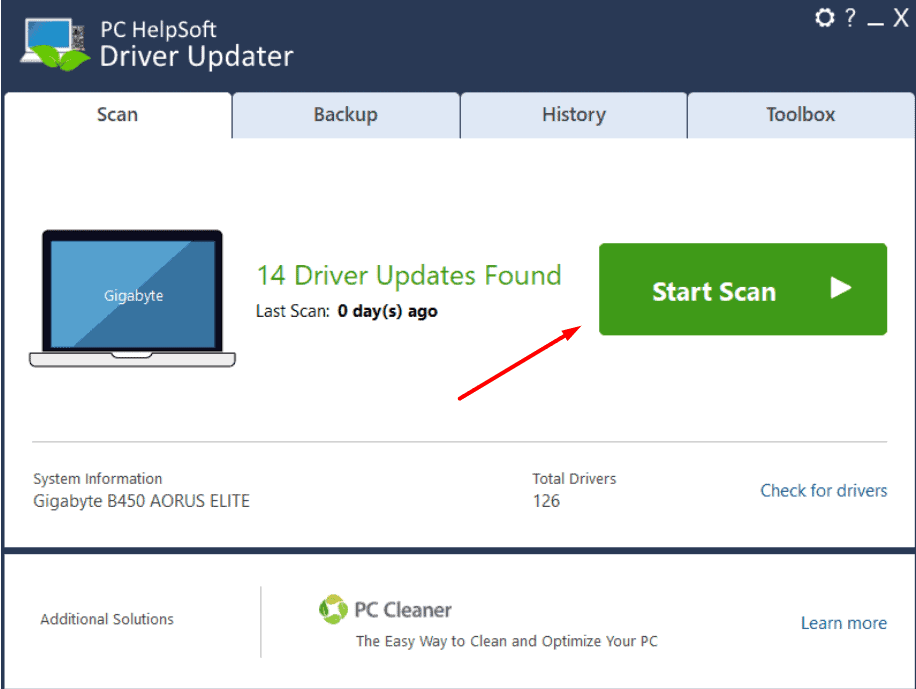
- Launch the app and it will detect the drivers your PC needs.
- Locate the one you want and select Update.
- Follow simple steps on the screen to complete the process.
4. Download and install the microphone drivers for Windows 10 using Device Manager
- Press the Windows button + R, type devmgmt.msc in the Run dialog box, and then hit Enter on your keyboard.
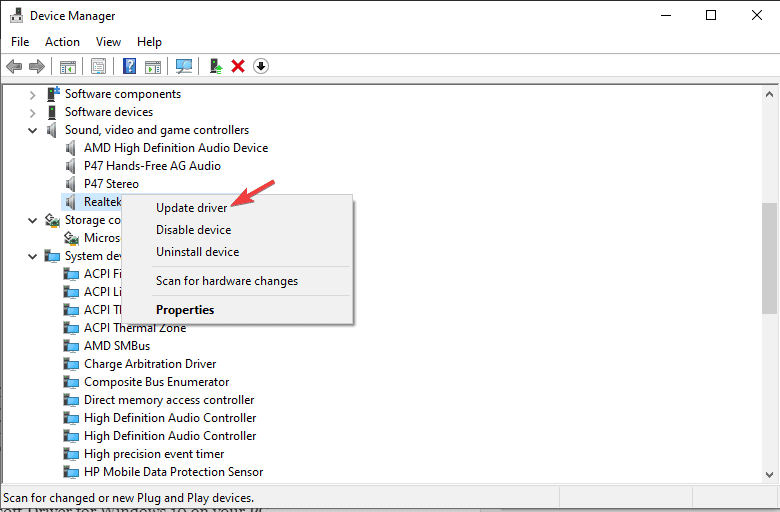
- Look for Sound, video and game controllers, and double-click to expand it.
- Right-click on your Microphone driver and select Update driver.
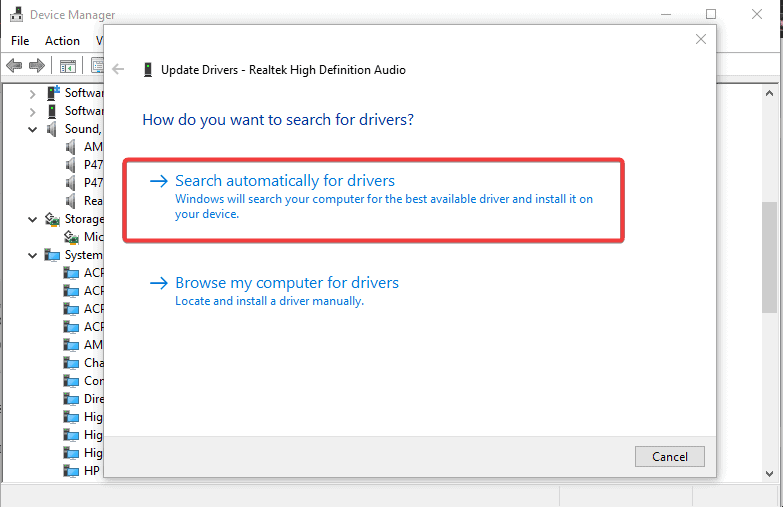
- Windows will give you two options to proceed. Select Search automatically for updated driver software.
- Wait for Windows to find the appropriate update and install it automatically.
- Restart your computer once the installation is complete.
We hope you can now download and install the microphone driver for Windows 10 on your PC.
Feel free to leave a message in the comment sections. Let us know if you successfully install the driver or if you have any concerns or suggestions about the topic.
Read our disclosure page to find out how can you help MSPoweruser sustain the editorial team Read more



User forum
1 messages