How to use Android as a webcam on Windows 11
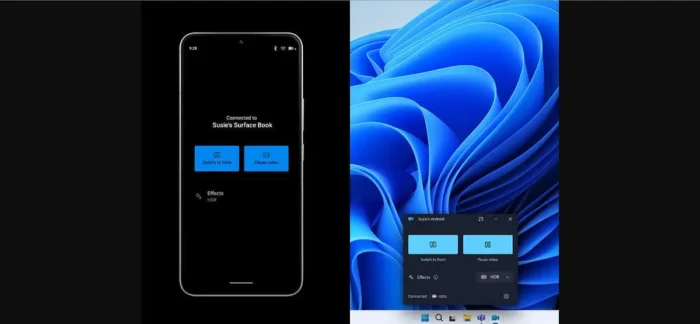
Are you tired of the mediocre quality of your laptop’s built-in webcam during video calls or conferences? Don’t worry; you can easily improve your video quality by using your Android phone as a webcam on Windows 11. Whether for work meetings, virtual classes, or catching up with friends and family, this tutorial will walk you through the process, ensuring you get the best video quality possible.
Why to use Android as a webcam on Windows 11?
There are several reasons why someone might want to use their Android phone as a webcam:
- Many modern smartphones have high-quality cameras to capture better video than a built-in webcam on a laptop or desktop computer.
- Using an Android phone as a webcam allows for more flexible positioning and angles, as the phone can be moved around and placed in different locations. This can be especially useful for video conferencing, streaming, or recording video content.
- Instead of purchasing a separate webcam, using an Android phone as a webcam can be a cost-effective alternative, especially if the phone is already owned.
- Some apps that enable Android phones to be used as webcams offer additional features, such as the ability to use the phone’s microphone, adjust camera settings, or add filters and effects to the video.
Prerequisites:
- Android phone running Android 14 or newer OS.
- The original USB cable is for connecting your phone to your PC.
- Windows 11 PC with Insider access.
Method 1: Using Android’s built-in webcam feature
You will be requiring a USB cable for this step. Make sure that both the ports of your mobile and your PC are functioning, including the cable.
1. Connect your Android phone to your PC
- Use the USB cable to connect your Android phone to your Windows 11 PC.
2. Enable Webcam Mode on your Android phone:
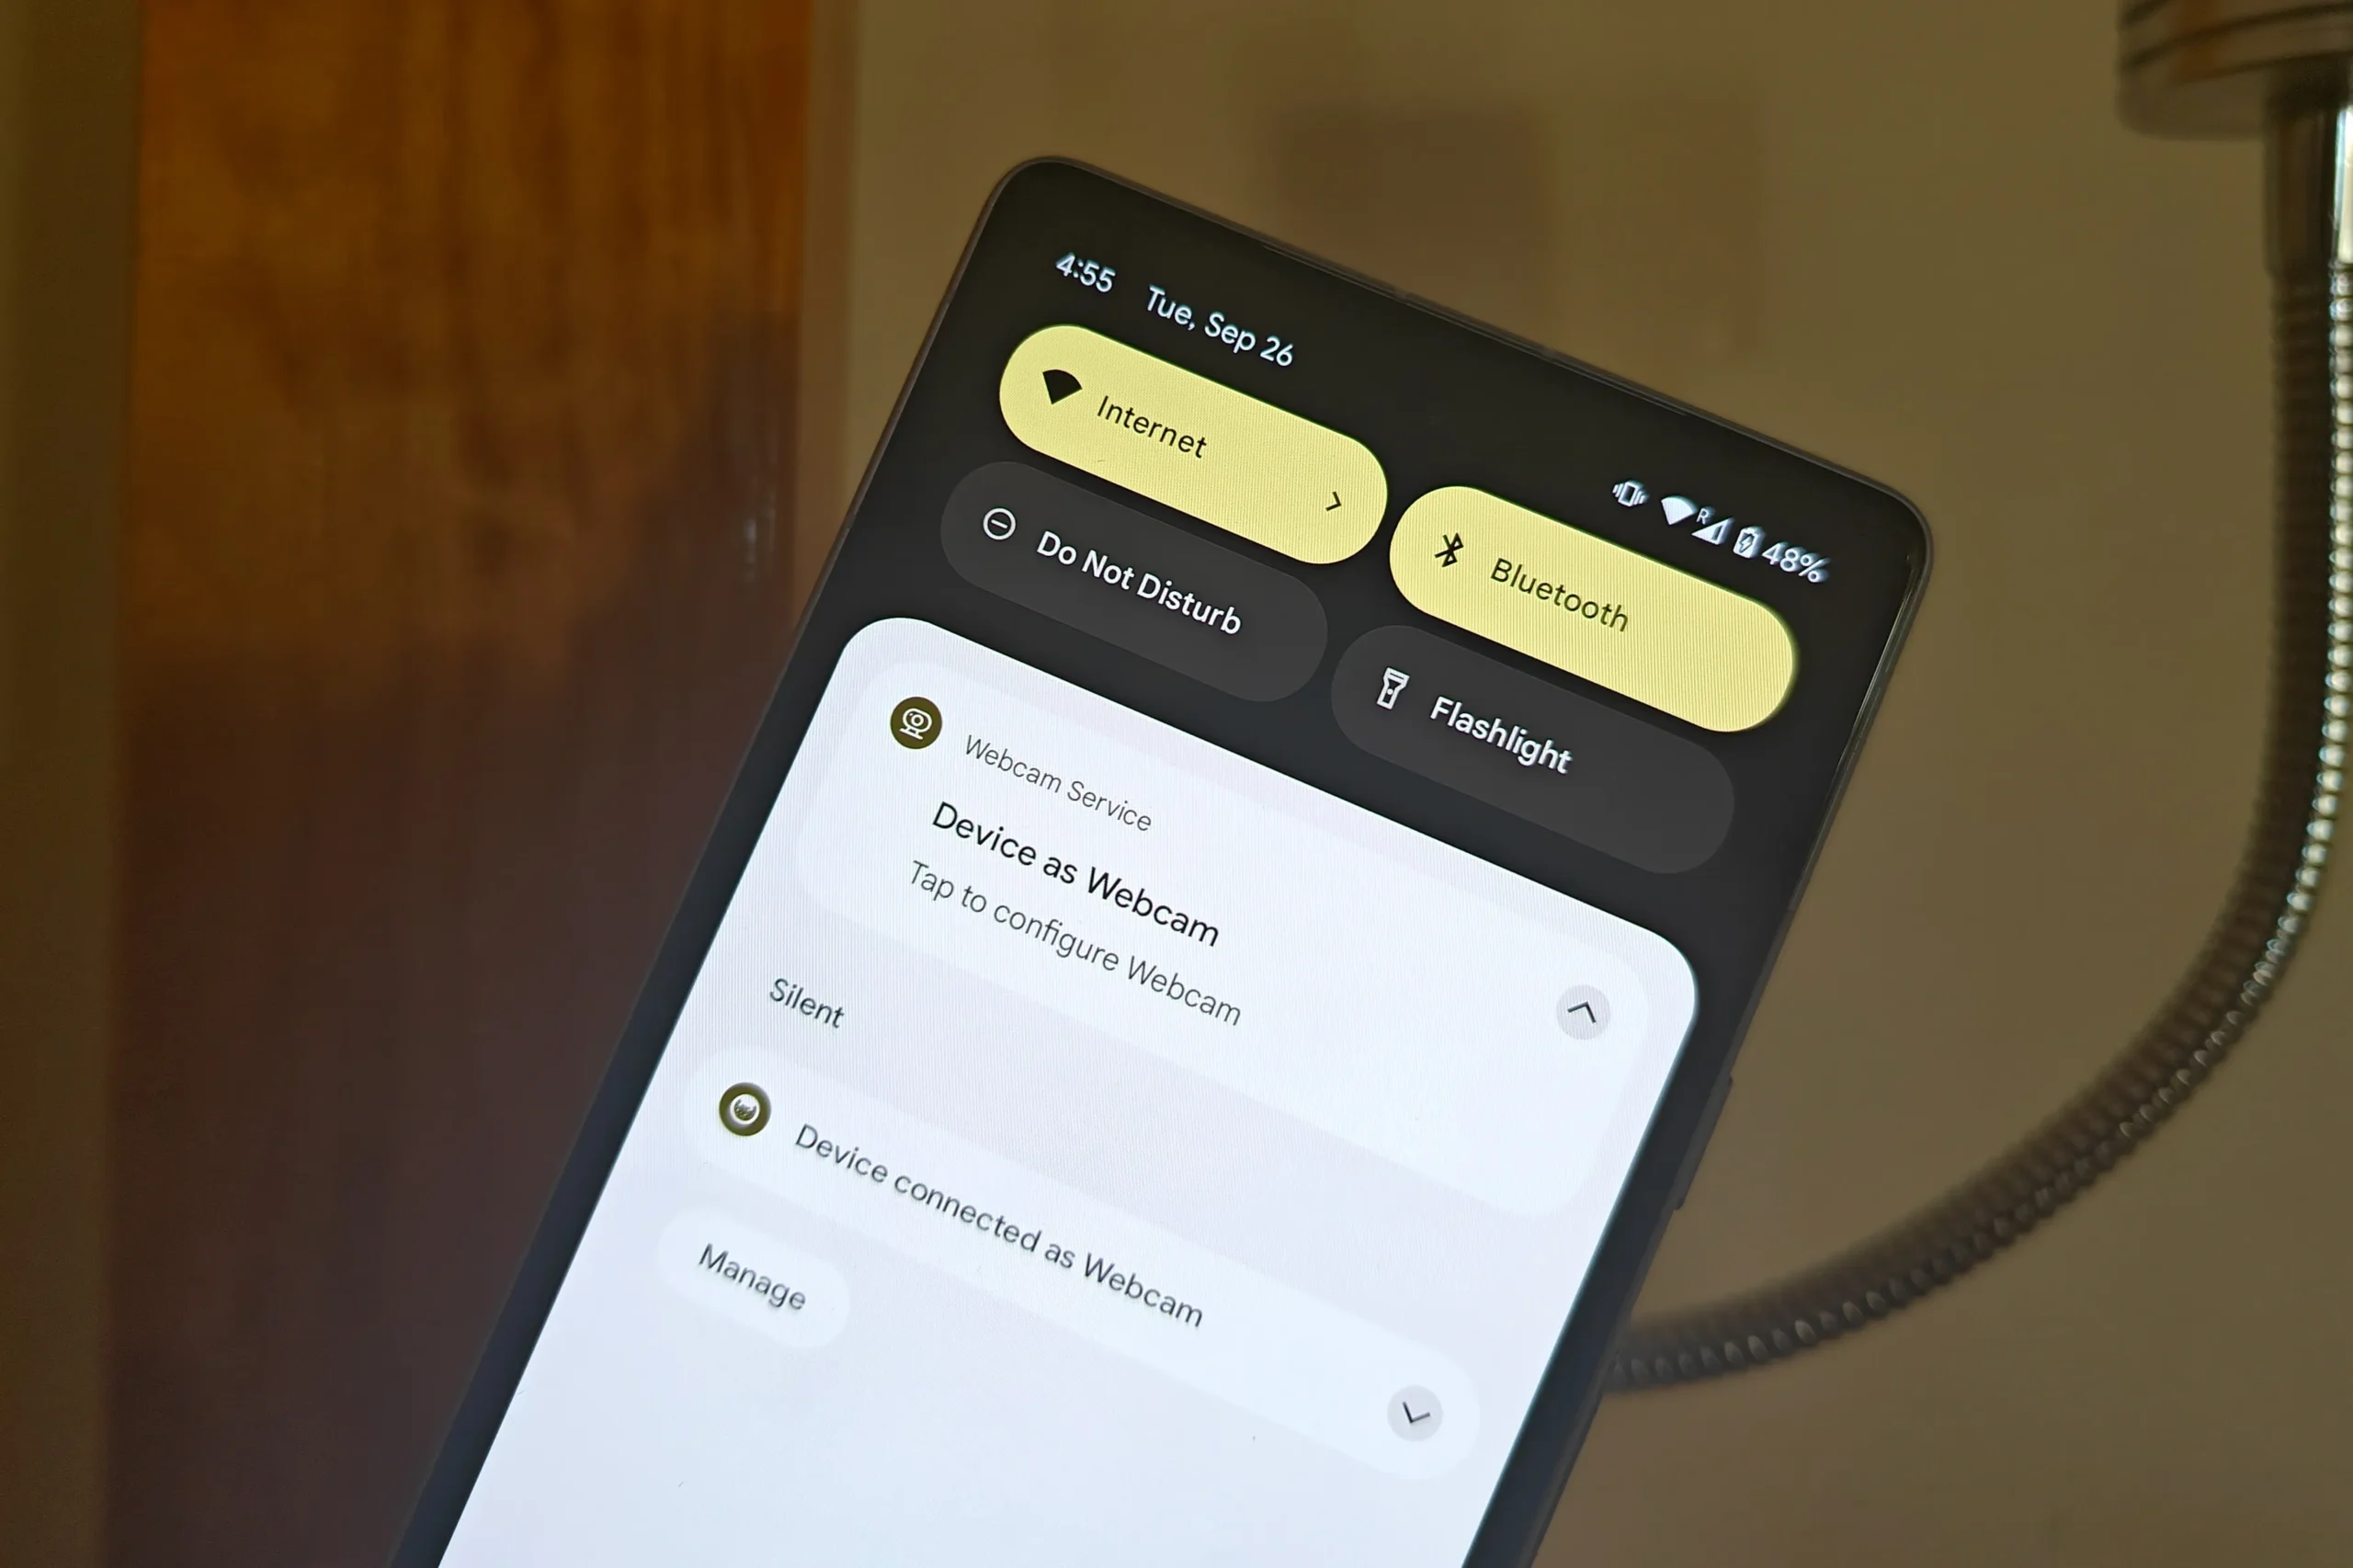
- If you want to use your Android phone as a webcam, simply tap on the USB connection notification when prompted. Then select Manage to access USB Preferences and choose the Webcam feature.
3. Configure your phone as a webcam:
- To begin, your phone must disconnect and reconnect with your PC.
- Once you have reconnected, open the Camera app on your PC.
- Finally, click the Switch button in the Camera app to change your phone’s camera input.
Your Android phone is now acting as a webcam on your Windows 11 PC, providing superior video quality compared to most built-in laptop webcams.
Method 2: Using a third-party app (DroidCam)
If you don’t want to use the previous method and want to go to the third-party app, have a go at this.
1. Download and Install DroidCam:
- Install the DroidCam app on your Android phone from Google Play Store.
- Install the DroidCam Windows client on your PC from the developer’s website.
2. Connect your devices:
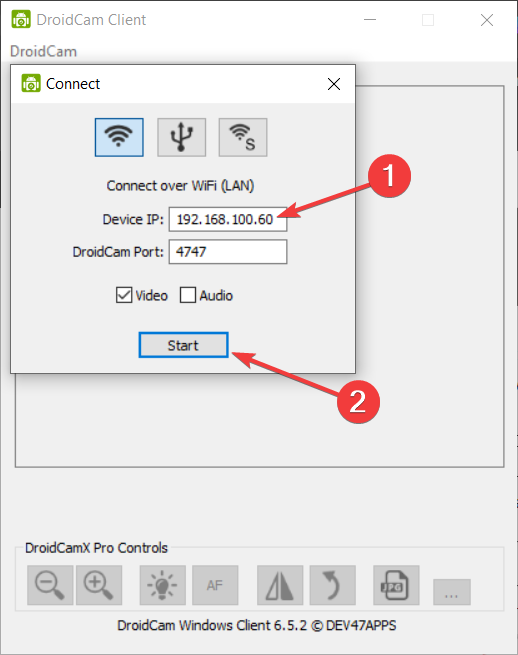
- Launch the DroidCam app on your Android phone and note the Wi-Fi IP.
- Open the DroidCam Windows client on your PC and enter the Wi-Fi IP.
- Start the connection.
3. Adjust settings for HD quality (optional):
- Upgrade to DroidCam’s paid version for HD resolution.
- Ensure both devices are connected to the same Wi-Fi network.
Method 3: Using Phone Link and Link to Windows apps (currently only available for Windows Insiders)
1. Install Phone Link and Link to Windows Apps
- Make sure your Windows 11 PC has the Phone Link app installed. You should be a Windows Insider.
- Install the Link to Windows app from the Google Play Store on your Android phone.
2. Connect your devices
- Allow your PC to access your Android phone in Bluetooth & device settings.
- Enable the Phone Link on your PC.
- Click Start on your Windows 11 computer, then navigate to Settings > Bluetooth & devices > Mobile devices. Choose Manage Devices and grant access to your Android phone.
- You need to activate Phone Link in Bluetooth & devices > Phone Link.
3. Utilize both cameras for web conferencing
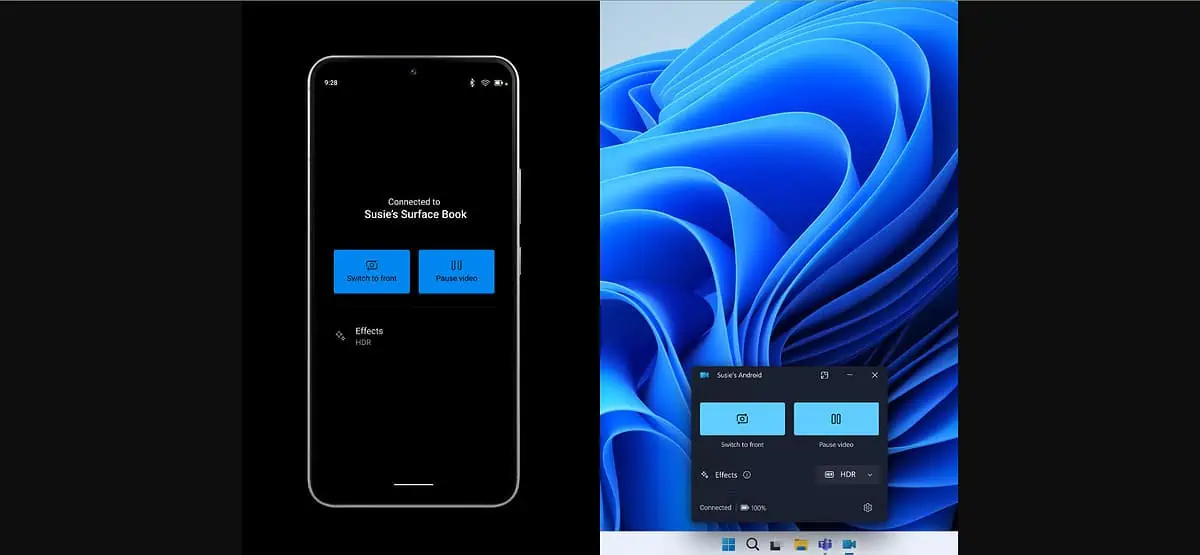
- Once connected, you can switch between your phone’s front and back cameras for video conferencing.
Conclusion
With your Android phone now serving as a webcam for your Windows 11 PC, you’ve upgraded your video conferencing. Whether you’ve chosen Android’s native webcam feature, a third-party app like DroidCam, or the Phone Link and Link to Windows apps for Windows Insiders, the setup is simple.
Battery power is consumed because your camera is in use, and the camera uses a more amount of battery. That’s why it is recommended to keep your mobile charged, but I believe it can stand an hour-long video meeting.
– Clean your phone camera lens.
– Ensure good lighting conditions; consider using an additional light source.
– For a wireless connection, have a stable and strong Wi-Fi signal.
– USB connection provides the best transfer speed.
– Use a tripod or phone mount for stability.
You can use the built-in settings (Android 14+) or third-party apps like DroidCam.
Free versions may have limitations like lower resolution or connection time restrictions. Some features require paid upgrades.
Read our disclosure page to find out how can you help MSPoweruser sustain the editorial team Read more


User forum
0 messages