How to manage Windows 10's automatic maintenance feature
![]() 2 min. read
2 min. read
![]() Updated on
Updated on
Share this article
Improve this guide
Read our disclosure page to find out how can you help MSPoweruser sustain the editorial team Read more
 Windows 10’s automatic maintenance feature is one of the features Microsoft uses to keep your PCs in tip-top shape. Microsoft typically runs all maintenance features once a day, a time it determines you aren’t actively using your PC, though if you’re on your PC 24/7 or you shut your PC off to save battery, it’s possible for you to miss a cycle.
In a maintenance cycle, Microsoft typically runs disk optimization – including defragmentation and scans for malware as well as app and system updates. It would typically run for an hour a day, and maintenance tasks can only run within this hour unless it’s a critical task. This means that they would stop working if they are interrupted. Typically, you can expect it to run between 2 AM – 3 AM local time.
Microsoft offers you options for customising this which we’ll run through shortly. However, to disable the automatic maintenance feature, you’ll have to go a little more hands-on and delve into the registry editor itself.
Here’s how to control Windows 10’s automatic maintenance cycle
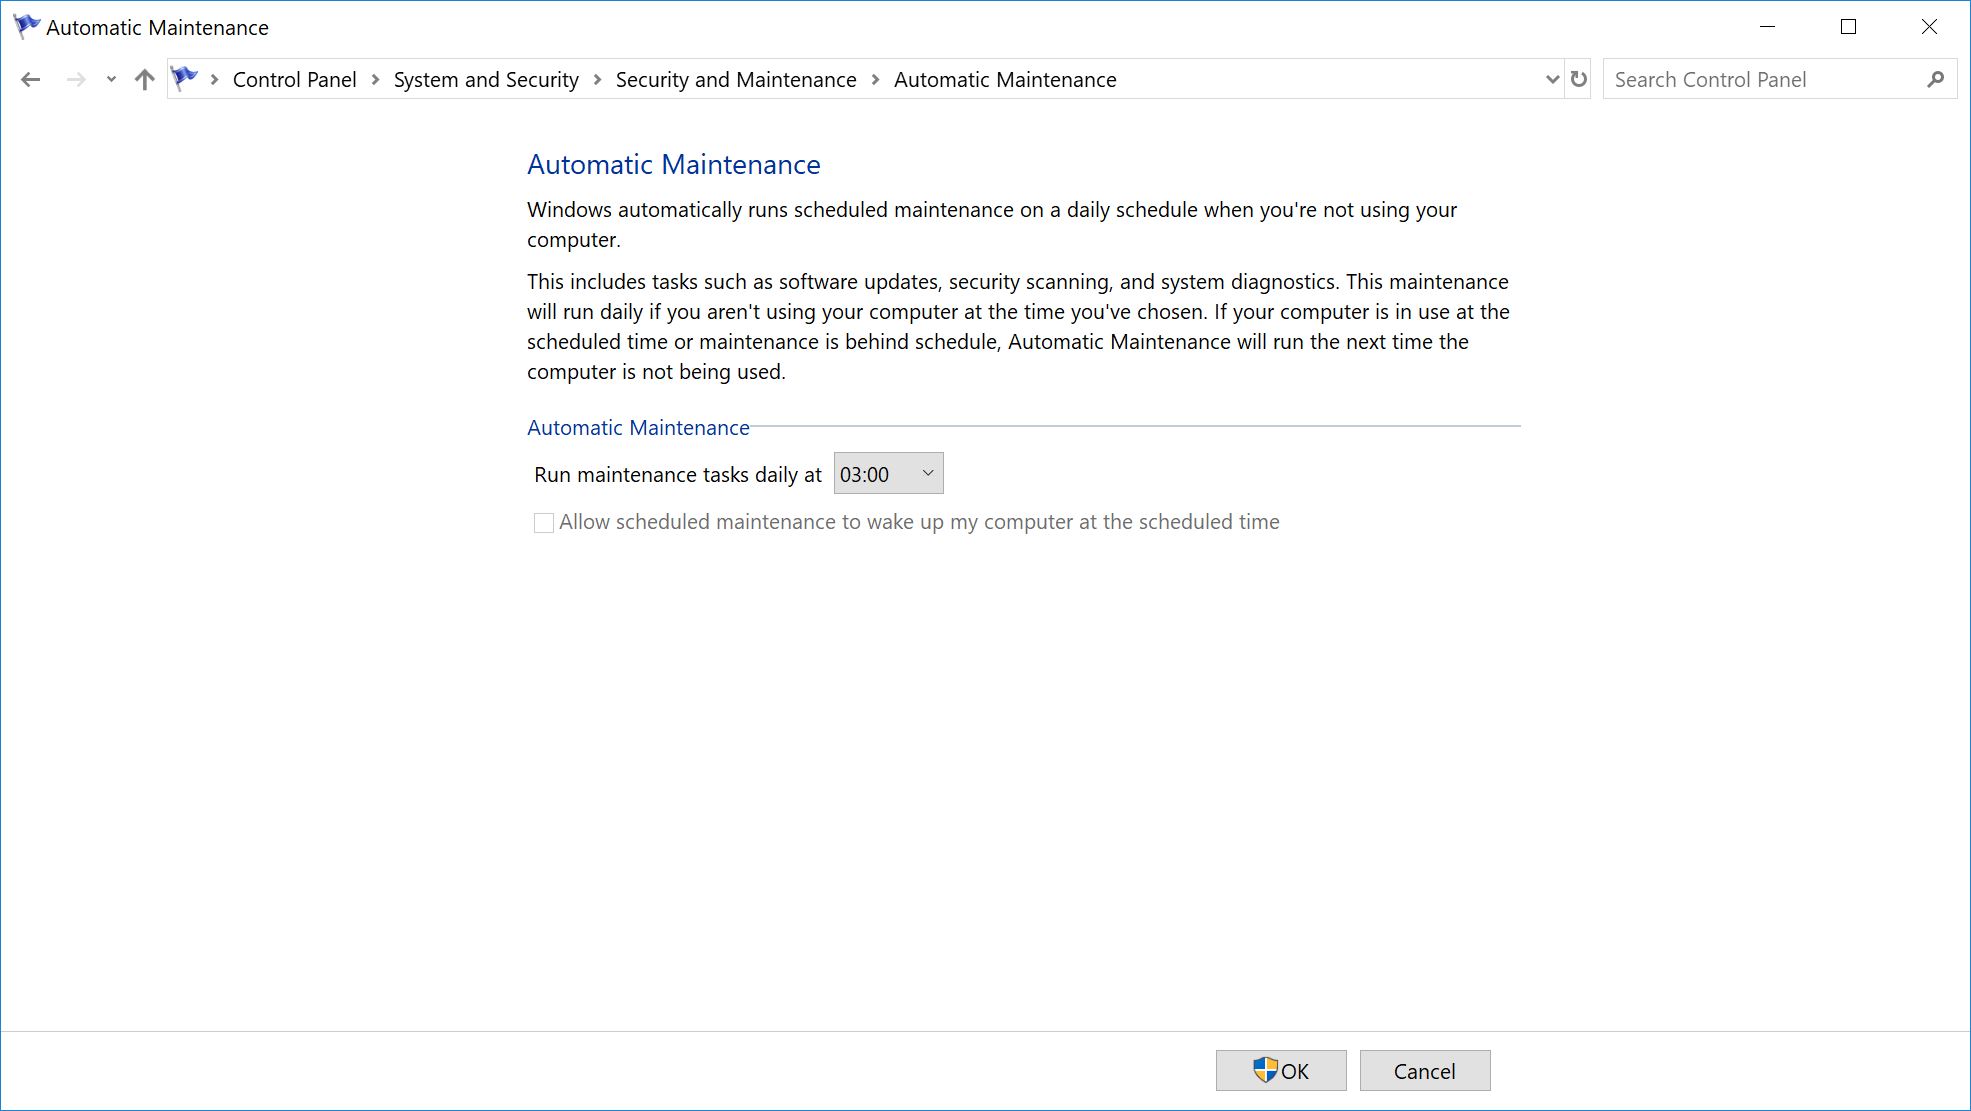
- Launch the control panel app.
- Navigate to System and Security > Security and Maintenance.
- In Maintenance, expand it to find the “Automatic Maintenance” Settings
- Under the Select Maintenance Settings, click on it and use the “Run maintenance tasks daily” menu to select what tie you want Windows to run your maintenance tasks.

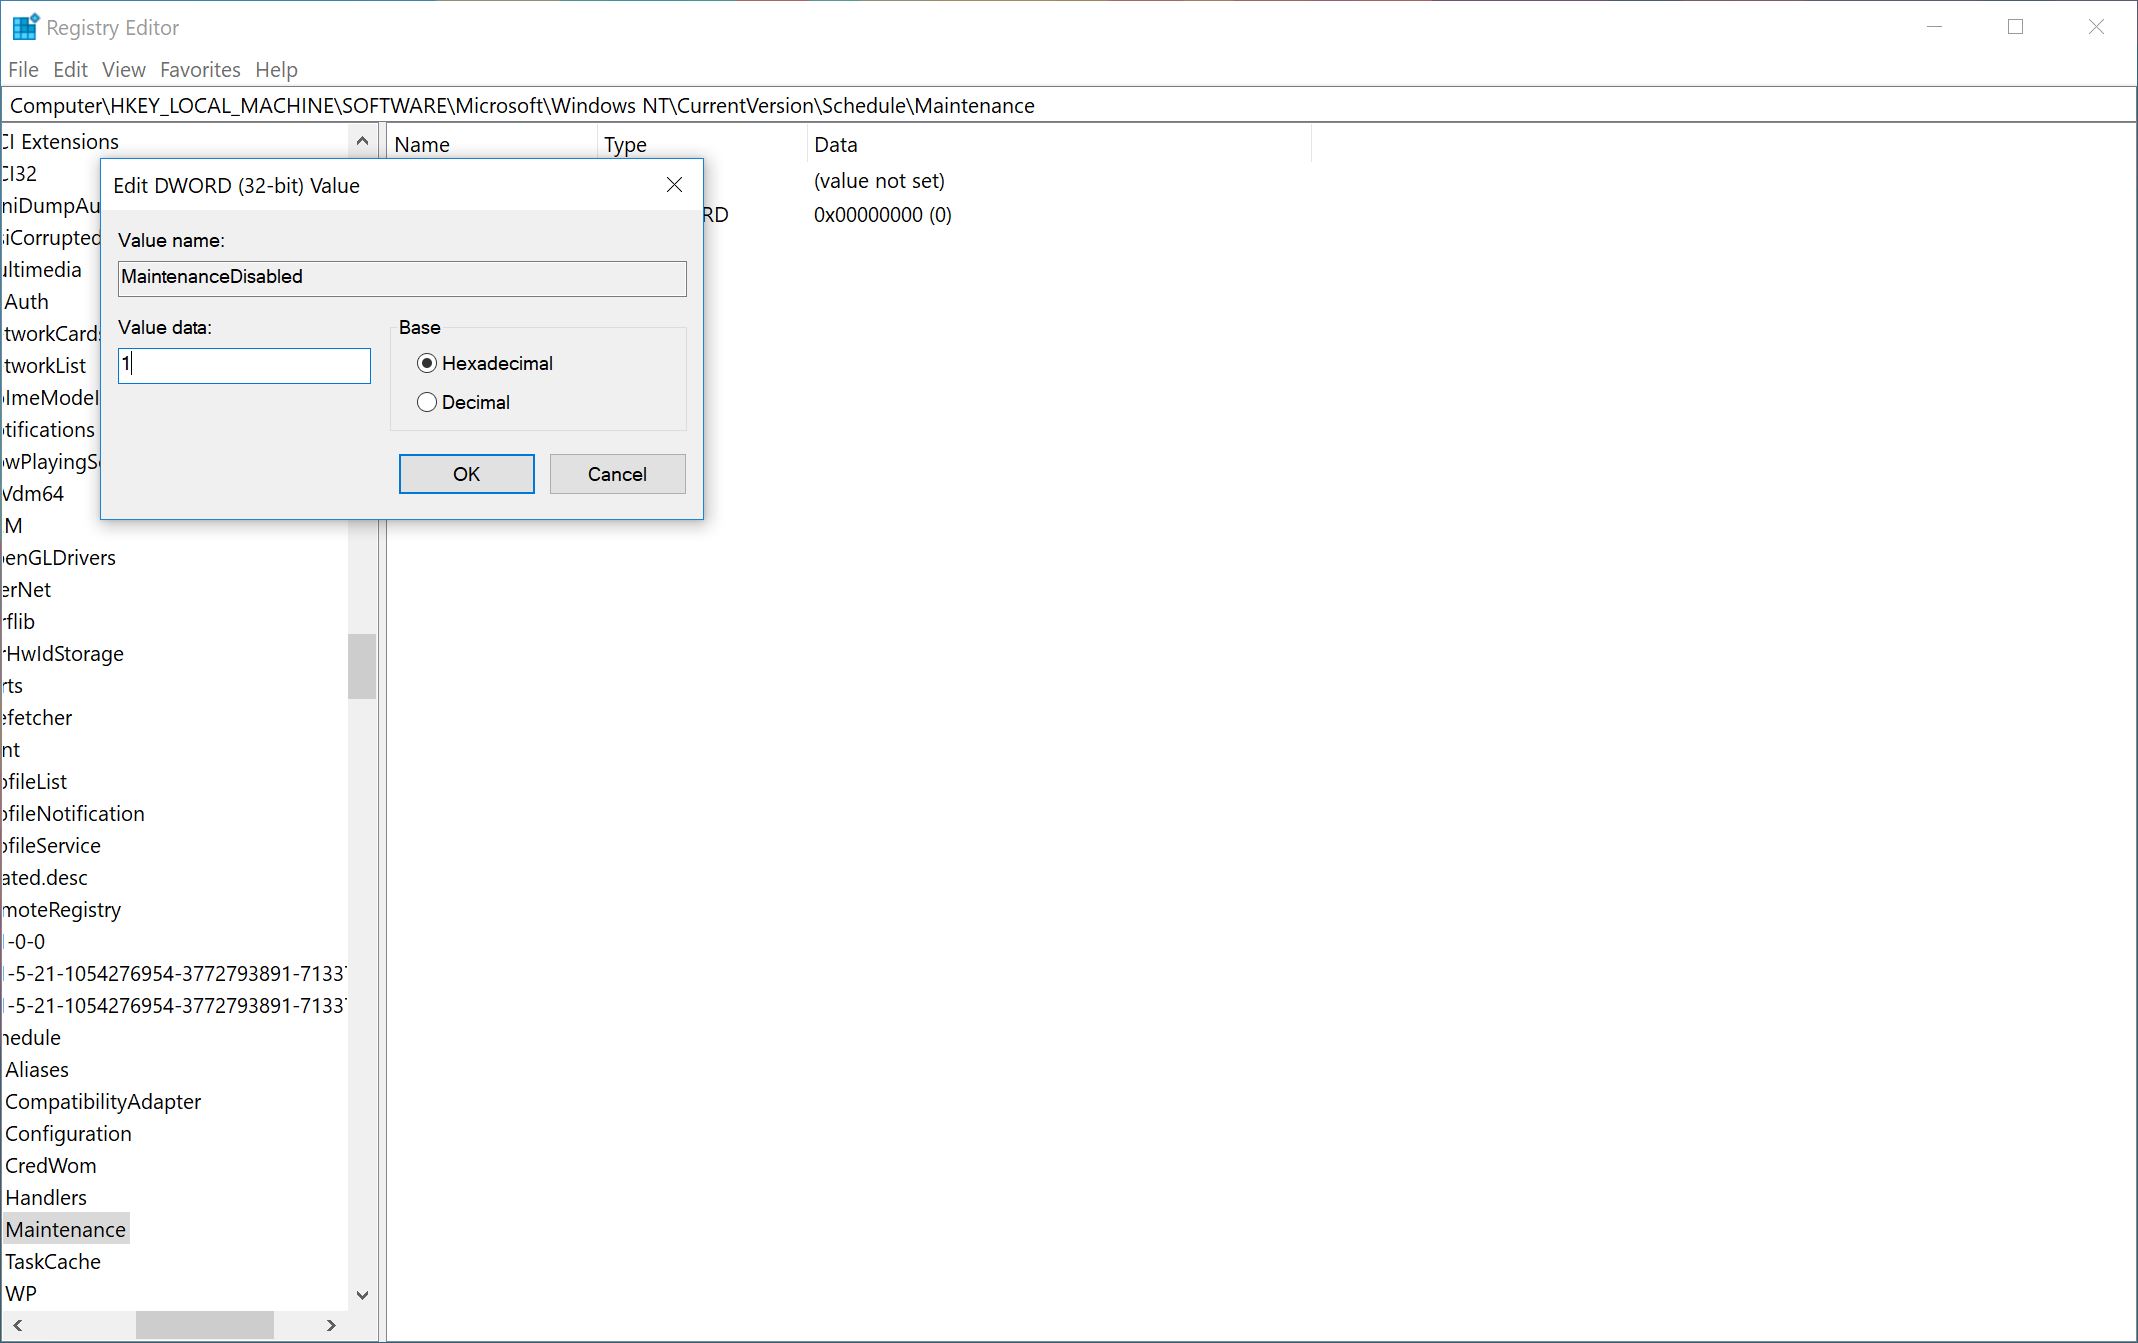
- To disable it entirely, (should you want to for whatever reason), Open the Registry Editor by typing regedit into Cortana/Search and copying and pasting this into the address bar if you’re on the Windows 10 Creators Update and above: HKEY_LOCAL_MACHINE\SOFTWARE\Microsoft\Windows NT\CurrentVersion\Schedule\Maintenance
- Create a new key with the “DWORD 32-Bit” value and name it MaintenanceDisabled.
- Change the value from 0 – 1.

- To revert the change, repeat steps 5 -7, but change it back to 0 instead.


User forum
0 messages