Here's how to rename drive paths in Windows 10 using the disk management tool

Microsoft’s Windows 10 allows users the choice to change the drive labels of various storage peripherals. For example, Windows is often stored on a C Drive, and removable desk drives are often assigned to D. However, should you want to change this for one reason or the other, there’s an easy way to using the appropriately named Windows Disk Management tool.
Here’s how to rename drive paths in Windows 10 using the disk management tool
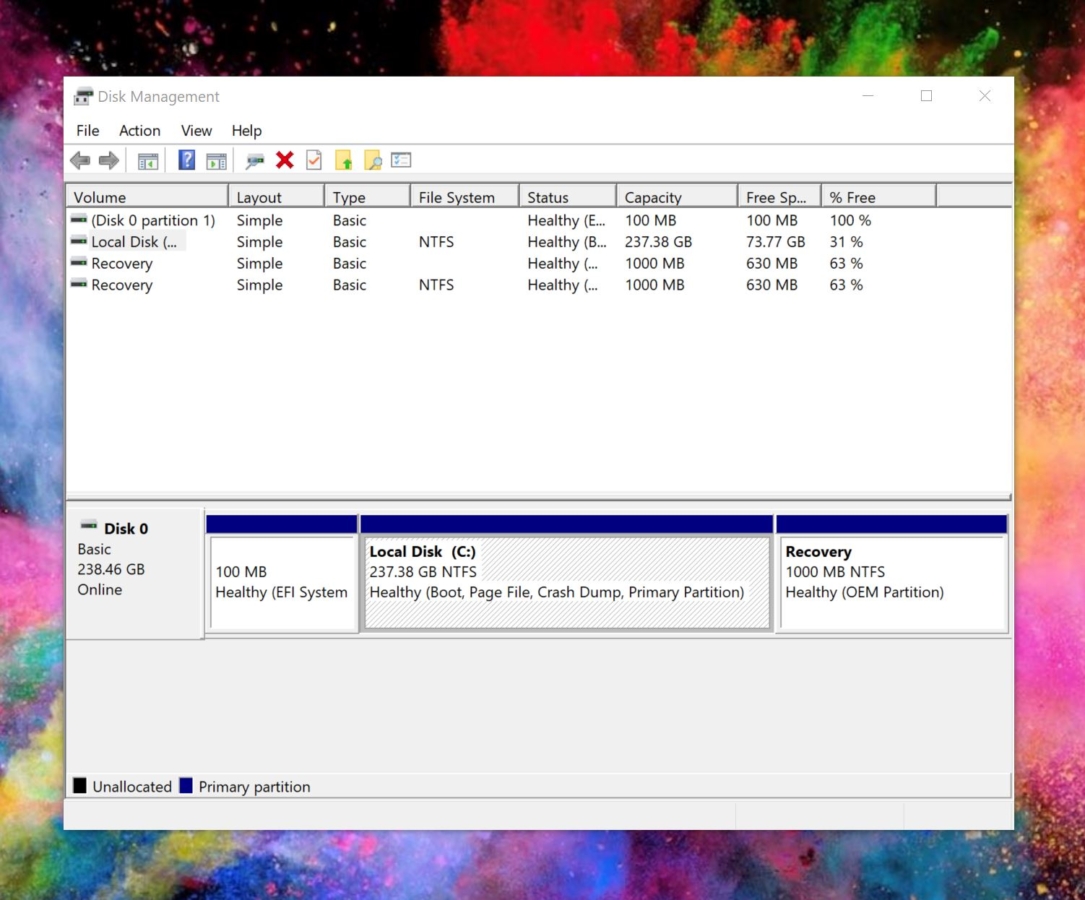
- In the Search bar, type in “Disk Management” and click on the first result, usually “Create and format hard disk partitions “
- Select the Drive you want to rename and right click on it to see the list of options. You’ll see a “Change Drive Letter and Paths.” option, click on that.
- On the pop-up menu that appears, click on ‘Change.’
- When prompted, select a letter from the dropdown menu as the new drive designation.
- Click ‘Ok’ to lock in the changes
Readers help support MSpoweruser. We may get a commission if you buy through our links.

Read our disclosure page to find out how can you help MSPoweruser sustain the editorial team Read more


Improve this guide

User forum
0 messages