Resolved: 0x00000063 SECURITY1_INITIALIZATION_FAILED BSOD
Recently, when my computer suddenly crashed and displayed the 0x00000063 SECURITY1_INITIALIZATION_FAILED error, it completely broke my workflow.
Facing this Blue Screen of Death (BSOD) can be daunting, but you can quickly resolve it with the right solutions.
After extensive research, I successfully fixed it and got my PC back to normal. In this guide, I’ll share all the practical solutions that I found to be effective against this issue.
What Is 0x00000063 SECURITY1_INITIALIZATION_FAILED?
The 0x00000063 SECURITY1_INITIALIZATION_FAILED is a BSOD error in Windows. It typically pops up during the startup process, indicating that there’s a significant issue with the initialization of security features in the operating system.
This error is a clear sign that Windows is having trouble setting up essential security components during the boot-up sequence.
What Causes 0x00000063 SECURITY1_INITIALIZATION_FAILED Error?
The primary reason behind this error is related to problems with the security initialization process in Windows.
Here are the potential causes:
- Corrupted System Files: Crucial files needed for running Windows might be damaged.
- Incompatible Hardware: Recently added hardware might not be compatible with your system.
- Outdated or Faulty Drivers: Drivers that aren’t up to date can lead to such errors.
- Recent Software Changes: Newly installed software or updates might conflict with existing system settings.
- Malware Infection: Malicious software can compromise system integrity.
- Issues with Windows Registry: Corrupted registry entries can lead to system failures.
How To Fix 0x00000063 SECURITY1_INITIALIZATION_FAILED Error?
If you feel overwhelmed by these troubleshooting methods, try using a BSOD repair tool for quick assistance.
1. Check for Hardware Compatibility Issues
- Inspect Newly Installed Hardware: If you’ve recently added new hardware, make sure it’s compatible with your motherboard and other system components.
- Consult Manufacturer Specifications: Check the specifications provided by your hardware manufacturers to ensure compatibility.
- Remove or Replace Incompatible Hardware: If you find any hardware that’s not compatible, try removing it to see if the error resolves. If the issue is with a crucial component, consider replacing it with a compatible one.
2. Update Windows
Updates often include patches for known bugs that could be causing the SECURITY1_INITIALIZATION_FAILED error.
- Click on the Start menu, type “Settings,” and switch to the Windows Update tab on the left.
- In the Windows Update section, click Check for updates.
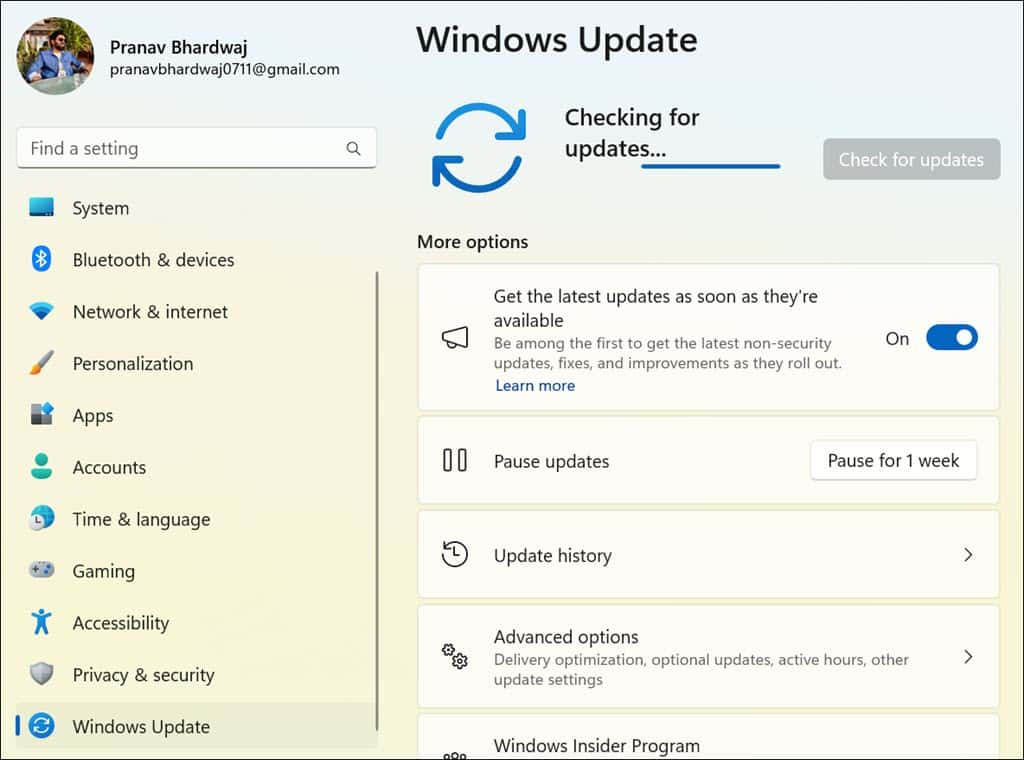
- If updates are available, install them. This may involve downloading and restarting your computer. Ensure you have a stable internet connection throughout the process.
- After the updates are installed, restart your computer and check if the BSOD error persists.
3. Uninstall Recently Installed Apps
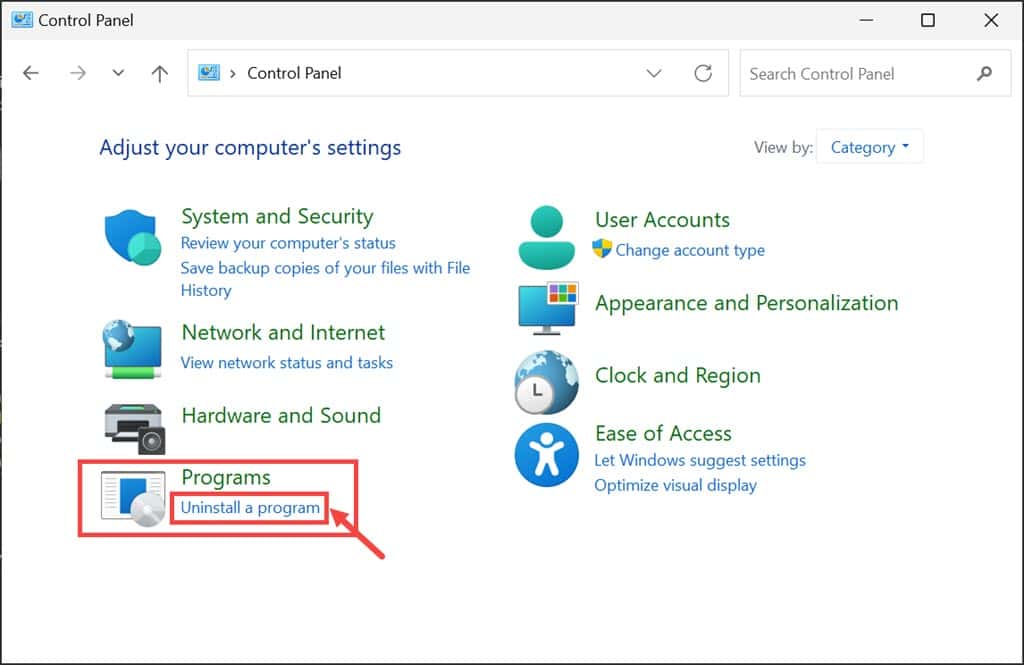
- Open the Control Panel.
- Click on Uninstall a program, which is located under the “Programs” section.
- To arrange the programs by their installation dates, click on the Installed on column header.
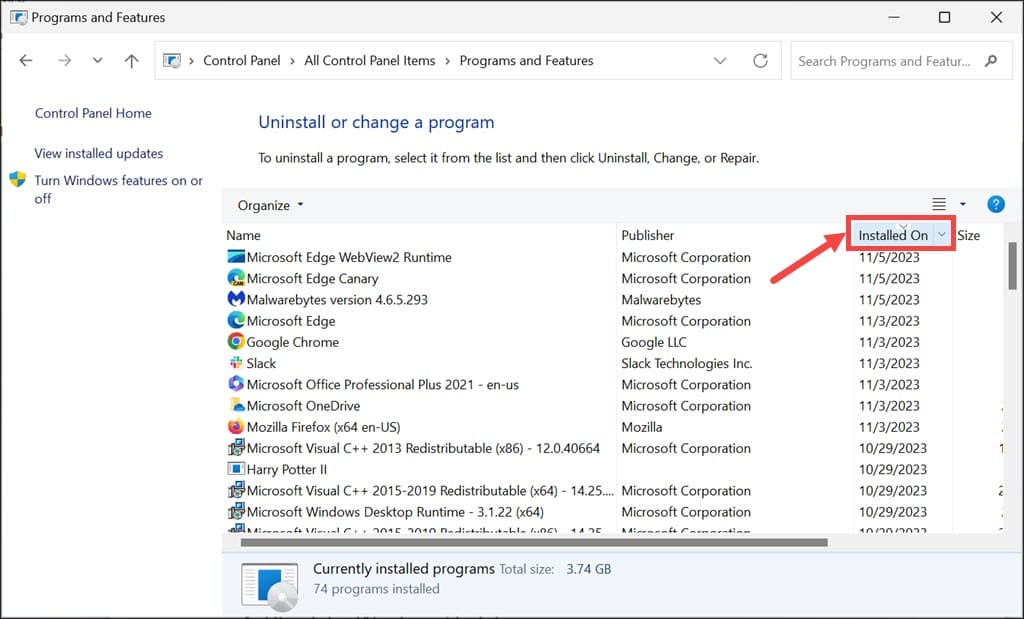
- Select the application that was installed most recently, and then click the Uninstall button.
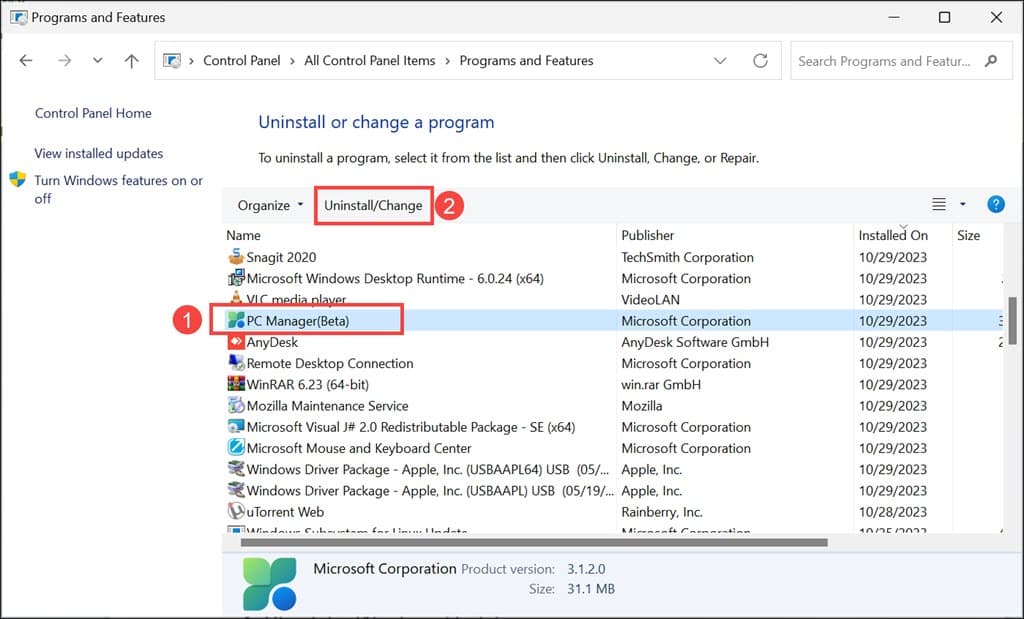
- Confirm the uninstallation process when prompted.
- After uninstalling, restart your PC to see if the issue has been resolved.
4. Update BIOS/UEFI
It’s recommended to check for BIOS updates regularly to ensure your system runs trouble-free.
- Press the Windows key + R, type
msinfo32, and press Enter. Look for the BIOS Version/Date. - Go to your PC or motherboard manufacturer’s website and find the latest BIOS/UEFI version for your model.
- Carefully follow the instructions provided by the manufacturer to update your BIOS/UEFI. This often involves using a USB drive.
- After updating, reboot your system to see if the error is resolved.
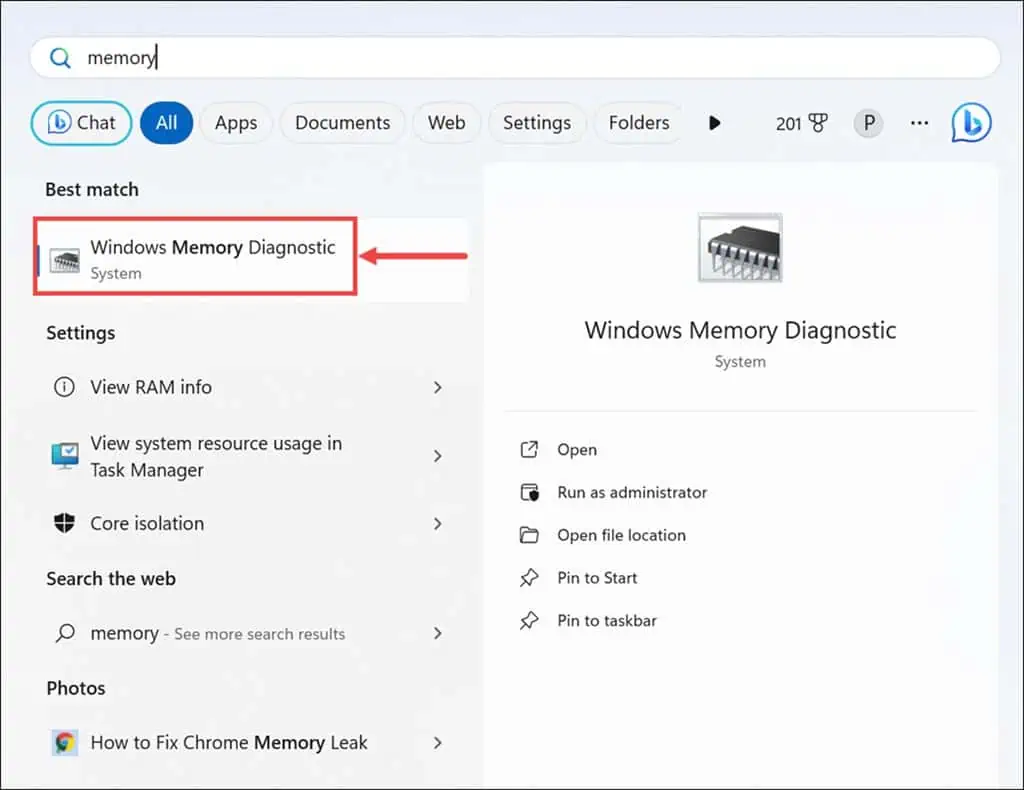
5. Perform a Memory Test
Performing a memory test can help you identify and resolve issues with your RAM.
- Press the Windows key, type “Windows Memory Diagnostic,” and select it.
- Next, Choose to Restart and check for problems. Save any open files before proceeding.
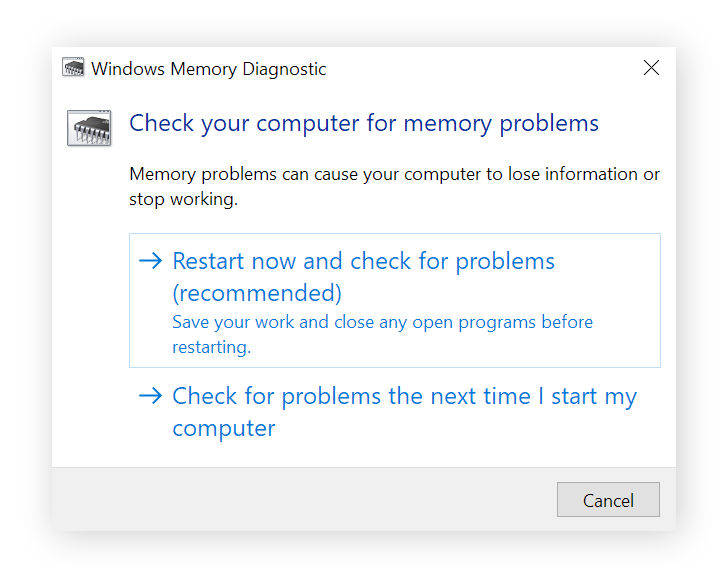
- Your computer will reboot, and the tool will start testing the memory.
- After the test, Windows will restart normally. Check the test results in the Event Viewer under ‘Windows Logs’ > ‘System’ to see if any issues were detected.
6. Run SFC and DISM Command
System File Checker (SFC) and Deployment Image Servicing and Management (DISM) are critical tools for repairing system files in Windows.
- If Windows can boot, open Command Prompt or Terminal with administrator rights and skip to step 5. If Windows doesn’t boot, restart your computer multiple times until it enters Automatic Repair Mode.
- In Automatic Repair Mode, choose the Troubleshoot option.
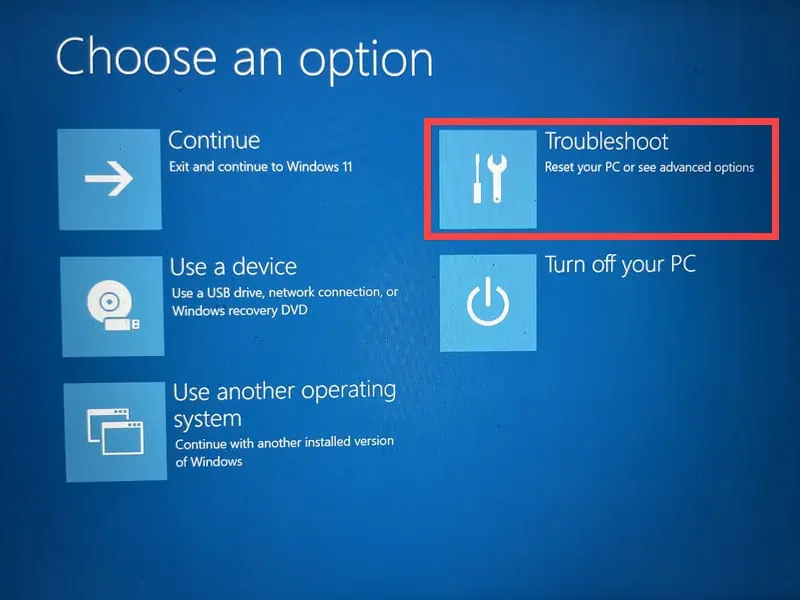
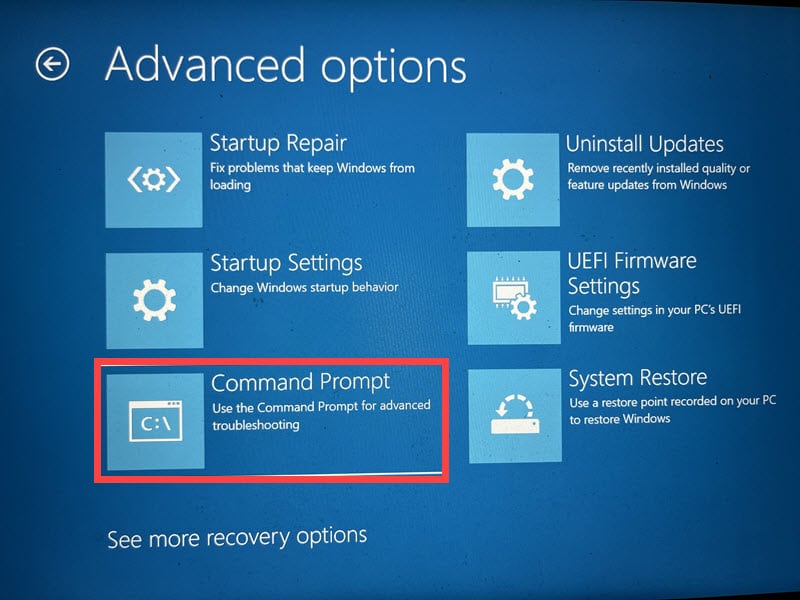
- Under “Troubleshoot,” select Advanced Options.

- On the Advanced Options screen, choose Command Prompt.
- In the Command Prompt window, first, execute the DISM command by typing
dism /online /cleanup-image /scanhealth.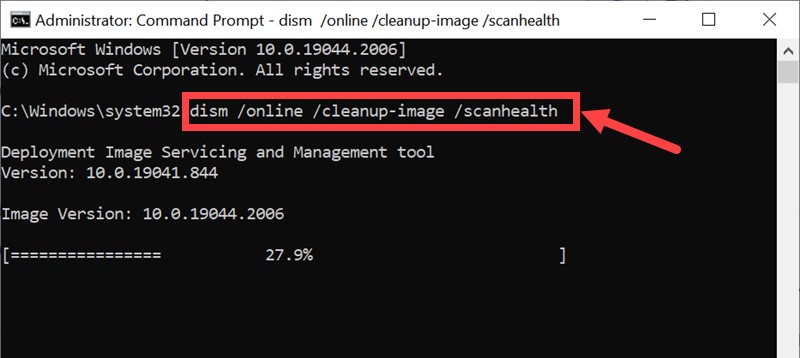
- Wait for the DISM command to complete successfully before proceeding.
- Now, enter
sfc /scannowin the Command Prompt window.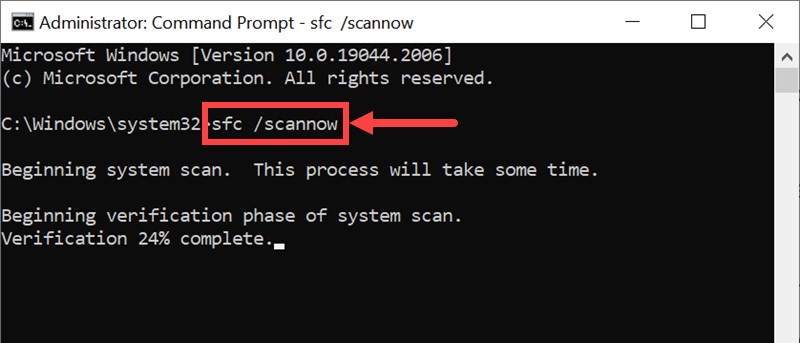
- Allow this scanning process to complete, and then restart your computer.
7. Run Check Disk (chkdsk) Command
The Check Disk utility helps identify and fix issues with your hard drive, which could be causing the BSOD.
- Open the Command Prompt or Terminal with administrator rights as outlined in the previous instructions.
- Enter the command
chkdsk /f /rand hit Enter. This instructs chkdsk to repair errors and identify bad sectors. - If chkdsk asks to schedule the scan for the next system restart, type ‘Y’ and restart your PC to start the disk check.
8. Replace the SMSS.EXE File
The Session Manager Subsystem (SMSS.EXE) is critical for Windows startup. A corrupted SMSS.EXE file could cause the SECURITY1_INITIALIZATION_FAILED error.
- Create a bootable Windows installation media that matches your Windows version (Windows 10 or 11 Home/Professional/Enterprise).
- Insert this bootable media into your PC and restart the computer.
- When you see the prompt “Press any key to continue…”, do so.
- In the setup, choose your preferred settings for installation language, time and currency format, and keyboard or input method. Click ‘Next’ to proceed.
- On the next screen, select Repair your computer located at the bottom.
- In the following screen, choose Troubleshoot.
- Under Troubleshoot, go to Advanced options.
- Select Command Prompt from the available options.
- Enter the following commands sequentially, pressing Enter after each one:
C:cd windows/system32/copy c:\windows\system32\dllcache\smss.exe
- Once these commands are executed, restart your system to check if the problem has been resolved.
9. Restore Windows
Windows System Restore allows you to revert your computer’s state to a previous point.
- Repeatedly restart your PC to enter Automatic Repair Mode.
- In Automatic Repair Mode, select the Troubleshoot option.
- Next, go to Advanced options.
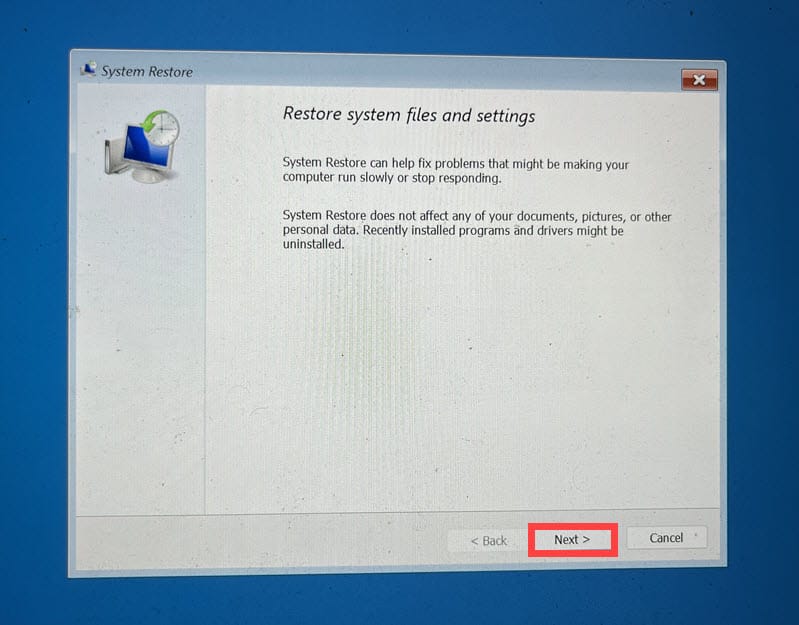
- Under “Advanced options,” choose System Restore.
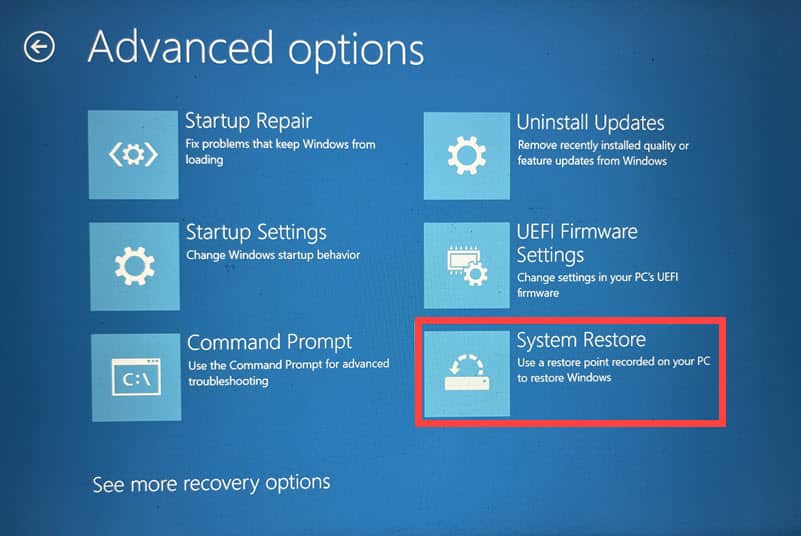
- Click Next to initiate the system restoration.
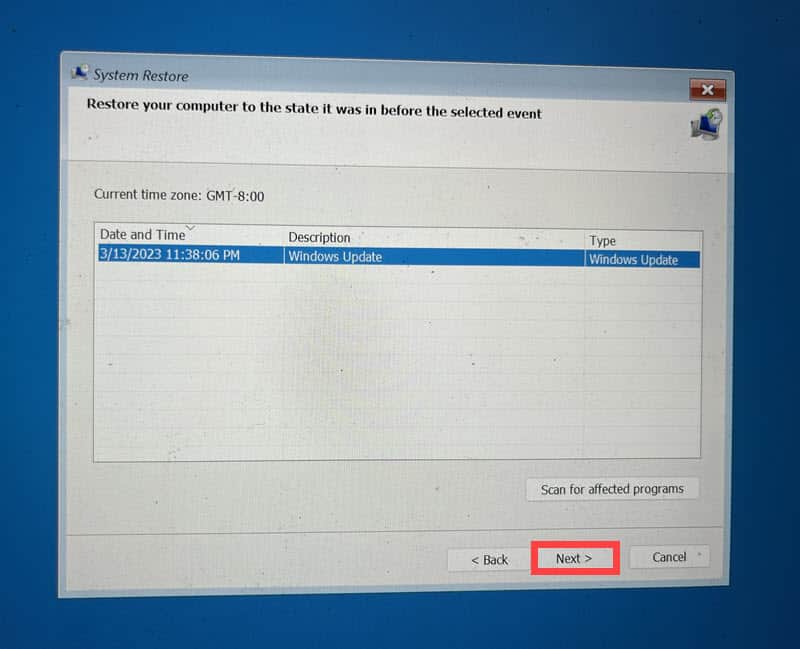
- Choose a previously saved restore point. If multiple options are available, select the oldest one.
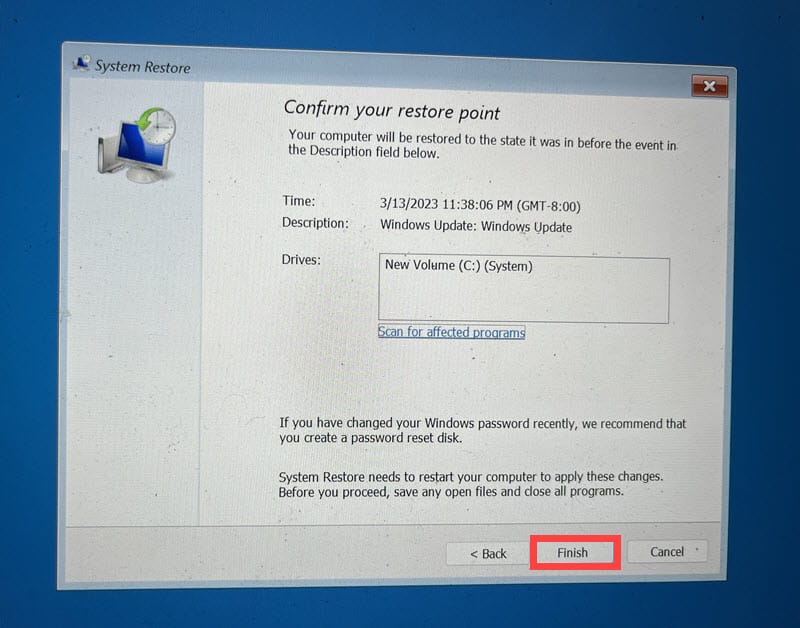
- Confirm your selection by clicking Finish.
10. Reset Windows
Resetting Windows can restore system files to their original state, which might resolve the SECURITY1_INITIALIZATION_FAILED error.
- Continuously restart your PC until it enters Automatic Repair Mode.
- In Automatic Repair Mode, select the Troubleshoot option.
- Within the “Troubleshoot” menu, choose Reset this PC.
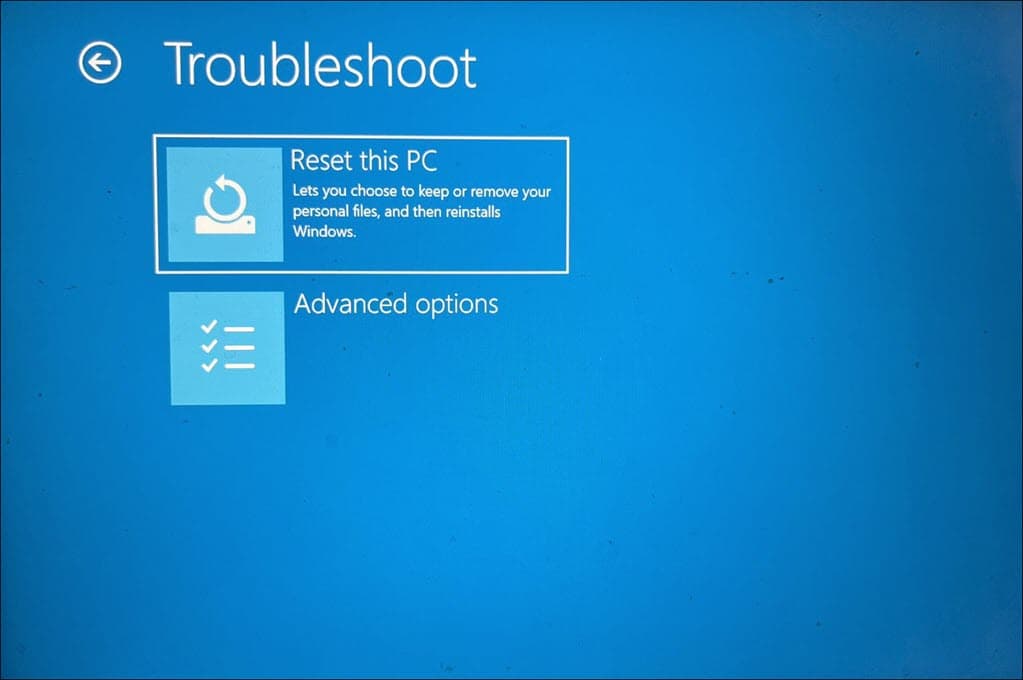
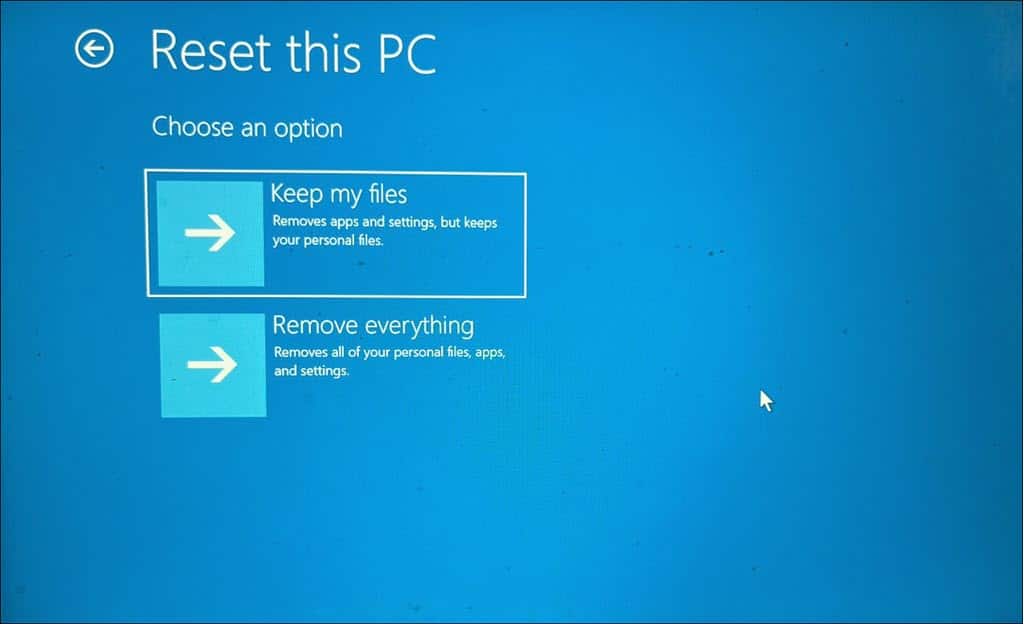
- On the next screen, you’ll be asked whether to keep your files or remove everything. For a thorough reset, select ‘Remove everything’.
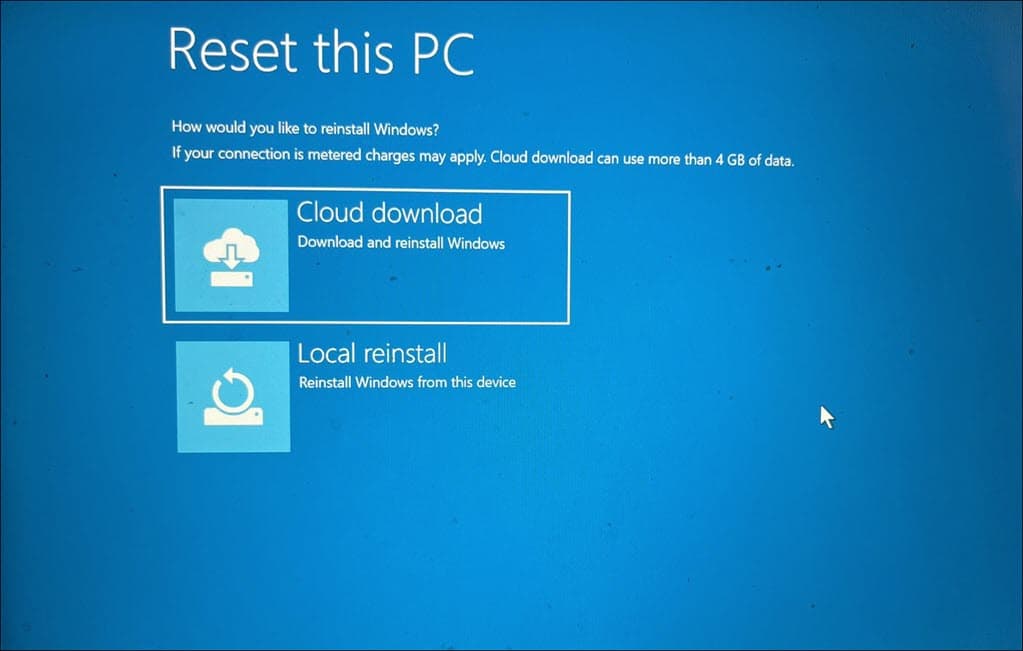
- After that, decide how you would like to reinstall Windows.
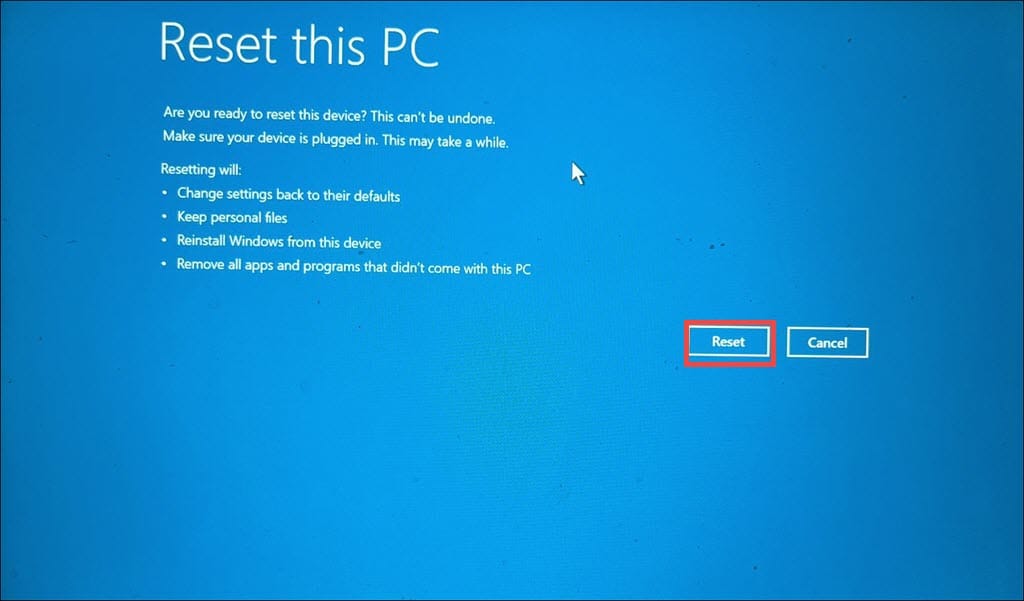
- Finally, click on the Reset button.
You may also be interested in:
Summary
In this guide, I have listed a range of strategies to fix the challenging 0x00000063 SECURITY1_INITIALIZATION_FAILED error in Windows. From checking hardware compatibility to updating drivers, running system scans, and even resetting Windows, these steps are designed to tackle the issue.
With patience and a methodical approach, you can overcome this hurdle and restore your computer’s functionality.
Read our disclosure page to find out how can you help MSPoweruser sustain the editorial team Read more


Improve this guide

User forum
0 messages