Valorant Not Launching on Windows 11 [8 Easy Fixes]
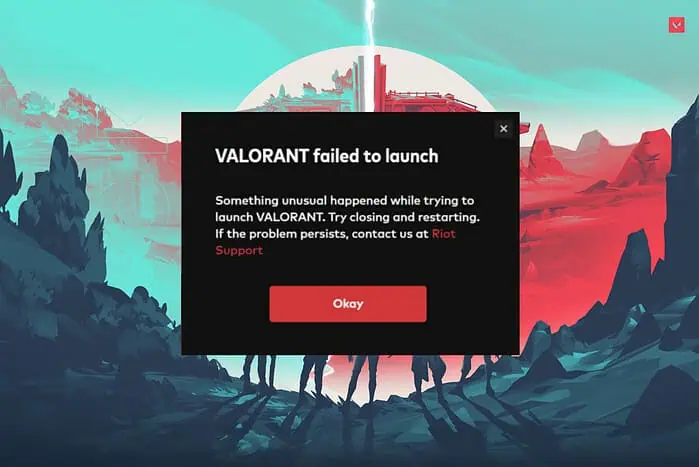
If you’re experiencing the Valorant not launching on Windows 11, this guide has you covered.
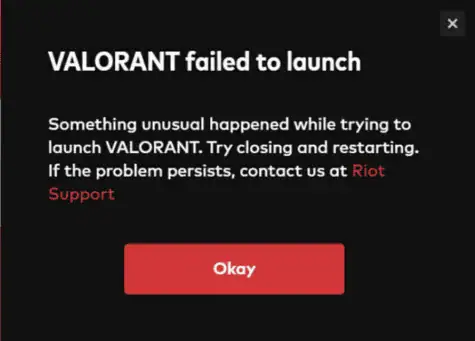
The message above usually appears when Valorant fails to start normally. There can be various causes, but luckily, they’re all easily fixable. Let me show you the eight simple fixes I found:
1. Check if your PC meets the Minimum Requirements

Valorant is a powerful game that requires quite a few PC resources to run optimally.
That said, the game won’t start unless your PC meets the minimum requirements, which you can see in the screenshot below.
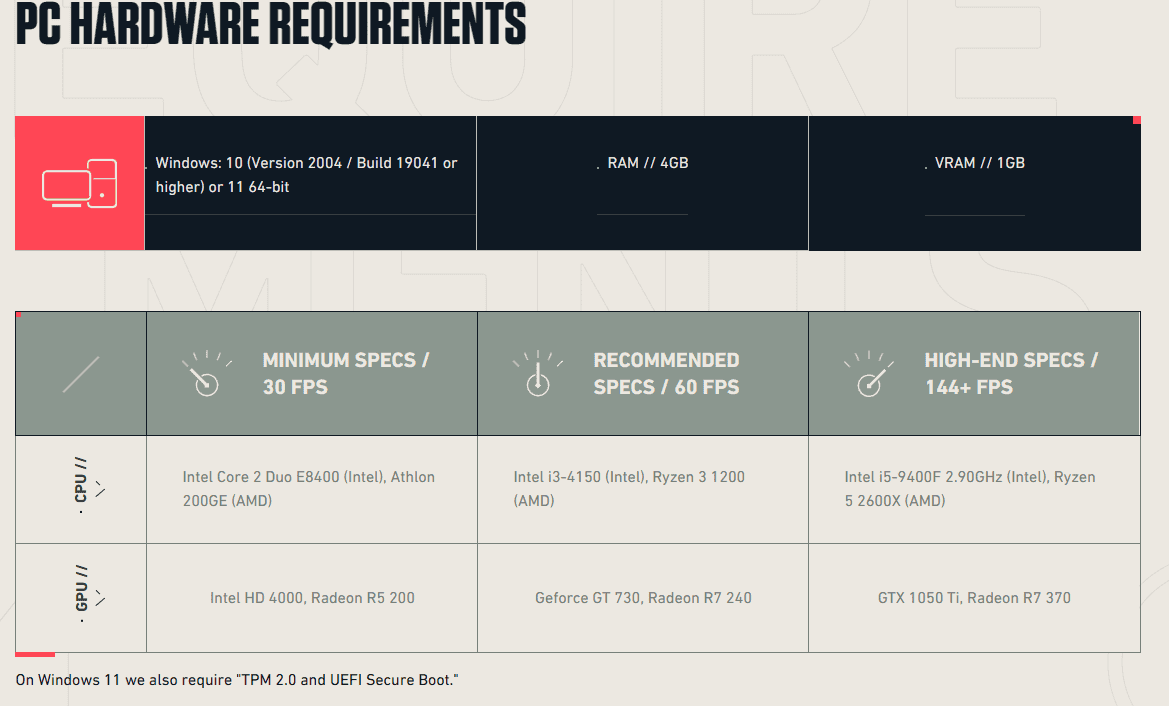
Explore the Valorant Specs webpage, and compare your hardware with the required elements.
Note: As the image above shows, to run Valorant on Windows 11, you’ll need TPM 2.0 and UEFI Secure Boot services.
2. Repair Valorant Game Files
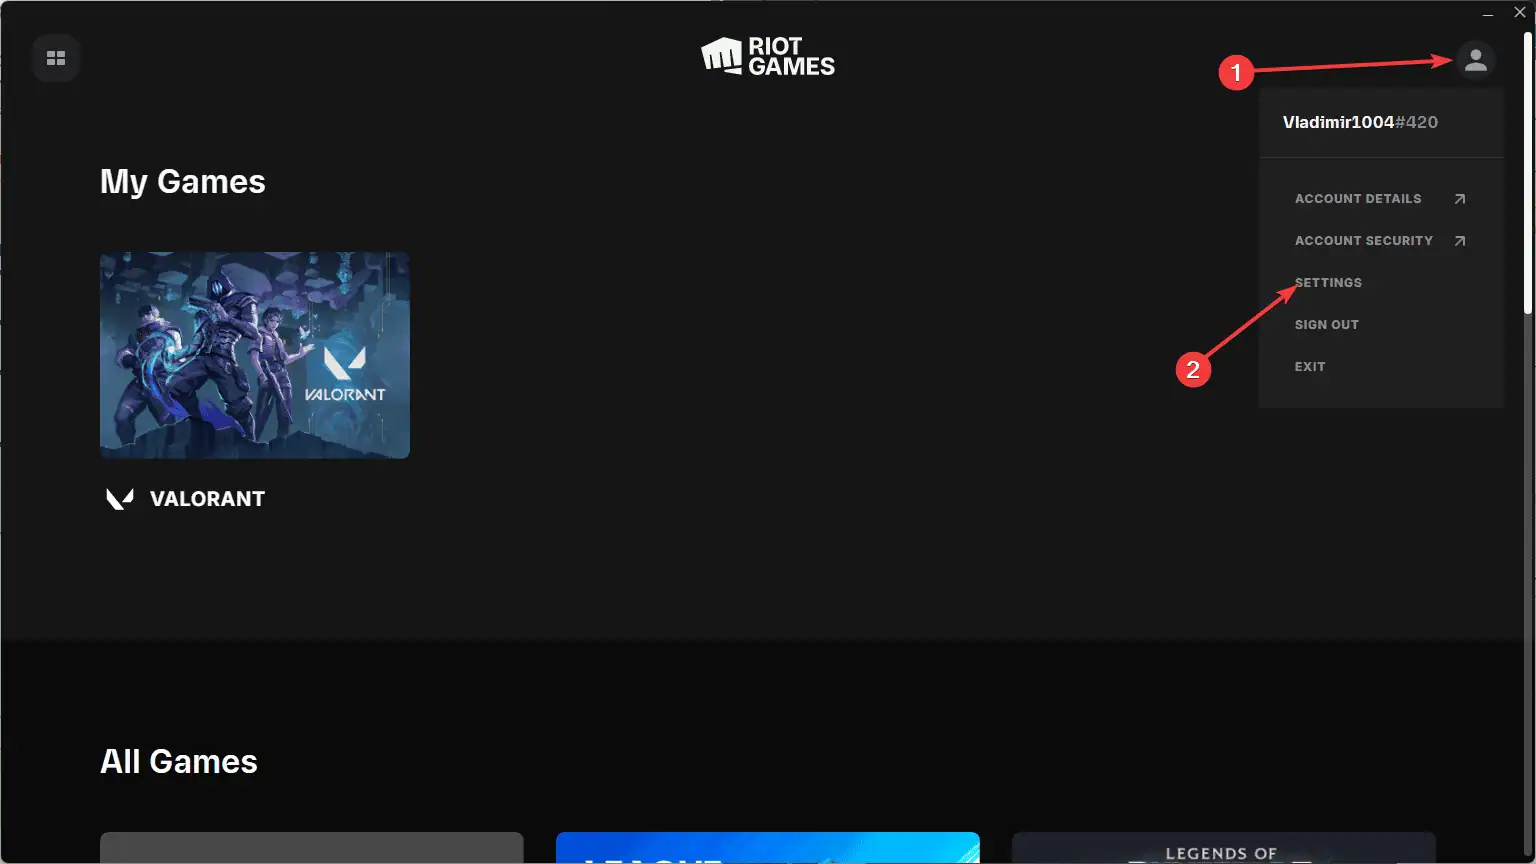
- Open the Riot client, click the profile icon, and choose Settings.
- Choose Valorant from the list of apps, and click the Repair button.
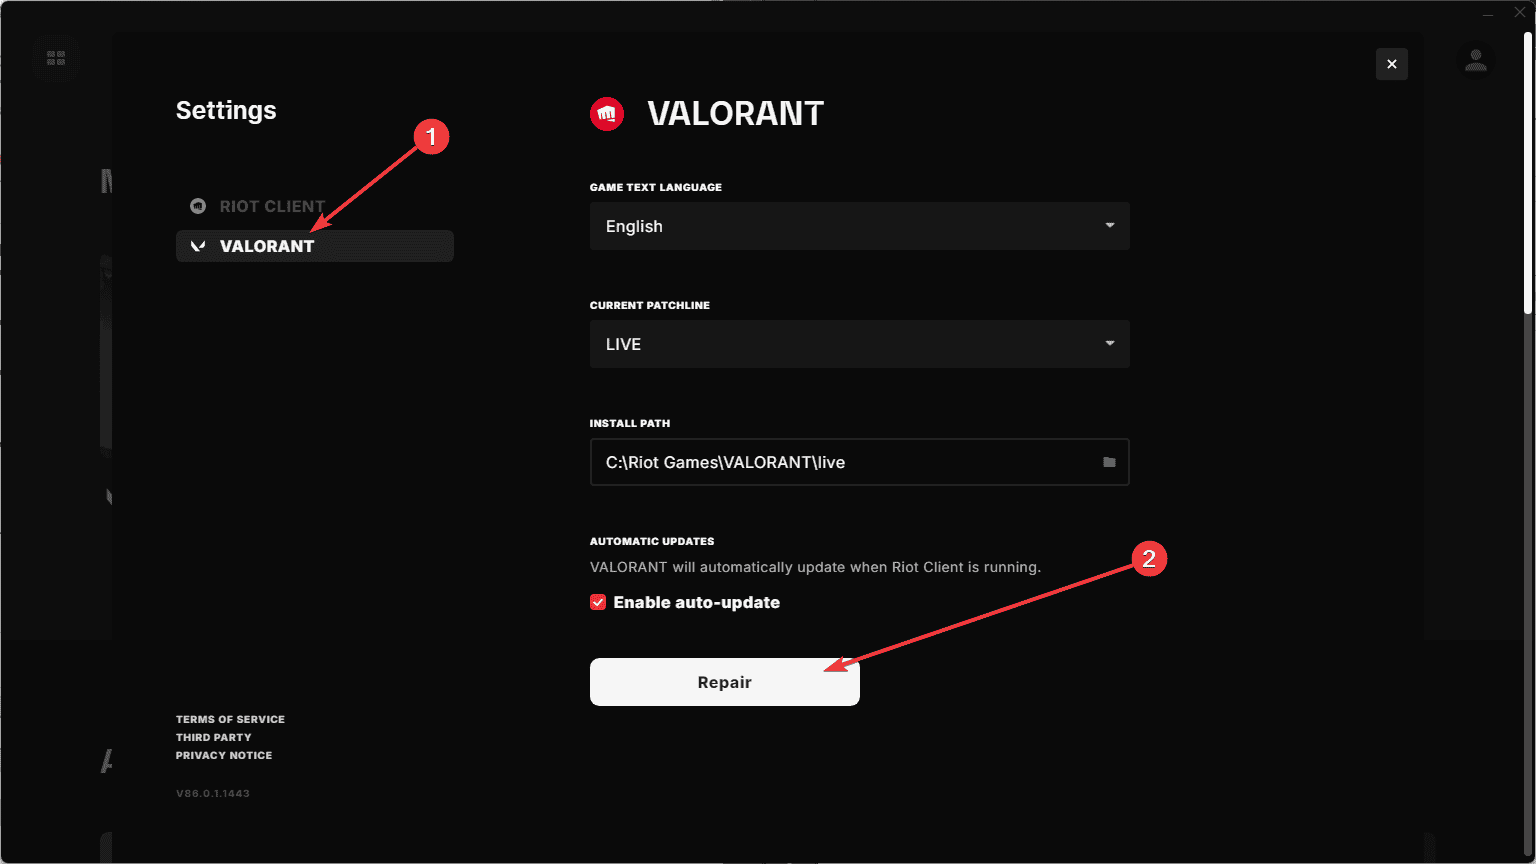
- Wait for the update to complete, and check if the game launches.
3. Run Valorant as an Administrator
- Navigate to your Desktop, and right-click the Valorant shortcut, and choose Run as Administrator
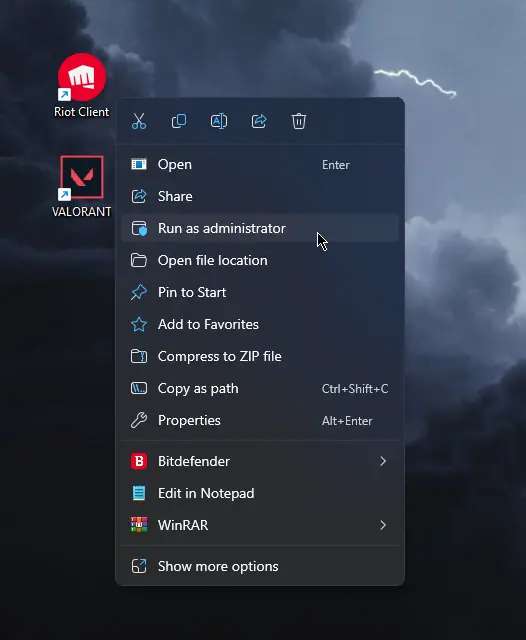
- If Valorant still doesn’t open, try the next method below.
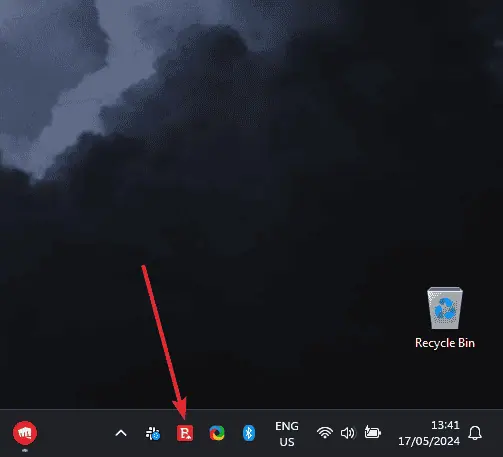
4. Temporarily Disable Antivirus Software
The exact steps required to disable the antivirus software will depend on the software. For this example, I used my BitDefender antivirus.
- Double-click the antivirus icon from the taskbar to open it.
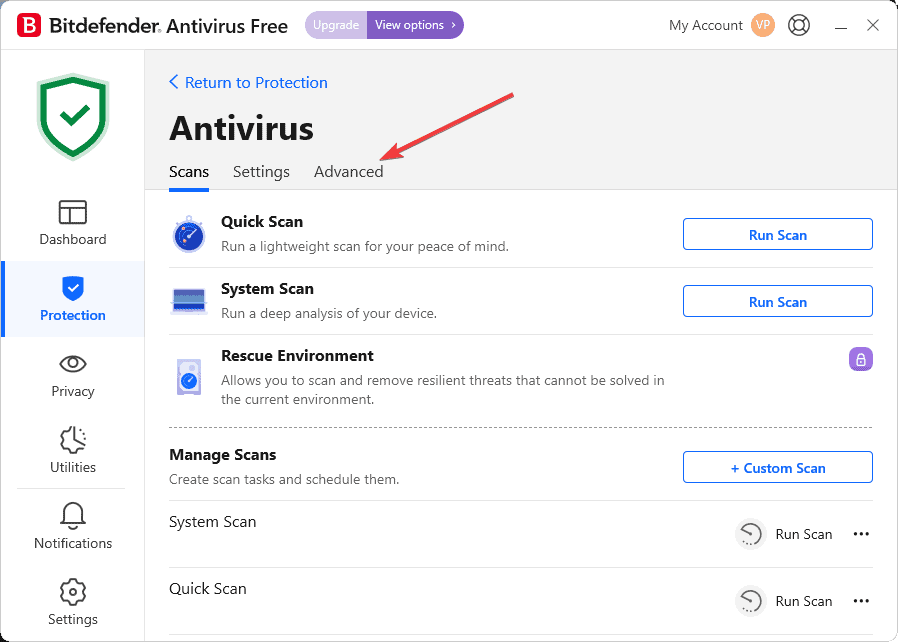
- Navigate to the Protection settings (or similar), and click Open next to the Antivirus entry.
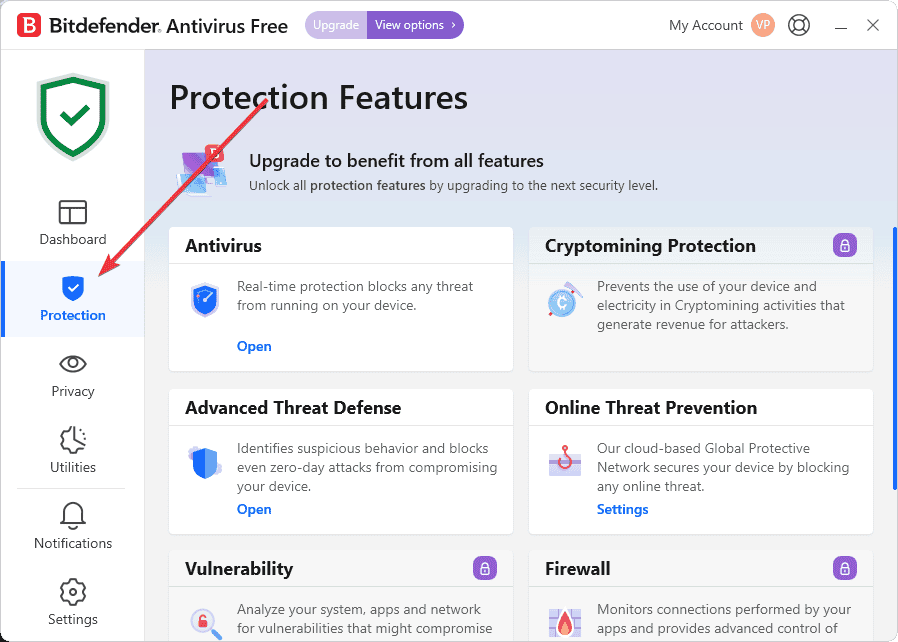
- Click the Advanced tab.
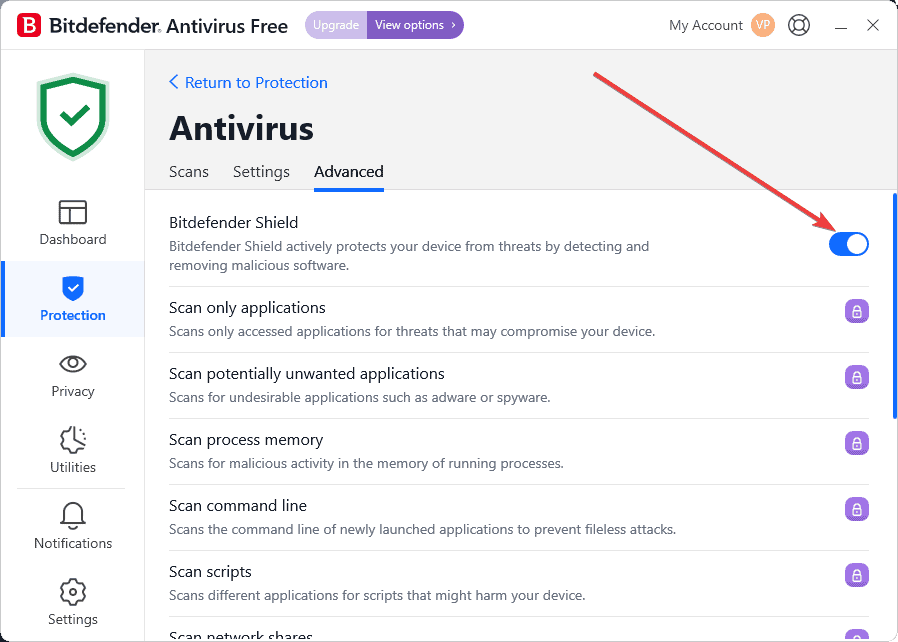
- De-activate the toggle next to the Bitdefender Shield option.
- Choose the time you want the antivirus to be turned off by using the drop-down list, and click OK.
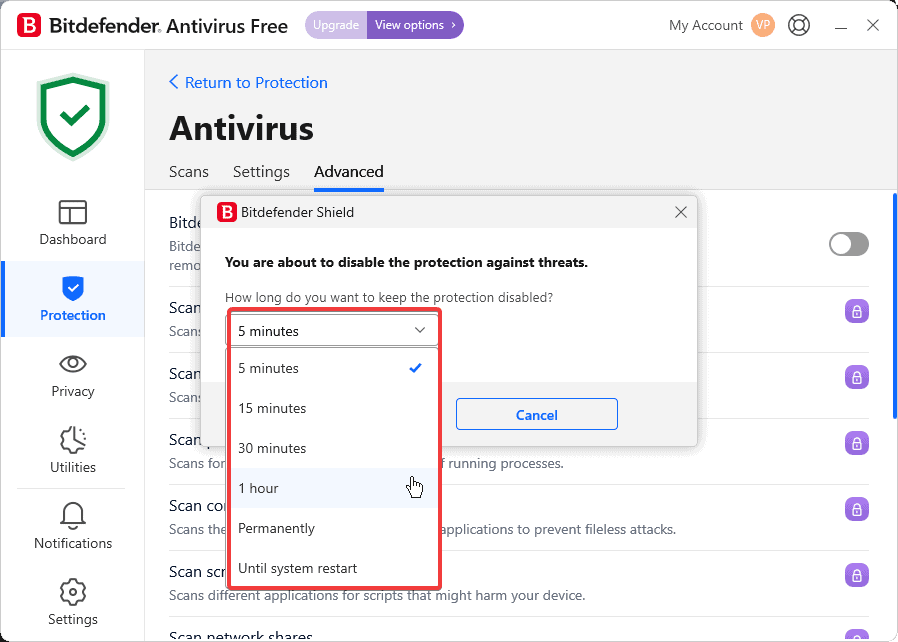
- Try running Valorant again and check if it starts. When you’re done playing, remember to reactivate your antivirus protection.
Note: If the game starts, it implies that the antivirus software is blocking it from working normally. You must replace the antivirus software or deactivate it any time you want to play Valorant.
5. Verify the VGC Service Status
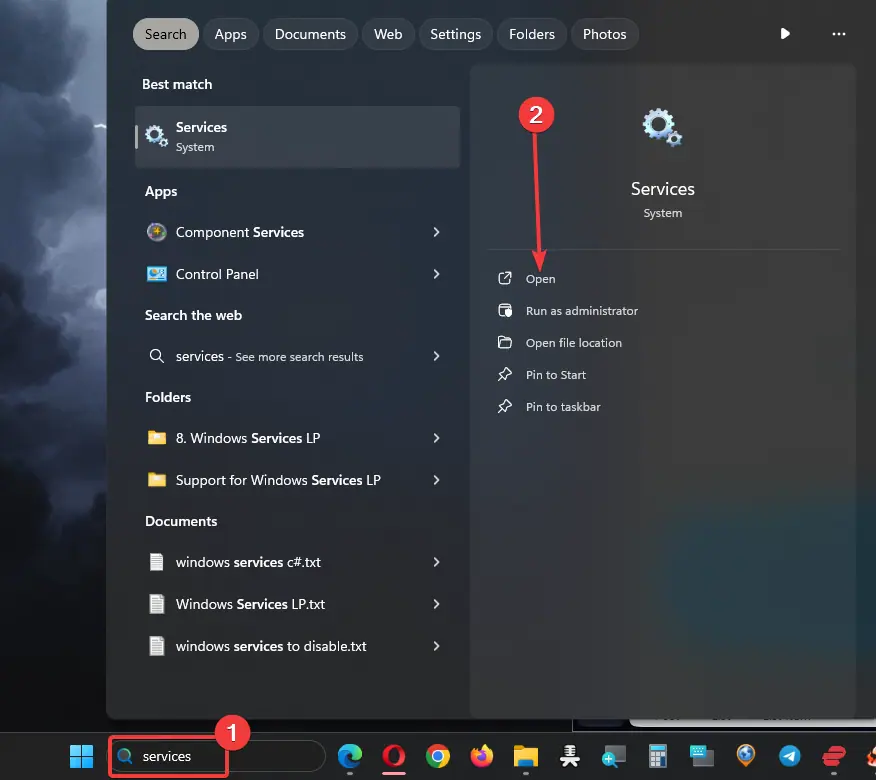
- Click the Windows search bar, type Services, and choose Open from the panel on the right.
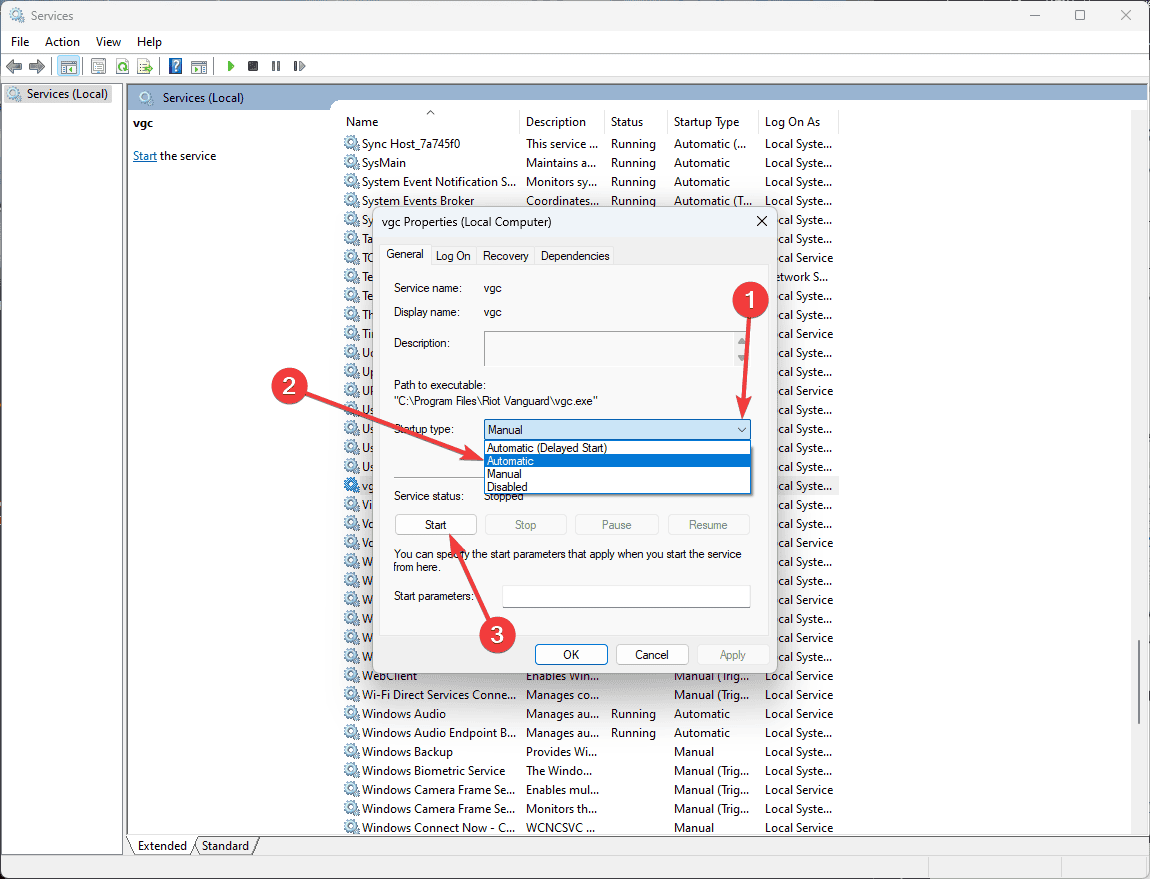
- Find the VGC entry in the services list, and double-click it to see its properties.
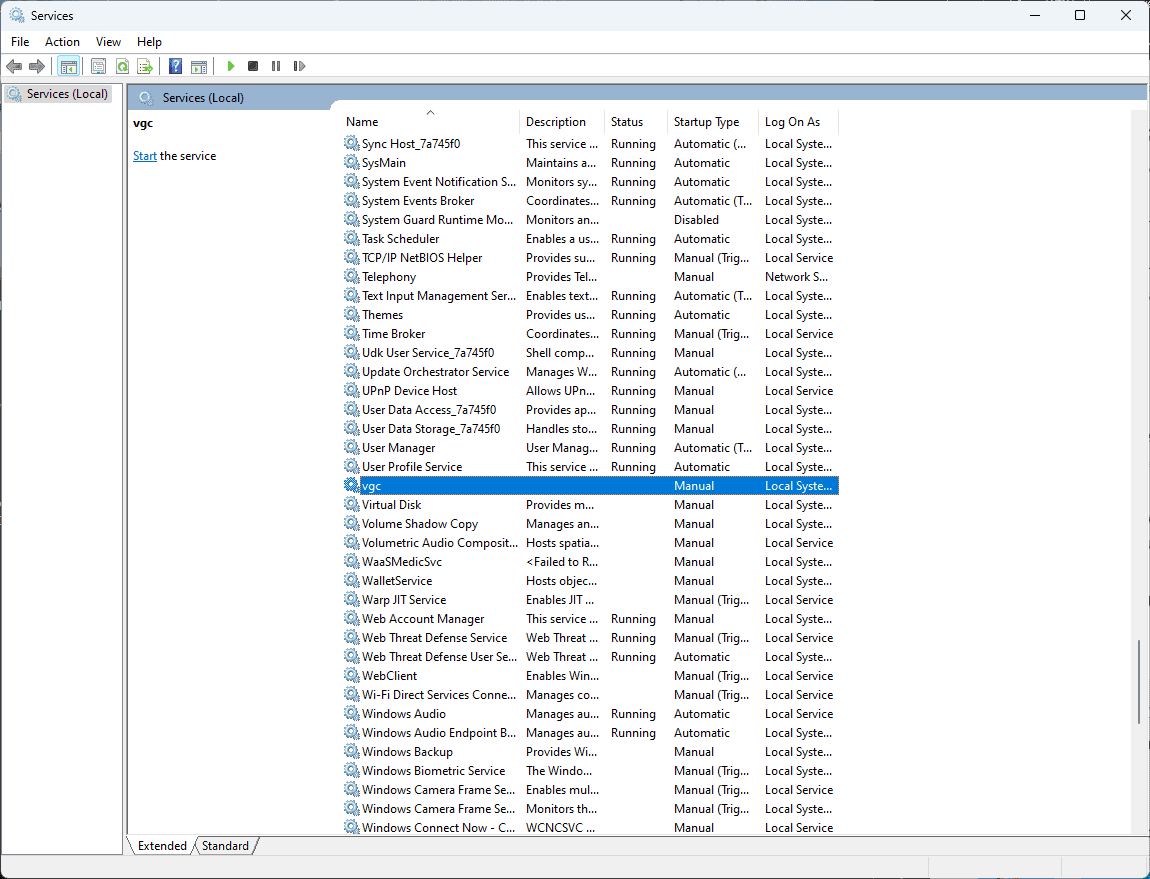
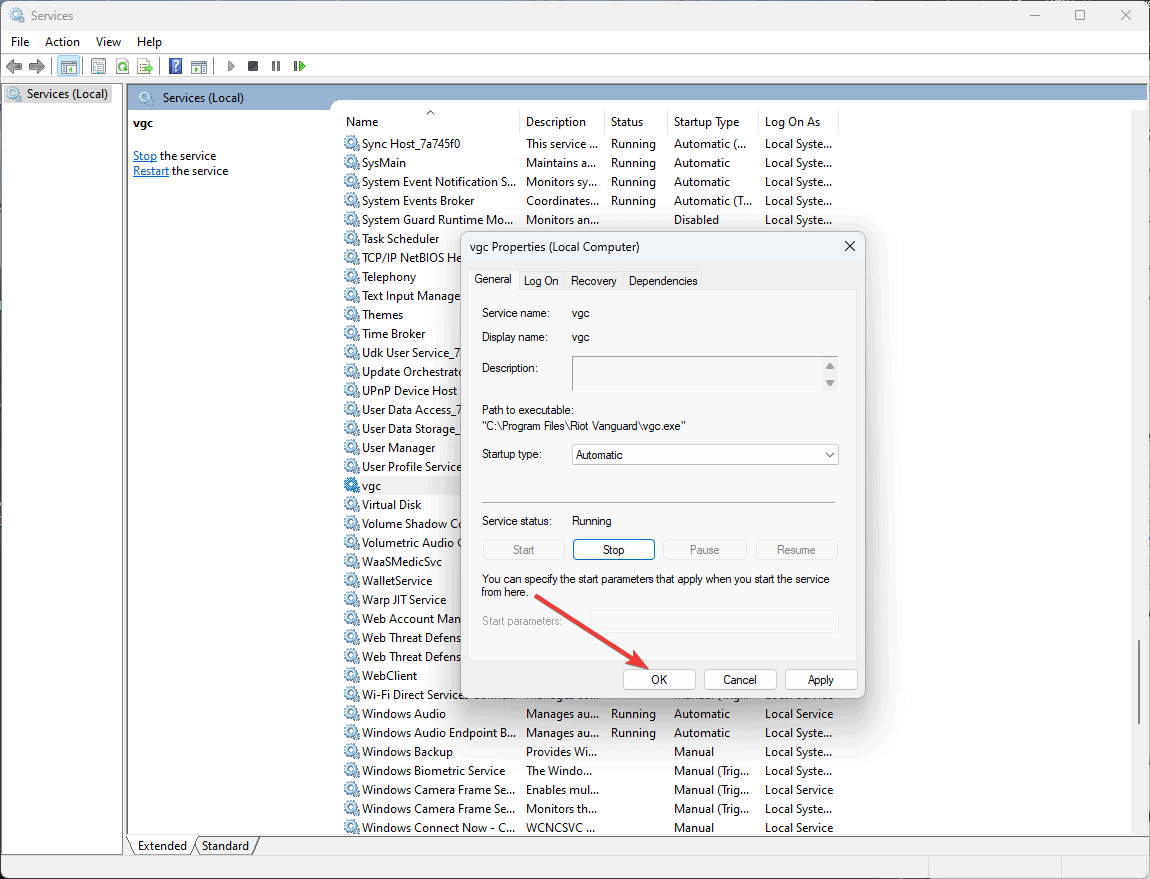
- Modify the Startup Type to Automatic, and click the Start button.
- Click OK, and try to run Valorant again.
6. Update the GPU (Graphics Processing Unit) Driver
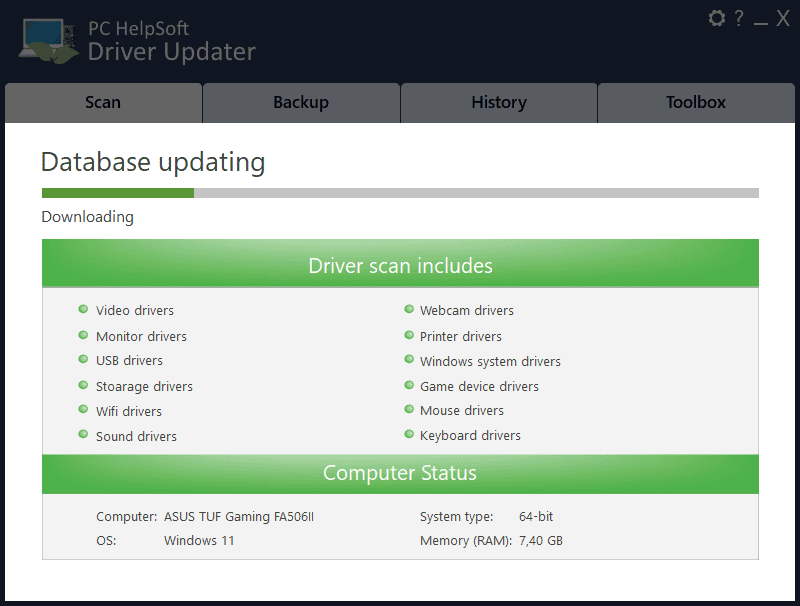
I’ll use PC HelpSoft Driver Updater to ensure that the update process runs smoothly and that the correct versions of the drivers are installed.
- Download, install, and run PC HelpSoft Driver Updater.

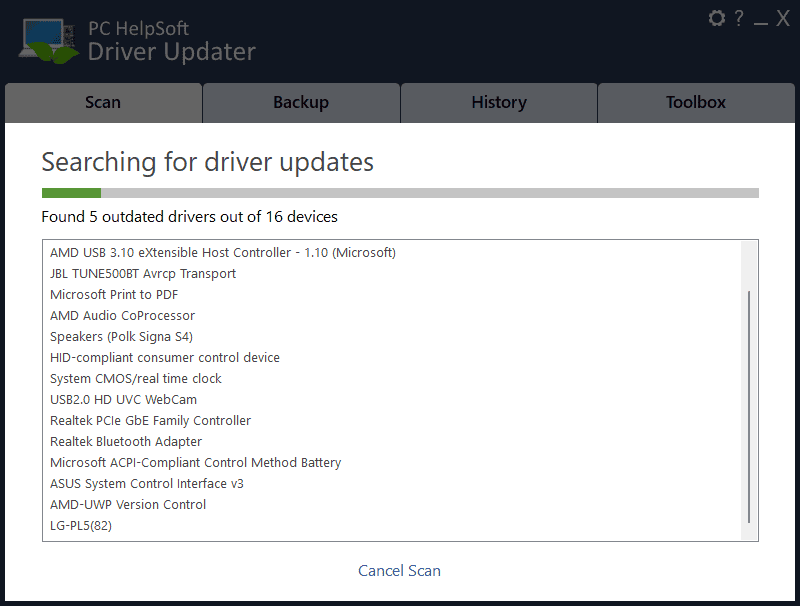
- Wait for the software’s database to update.
- Wait for the app to search for driver updates for your system.
- Choose the drivers you want to update and click Fix All to start the process.
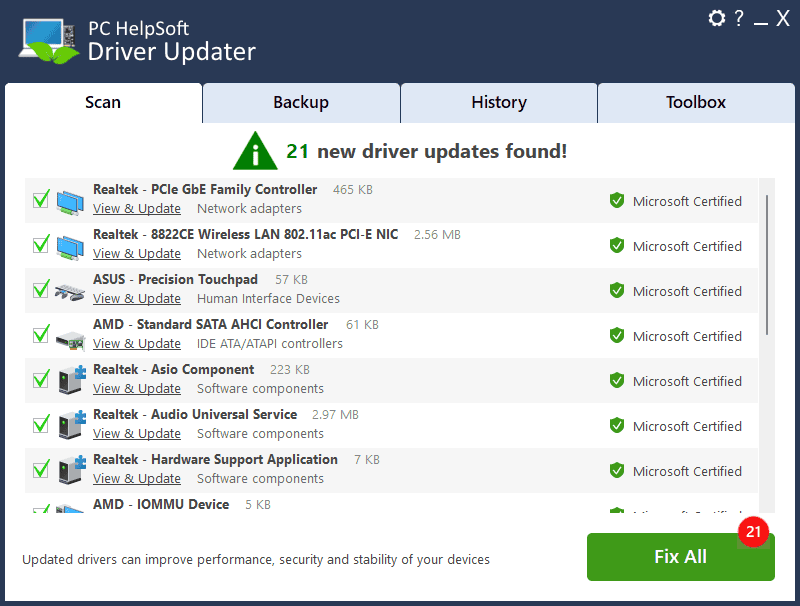
- After the process is completed, try running Valorant again.
You can also follow the steps below to update the GPU driver from Windows:
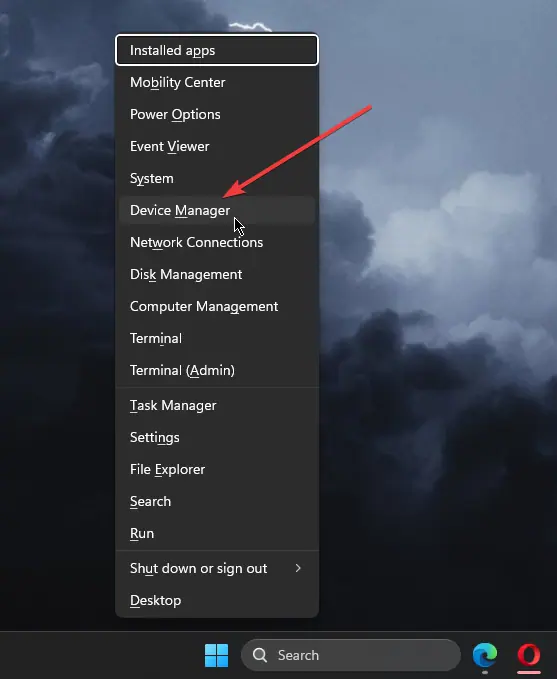
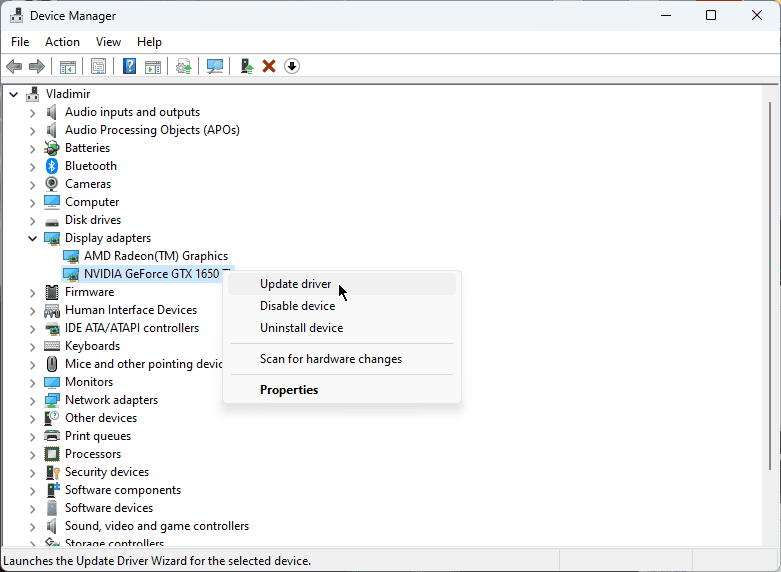
- Press Win+X, and choose Device Manager from the list that opens.
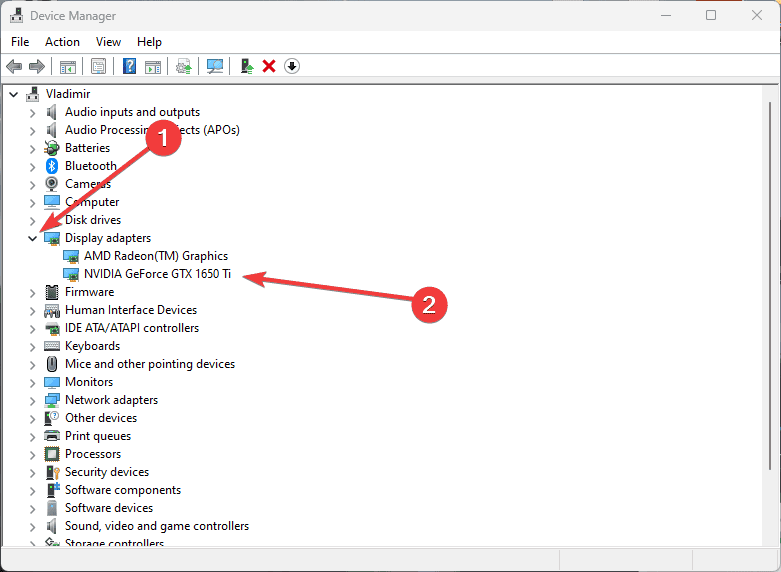
- Click the drop-down from the Display Adapters section, and identify your main GPU.
- Right-click the GPU entry, and choose Update Driver.
- Choose Search automatically for drivers or Browse if you have already downloaded the official driver from the manufacturer’s website.

- Download and install any drivers that appear in the results.
7. Disable Overlay Apps
Some users’ Valorant issues were caused by overlay apps like Discord and GeForce Experience. These can interfere with the processes required to run Valorant optimally.
For this example, I used the NVIDIA GeForce Experience overlay, called Nvidia Shadowplay. Your specific situation and configuration might be different.
Here’s what you can do about it:
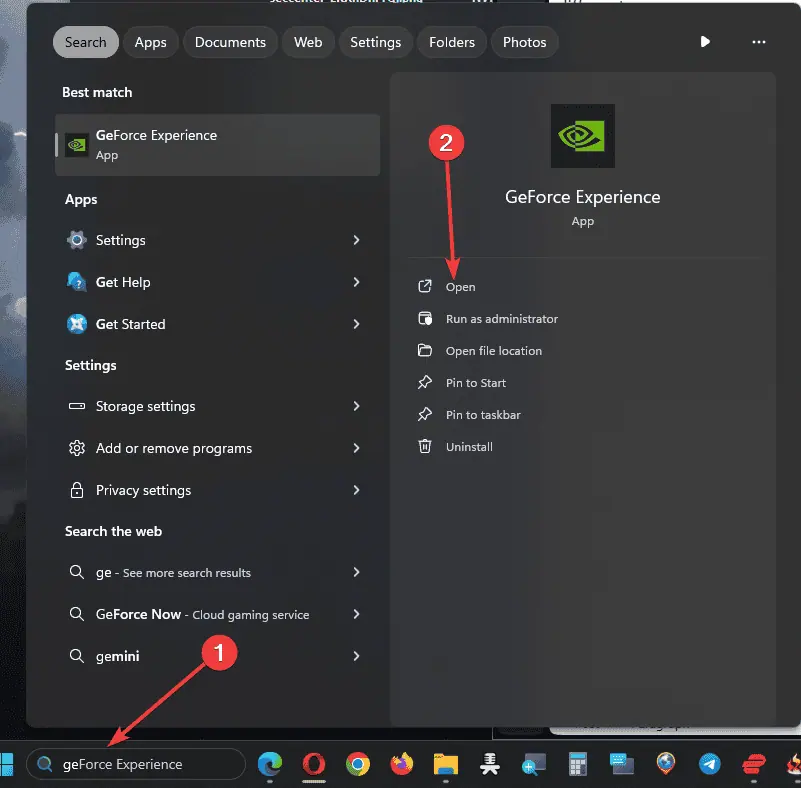
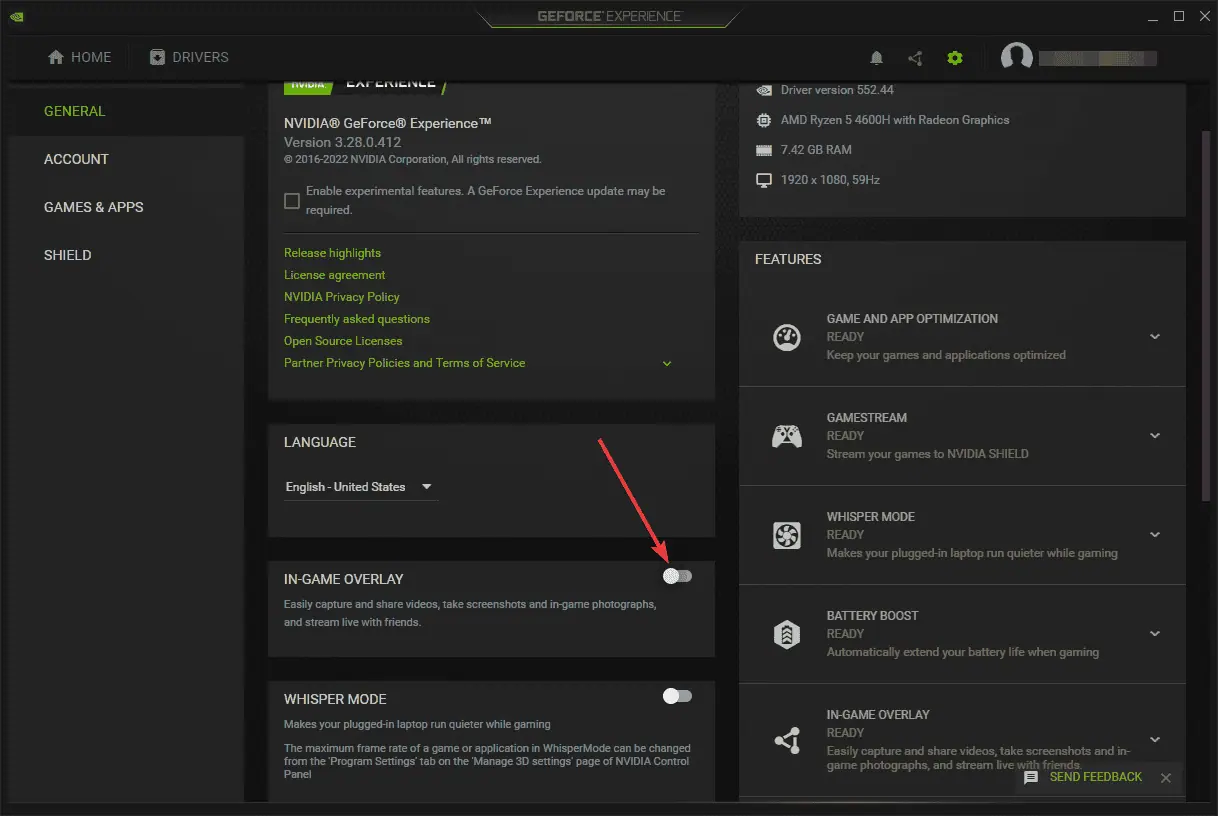
- Press Win+S and type GeForce Experience in the search bar, then open the app.
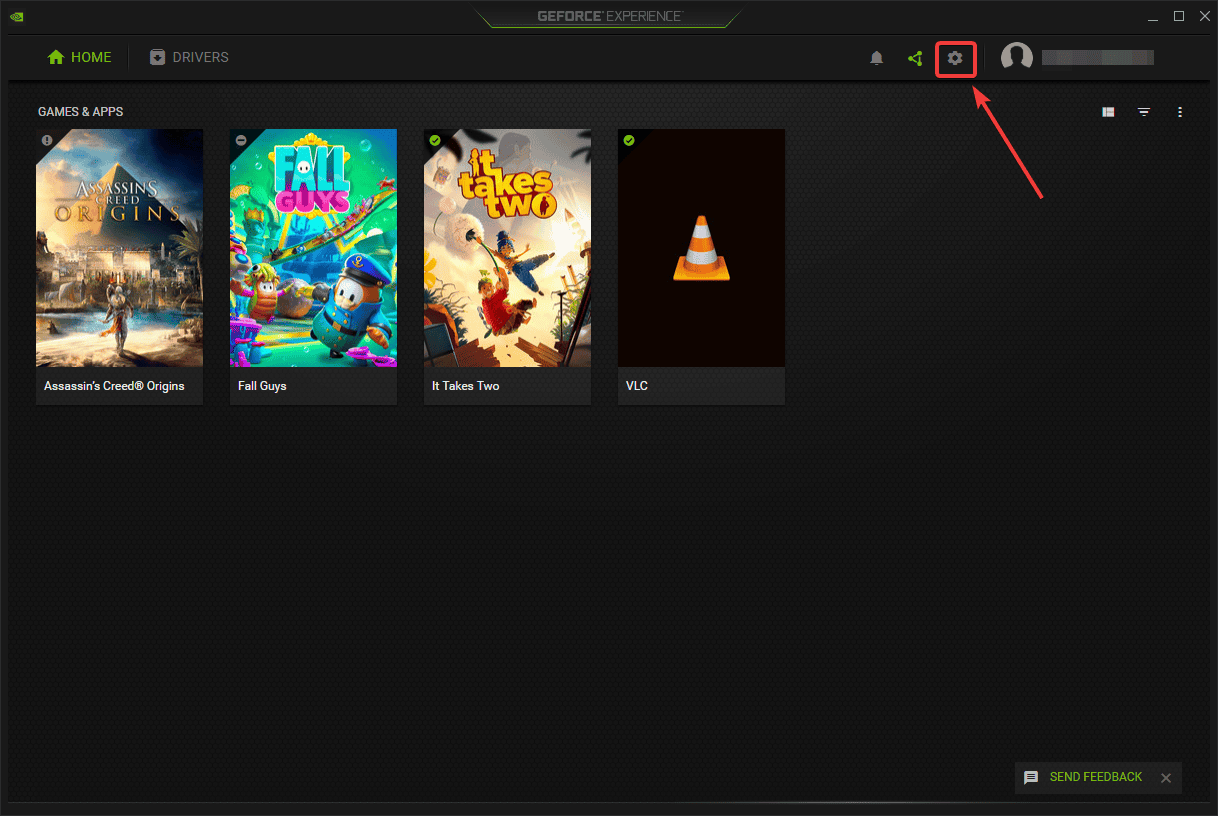
- Click the Gear icon next to your profile name to open the Settings.
- Ensure you’re in the General settings section, and scroll until you find the In-Game Overlay option.
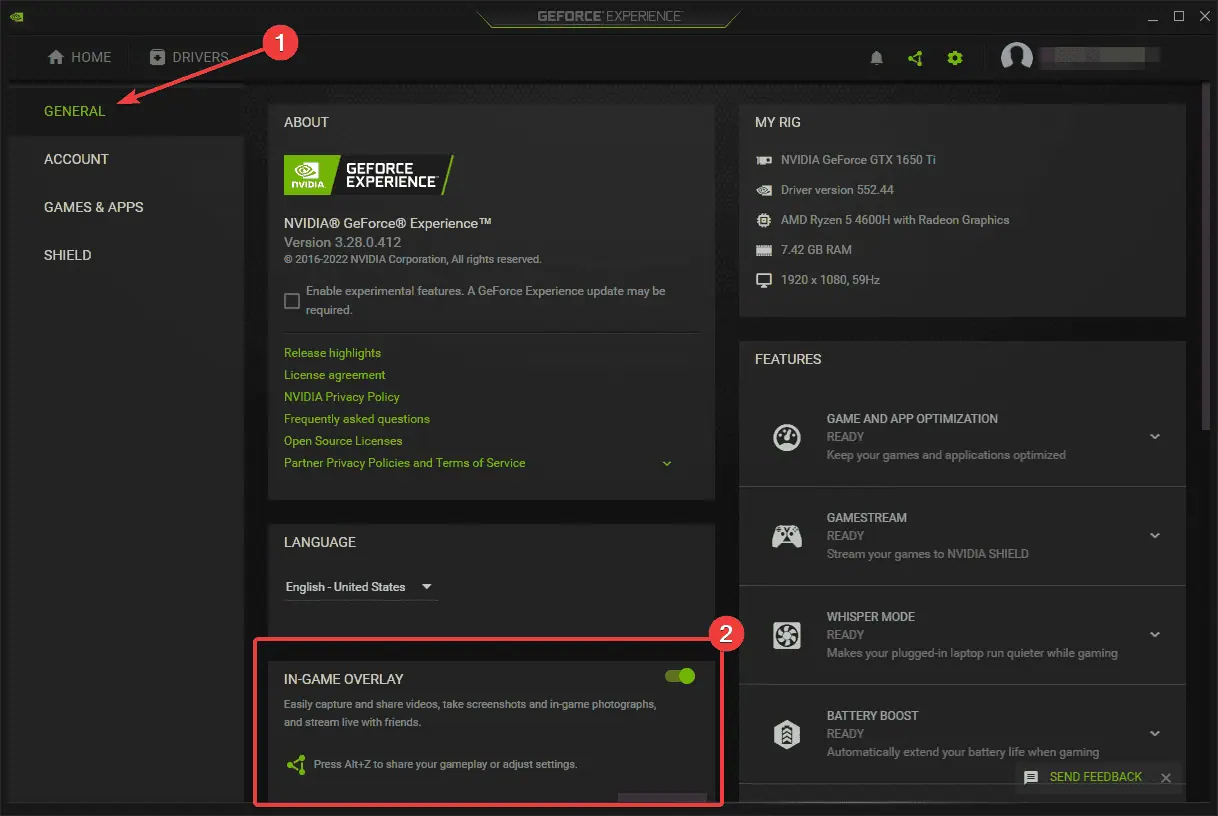
- Toggle the switch off to disable it.
- Deactivate the In-Game Overlay from any apps that use it on your device, and try running Valorant again.
8. Reset the Valorant App Data
Note: Resetting the Valorant app data folder will revert your game data to its default state.
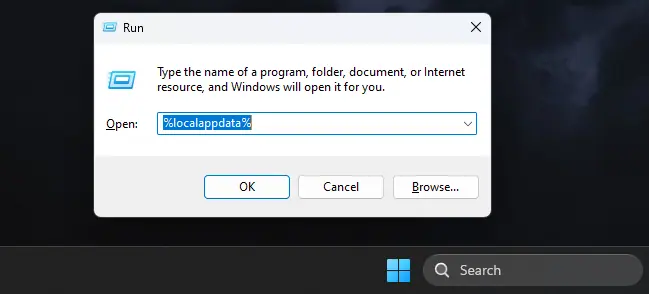
- Press Win+R, paste the following command %localappdata%, and click Enter.
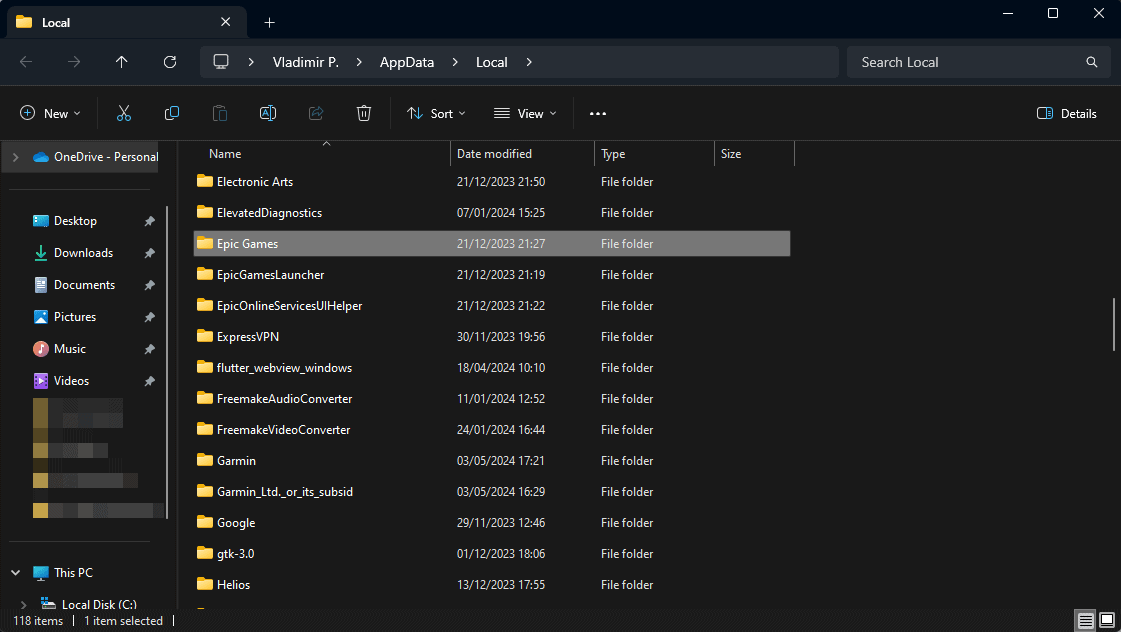
- Search the folder that opens, and select the Valorant folder.
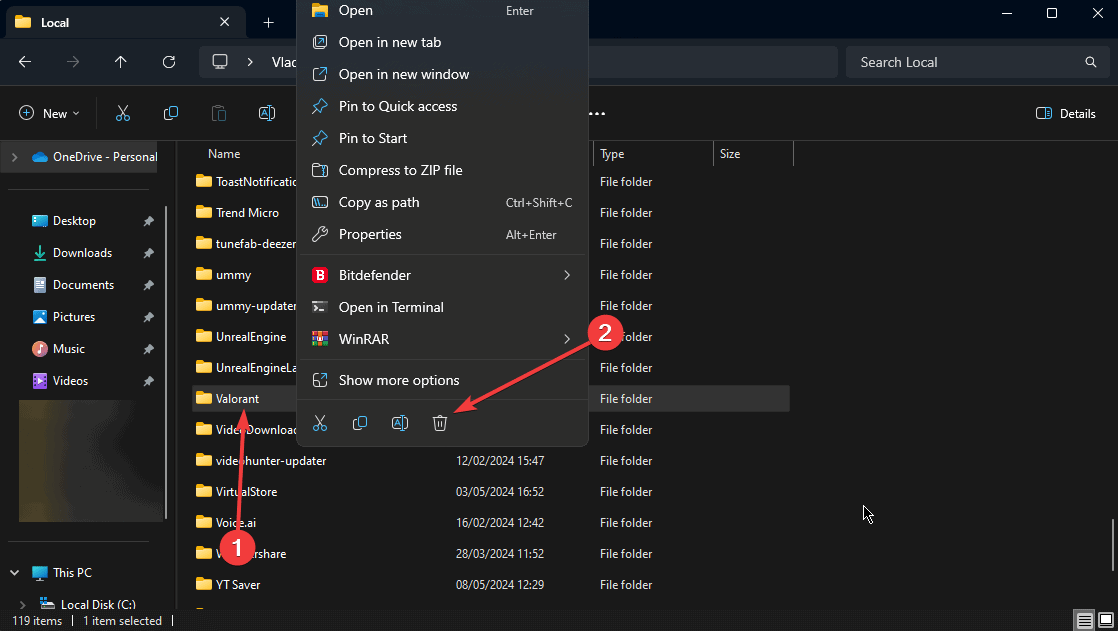
- Right-click the entry, and choose Delete.
- Try running Valorant again.
After deleting the folder, you can restart your Valorant game, and it will start with the factory settings. This should resolve the Valorant not launching Windows 11 issue.
As you can see, there are plenty of solutions to fix the Valorant not launching Windows 11 problem.
The perfect fix will depend on the cause of your problem, but these troubleshooting steps have worked for numerous users, including myself.
Which fix worked for you? Let me know in the comments.
Read our disclosure page to find out how can you help MSPoweruser sustain the editorial team Read more


Improve this guide


User forum
0 messages