This PC Can't Run Windows 11: 3 Simple Fixes
You’re excited to upgrade to Windows 11, but suddenly, you see the message: “this PC can’t run Windows 11.”
You’re not alone; many users run into this problem when trying to install Microsoft’s latest operating system. But don’t worry-I’m here to walk you through how to fix it.
Let’s start!
How to Fix This PC Can’t Run Windows 11
You should check and enable the required features so that you can finally install Windows 11. The required features are listed after the System Compatibility section.
1. Check System Compatibility
Windows 11 has more stringent system requirements than previous versions, such as specific processors and minimum RAM and disk space. If your PC lacks any of these, you’ll see this error message.
So the first thing you want to do is make sure that your PC meets the system requirements for Windows 11:
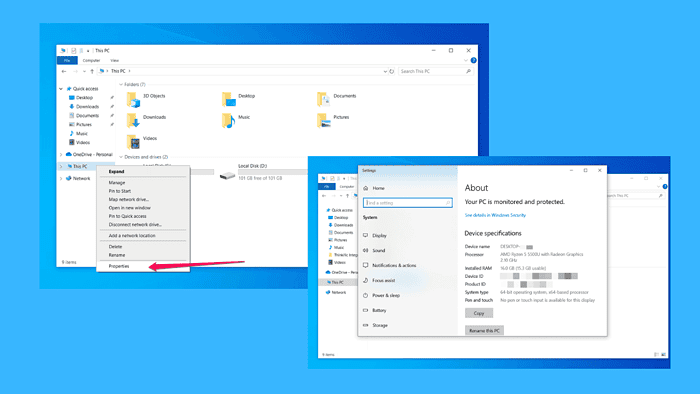
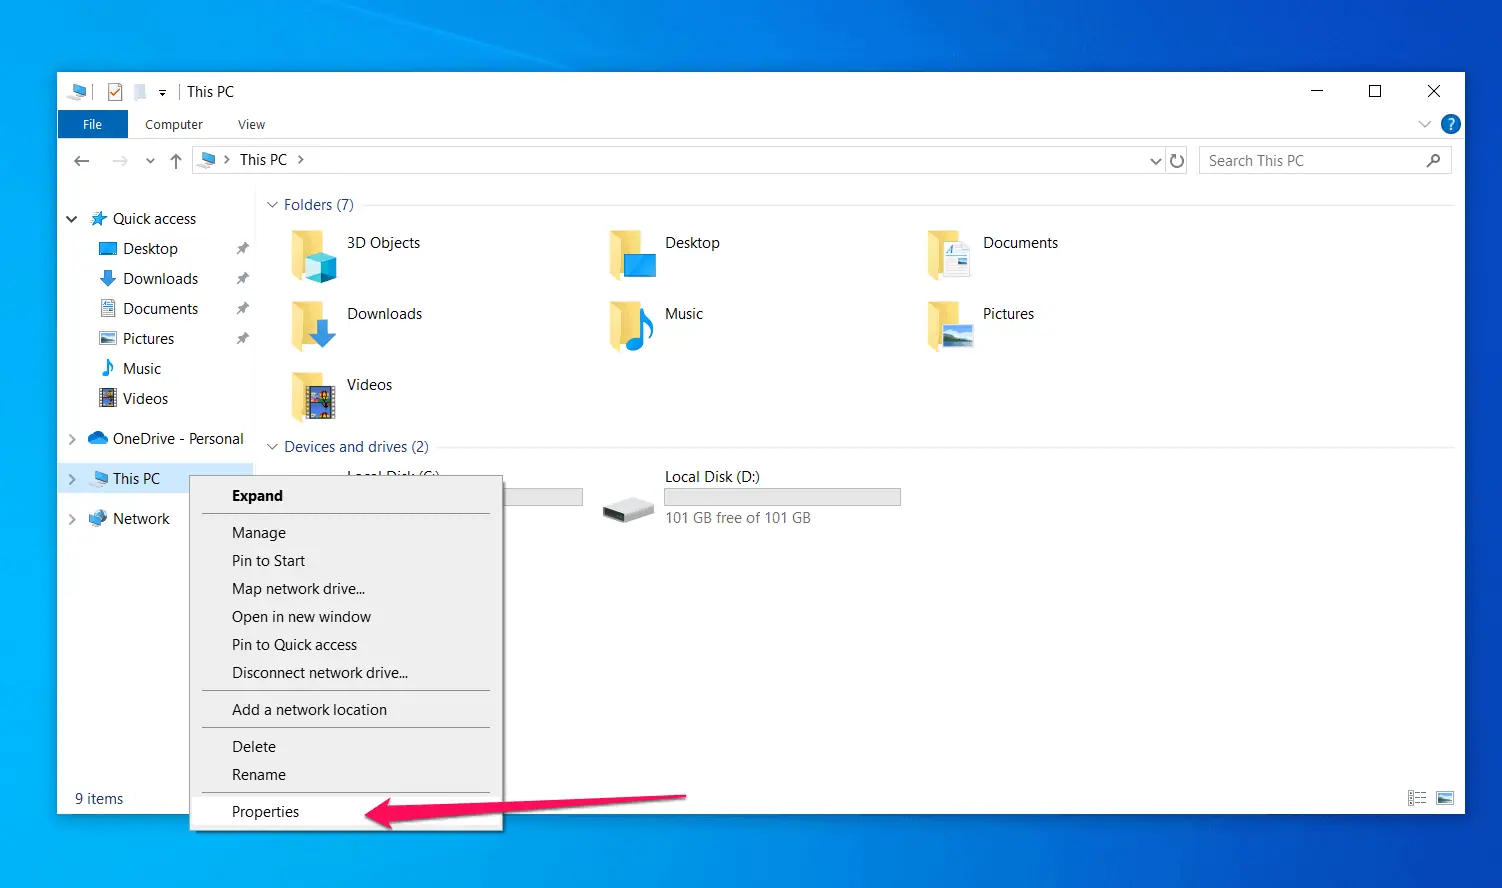
- Find This PC on your device and right-click on it.

- Select Properties from the drop-down menu. You’ll see the data you need to check if your system has everything it needs to run Windows 11.
These are the minimum criteria it should meet:
- Processor: 1GHz or faster with at least 2 cores, 64-bit processor.
- RAM: 4GB and up.
- Storage: 64GB or more.
- Graphics Card: Compatible with DirectX 12 or later.
- Display: At least 720p, 9” diagonal or larger.
If it meets these requirements, move on to the next solution.
2. Check and Enable TPM 2.0
If your PC doesn’t have a TPM 2.0, which is an essential security feature for Windows 11, you’re probably seeing this error.
Here’s how to check if you have it and enable it:
- Restart your PC and enter the BIOS/UEFI settings. This usually means pressing a key like F2, F10, DEL, or ESC right after powering on (depending on your motherboard).
- Look for a menu labeled Security or Advanced.
- Find TPM or Trusted Platform Module settings. If it’s listed as TPM 1.2, you might need a hardware upgrade, but if it’s TPM 2.0, just make sure it’s enabled.
- Save and exit the BIOS settings, then restart your PC.
3. Enable Secure Boot
Secure Boot, another security feature that ensures your PC only boots trusted software, might be turned off, which is another common roadblock.
Here’s how you can sort this out:
- Restart your PC and go into the BIOS/UEFI settings again.
- Navigate to the Boot menu.
- Find Secure Boot and enable it. If you see an option called CSM (Compatibility Support Module), disable it, as Secure Boot won’t work with CSM on.
- Save your settings and restart your PC.
Common Questions About Upgrading to Windows 11
Why does Windows 11 need TPM 2.0?
Windows 11 uses TPM 2.0 for enhanced security, including BitLocker encryption and Windows Hello authentication. It’s all about keeping your data safe from the bad guys.
Can I bypass TPM 2.0 to install Windows 11?
Technically, yes, but it’s not recommended. Microsoft has set these requirements for a reason, mainly to keep your PC safe. If you really need to bypass, you’ll be going against Microsoft’s policy, and you may miss out on future updates.
In short, if you have TPM 2.0 and Secure Boot enabled and your PC meets the basic hardware requirements, you should be able to get rid of the “This PC can’t run Windows 11” error.
Read our disclosure page to find out how can you help MSPoweruser sustain the editorial team Read more
Improve this guide


User forum
0 messages