Printing Large Google Maps: A Detailed Guide
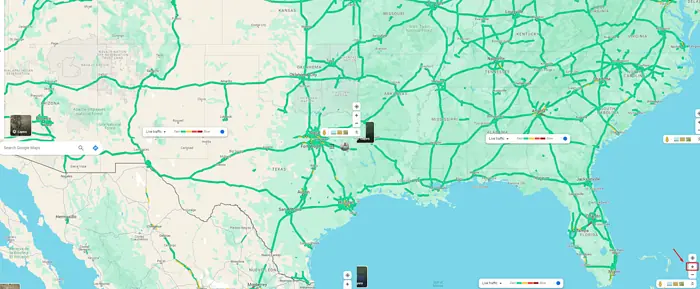
Printing large Google Maps is useful for different purposes, from urban planning and landscape design to educational uses and personal navigation aids. However, due to the detail and scale involved, it’s not as simple as just hitting the print button on your browser.
Luckily, this article will guide you through the steps.
Let’s begin!
Step-by-Step Guide: Printing Large Google Maps
Here’s how to achieve this:
- Go to Google Maps.
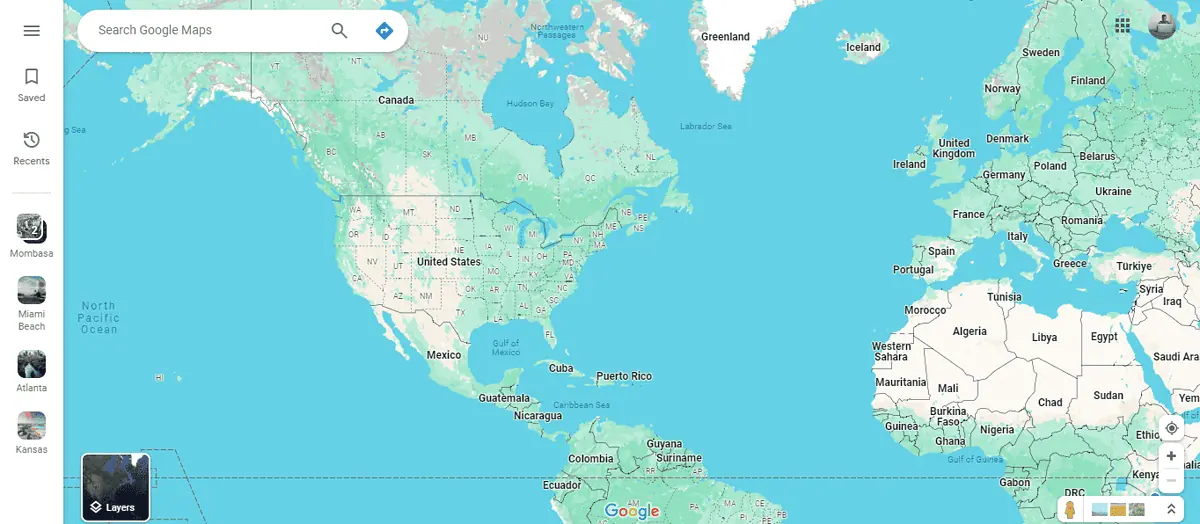
- Zoom your map using the “+” icon on the bottom right of the screen to identify the area you want to capture. Use any screenshot tool of your choice. You can also use the snipping tool available for Windows.
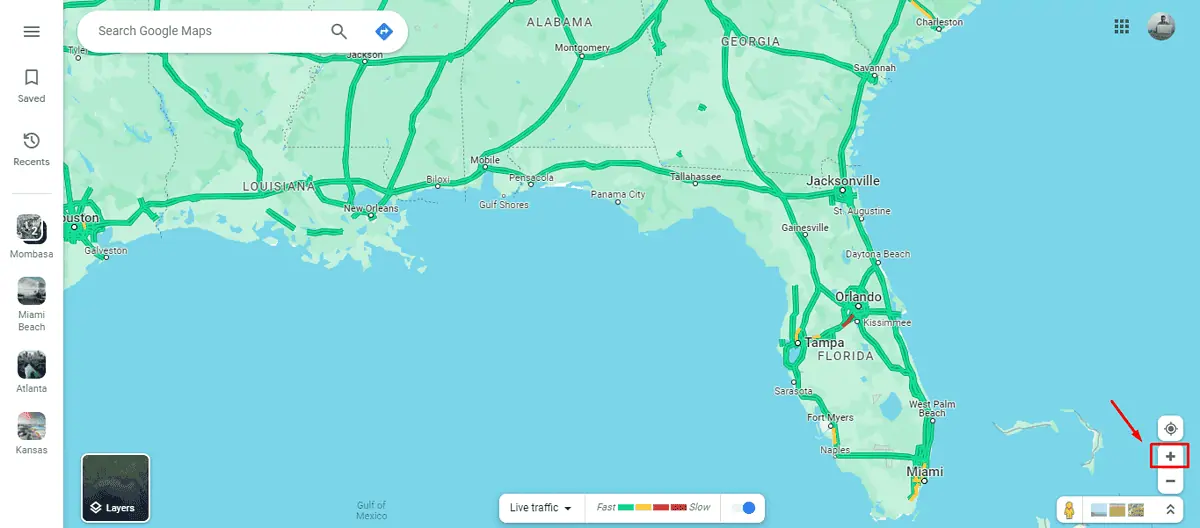
- Click on the map, hold, and drag to move to the next area you want to print.
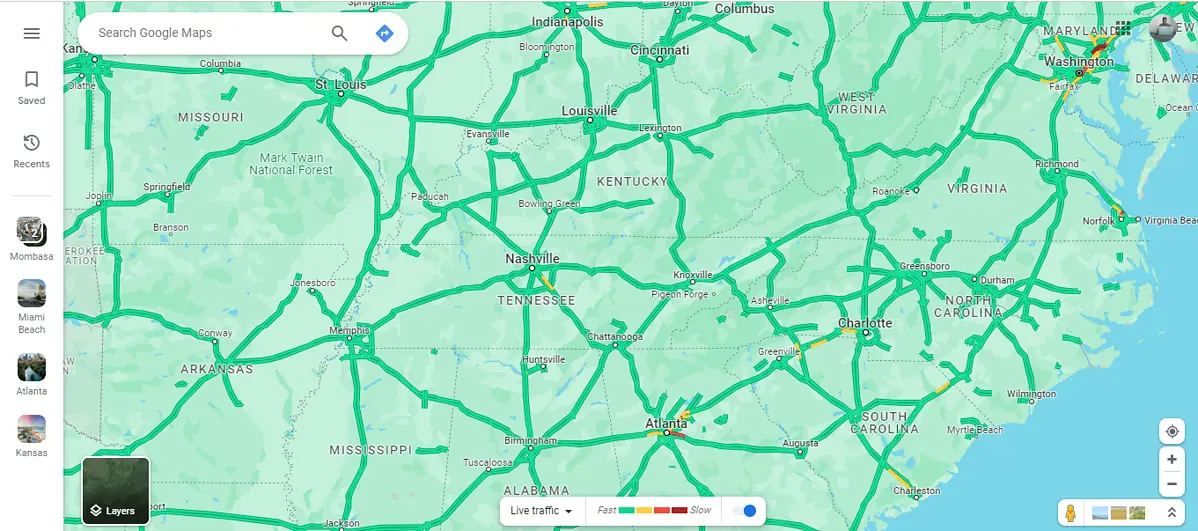
- Ensure you capture all the sections you’re interested in by repeating step 3.
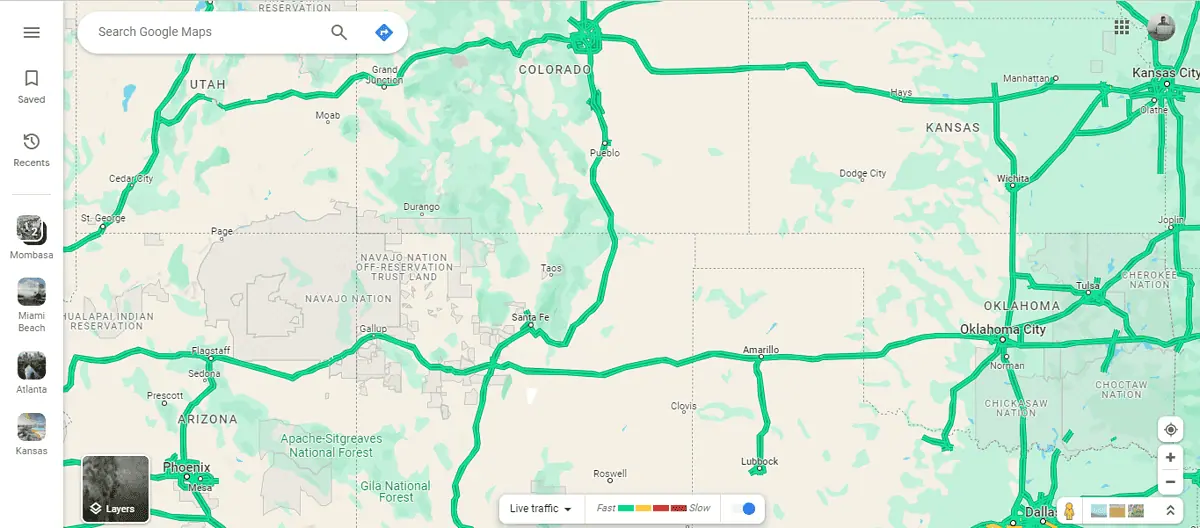
- Go to any photo editing tool to merge the screenshots and create one large photo. I’ll use Canva.
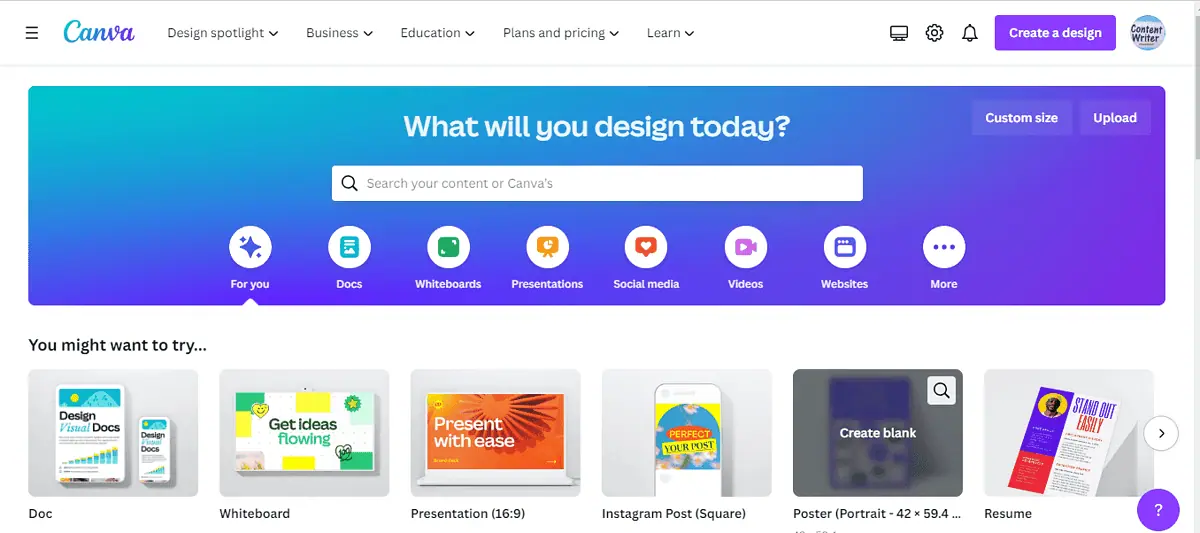
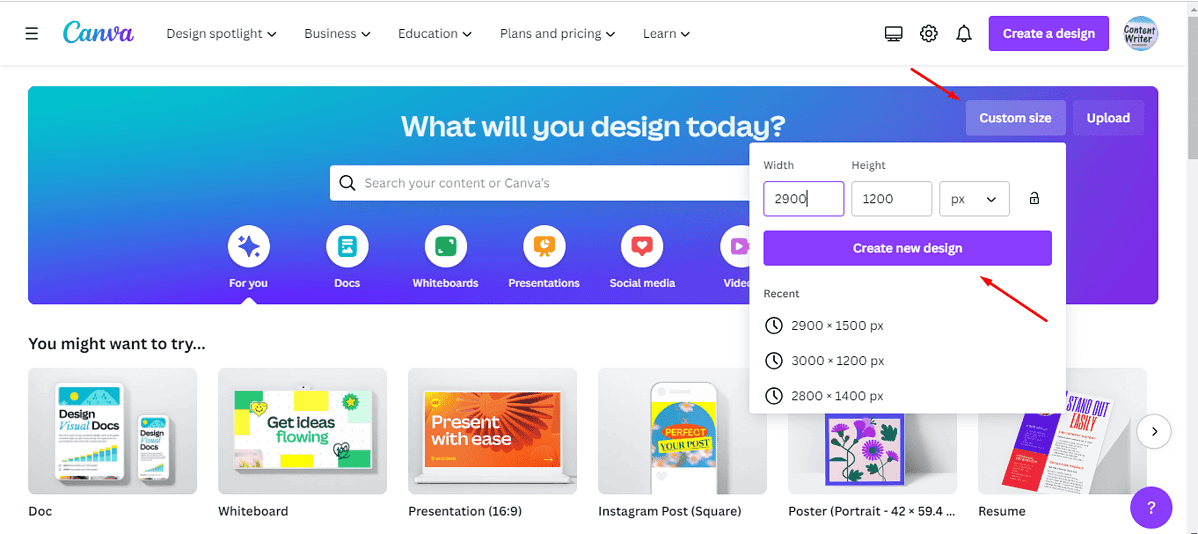
- Tap “custom size,” select your dimensions, and click “Create new design.”
- Click “Upload files” to upload your screenshots in Canva.
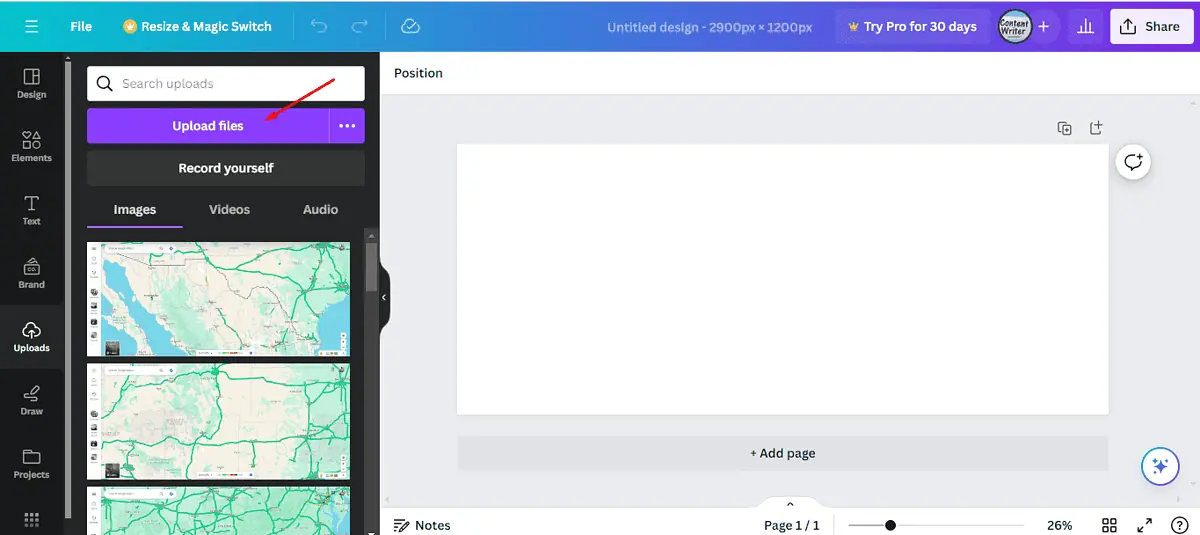
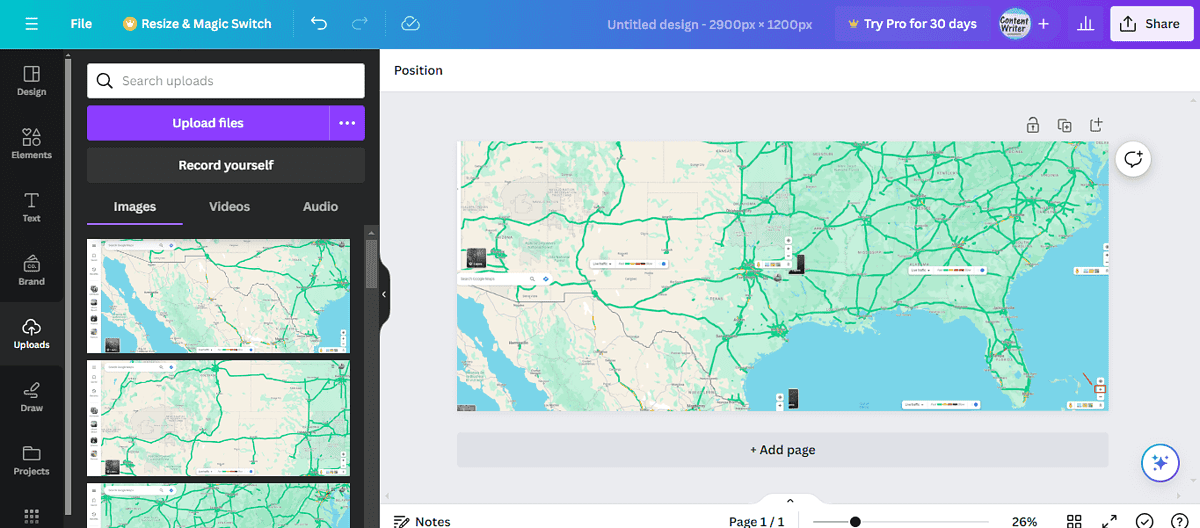
- Tap on the screenshots to add them to your design and arrange them.
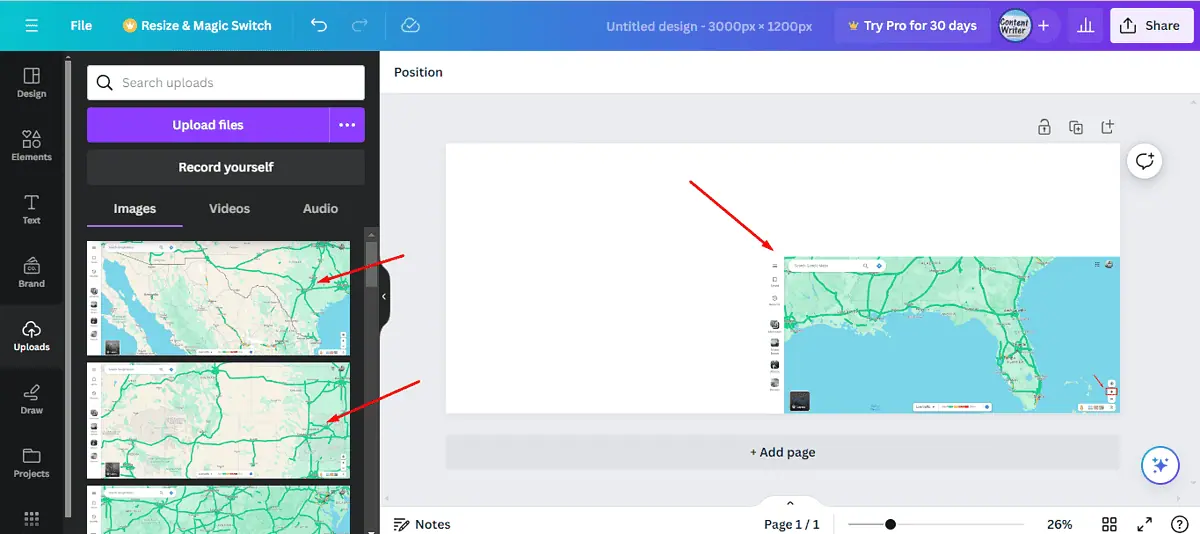
- Merge them to make them look like one photo. Tap the share button to save the photo.
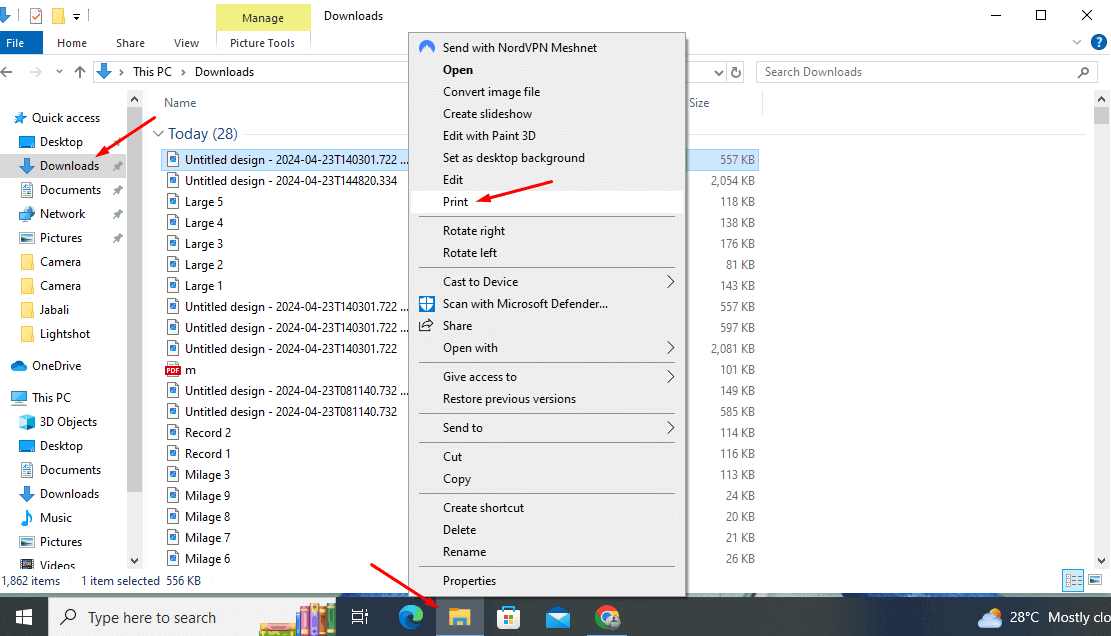
- Go to Files>Downloads, right-click on the photo you downloaded from Canvas, then tap Print.
That’s it!
Printing large Google Maps can be a powerful tool for various applications, from professional to personal use. These steps will help you create a large-scale map that meets your needs. Similarly, you can even make printable directions.
Read our disclosure page to find out how can you help MSPoweruser sustain the editorial team Read more


User forum
1 messages