How to Use Snipping Tool in Windows 11
The Snipping Tool in Windows 11 lets you quickly take screenshots of your screen – whether it’s a full screen, a window, or a custom selection. Here’s how to use it effectively.
Table of contents
How to Open the Snipping Tool
Option 1: Keyboard Shortcut
- Press
Windows + Shift + S
This instantly opens the Snipping Tool in capture mode.
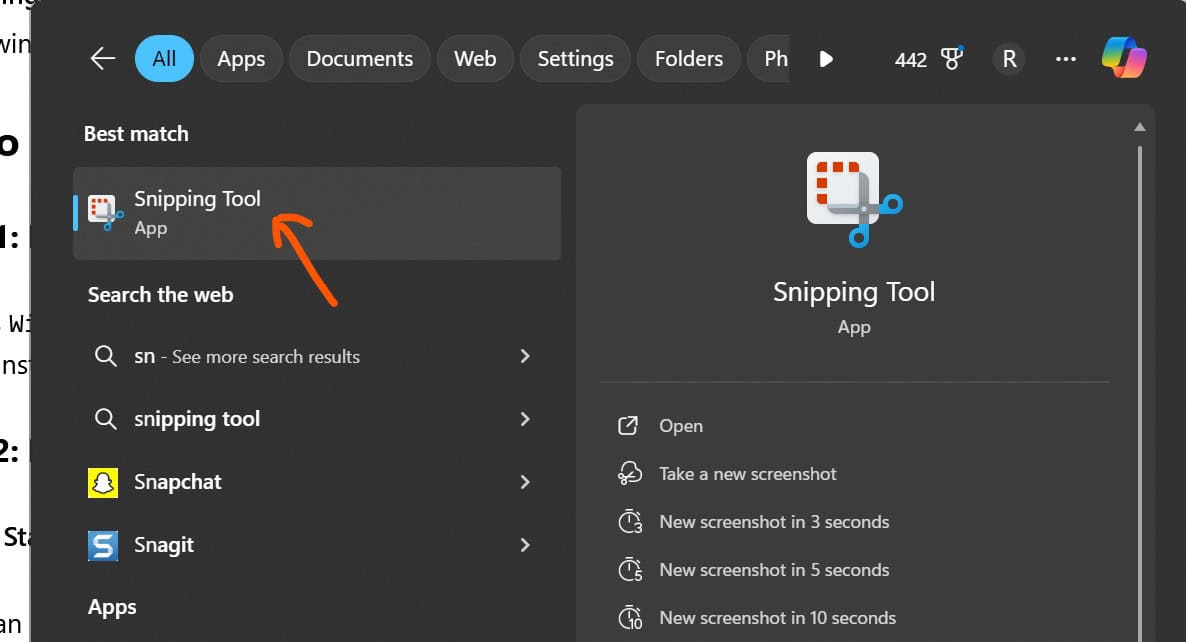
Option 2: From Start Menu
- Click Start, type Snipping Tool, and press Enter.
Tip: You can pin it to the taskbar for quick access.
Snipping Tool Modes in Windows 11

Once opened, you’ll see four snip types:
- Rectangular Snip – Draw a box around the area you want to capture.
- Freeform Snip – Draw any shape around the area.
- Window Snip – Click on a specific app window.
- Fullscreen Snip – Captures the entire screen instantly.
How to Take a Screenshot
- Press
Windows + Shift + S - Choose the desired snip mode from the toolbar.
- Select the area or window to capture.
- The screenshot is copied to your clipboard.
You’ll also see a notification in the bottom-right corner—click it to open the capture in Snipping Tool for editing.
How to Edit and Save a Snip
Once the screenshot opens in Snipping Tool:
- Draw or highlight using the pen, highlighter, or eraser.
- Crop the image as needed.
- Click Save (floppy disk icon) to store the screenshot on your PC.
You can also Copy or Share the snip directly from the app.
How to Use Snipping Tool with Delay
Want to capture something after a few seconds?
- Open Snipping Tool from Start.
- Click the arrow next to the New button.
- Choose a delay: 3, 5, or 10 seconds.
- After the delay, your screen will dim and you can take a screenshot.
Where Are Snipping Tool Screenshots Saved?
If you don’t manually save, your snips are only copied to the clipboard.
To save automatically:
- After editing, click File > Save As, or use Ctrl + S.
- Choose your folder and format (PNG, JPG, GIF).
Quick Troubleshooting
- Snipping Tool not opening?
- Try restarting your PC or updating Windows.
- Clipboard not saving?
- Check Clipboard settings:
Settings > System > Clipboard.
- Check Clipboard settings:
Conclusion
The Windows 11 Snipping Tool is a powerful and easy-to-use tool for taking screenshots. Whether you’re capturing full screens or specific windows, the tool is flexible, fast, and built right into the OS.
Read our disclosure page to find out how can you help MSPoweruser sustain the editorial team Read more
Improve this guide


User forum
0 messages