How to use layers in Paint app for Windows 11 in easy steps
No money for Photoshop? Don’t worry. Microsoft just launched a new feature that will let you use layers in Paint, the famous built-in simple raster graphics editor, in Windows 11.
“You can now add, remove, and manage layers on the canvas to create richer and more complex digital art. With layers, you can stack shapes, text, and other image elements on top of each other,” says Microsoft in a blog post.
The update is now rolling out for Windows insiders in the Dev and Canary channels running Paint (version 11.2308.18.0 or higher). Even though some insiders have complained that this feature uses a lot of memory, it is still a welcome addition.
Oh, did we also mention that it supports transparency?
Here’s how you can use layers in Paint in Windows 11.
How to use layers in Paint in Windows 11.
1. Make sure you’re in a Dev/Canary insider channel and running version 11.2308.18.0 or higher of Paint. If not, update the app through the Microsoft Store.
2. Once the latest version is installed, open Paint
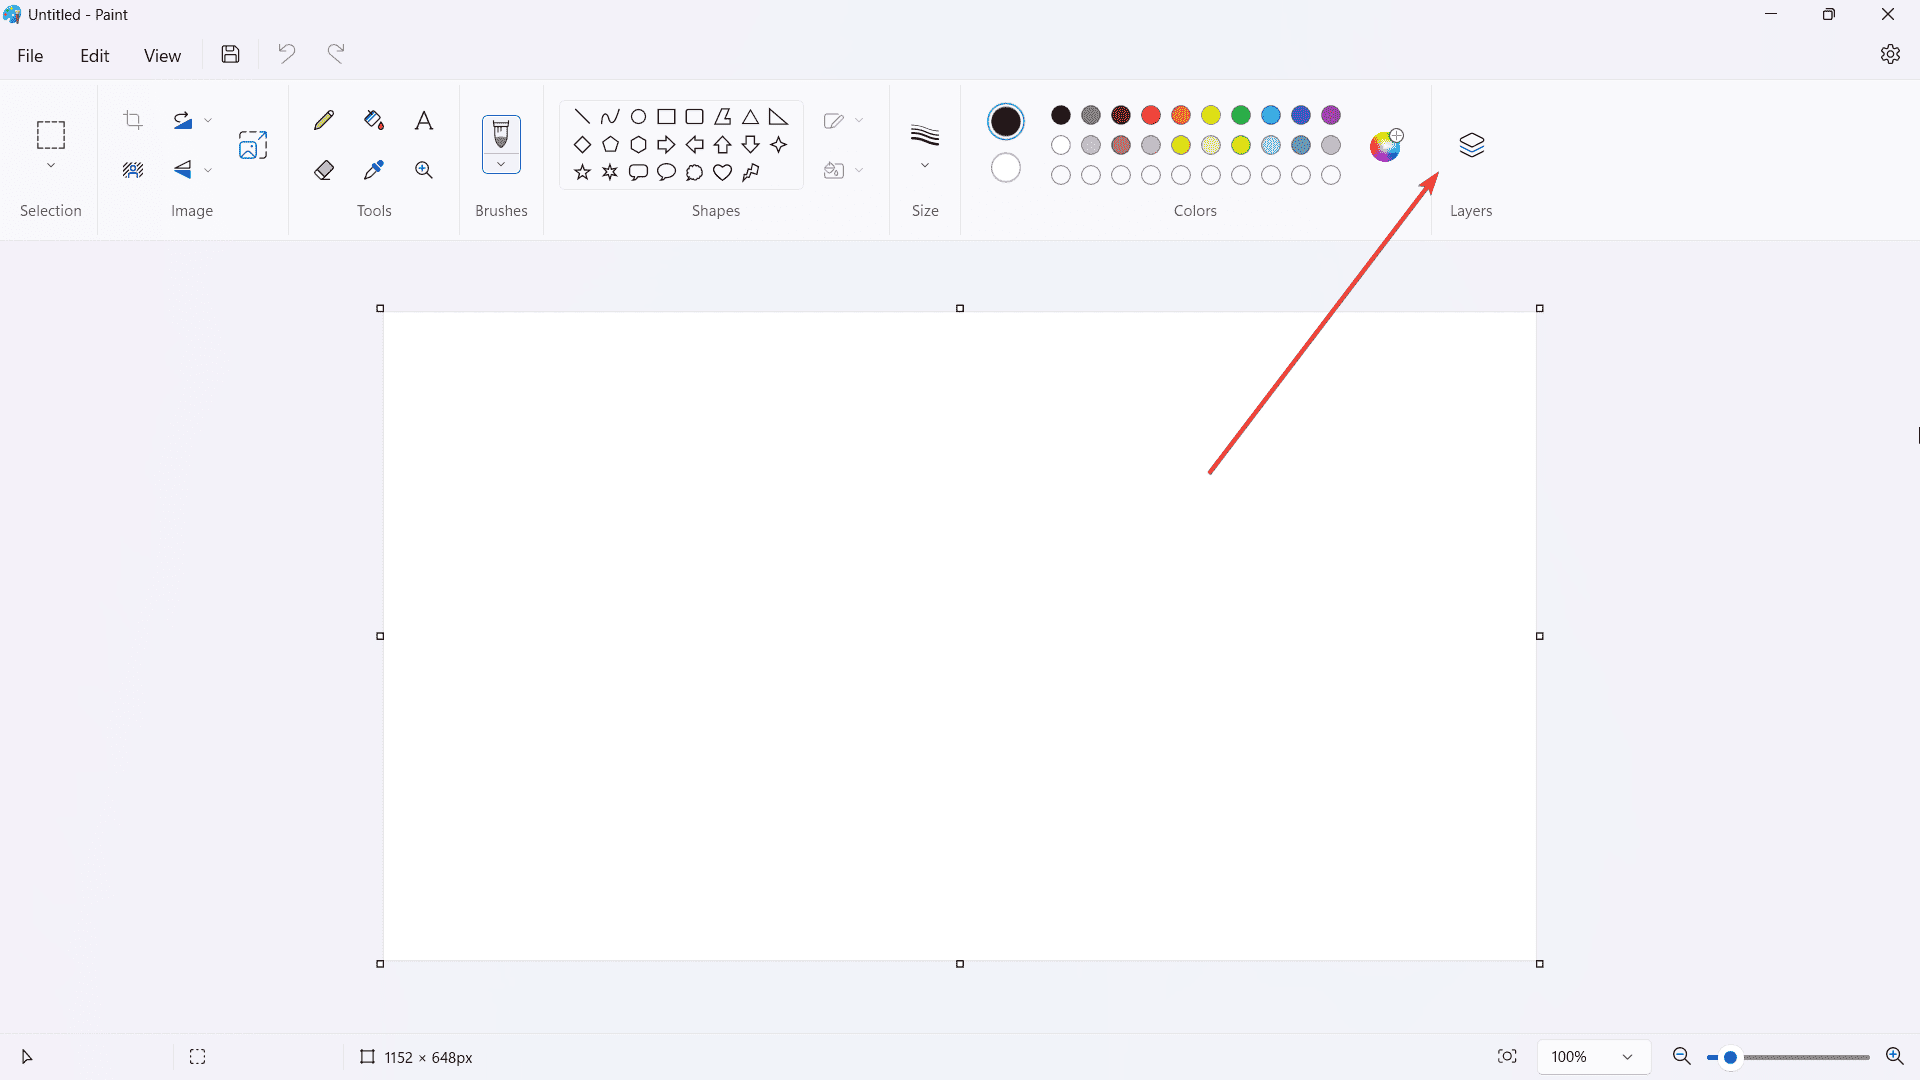
3. Click Layers on the top right of the ribbon. Alternatively, you can also click on it again to completely turn off the layers feature.
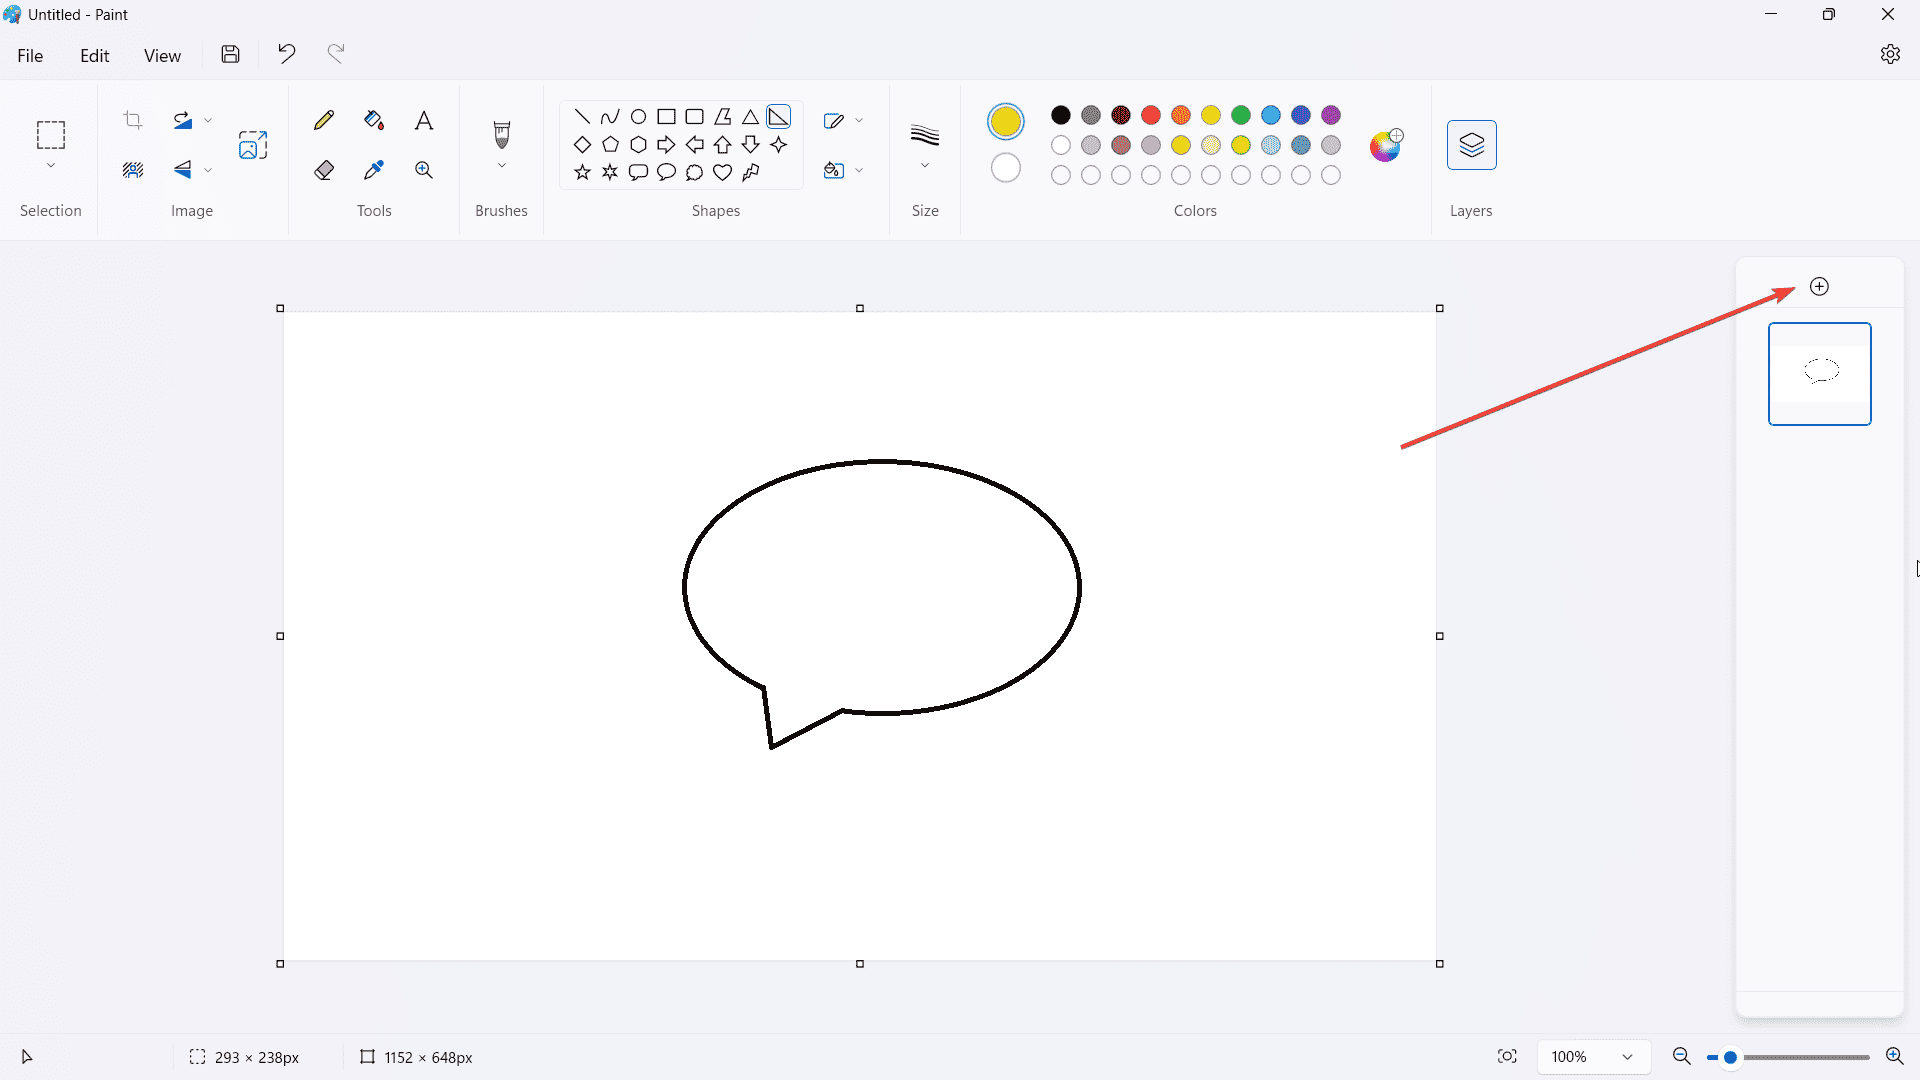
4. Draw any object that you want, then click + to add a new layer
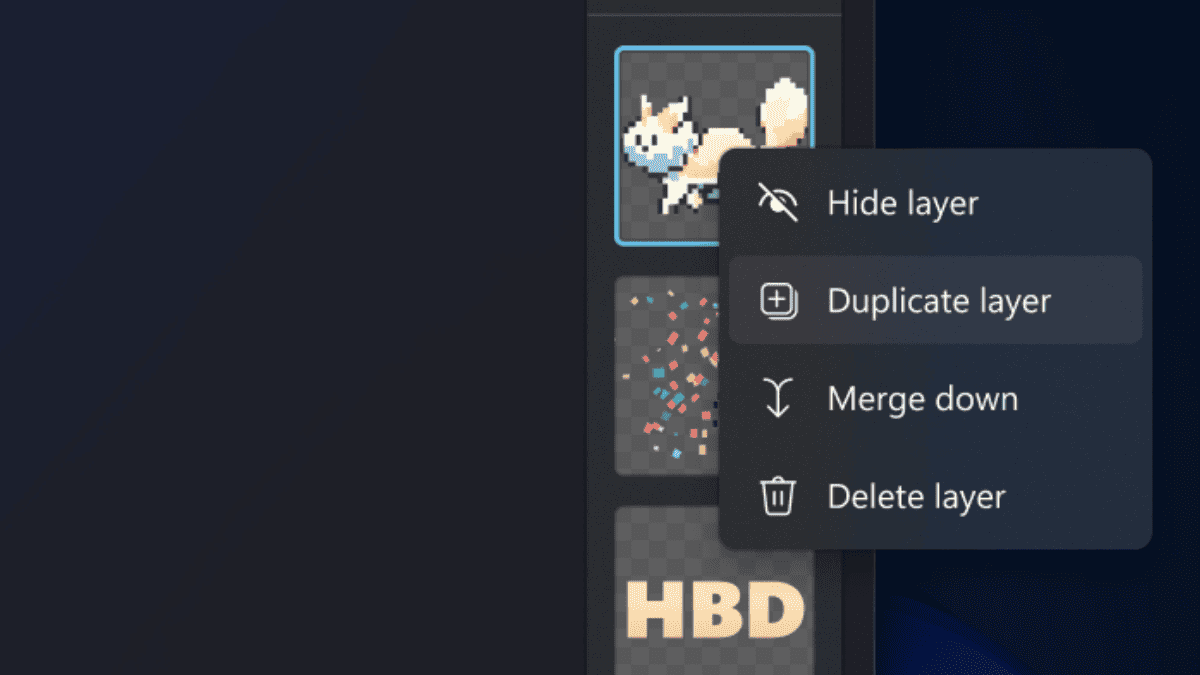
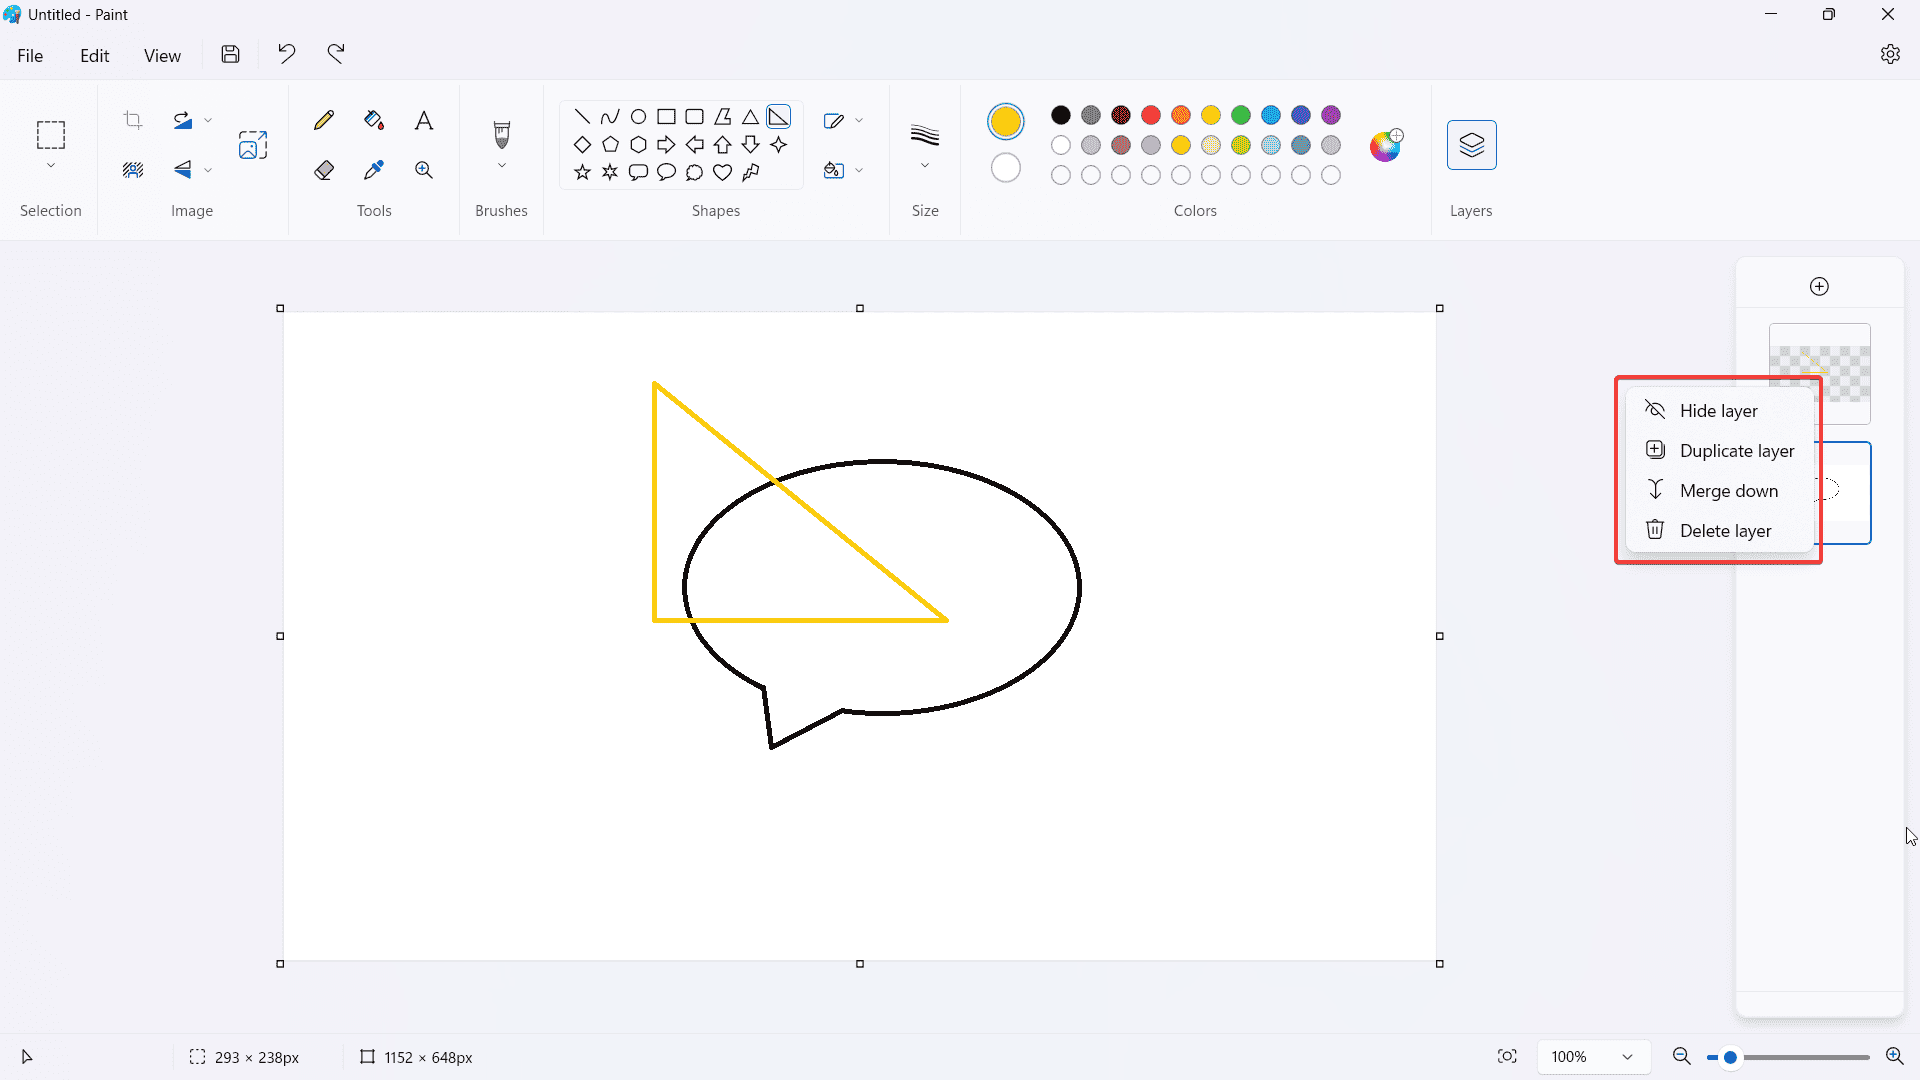
5. If you right-click on the layer, there are options to hide, duplicate, merge, or delete — pretty much self-explanatory.
If you are in the market for a free graphic editor, GIMP is a good option because it has layering support and is superior to other free graphic editors.
Thoughts?
Read our disclosure page to find out how can you help MSPoweruser sustain the editorial team Read more


Improve this guide


User forum
0 messages