Beautiful AI Review: Is It a Good AI Presentation Maker?
If you’ve been wondering what you can do with AI presentation software, this Beautiful AI review has all the answers you need.
We’ll cover its strengths and weaknesses, and by the end of it, you’ll know if it’s the right tool for you.
Without further ado, let’s dive right in!
What Is Beautiful AI?
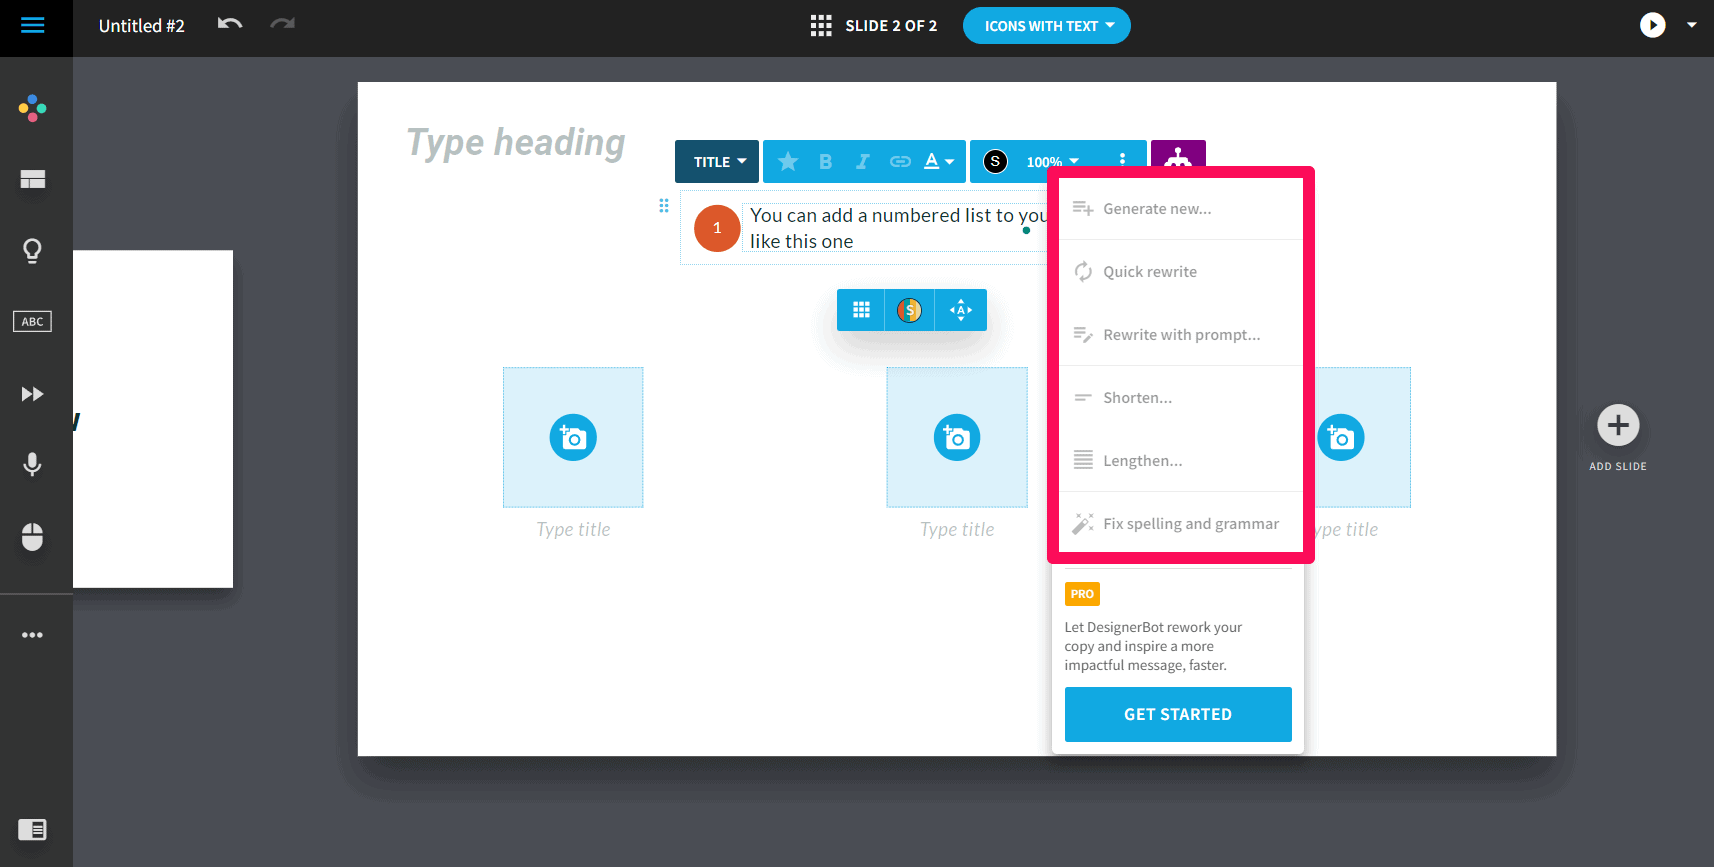
Beautiful AI is an AI-powered presentation tool. That’s not all, however. The platform also has an AI writing assistant, DesignerBot, that helps you create presentation content faster.
There are also impressive customization features and a host of other options to simplify the whole process of creating presentations.
In this review, we’ll explore the core features of Beautiful AI and see how well they work.
Features
Starting with the user interface, let’s review Beautiful AI’s features in more detail.
User Interface
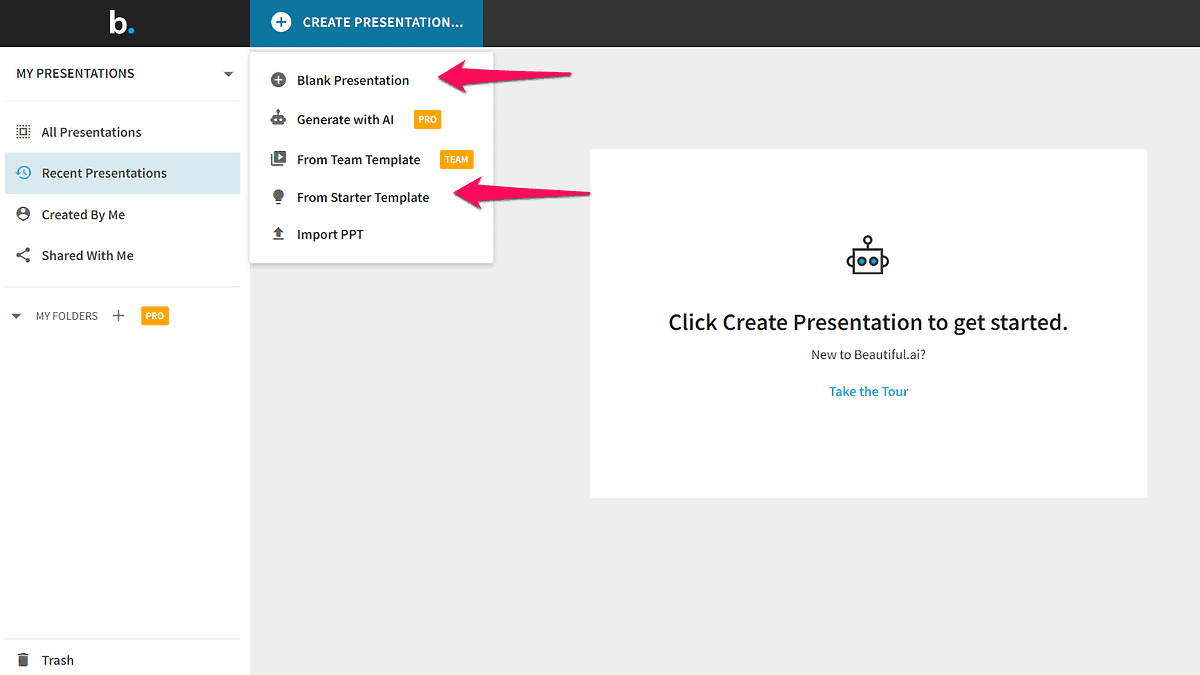
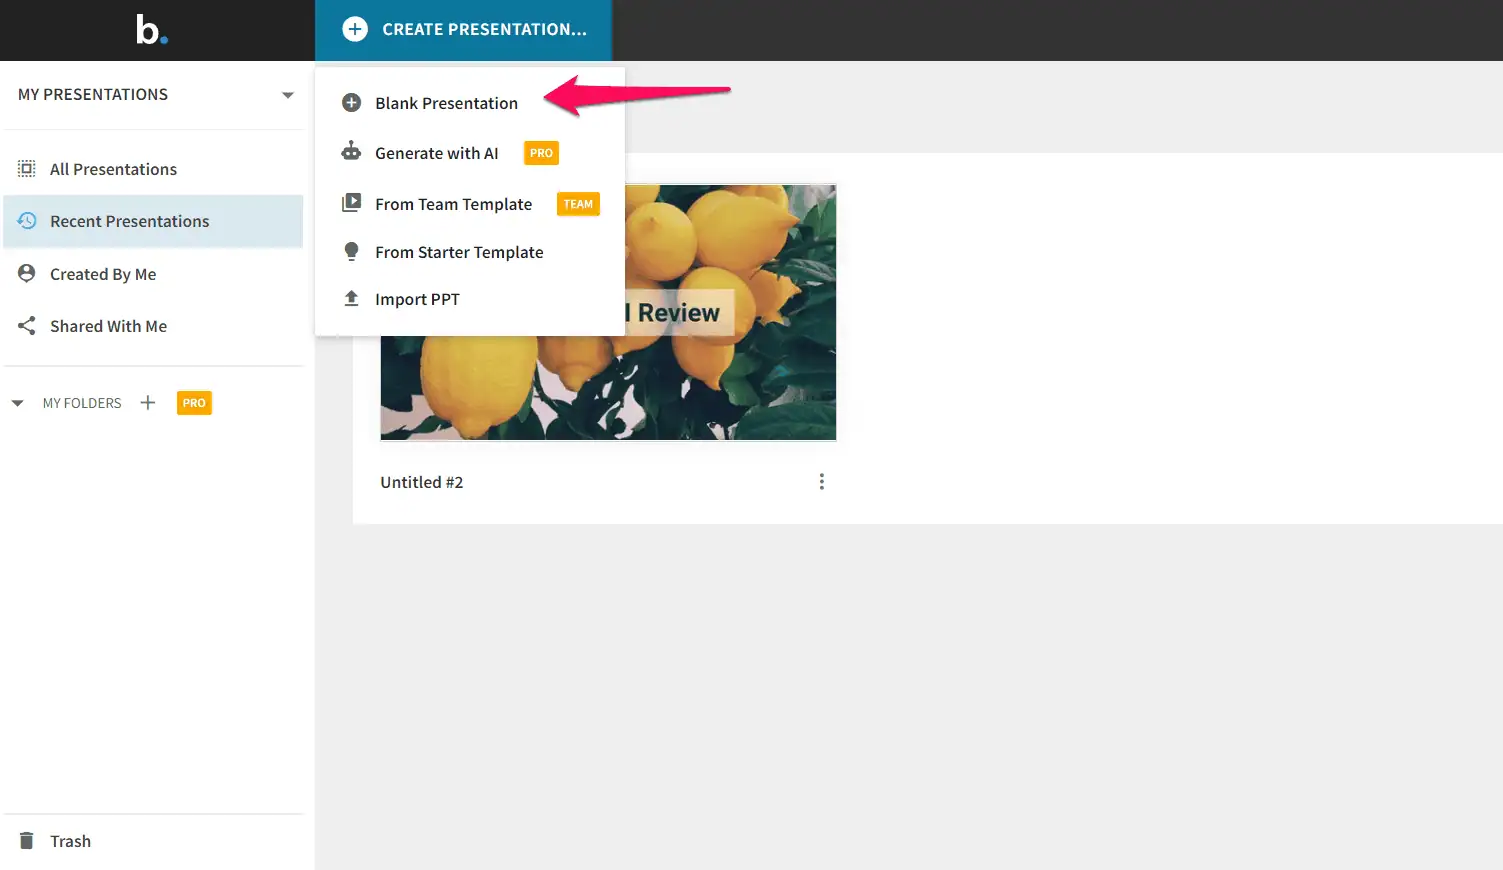
Beautiful AI has a user-friendly interface. The start screen has a side menu from where you can access all your presentations.
Creating new presentations is straightforward, too. All you have to do is click a button and choose whether you want to start from scratch or a premade template.
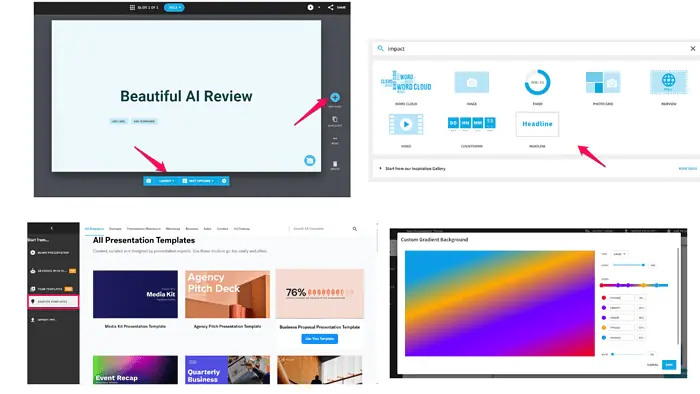
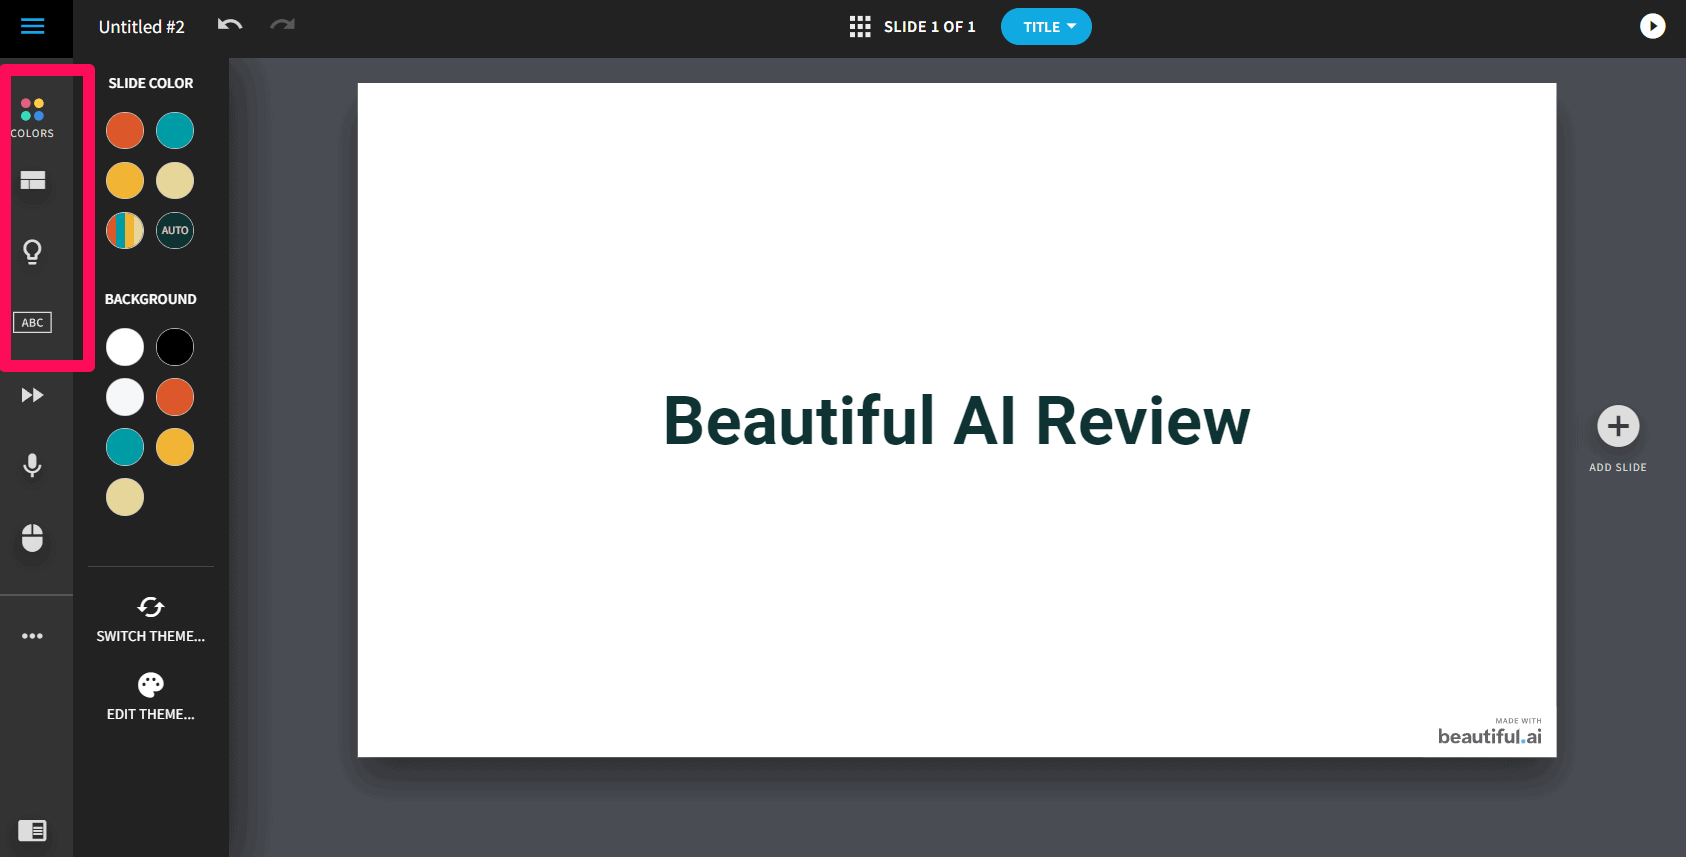
Once you create a slide, you can easily access the menu on the left. It has the tools for changing colors, adding elements, recording audio and video, and changing the presentation layout.
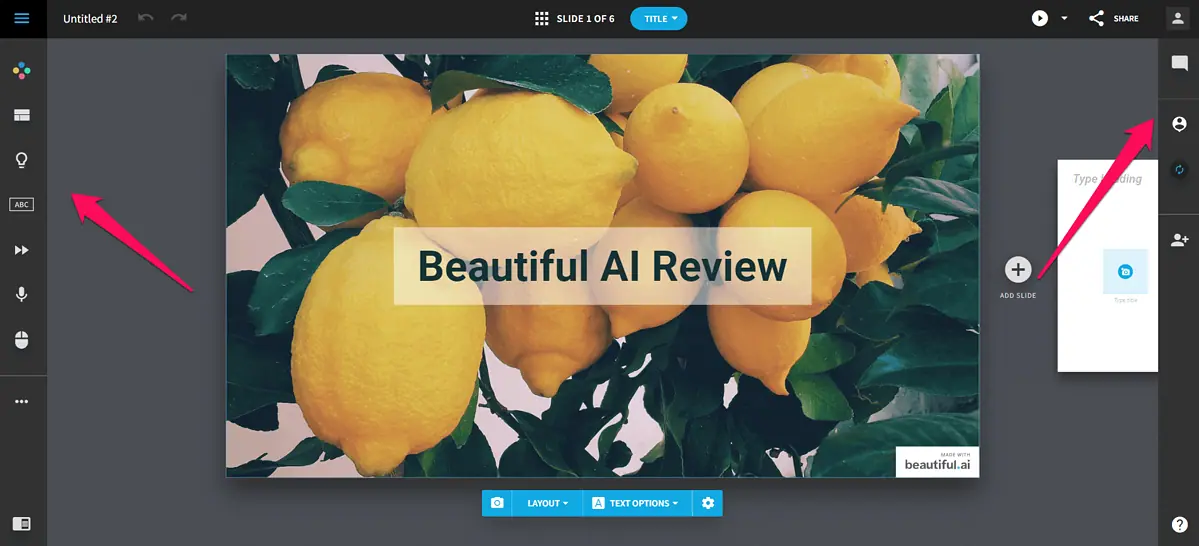
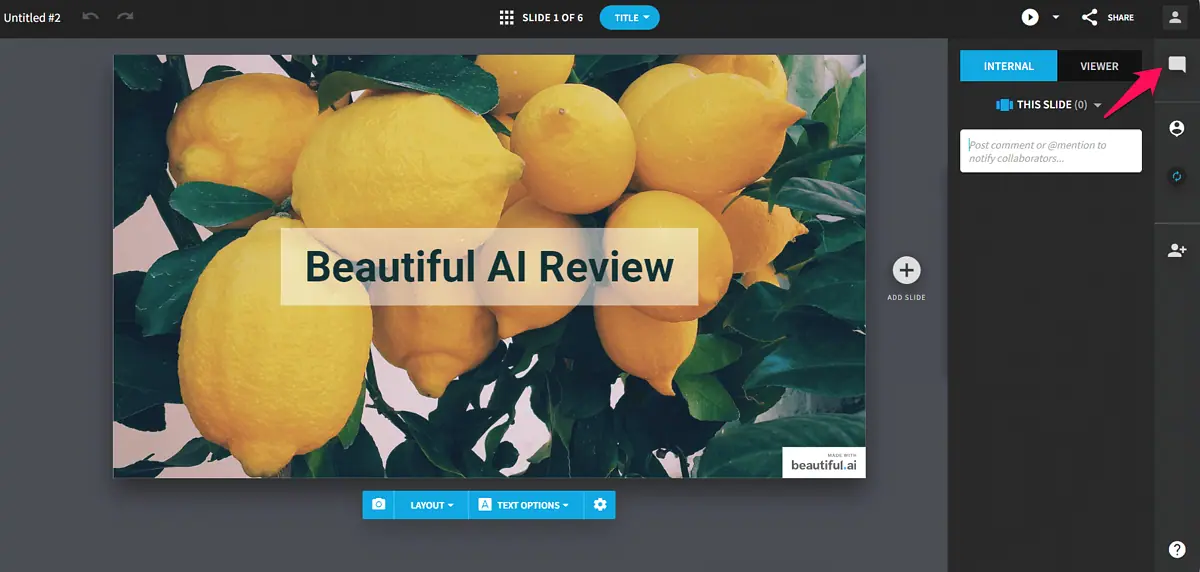
On the right side of the screen, you can access collaboration features, including comments, setting the slide status, and inviting new members to work on your content.
Overall, Beautiful AI is one of the simplest tools of this kind I’ve used so far.
Slide Design
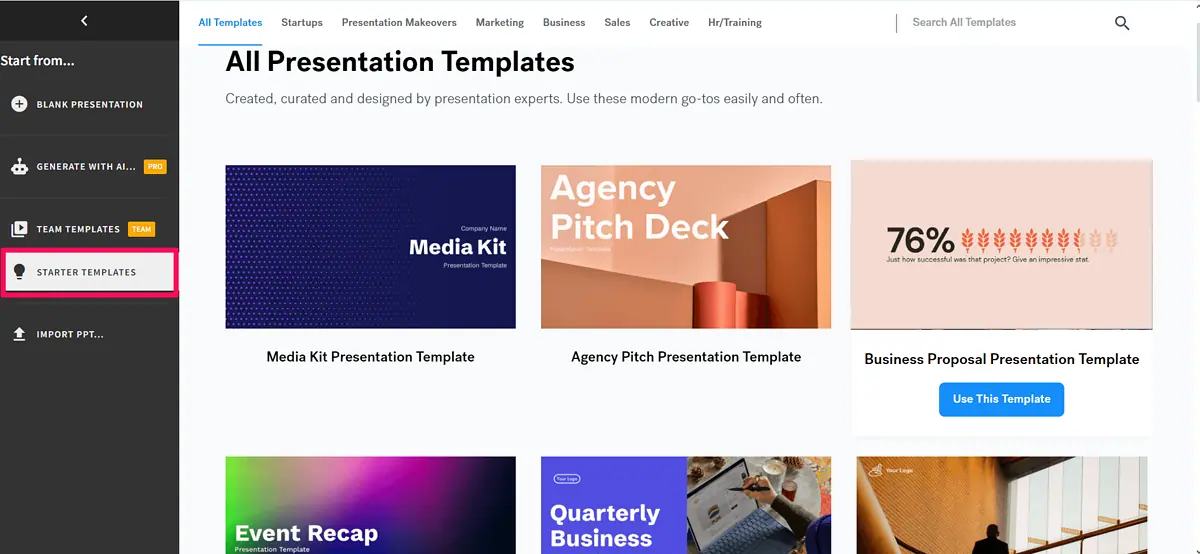
What I like about this AI presentation software is its flexibility in the design department. It offers both extensive customizations and pre-built templates.
If you want to start with a blank slide, you can do that. Meanwhile, Beautiful AI also has something for those who want to get a headstart and focus on creating content.
The AI presentation has a decent library of pre-made templates you can apply to your content in a single click.
On the other hand, you can start with a blank slide, select a theme, and customize it to the smallest details.
Each theme has a preview screen, displaying the font and colors it uses. You can change all that, and create a theme, which leaves room for creating unique designs.
Creating a custom gradient background, changing and adding custom fonts, and setting shape type and style is possible with Beautiful AI, which is all quite impressive.
Lastly, a feature that deserves mention in this Beautiful AI review is AI-generated slides. You can prompt the platform’s DesignerBot to create a presentation for you, all with custom images and text.
You can even add a website link and instruct the bot to create a presentation for it. Just wait a few minutes and you’ll get a presentation with 8+ slides.
Smart Slides and Elements
Next, let’s talk about Smart Slides. Beautiful AI does an exceptional job at helping you create slides with individual elements and pre-built themes.
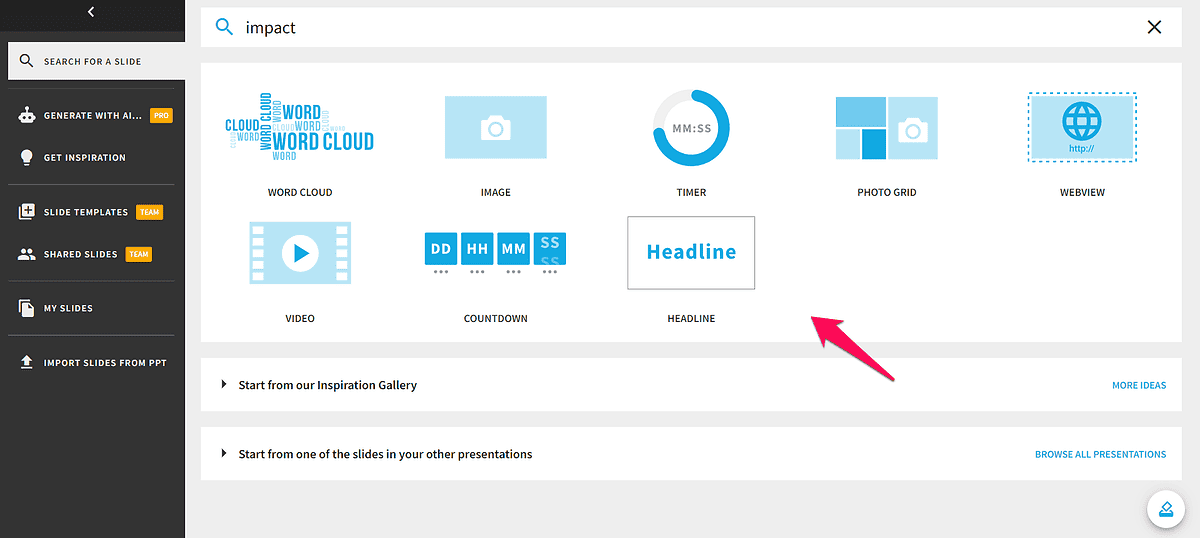
You can add a big heading, a countdown timer, videos, and images.
Meanwhile, you can add element groups as well. Beautiful AI lets you add text and image slides, quotes with large text, and even embed your website into the slide.
Once you add an element, you can enrich your slide by dragging and dropping numbered and bulleted lists and text boxes into it. The Elements tab is conveniently positioned in the left-side menu, so you can easily access it.
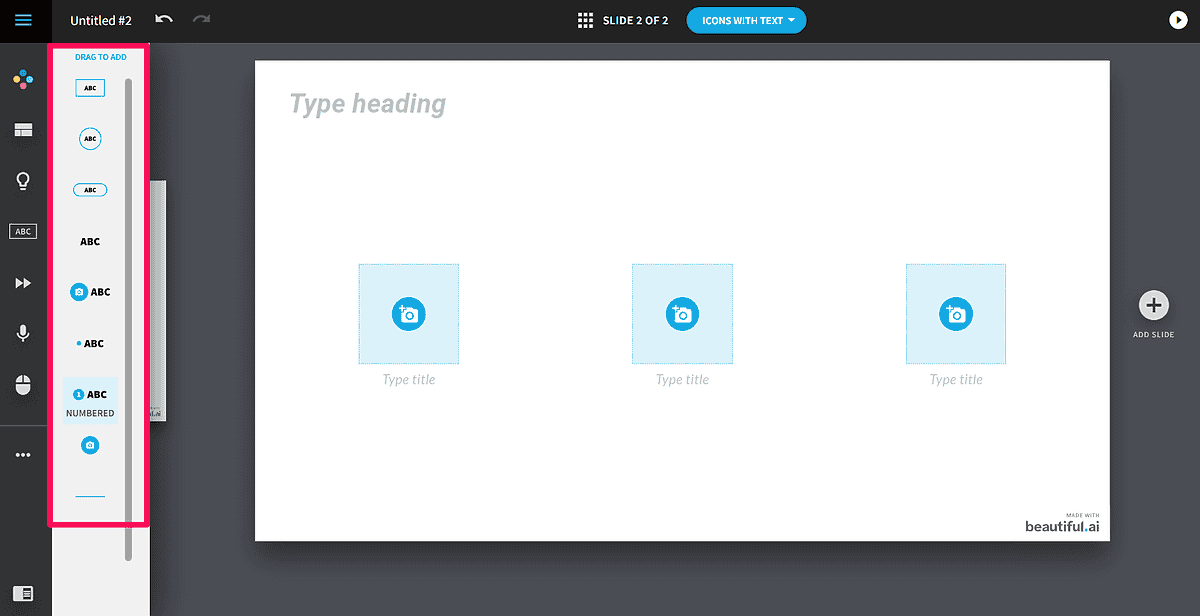
Moreover, Beautiful AI’s text elements come in different shapes, including circles, boxes, and capsules. Upon selecting the shape, you can decide whether you want to add a title, body, heading, or label text.
One of the things that could be easier is moving elements around. You can’t click anywhere on the element but only on the icon on the left.
On the other hand, these slides are called “smart” because they automatically change element size and orientation to fit the added content into the slide. That way, you don’t have to worry about spacing and use gridlines. Everything is locked into place automatically.
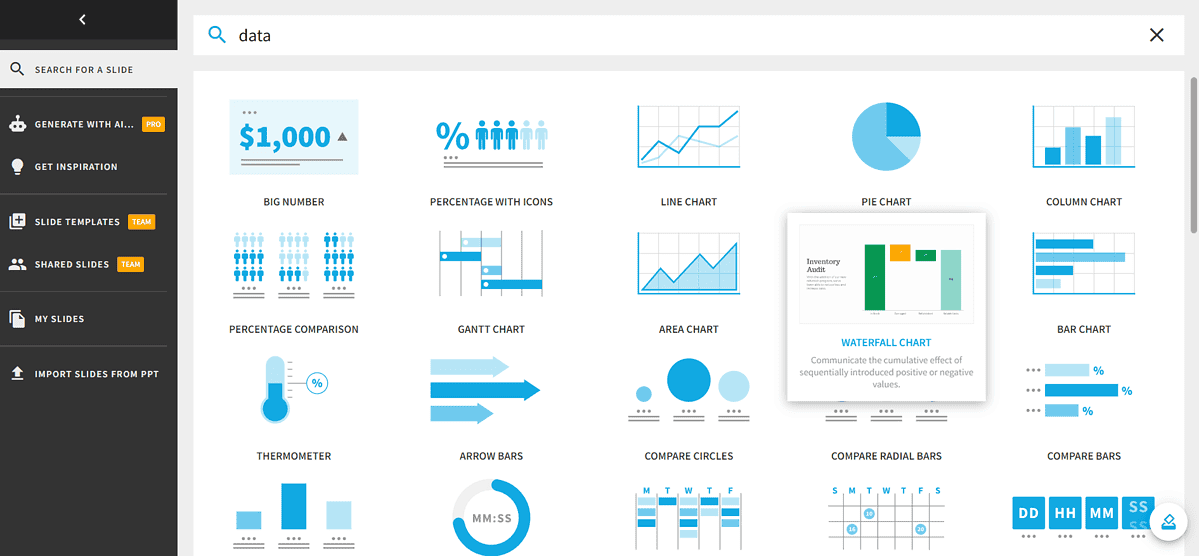
I also like the selection of charts and graphs. From Gantt and bar charts to percentage comparisons and calendars – the AI presentation maker has it all.
Besides all these features, you can record a video and add it to a slide, which is super useful for boosting engagement.
Overall, you can create stunning decks quickly.
Collaboration Features
If you were wondering whether you can work with your team on your presentations, the answer is yes.
Beautiful AI lets you add members to your account, enabling project collaboration.
On the right side of the screen, you’ll see a comment icon. It lets you leave comments on a slide and let others see your feedback by mentioning them.
One of the things I like is that you can get notifications when someone comments or changes a presentation or slide. What’s even better is that Beautiful AI integrates with Slack, meaning you can get important notifications on this platform as well.
Analytics
Before we jump to the tutorial part of this Beautiful AI review, I want to briefly mention the platform’s analytics tool.
It makes it easy for you to check your work’s performance. You can view the following data about your presentations:
- How many times your presentation was viewed
- The average and total viewing time
- Who viewed your presentation
These comprehensive insights come in handy for evaluating your work.
How To Use Beautiful AI
Now, let’s go through the step-by-step guide on how to use this AI tool.
- Go to Beautiful AI’s website and sign up for an account. You can use the core platform’s features for free.
- Upon creating an account, hover over the Create Presentation button, and select Blank Presentation from the drop-down menu.
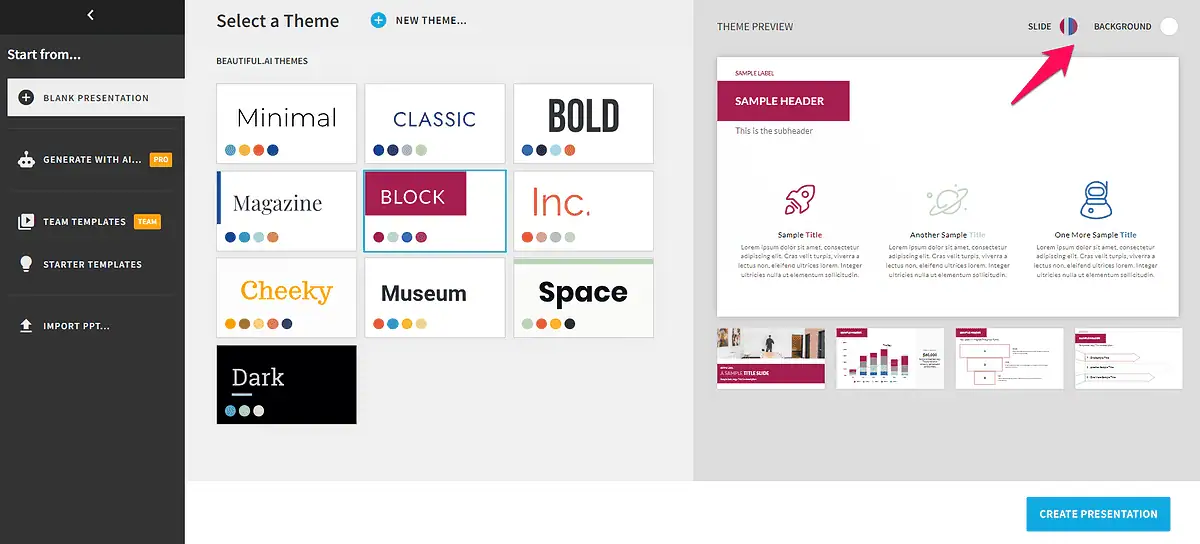
- On the following screen, you’ll see 10 themes, using different fonts, colors, header, shape, and icon styles. Select the one you like best by clicking on it. You’ll see a theme preview on the right side of the screen.
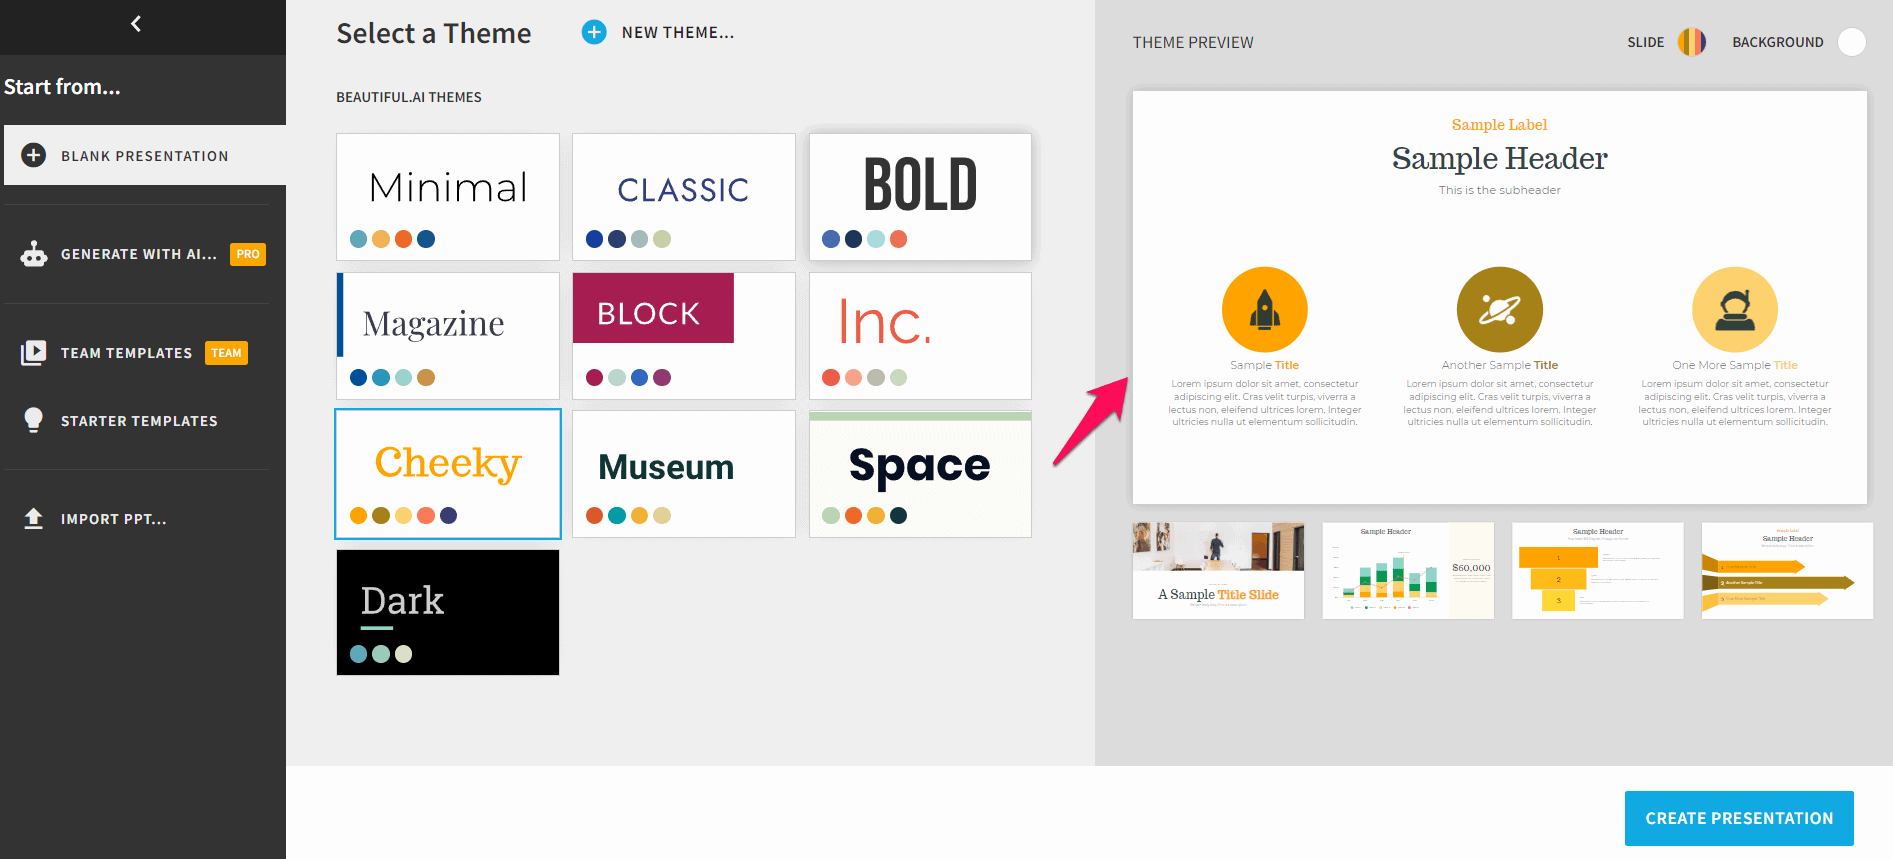
- While previewing a theme, you can change its slide and background colors. Once you’re happy with the theme you selected, click Create Presentation.
- This will take you to your first slide, where you can add a header, subheader, and labels. Using the menu on the left, you can change the slide’s background color and layout, and adjust animation settings.
- Additionally, you’ll see a menu bar below the slide, allowing you to stylize your text and layout, and add media.
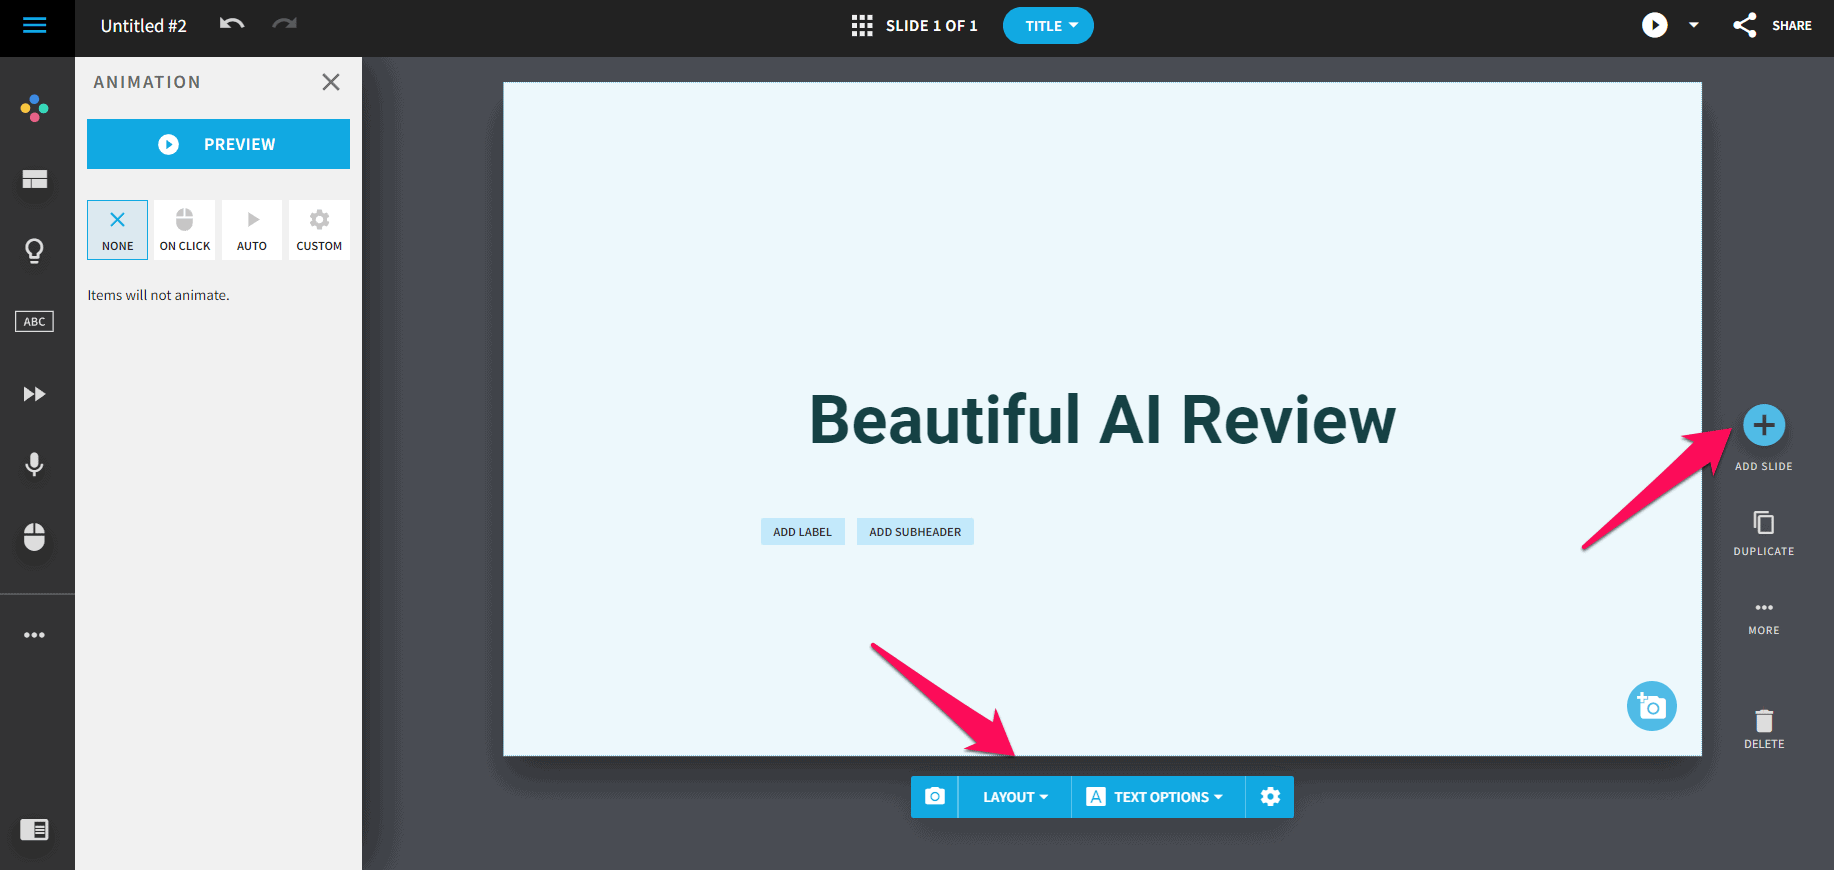
- After you’ve created your first slide, click the plus icon on the right side of the screen to add a new slide.
- This will open the slides library. Some of the many options at your disposal include bullet points, bars, text boxes, and line chart slides. Select one and it’ll be automatically added to your presentation.
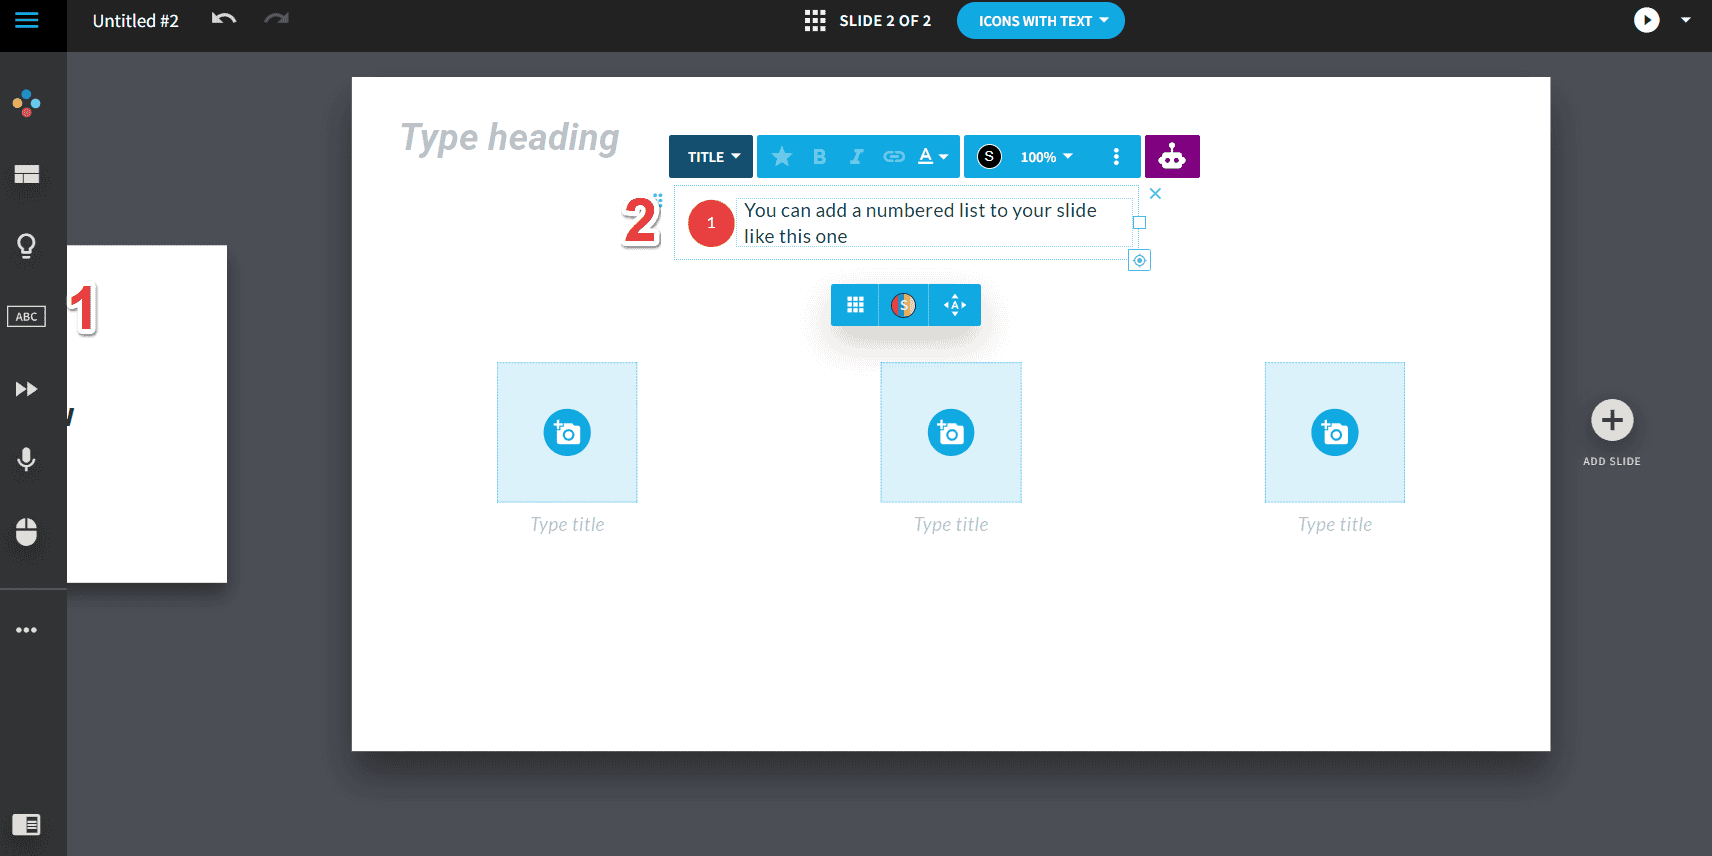
- Add your content to the slide you created. You can move, edit, and delete the slide elements, as well as add new elements from the left-side menu.
- If you subscribe to the Pro plan, you can use AI to help you generate presentation content.
- Once you’re done making changes, you can export or share your presentation. To share the presentation, click the Share icon in the top-right. To download it, click on the three dots on the left, then Export Slide -> Export Entire Presentation.
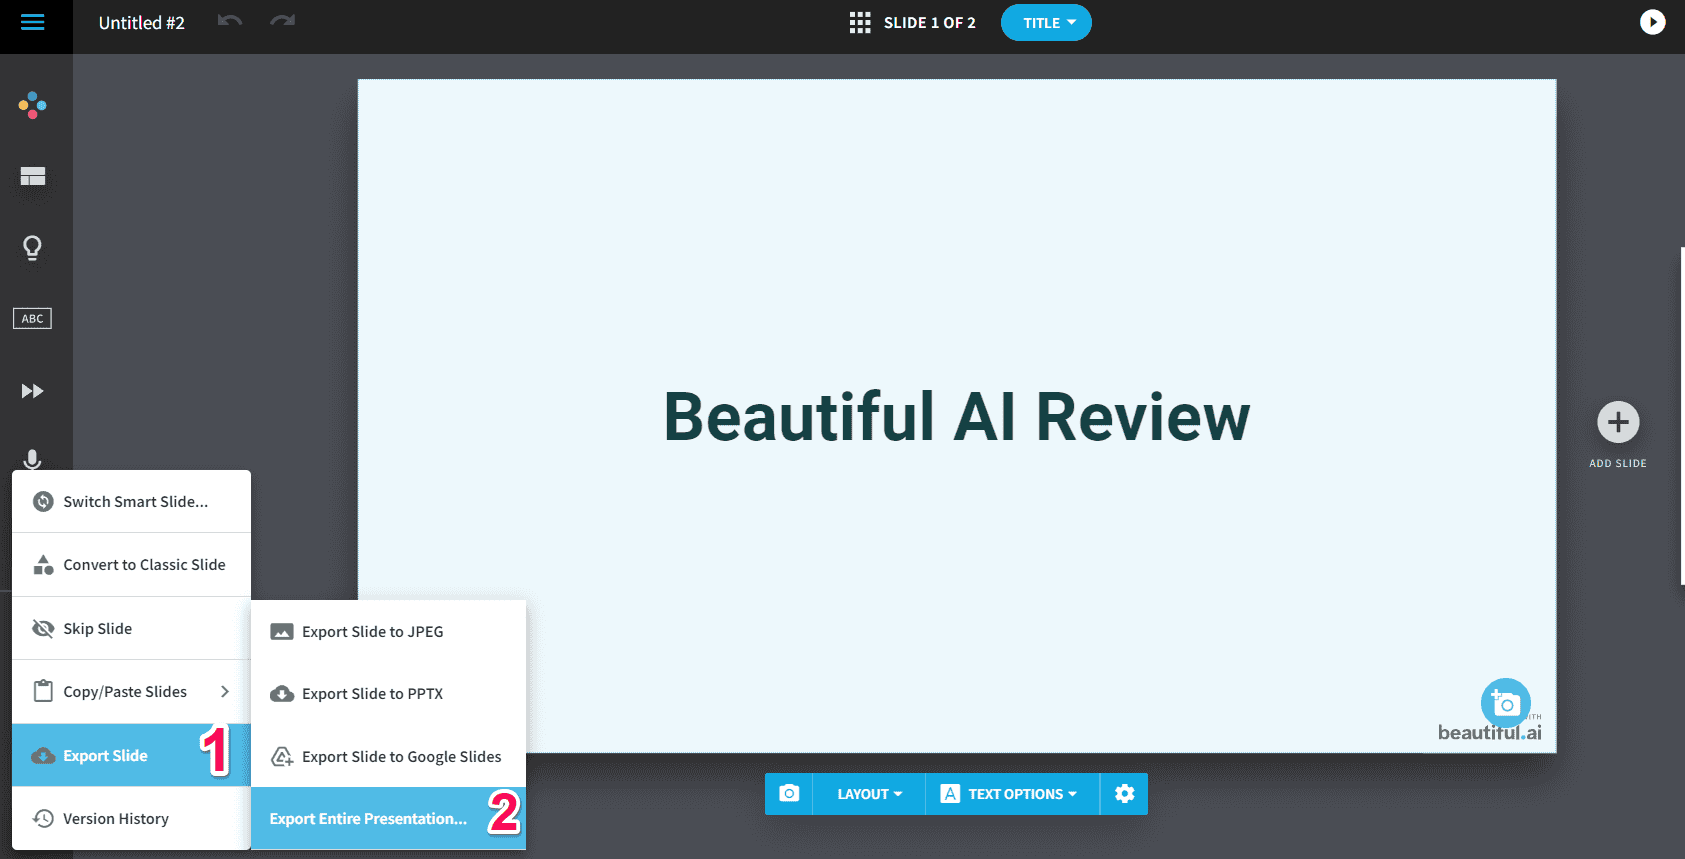
- You’ll see a few options for the export format. Select one, and you’re work is done.
Pricing
Is Beautiful AI free? No, you can try it via a 14-day free trial, but if you want to continue using the AI platform, you’ll have to choose one of the paid plans.
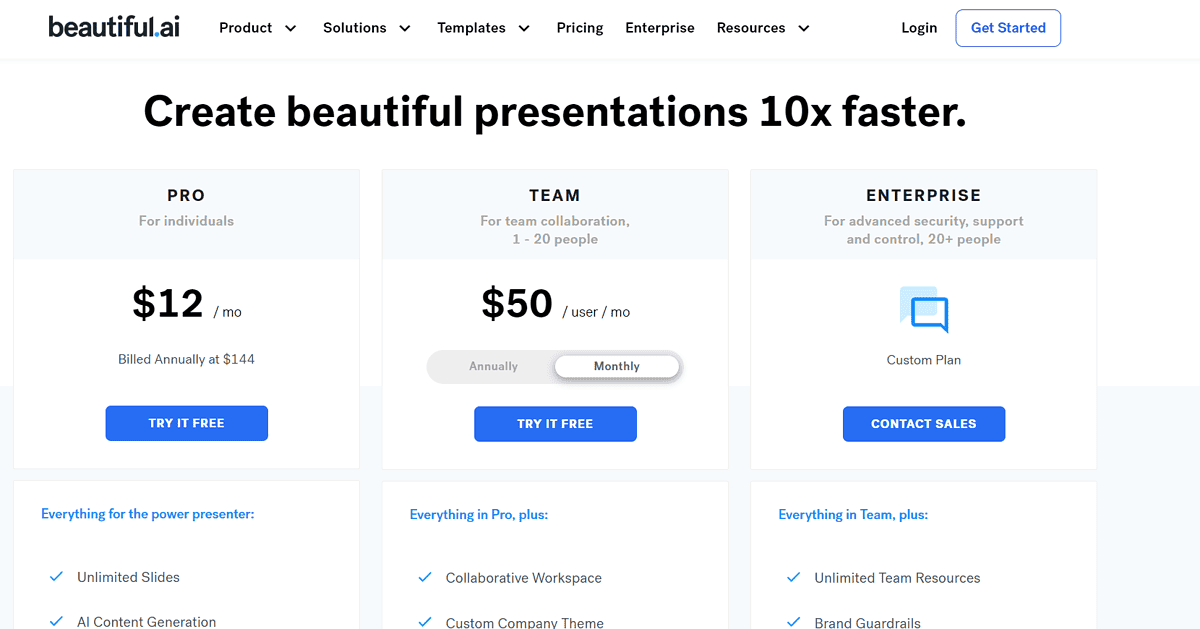
The available plans include Pro, Team, and Enterprise.
The Pro plan costs $12/month and is a great choice for individuals. It lets you create an unlimited number of slides, team up with DesignerBot to create your content faster, and view your presentation analytics. The price of this plan is only valid with a yearly subscription, but it also has a monthly option, which is far more expensive ($45/month).
The Team plan, priced at $50/month, supports teams of up to 20 people. Its main advantage is that it supports advanced collaboration features such as creating workspaces, adding brand assets that can be shared with a team, and creating custom slides and presentations.
To get the most out of Beautiful AI, you can get the Enterprise plan. It has custom pricing and includes advanced security and dedicated onboarding.
Beautiful AI doesn’t offer refunds for monthly subscriptions. However, it does extend partial refunds for annual subscriptions 24 hours after purchasing/renewing your subscription.
Beautiful AI Review – Verdict
Beautiful AI is a great AI presentation maker. It offers highly customizable presentation templates, an AI writing assistant to help you create your content faster, and it has reasonable pricing.
Compared to other AI presentation makers, this AI platform is much more intuitive and has a comprehensive analytics tool, as demonstrated in this Beautiful AI review.
I’d recommend leveraging the 14-day free trial and taking it for a test drive.
Read our disclosure page to find out how can you help MSPoweruser sustain the editorial team Read more


Improve this guide


User forum
0 messages