0x000000A2 MEMORY_IMAGE_CORRUPT [7 Tested Fixes]
The 0x000000A2 MEMORY_IMAGE_CORRUPT error is a bug check code that has been reported by many Windows users. If you’ve experienced this issue and are looking for ways to fix it, you’re in the right place.
In this article, you’ll learn about the error and its causes, plus ways to prevent it in the future. Most importantly, I’ll explore proven solutions to effectively fix the issue on your PC. Let’s dive into the nitty-gritty!
What is 0x000000A2 MEMORY_IMAGE_CORRUPT error?
This is a MEMORY_IMAGE_CORRUPT error characterized by the 0x000000A2 bug check code. It appears as a result of a corrupt or broken image of an .exe file detected in the PC memory.
This problem appears as a Blue Screen of Death on Windows PCs, indicating a system malfunction. When its cause is hardware-related, the error can render the PC inoperable.
On the other hand, the problem may be software-related, showing up randomly on the impacted PC. In such cases, resolving it often involves simple troubleshooting methods, which I’ll soon discuss. Before getting into the solutions, let’s understand the underlying causes of the 0x000000A2 MEMORY_IMAGE_CORRUPT error.
What causes 0x000000A2 MEMORY_IMAGE_CORRUPT?
Multiple factors contribute to the 0x000000A2 MEMORY_IMAGE_CORRUPT error. And getting to know them helps identify effective solutions and prevent the issue in the future:
Here are the most common causes:
- Faulty RAM
- Malware
- Corrupt system file
- Driver issue
- Corrupt or broken .exe files
- Conflicting processes
Now to the main part:
How to fix 0x000000A2 MEMORY_IMAGE_CORRUPT error?
While restarting the PC is a basic attempt to address such issues, it often doesn’t work. Resolving the 0x000000A2 MEMORY_IMAGE_CORRUPT error should address the specific underlying cause, which can vary.
Therefore, the fixes below do just that. Let’s get started:
1. Uninstall Recently Installed Programs
At times, this error might occur due to a program you recently installed. Therefore, you should begin by uninstalling any recently added programs. Here’s how to do that:
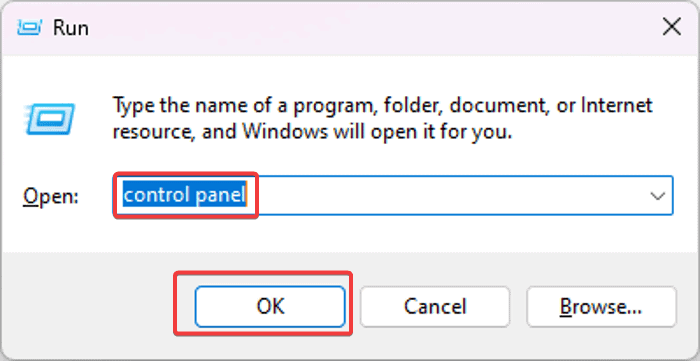
1. Press Windows + R to open the Run Command box.
2. Now, type control panel into the run box and press Enter.
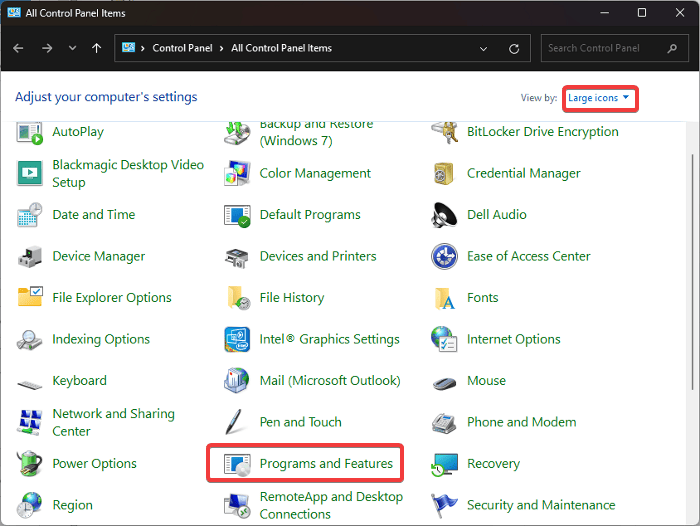
 3. This command will open the Control Panel; click on Programs and Features on the Control Panel window.
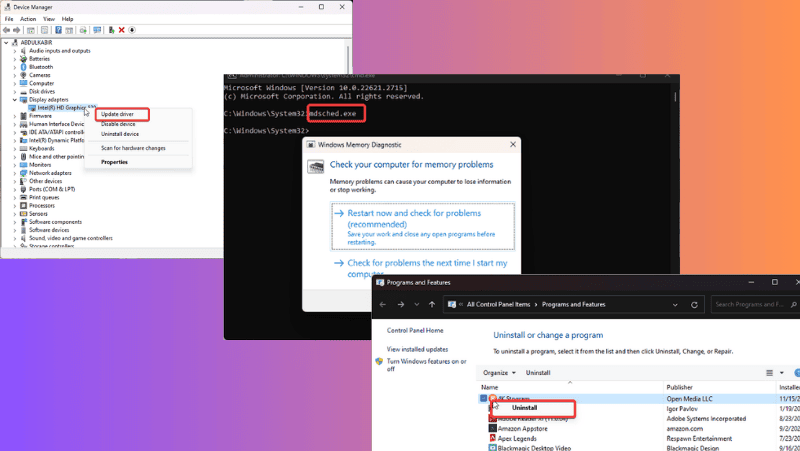
4. Navigate to the recently installed programs, right-click it, and select Uninstall.
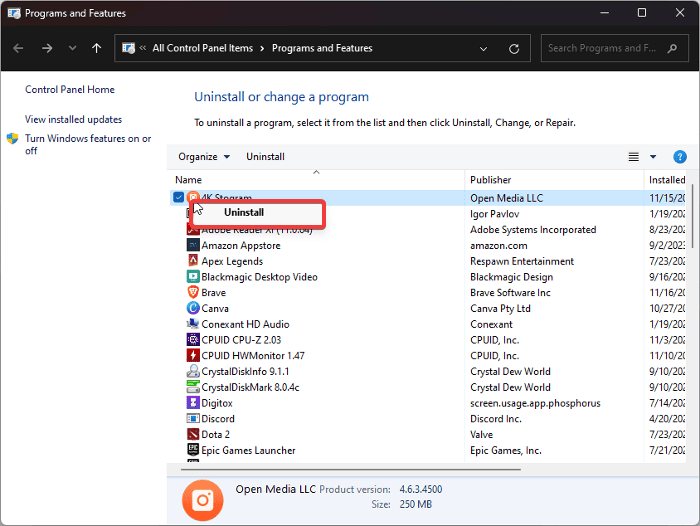
5. Select Yes in the next window to confirm the action.
2. Remove Peripherals Connected to the PC
Peripherals connected to your computer may also cause the issue. If that’s the case, you will have to disconnect all peripherals, and then restart your PC.
3. Run SFC and DISM Scan
As I mentioned earlier, this problem often arises due to corrupt system files on your Windows PC. One of the effective methods for resolving this is running the SFC and DISM scans.
If Windows is still accessible on the PC:
1. Press Windows + R to open the Run dialog box
2. Type cmd into the box, and press Ctrl + Shift + Enter to open Command Prompt as an admin.
3. On the command prompt, type sfc /scannow to run the SFC scan.
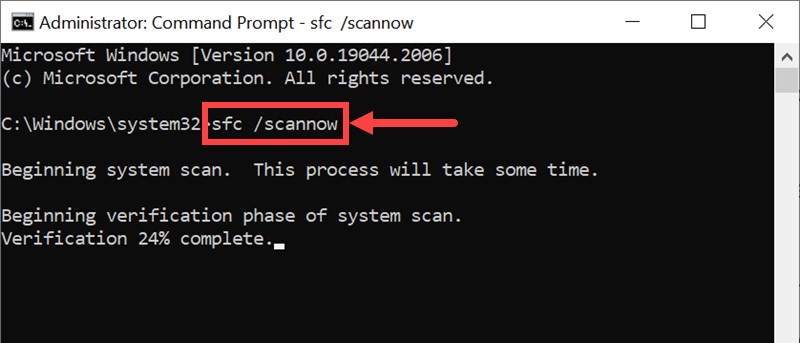
4. When the scan completes, type dism /online /cleanup-image /scanhealth to check Windows image health.
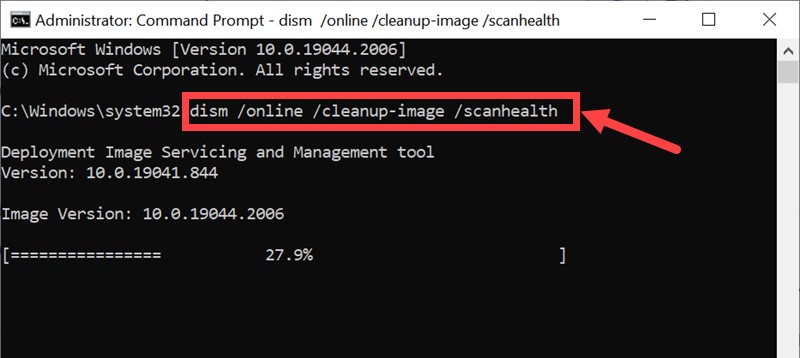
5. When that completes, type dism /online /cleanup-image /restorehealth to repair Windows image health.
After the scan is finished, restart your computer.
If you can’t boot Windows because of the error, you can run these scans via the Windows Recovery Environment:
1. Hold down your PC power button for up to 10 seconds until the computer turns off.
2. Now turn it back on. Once the PC logo appears on the bootup screen, hold down the power button again to turn it off again.
3. Repeat this two more times till you see Preparing Automatic Repair under the logo.
4. When that happens, let the computer boot up fully. However, if nothing appears under the logo yet, repeat step 2 above until you see Preparing Automatic Repair.
5. The message should then change to Diagnosing your PC. After that, you should see the Automatic Repair screen.
6. Click Advanced options and you will be presented with the Choose an option page.
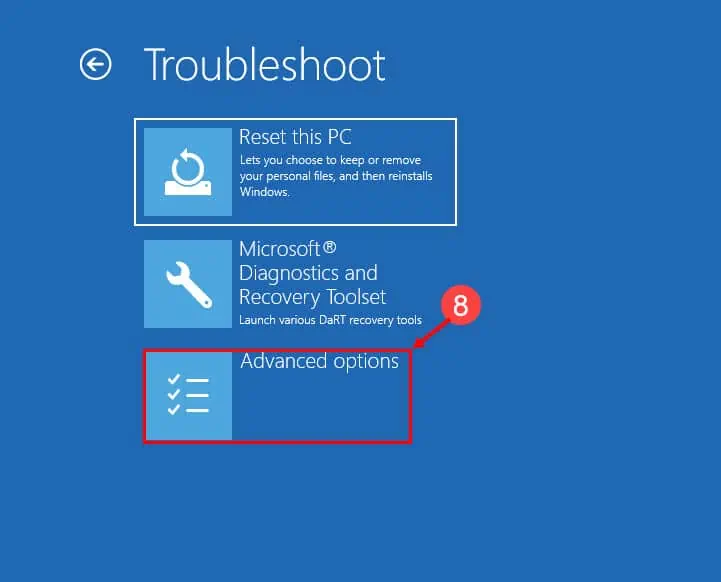
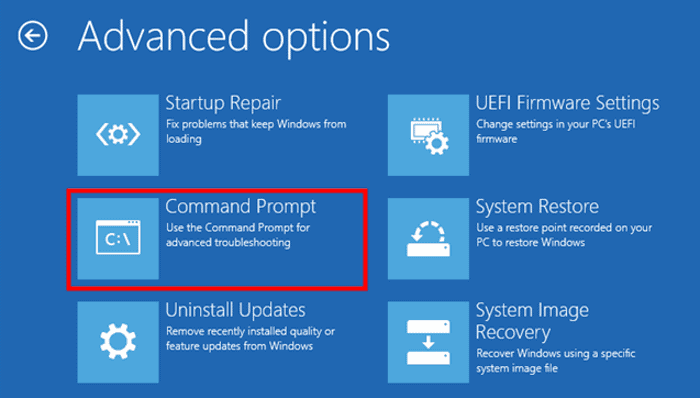
7. Select Troubleshoot, and then click Advanced options.
8. Now, tap on Command Prompt.
9. In the Command Prompt window, type sfc /scannow to run the SFC scan.
10. When the scan completes, type dism /online /cleanup-image /scanhealth to check Windows image health.
11. When that completes, type dism /online /cleanup-image /restorehealth to repair Windows image health.
Afterward, go back to the Choose an option page and select Turn off PC. When you restart your computer, the issue should be gone.
4. Use the Memory Diagnostic Tool
Running the Memory Diagnostic Tool on your computer provides an alternative method for addressing this issue. This tool is designed to pinpoint potential memory issues within your PC.
Essentially, it conducts a status test on your computer’s memory before the system boots up. Then it gives you the test results via the Event Viewer after the PC has booted.
Here are the steps to run the Memory Diagnostic Tool on a Windows PC:
1. Press Windows + R to open the Run dialog box
2. Type cmd into the box, and press Ctrl + Shift + Enter to open Command Prompt as an admin.
3. In the Command Prompt windows, type mdsched.exe then press Enter.
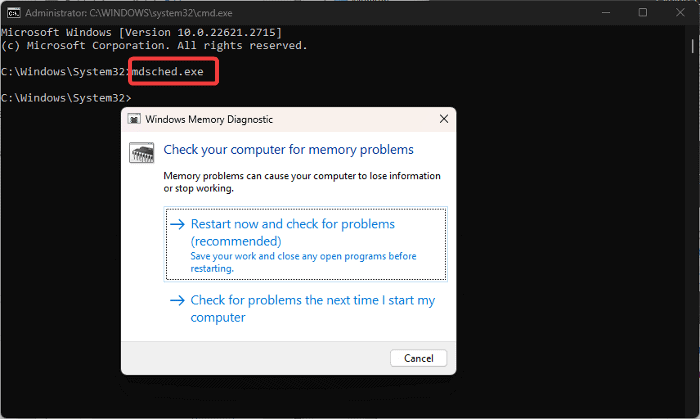 4. You’ll then be prompted to Restart now and check for problems or Check for problems the next time I start my computer. Choose the option you prefer.
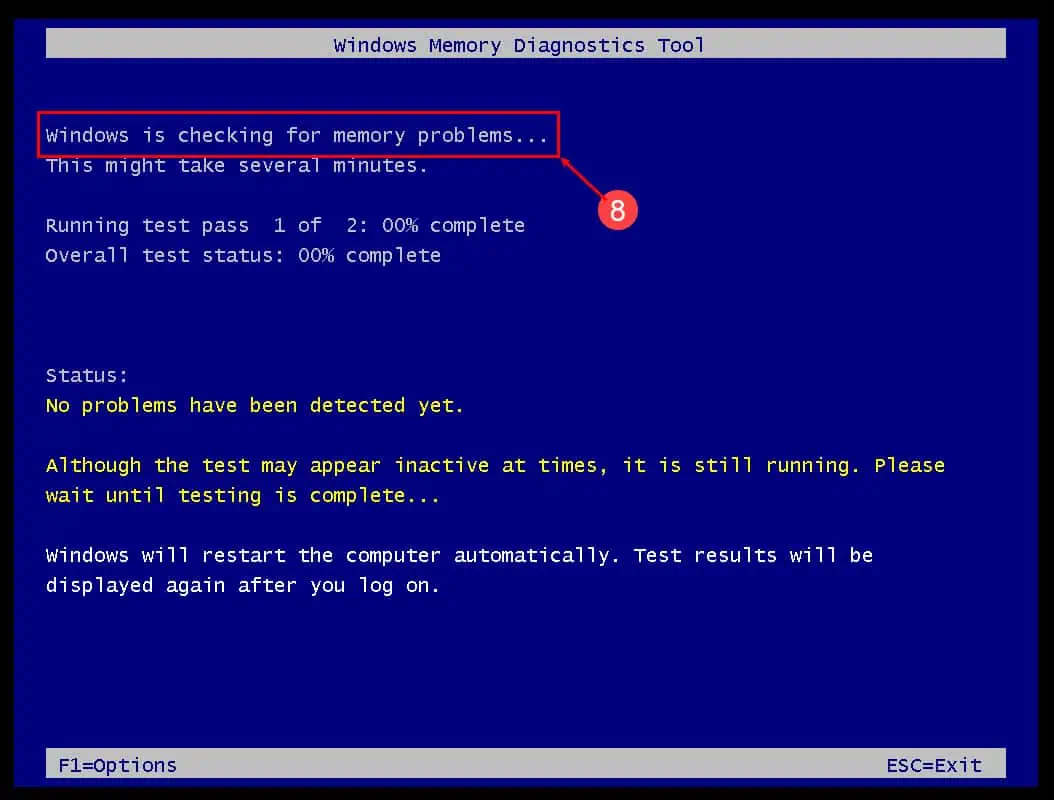
5. If you choose Restart now, your computer will restart immediately and the Memory Diagnostic Tool will scan for any memory problems before Windows boots.
6. This will be indicated by a blue screen showing the progress of the scan.
Once the scan finishes, Windows will boot to the login screen. You should then log in to access the desktop screen.
Now, you can access the test report by following the steps below:
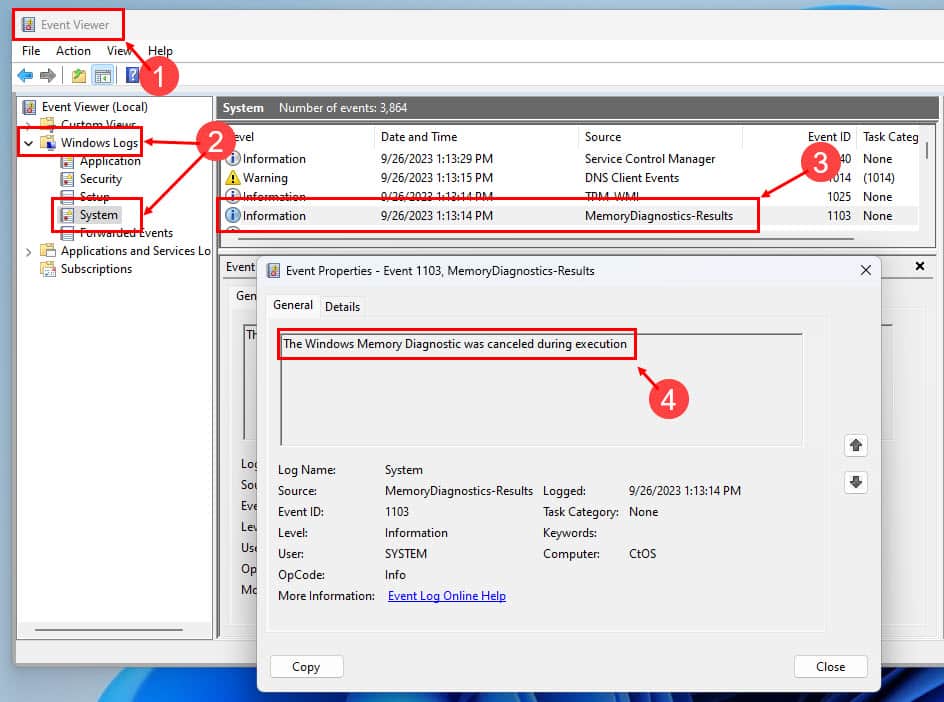
1. Press Windows + S, type Event Viewer and open the matching result.
2. In the Event Viewer window, select Windows Logs from the left pane.
3. Now, right-click System under Windows Logs, then select Find.
4. The Find box will appear in a few seconds. When it does, type memorydiagnostics-results and press Enter.
5. Open the most recent result and you will see information about your RAM based on the test ran earlier.
If any error is found, you may need to replace your PC’s RAM.
5. Clean Install Graphics Driver
It’s also possible that outdated or faulty drivers on your computer are causing the 0x000000A2 MEMORY_IMAGE_CORRUPT error.
To rule out this possibility, you should clean install your PC’s drivers:
1. Press Windows + X to open the Start menu
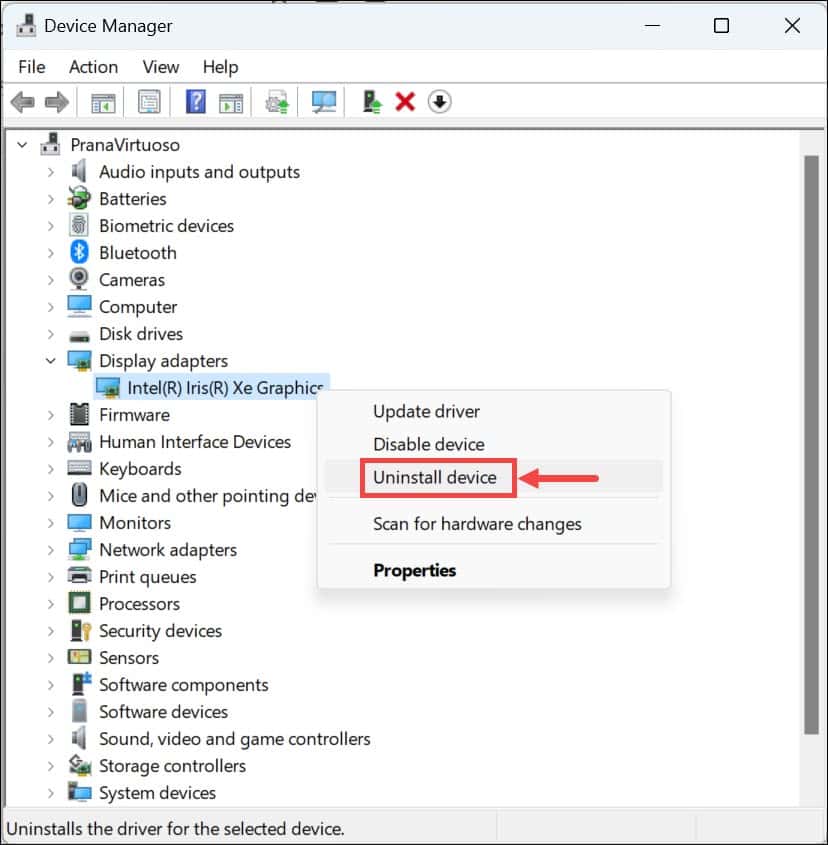
2. Select Device Manager.
3. On the Device Manager window, double-click the Display adapters option to expand your graphics driver.
4. Right-click on the graphics adapter in use and select Uninstall device.
5. Checkmark the Attempt to remove the driver for this device, and click the Uninstall option.
6. After the process is complete, restart your PC and open the Device Manager again.
7. Open the Display adapter section and note the name of your display driver
8. Go to the display driver’s website and download an updated version of the driver.
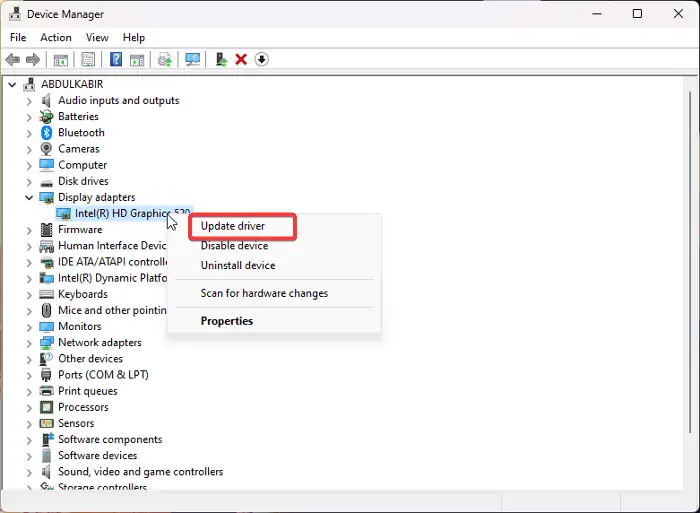
9. Now, go back to Device Manager and right-click your display driver.
10. On the drop-down menu, tap on the Update driver option.
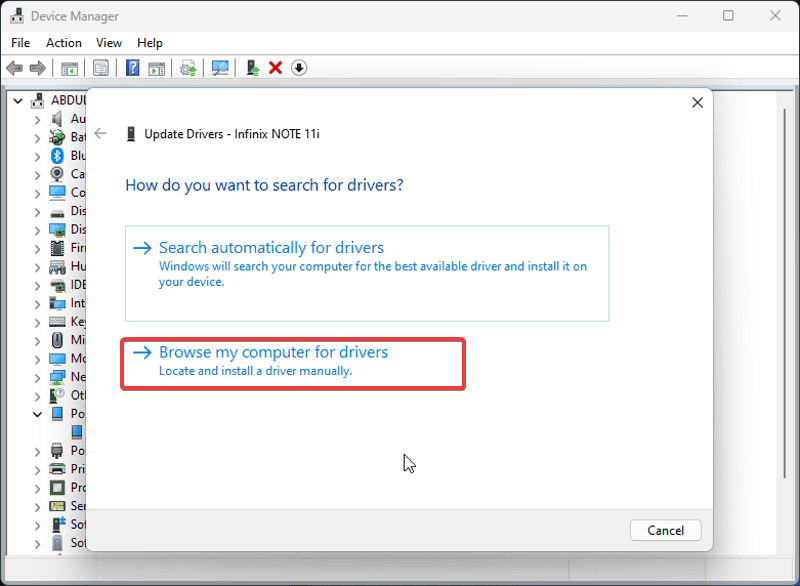
11. Select Browse my computer for drivers and follow other on-screen prompts to select the driver package you downloaded earlier.
You should now restart the computer once again to fully fix the issue.
6. Perform a System Restore
If the problem persists, I suggest utilizing a restore point. This is a useful feature on Windows that lets you revert your machine to a previous state when the issue didn’t exist. Doing that will, however, remove all configurations, and apps installed after the selected restore point was created.
To use a restore point on a Windows PC:
1. Press Windows + R, type control panel, and click OK.
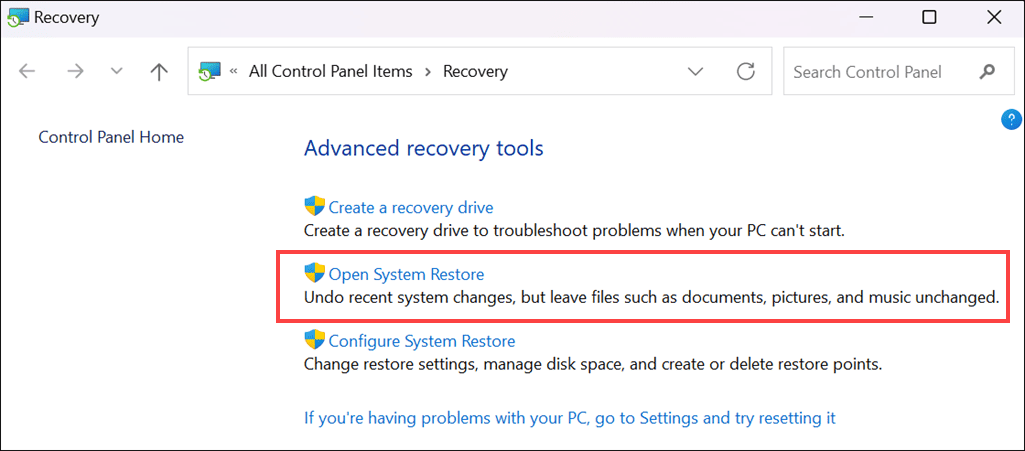
2. On the Control Panel window, ensure the View by option is set to Large icons. Now, tap on the Recovery option.
3. Tap on Open System Restore and tap on Next.
4. Select the restore point you want to use and click Next.
If the problem stems from a recently added process or a newly configured setting, employing this method should fix it.
7. Reinstalling Windows
If the problem persists, consider reinstalling Windows on your computer or upgrading to a newer Windows version. The issue could potentially be linked to a corrupted operating system, so trying this approach might be worthwhile.
Also Read:
Summary
Fixing the 0x000000A2 MEMORY_IMAGE_CORRUPT error is a relatively simple process. However, since the underlying cause is unknown, it might be necessary to attempt multiple solutions.
Most importantly, using a system restore point and conducting SFC and DISM scans can significantly contribute to resolving the problem. Make sure to give these methods a try.
Read our disclosure page to find out how can you help MSPoweruser sustain the editorial team Read more


Improve this guide


User forum
0 messages