0x00000023 FAT_FILE_SYSTEM Error - 9 Effective Fixes
If you’re facing blue screen issues with the 0x00000023 FAT_FILE_SYSTEM error, then my experience in dealing with it might help you.
Recently, while working on my Windows PC, I was suddenly welcomed with the dreaded blue screen of death. To get rid of the error, I went through various Windows forums and Reddit posts to find genuine solutions.
In this troubleshooting guide, I’ll compile and list all the effective fixes for this error for your convenience. So, let’s jump right in!
What Is 0x00000023 FAT_FILE_SYSTEM Error?
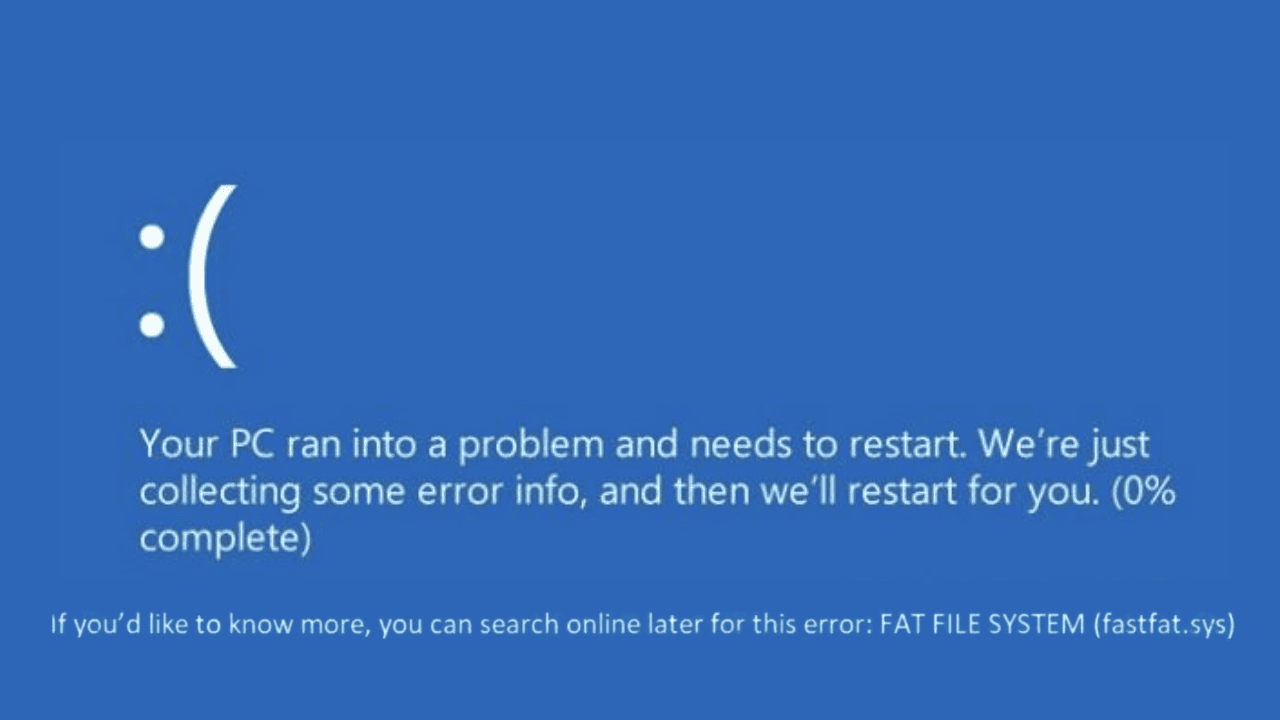
0x00000023 FAT_FILE_SYSTEM is a critical Windows error that leads to a Blue Screen of Death (BSOD), indicating problems with the FAT file system. This system is essential for managing files and directories on your disk.
Encountering this error means your OS is unable to read or write data correctly on the FAT file system, sometimes leading to a complete halt in system operations.
What Causes 0x00000023 FAT_FILE_SYSTEM Error?
Unraveling the causes of this error is the key to finding a solution. In my experience, the most common culprits include:
- Corrupted Hard Drive or Bad Sectors: These can prevent the system from accessing or writing data correctly.
- Faulty or Outdated Drivers: Drivers act as a bridge between the OS and hardware. If they aren’t functioning correctly, they can cause serious system conflicts.
- External Hardware Conflicts: Sometimes, peripherals like USB drives or external hard disks can interfere with the system’s normal operations.
- Software Conflicts: Certain applications, especially those that interact with system files or disk operations, can inadvertently cause this error.
- Windows System File Corruption: Critical system files, if corrupted, can lead to a range of system errors, including this one.
How To Fix 0x00000023 FAT_FILE_SYSTEM Error
Here are the detailed methods and steps I found to be effective:
1. Restart System
A simple restart can often resolve temporary system glitches and get your computer back to normal. Restarting the computer can refresh system operations and clear temporary conflicts that might be causing the error.
However, many times, it’s just a temporary solution, as was the case with me while dealing with the 0x00000023 FAT_FILE_SYSTEM error. Try it and see if it works for you.
2. Detach External Hardware
External devices can sometimes conflict with the system’s operations. By disconnecting external hardware, you can isolate the problem and determine if these devices are the source of the error.
- Power off your PC.
- Remove all connected external devices.
- Restart your computer and check if the error still occurs.
- One by one, reconnect all the removed hardware and check which one is causing the issue again.
3. Identify the Culprit Driver Via Event Viewer
Event Viewer is a powerful tool for diagnosing the exact cause of system errors. It logs all system activities and errors, which can be invaluable in pinpointing problematic drivers or applications.
Here’s how to use the Event Viewer on Windows:
- Search for the Event Viewer on the Windows search box and click its icon to launch.
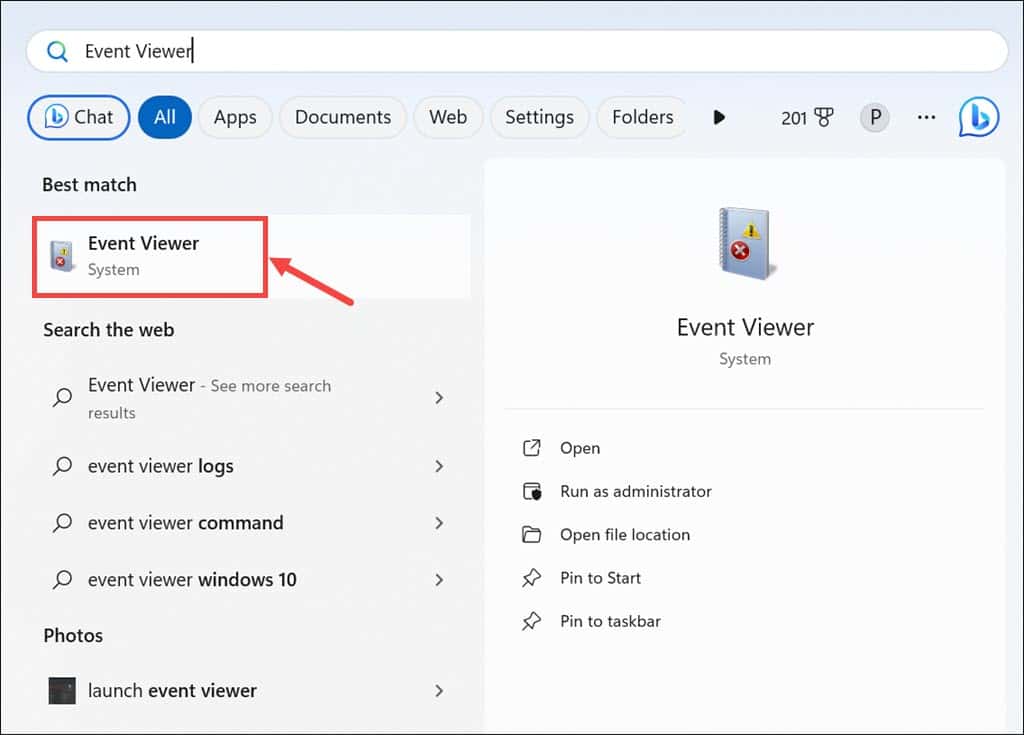
- Look for error logs related to the BSOD incident.
- Identify any drivers or applications mentioned in these logs.
4. Find and Uninstall the Problematic Driver
Once a problematic driver is identified, removing it can resolve the conflict.
Here’s how to uninstall it:
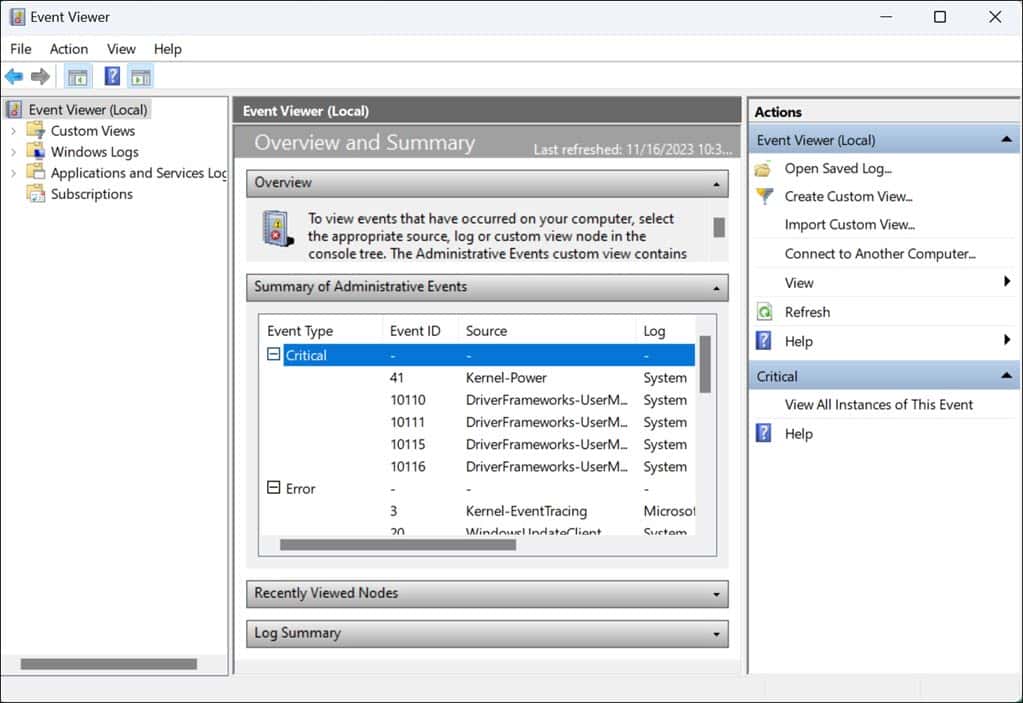
- Right-click on the Start button and select Device Manager from the options.
- Under the “Device Manager” window, look for the problematic driver you found through Event Viewer. Another way is to look for the driver with a yellow exclamation mark on it.
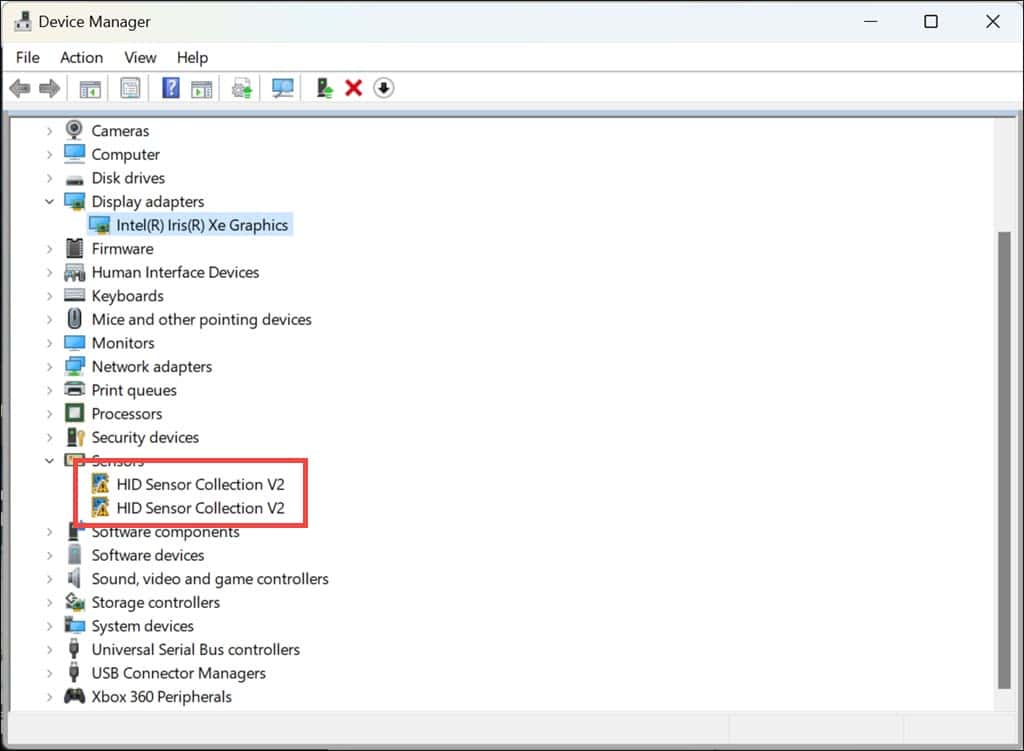
- Right-click on the problematic driver and select Uninstall device.
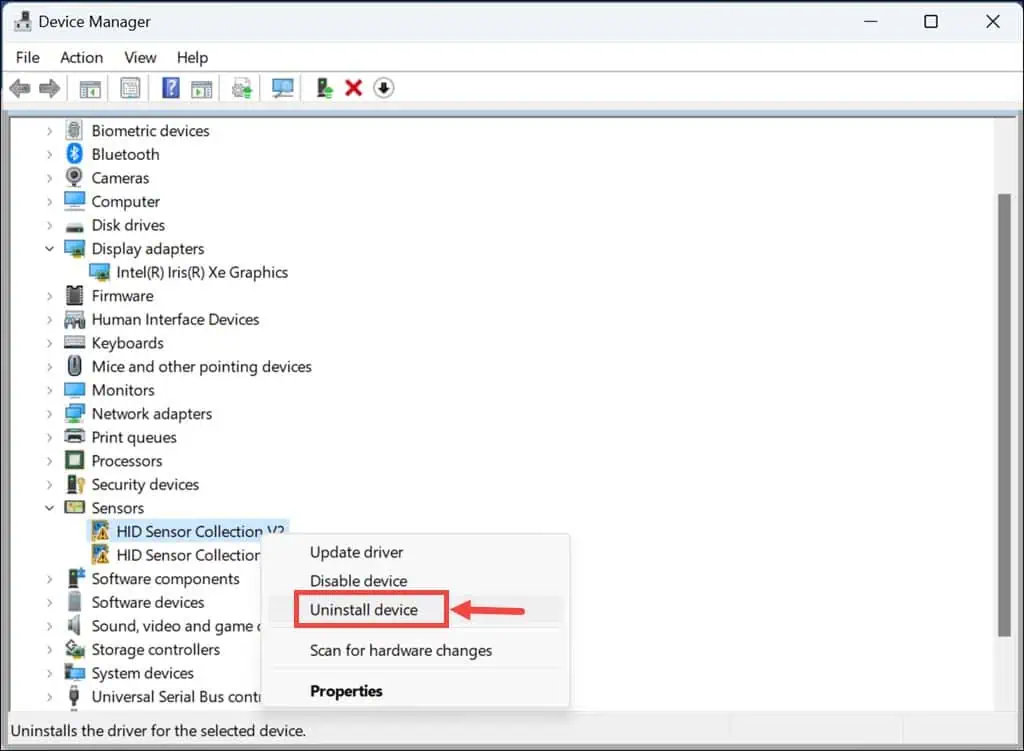
- Confirm the uninstallation.
- Find all such drivers and uninstall them in the same way.
5. Disable System Monitoring Applications
Applications like antivirus, disk management tools, disk defragmenters, backup apps, and more continuously monitor your system for changes. They can sometimes interfere with system operations. Disabling these temporarily can help in determining if they’re causing the error.
- Open each system monitoring app and navigate to their settings to disable them.
- Restart your computer to check if the error is resolved.
6. Run Check Disk (Chkdsk) Command
The Check Disk utility is essential in fixing disk-related errors. It scans and repairs issues related to bad sectors, improper shutdowns, and corrupted files on the hard drive.
Follow these steps to run Check Disk Command
- Right-click on the Start button and select Terminal(Admin) from the list.
- Type the
chkdsk c: /fcommand and hit enter to execute it.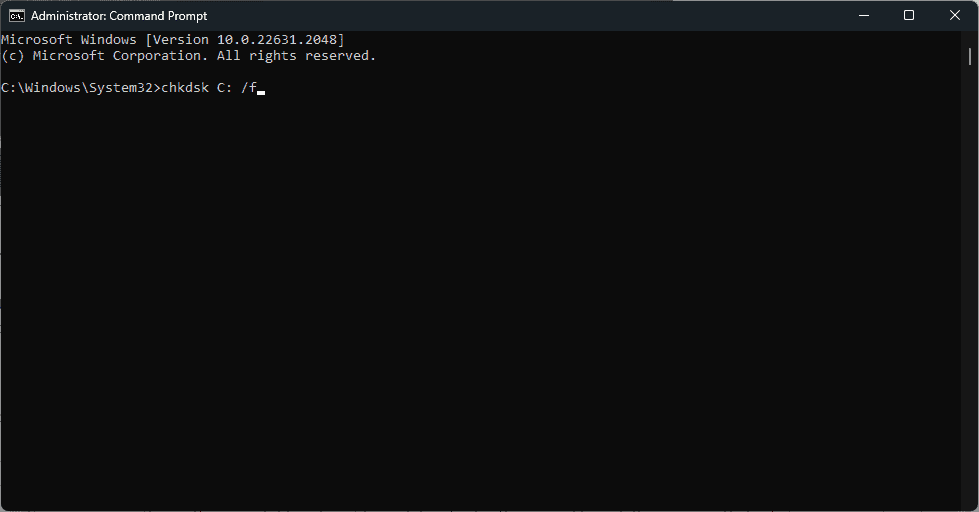
- Allow the process to complete, and then restart your PC.
7. Update Windows
Keeping Windows updated ensures all system components work optimally. Updates often include fixes for known bugs and compatibility issues that could be causing the BSOD.
Here’s how to check for updates:
- Launch Windows Settings and switch to the Windows Update tab on the left pane.
- On the right, click the Check for updates button.
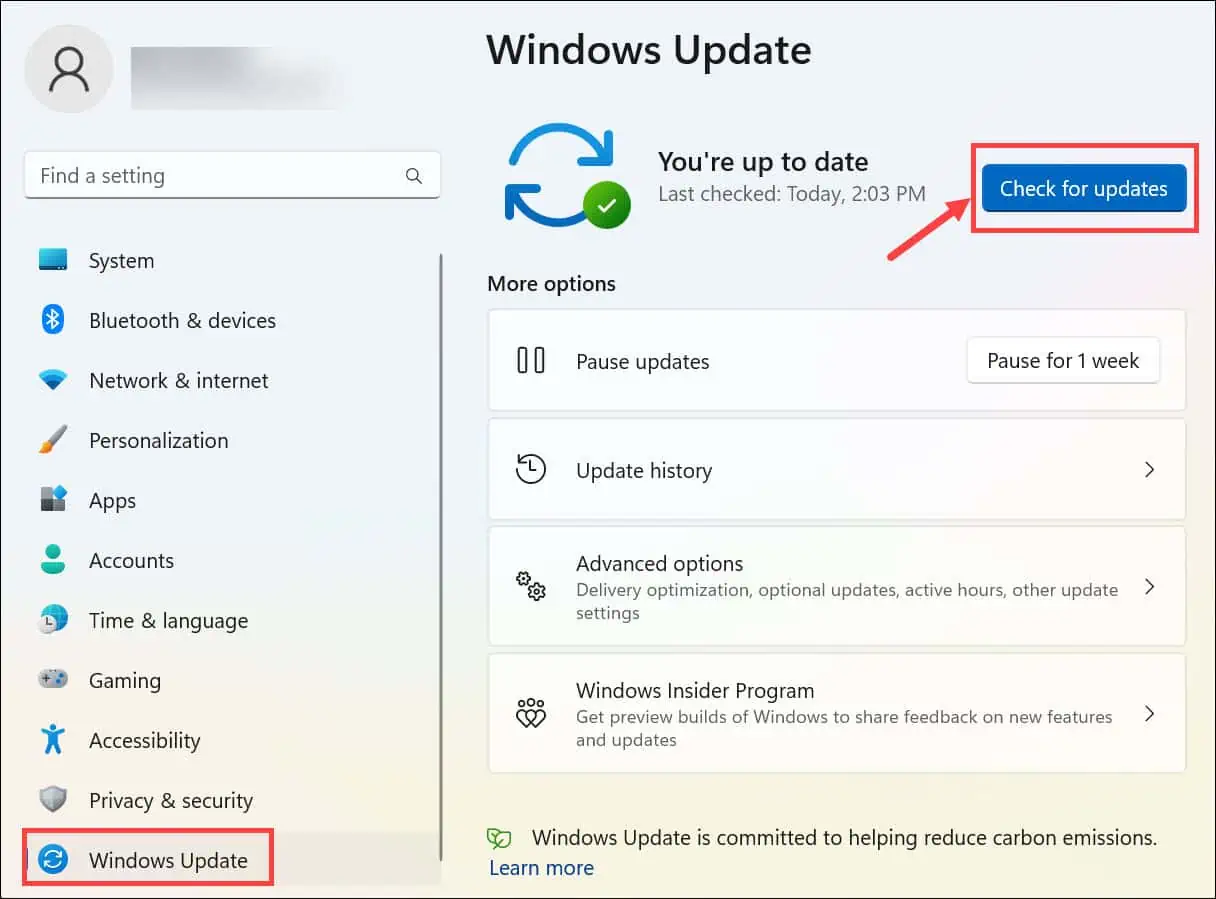
- Download and install the latest updates if they’re available.
- Finally, restart your system.
8. Restore Windows
System Restore can revert your system settings to a point where the error doesn’t exist. This is effective if the error was caused by recent changes in the system.
To restore the system to a previously saved point, follow these steps:
- You need to launch the Automatic Repair Mode on your Windows system to begin the restore process. For that, restart your system several times.
- After the system is rebooted in the Automatic Repair Mode, select the System Restore option under “Advanced options.”
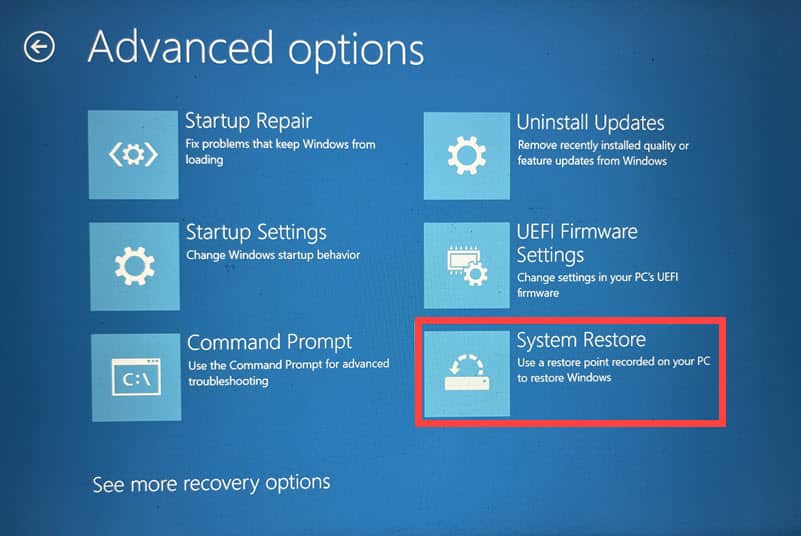
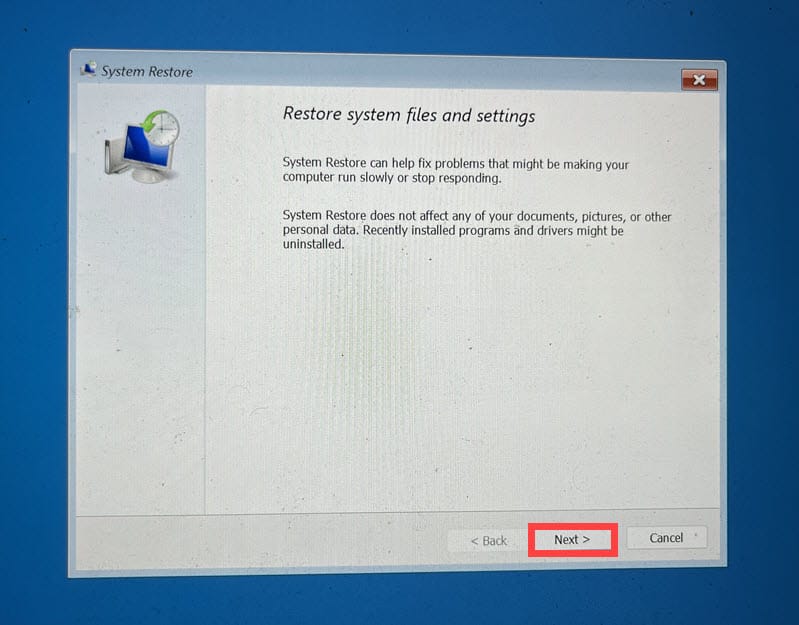
- On the next screen, click Next to begin system restore.
- Select a previously saved restore point.
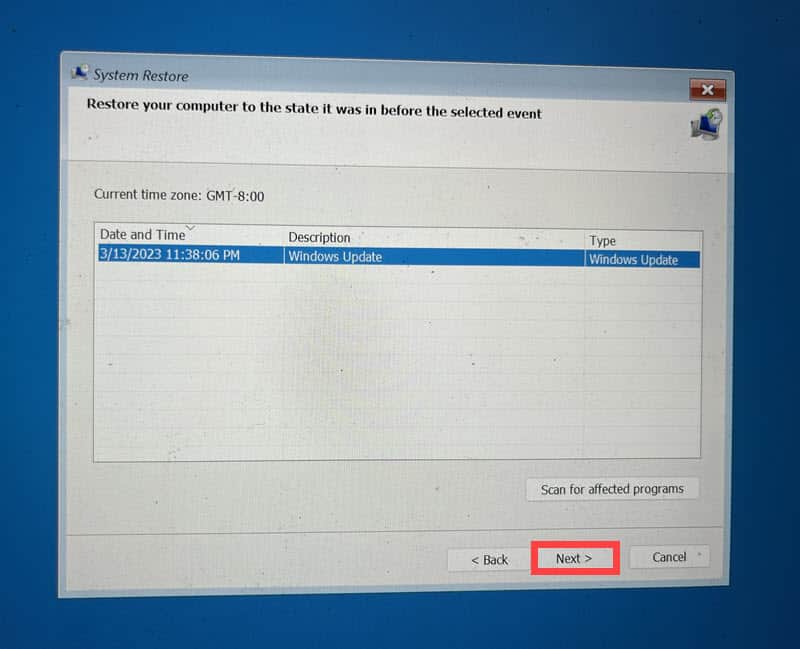
- Next, confirm your restore point and click Finish.
9. Reset Windows
Resetting Windows reinstalls the operating system while allowing you to keep your files. Here’s how to do it:
- Launch our PC in Automatic Repair Media by force restarting it several times.
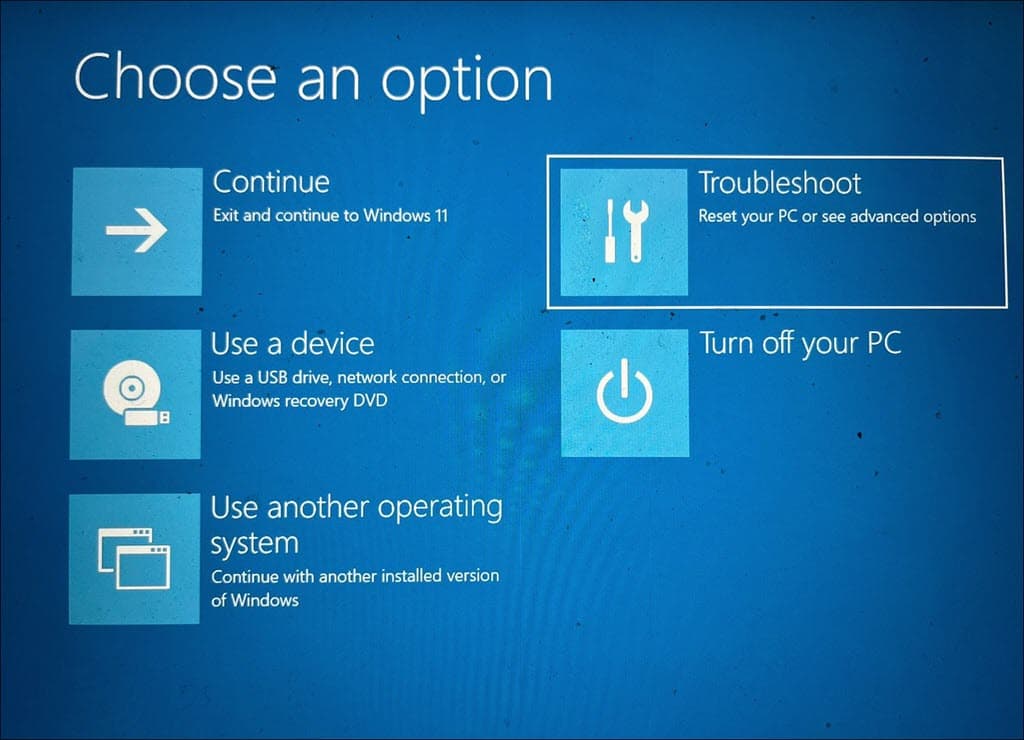
- Select the Troubleshoot option.
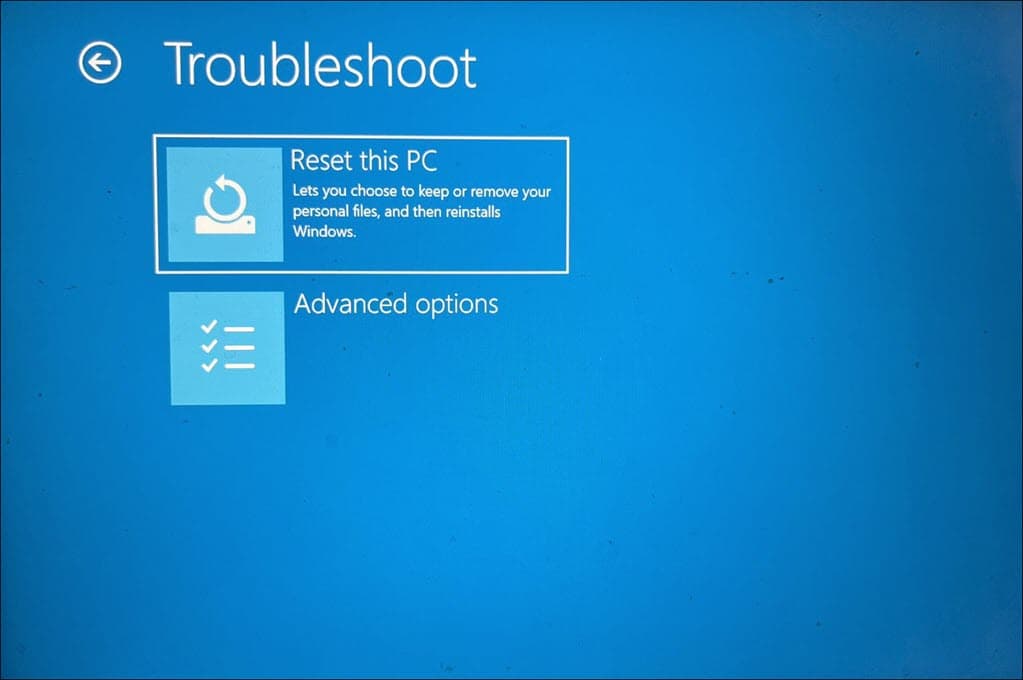
- On the next screen, select the Reset this PC option.
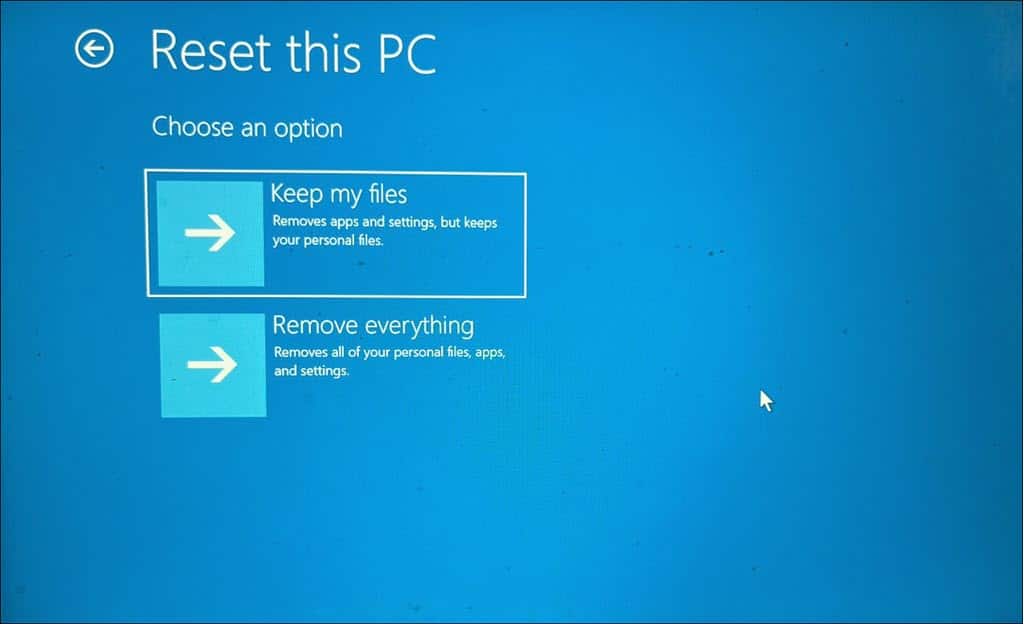
- Choose whether you want to keep your files or remove everything. It would be best to select the Remove everything option. Still, only do this if you’ve backed up your files.
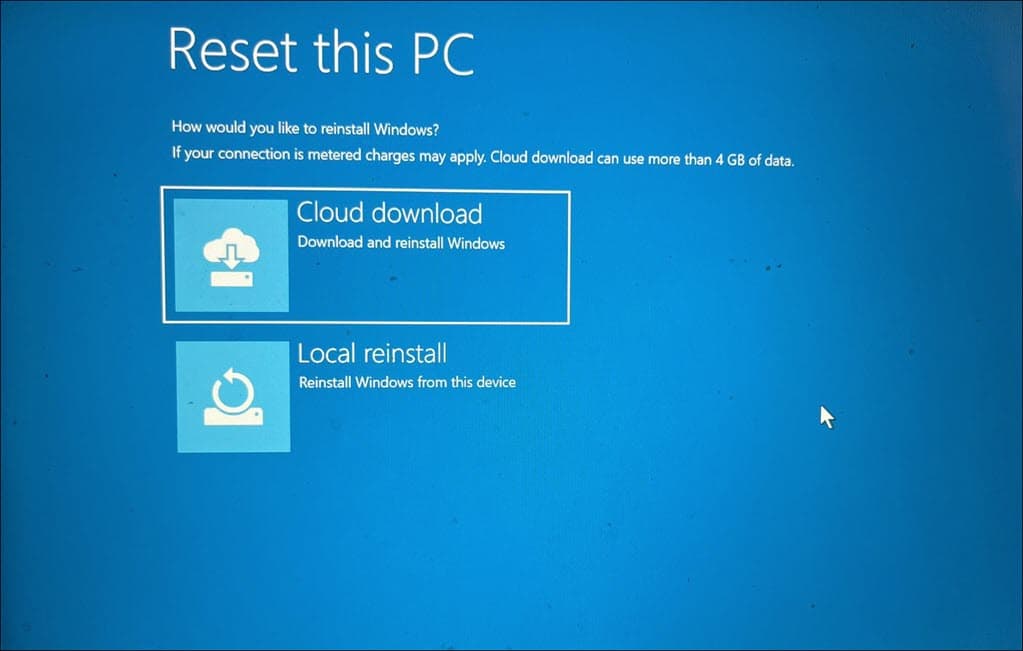
- Next, select how you want to re-install Windows – Cloud or Local.
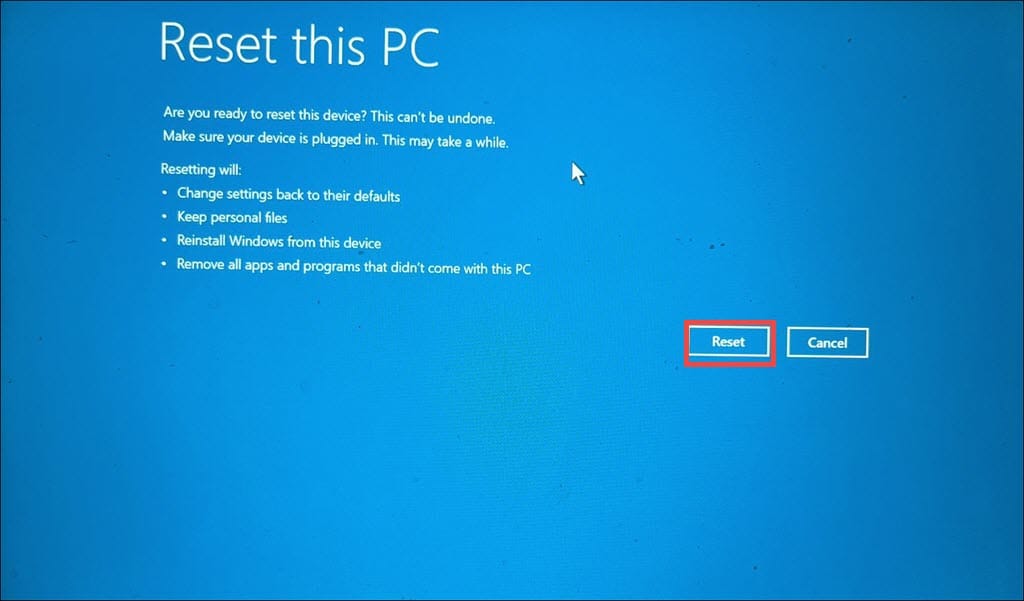
- Finally, click the Reset button to factory reset your Windows system.
You may also be interested in:
- WORKER_THREAD_RETURNED_AT_BAD_IRQL Error
- DRIVER_CORRUPTED_MMPOOL Error
- 0x00000053 NO_BOOT_DEVICE Error
Summary
Resolving the 0x00000023 FAT_FILE_SYSTEM error can be tricky. The key is to apply the possible fixes one by one, starting with a simple restart to more complex solutions like resetting Windows.
Remember, the cause of this error can vary, so it’s crucial to try different methods to identify and solve the underlying issue. Stay patient and systematic, and you’ll likely find a solution that works for you.
Feel free to share tips in the comments below.
Read our disclosure page to find out how can you help MSPoweruser sustain the editorial team Read more


Improve this guide

User forum
0 messages