0x00000003 INVALID_AFFINITY_SET - 11 Easy Solutions

If you’ve encountered the 0x00000003 INVALID_AFFINITY_SET error on your Windows device and are looking for the exact solution to fix it, my experience in solving it might help you.
Encountering this blue screen of death (BSOD) on a Windows PC can be a challenging experience. It messed up my work routine and had me searching for answers.
In this comprehensive guide, I’ve compiled all the possible solutions and the steps I followed to eliminate this frustrating error.
Let’s start with understanding what this error is and why it happens.
What Is 0x00000003 INVALID_AFFINITY_SET?
The 0x00000003 INVALID_AFFINITY_SET is a Blue Screen of Death (BSOD) error. In my case, it often occurs during system startup or when running specific applications.
This error is closely related to CPU affinity, which involves the allocation of CPU cores to specific tasks or processes. This BSOD error is triggered when this allocation goes wrong or if there’s a system-level error in managing these assignments.
What Causes 0x00000003 INVALID_AFFINITY_SET Error?
In my research, I found that several factors can lead to this error. Here are the most common ones:
- Hardware Conflicts: New hardware can disrupt the delicate balance of your system’s hardware setup.
- Corrupted System Files or Drivers: Essential files or drivers, when corrupted, can cause serious system errors.
- Outdated BIOS or Drivers: Keeping your BIOS and drivers updated is crucial for system stability.
- RAM issues: Problems with the physical RAM modules can also trigger this error.
- Malware or Virus Infections: Malicious software can alter system settings, leading to BSOD errors.
How To Fix 0x00000003 INVALID_AFFINITY_SET Error
Resolving this error involves addressing each potential cause, one step at a time. One by one, try every method and check which one worked for you.
1. Unplug External Hardware and Restart
External devices can conflict with your system’s internal hardware, potentially causing BSOD errors. Removing these devices can help identify if any external hardware is causing the issue. It also helps in isolating the culprit hardware, if any.
Here’s what to do:
- Turn off your computer.
- Disconnect all external hardware like USB devices, external hard drives, fax machines, and printers.
- Restart your computer. If it boots up without the error, reconnect the devices one at a time to pinpoint the problematic hardware.
2. Start Windows in Safe Mode
Safe Mode starts Windows with a minimal set of drivers and running processes. This mode can help you determine if the 0x00000003 INVALID_AFFINITY_SET error is caused by a software or driver issue.
To start your PC in Safe Mode, follow these steps:
- Restart your Windows system multiple times (about 2-3 times) to activate Automatic Repair Mode.
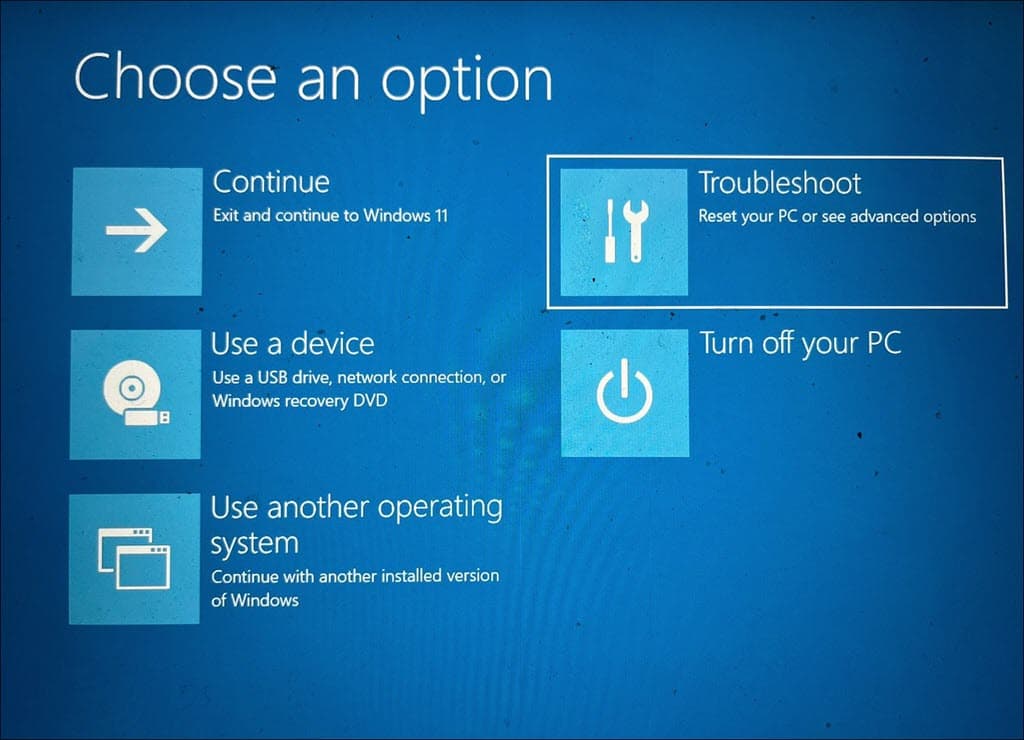
- In the menu that appears, choose Troubleshoot.
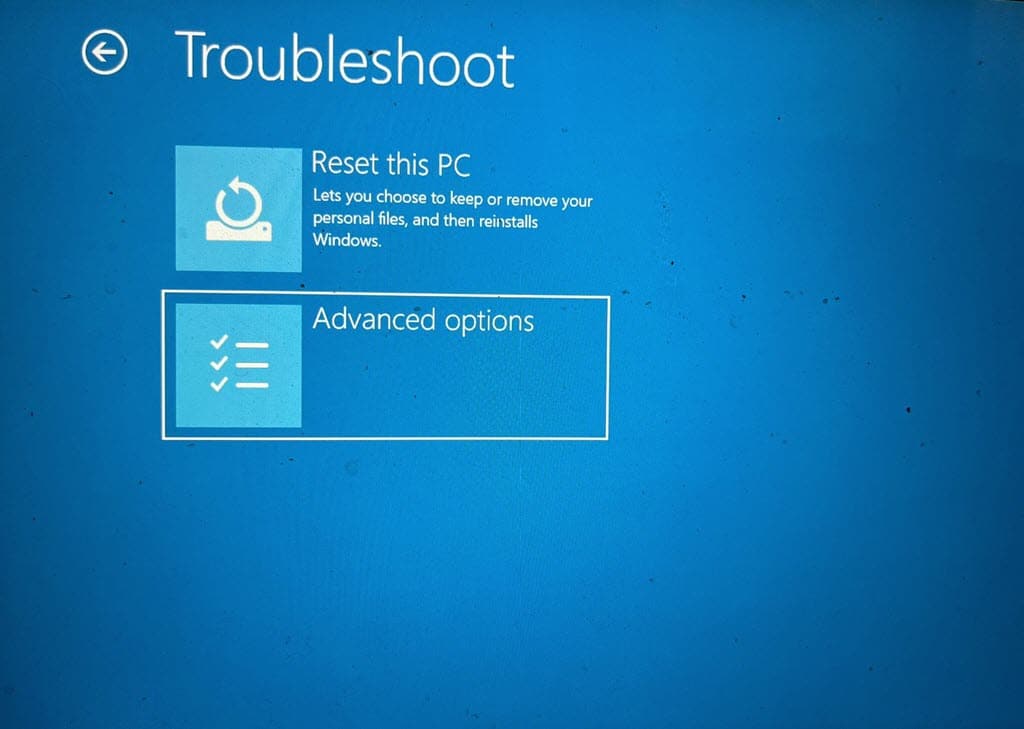
- Look for the Advanced options and select it.
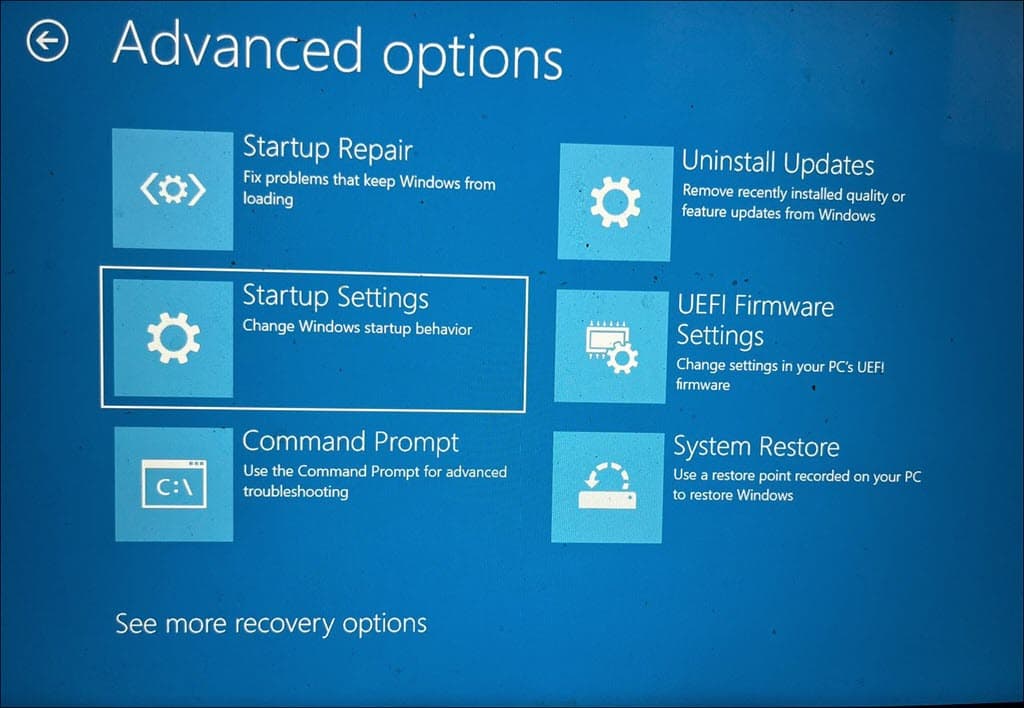
- Then, select Startup Settings in the following menu.
- Click on Restart to continue.
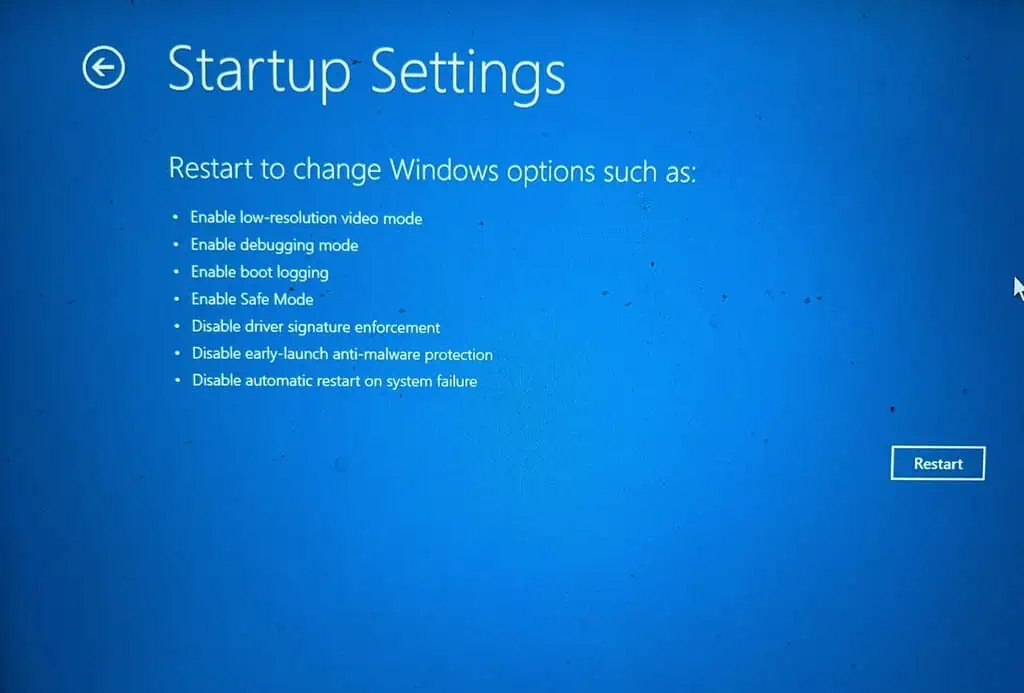
- After your system restarts, press F5 to boot Windows into Safe Mode with Networking.
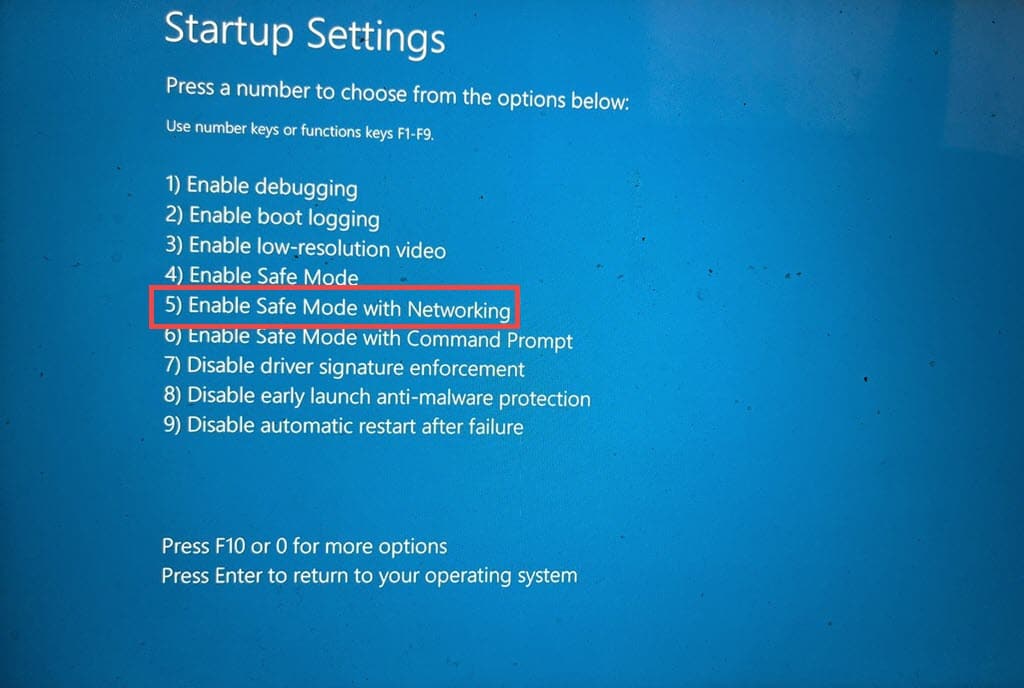
- Your system will now be in Safe Mode, ready for further troubleshooting.

3. Run Windows Memory Diagnostic
Faulty memory (RAM) can often lead to various types of BSOD errors, including the 0x00000003 INVALID_AFFINITY_SET error. Testing your RAM is an essential diagnostic step.
To do this:
- Type “Windows Memory Diagnostic” into the search box and select the tool.
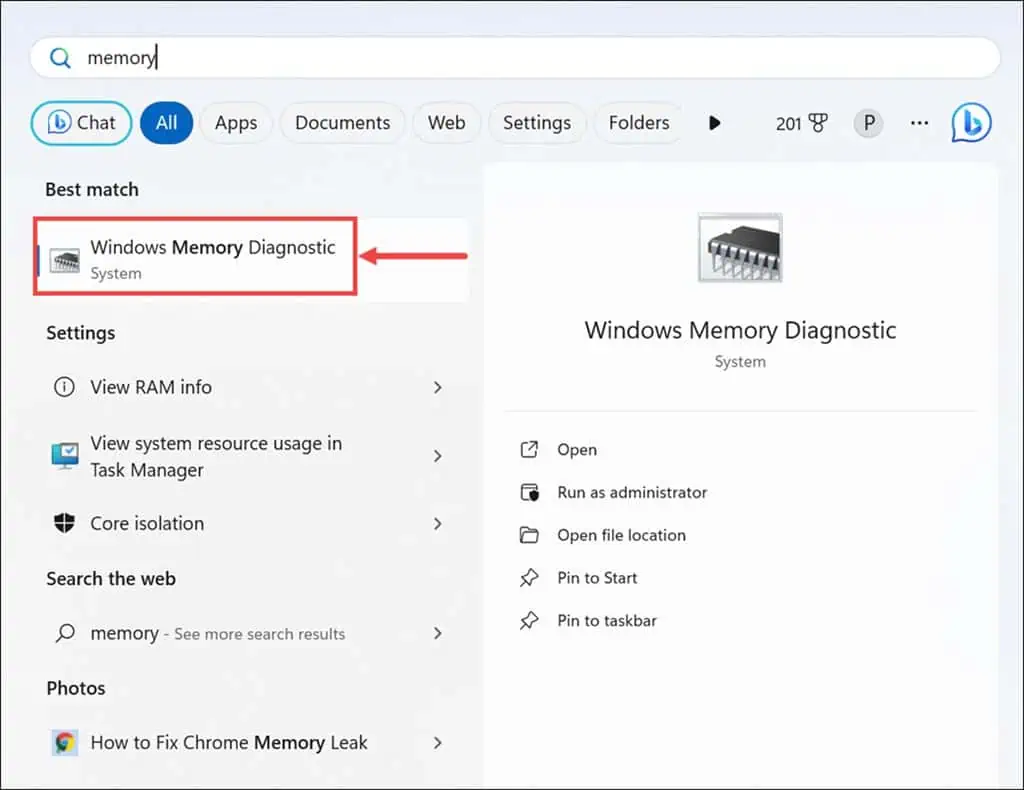
- Choose to Restart now and check for problems.
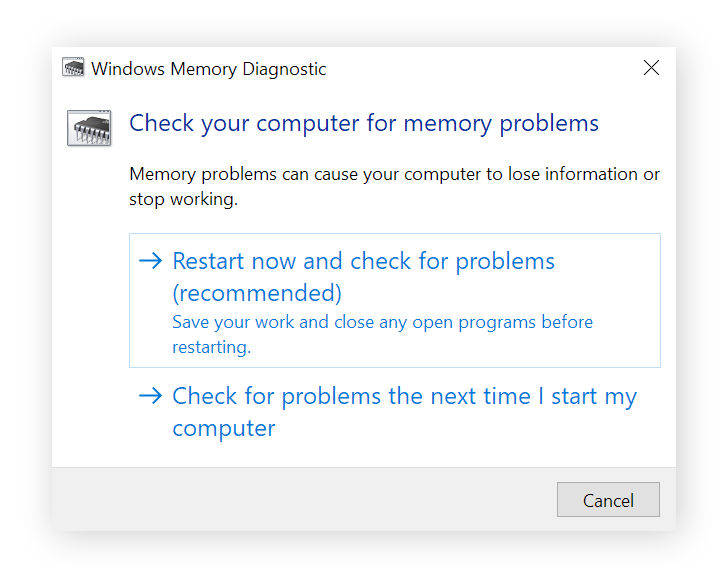
- Your computer will reboot, and the memory diagnostic tool will test your RAM for errors. Follow any on-screen instructions if errors are found.
4. Uninstall Corrupted Drivers
Drivers facilitate communication between your hardware and operating system. Corrupted or outdated drivers can disrupt this communication, leading to BSOD errors.
To find and uninstall corrupted drivers:
- Right-click on the Start button and select Device Manager from the context menu.
- Search for devices indicated by a yellow exclamation mark, suggesting possible driver issues.
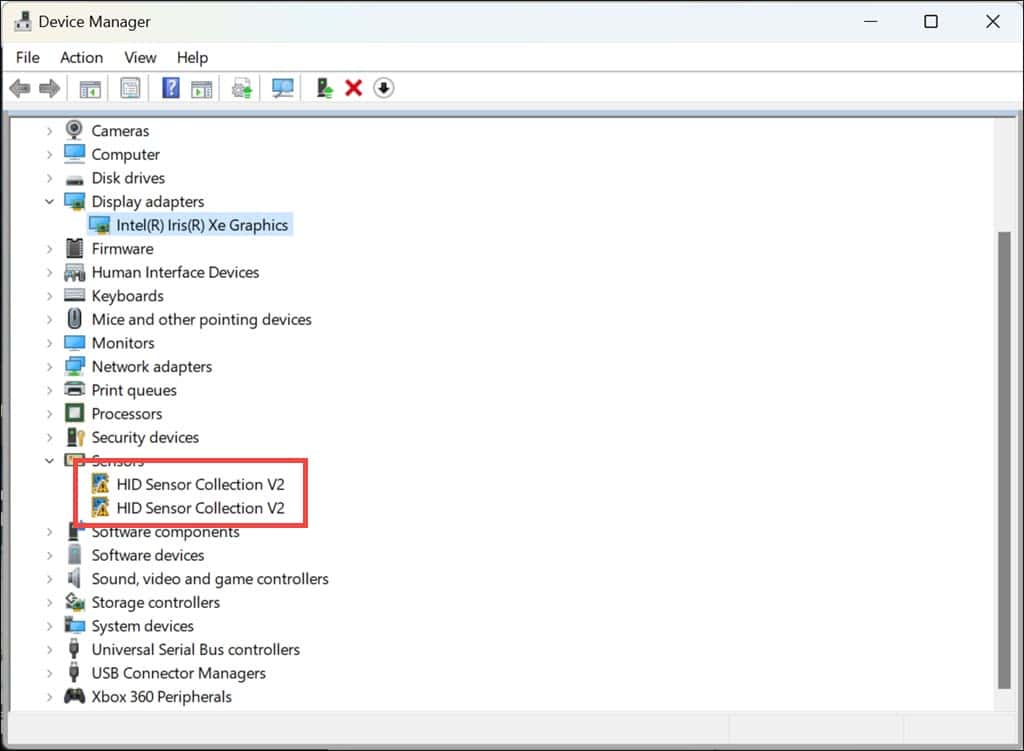
- For these marked devices, right-click and select Uninstall device.
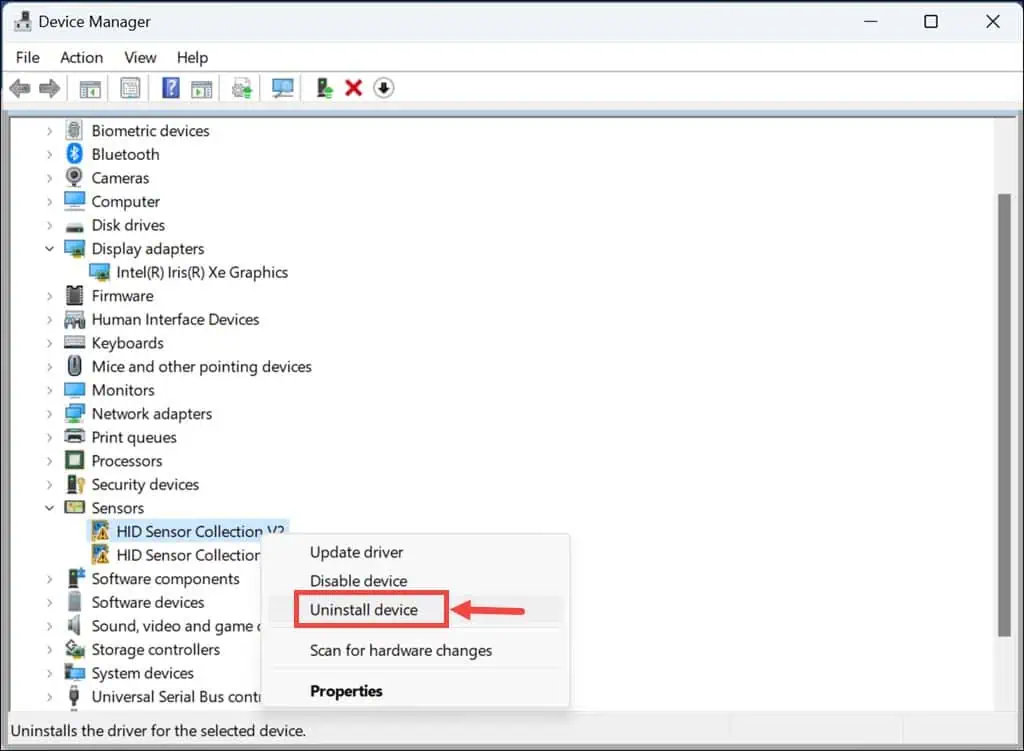
- Restart your PC. Windows will reinstall the required drivers automatically.
5. Update Drivers
Likewise, outdated drivers can cause compatibility issues and system instability. Keeping your essential drivers up-to-date can prevent many BSOD errors.
Here’s how to update your drivers:
- Launch Device Manager again.
- In the Device Manager, right-click on each essential device (display adapters, disk drivers, etc.) and select Update driver.
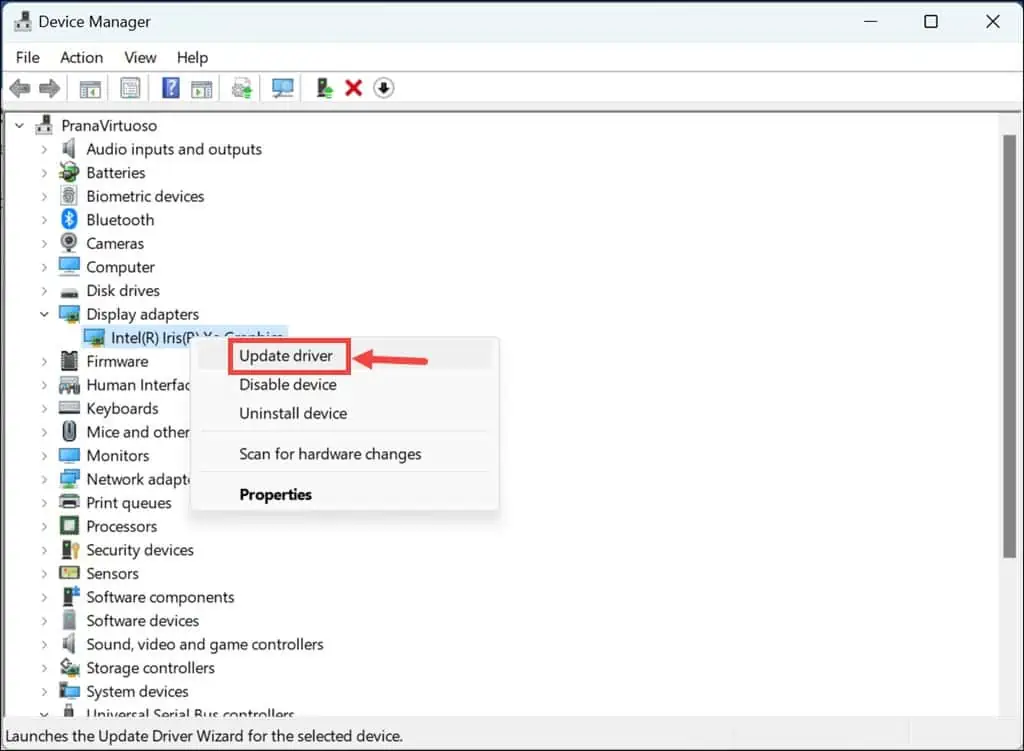
- Next, choose Search automatically for drivers.
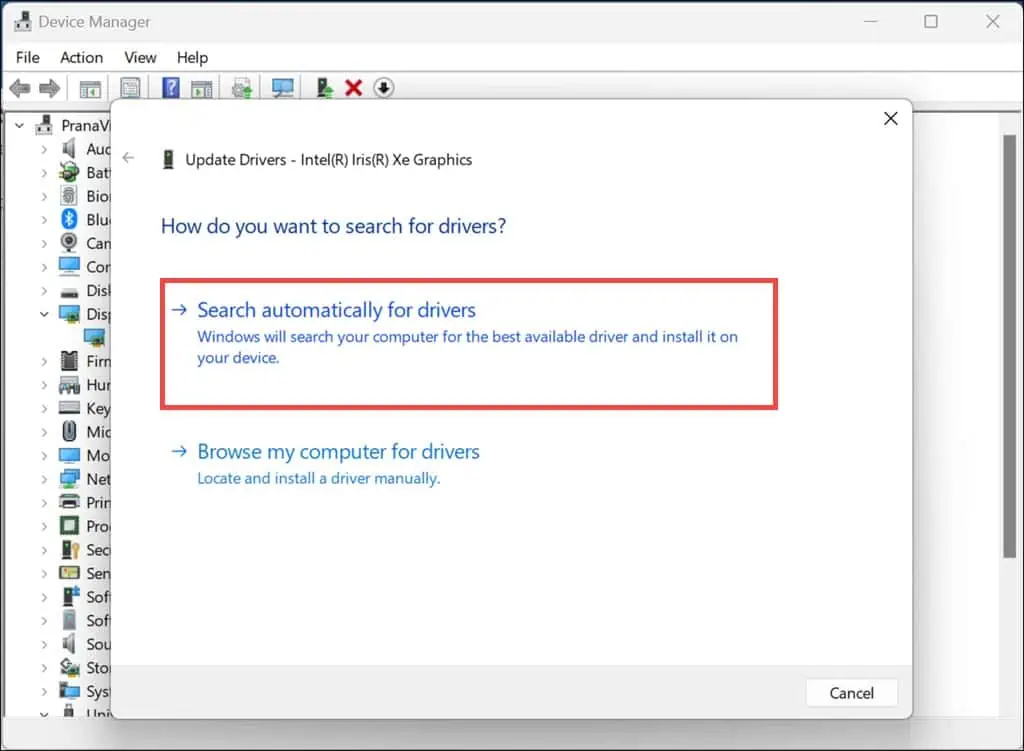
- Follow the on-screen instructions to install any available updates.
- Restart your computer after updating the drivers.
If you find it tedious to update drivers manually, you can use a third-party driver updater. These third-party tools are tailored to handle all your driver requirements efficiently.
6. Run Check Disk (chkdsk) Command
The Check Disk tool can find and fix errors on your hard drive, including those related to system files that could be causing BSODs like 0x00000003 INVALID_AFFINITY_SET.
To run the chkdsk command, follow these revised steps:
- Right-click on the Start button and select Terminal (Admin) from the menu that appears.
- Type in chkdsk /f /r in the terminal window and press Enter to start the command.
- Allow the command to finish running, and then reboot your computer after the scan is complete.
7. Run DISM and SFC Command
The Deployment Image Servicing and Management (DISM) and System File Checker (SFC) tools can fix corrupted system files. These tools are particularly effective in resolving BSOD errors caused by file corruption.
Here’s how to use them:
- Launch Terminal (Admin) by right-clicking the Start button and selecting it from the options.
- In the terminal, enter DISM.exe /Online /Cleanup-image /Restorehealth and hit Enter to execute this command.
- After the successful completion of the DISM command, run sfc /scannow.
- Once the process concludes, restart your computer.
8. Clean Junk Using Disk Cleanup
Over time, your system accumulates unnecessary files, which can affect performance and lead to errors. Regularly cleaning these out can help maintain system stability.
Here’s how to use Disk Cleanup:
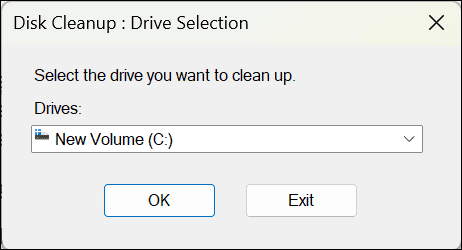
- Enter Disk Cleanup in the Windows search box and open it by clicking its icon.
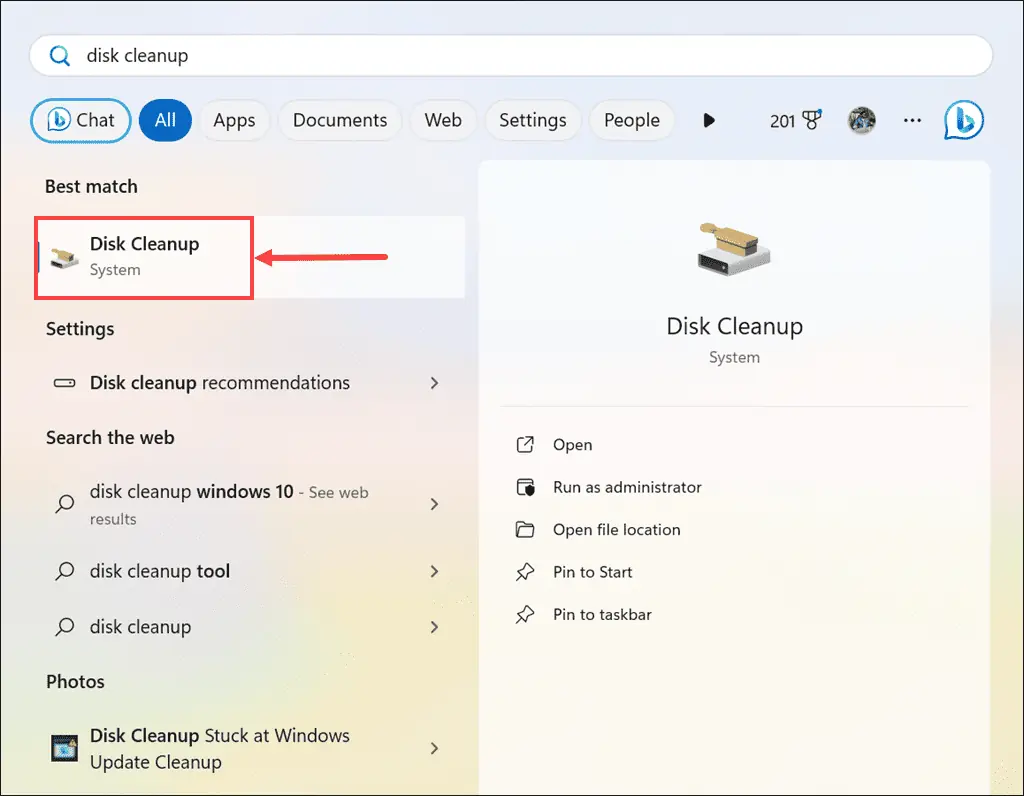
- Select your system drive, typically the C: drive, from the drop-down menu and click OK.
- Review and select the checkboxes next to items you deem unnecessary and safe to remove from your PC.
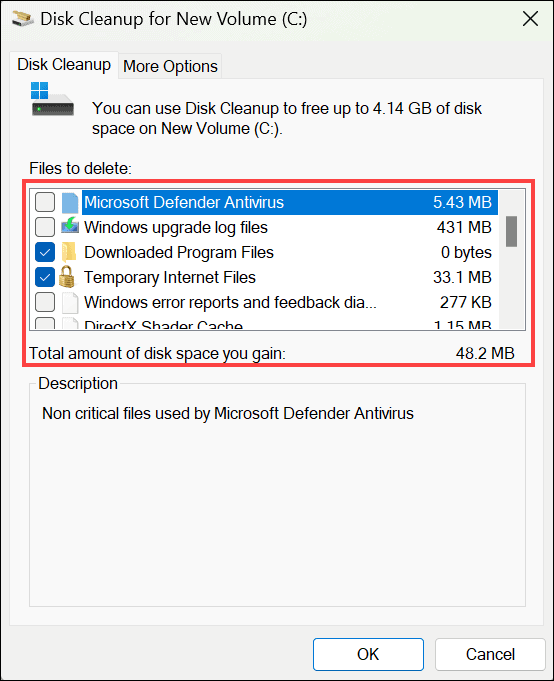
- Click OK to start Disk Cleanup and wait while it removes the selected files from the system disk.
9. Uninstall Recent Windows Updates
Sometimes, a recent Windows update might conflict with existing system configurations. Removing these updates can resolve the issue.
Here is how to uninstall recent Windows updates:
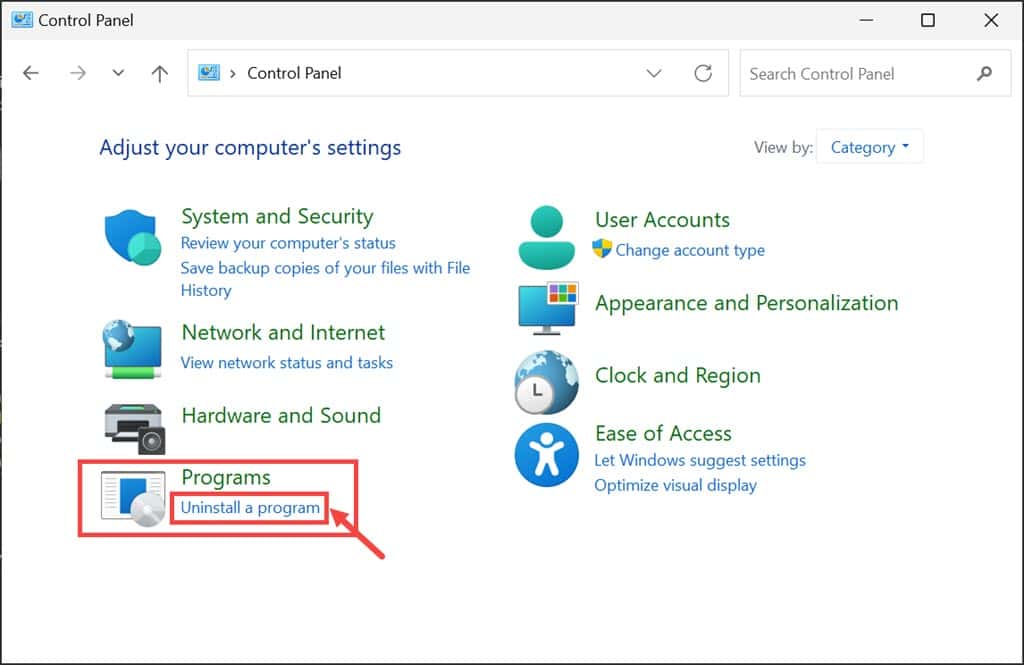
- Type Control Panel in the search box and launch it by clicking its icon.
- Navigate to the “Programs” section and select Uninstall a program.
- In the left panel, click on View installed updates.
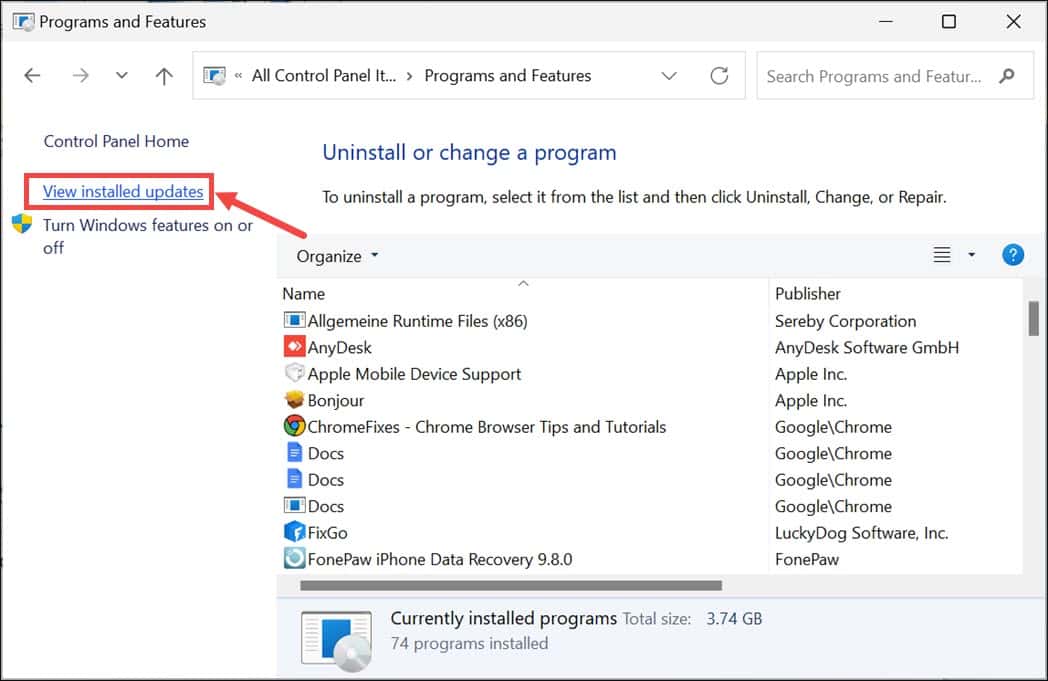
- Locate the most recently installed updates and choose Uninstall for each.
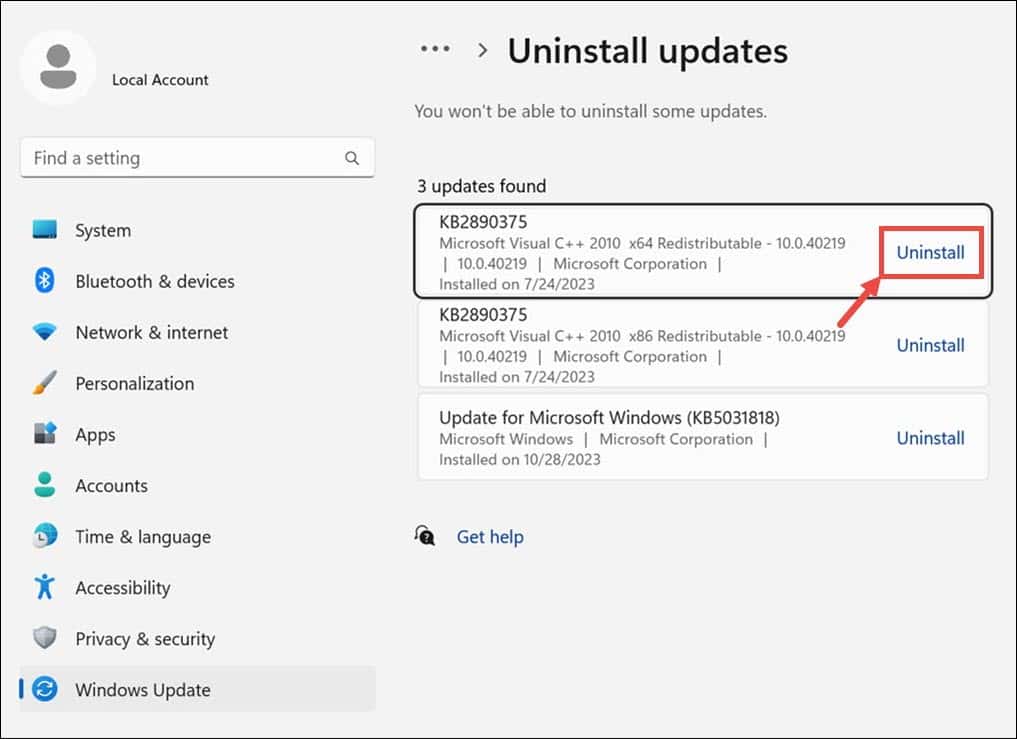
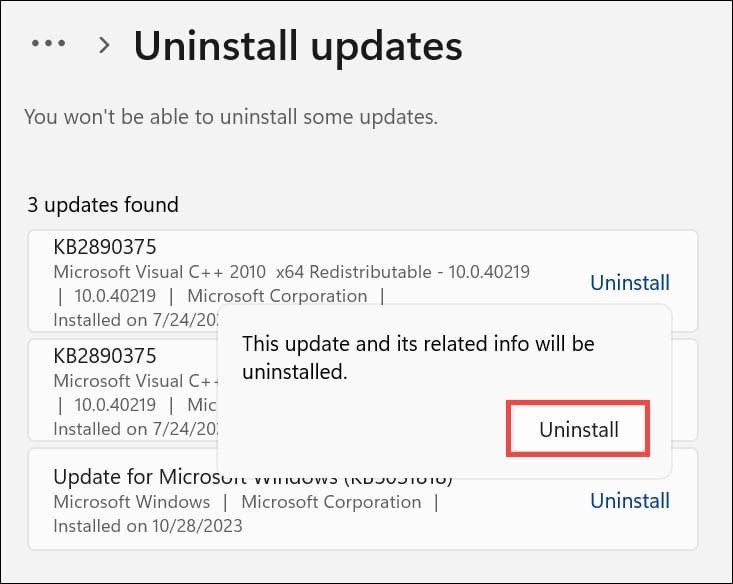
- Follow the prompts to confirm the uninstallation of each update.
- Once all recent updates are uninstalled, restart your PC and check if the error has been resolved.
10. Restore Windows to a Previous State
System Restore can take your system back to a configuration before the error occurred. To perform a System Restore:
- Trigger Automatic Repair Mode by forcefully restarting your computer multiple times.
- In Automatic Repair Mode, choose the Troubleshoot option.
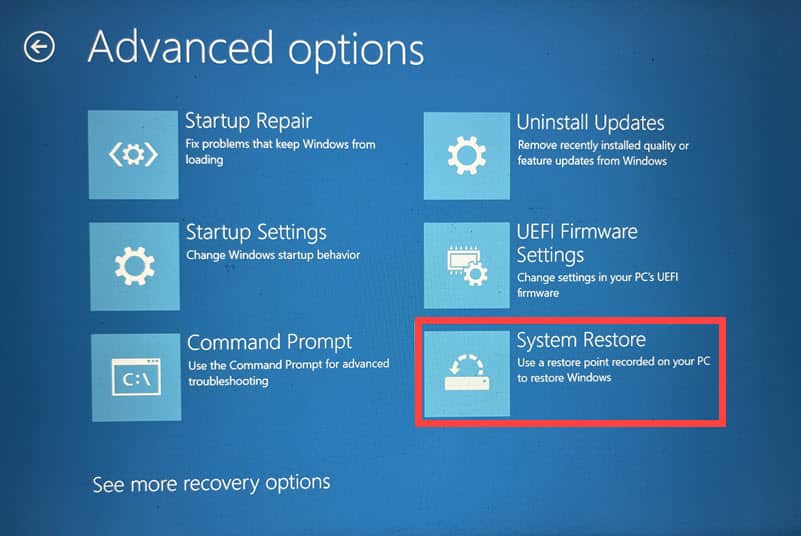
- From the “Troubleshoot” menu, go to Advanced options.
- Find and select the System Restore option.
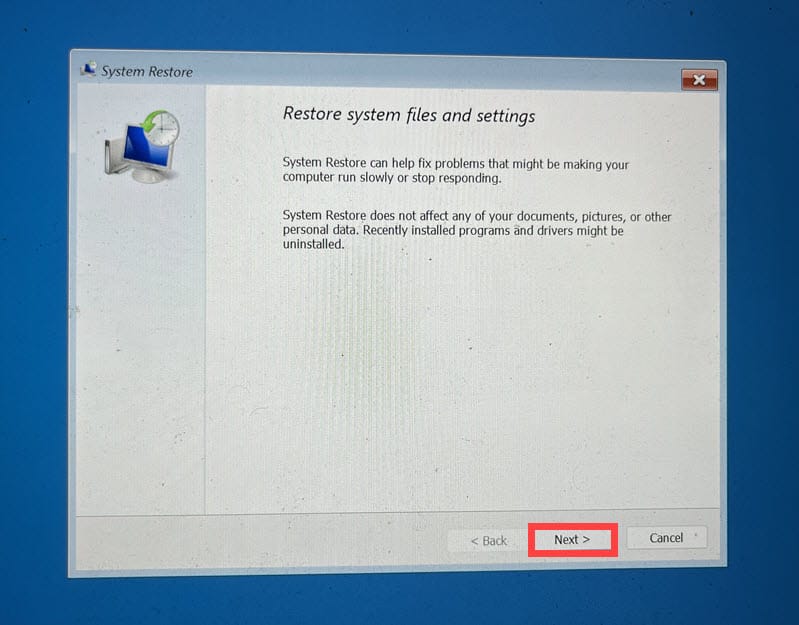
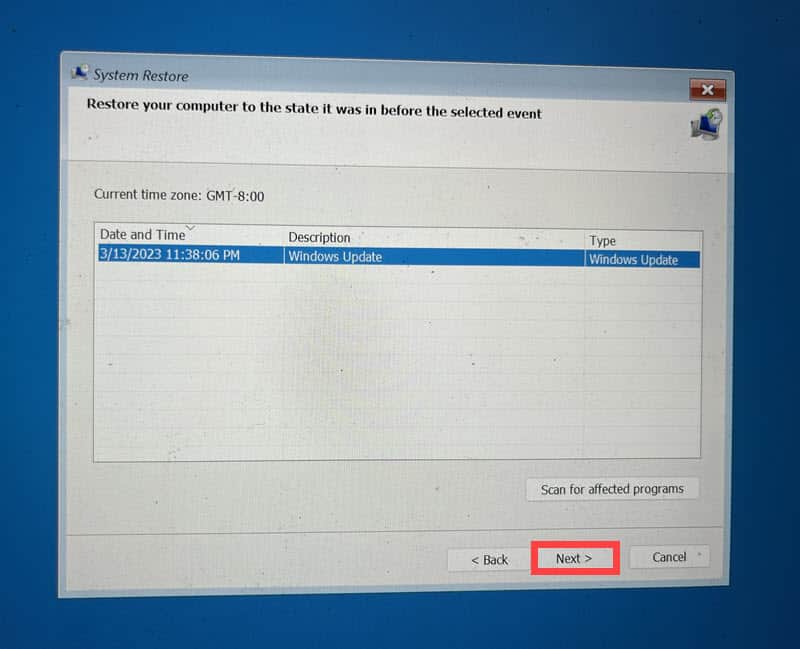
- Click Next to initiate the process.
- From the provided list, select a restore point. It’s often best to choose the oldest available option.
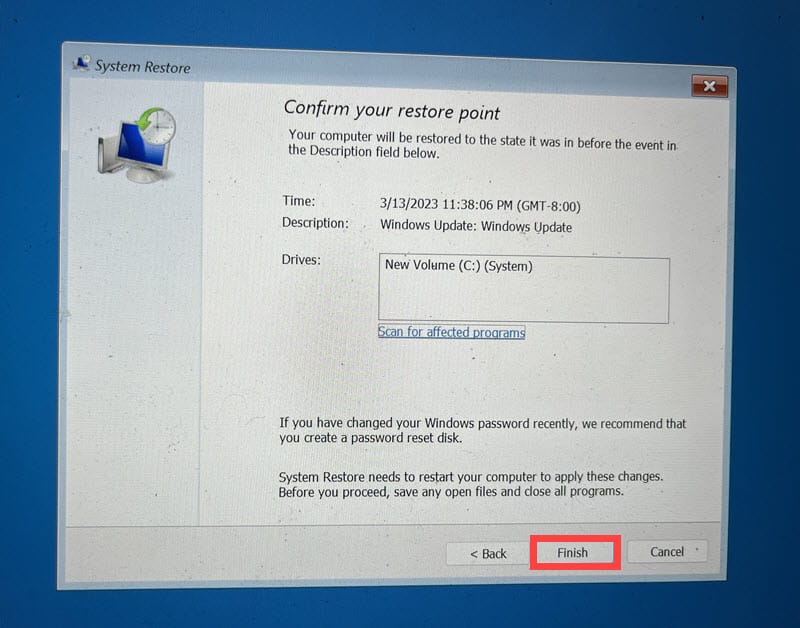
- Click Finish to confirm your selection and start the system restoration.
11. Reset Windows
If all else fails, resetting Windows can resolve underlying issues but will remove your personal files. This should be your last resort.
Simply follow these steps:
- Activate Automatic Repair Mode by restarting your device several times in succession.
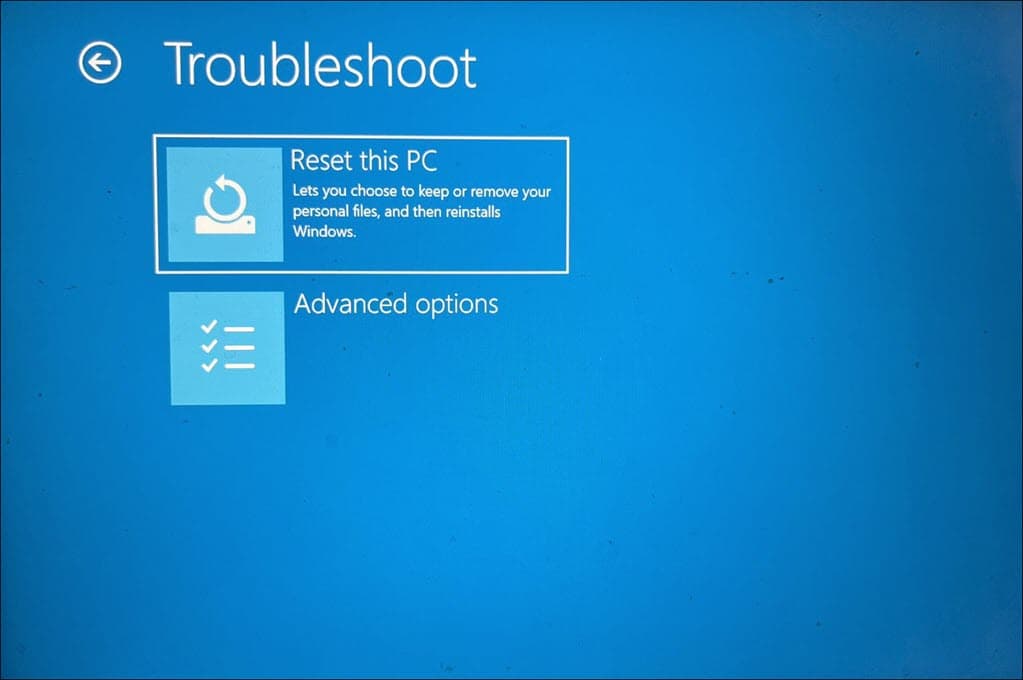
- When in Automatic Repair Mode, opt for the Troubleshoot choice.
- On the following screen, select Reset this PC.
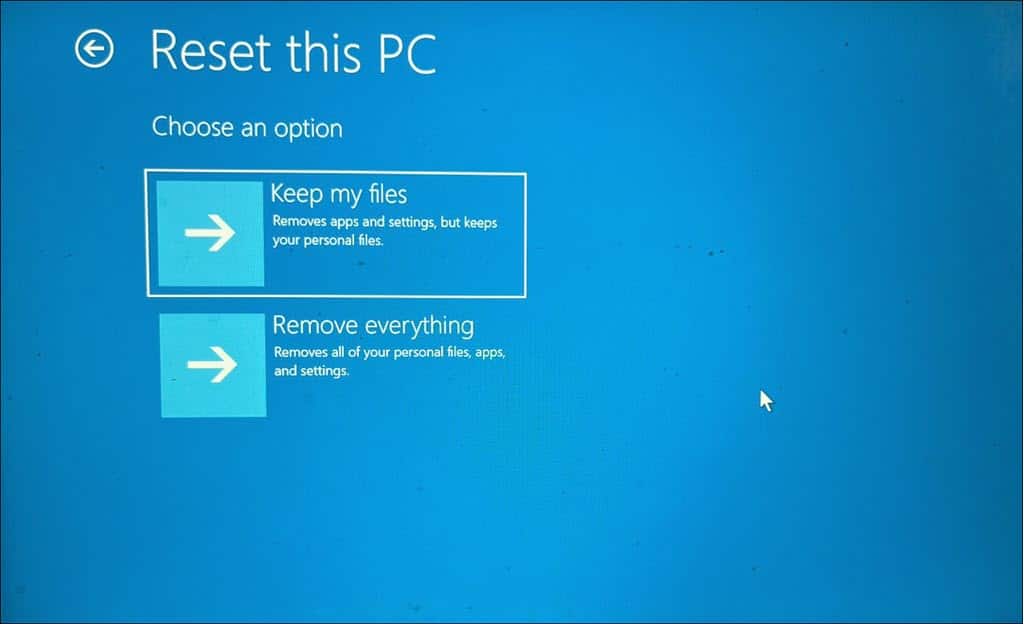
- You’ll have to choose between keeping your files or removing everything. Select Remove everything for a thorough reset.
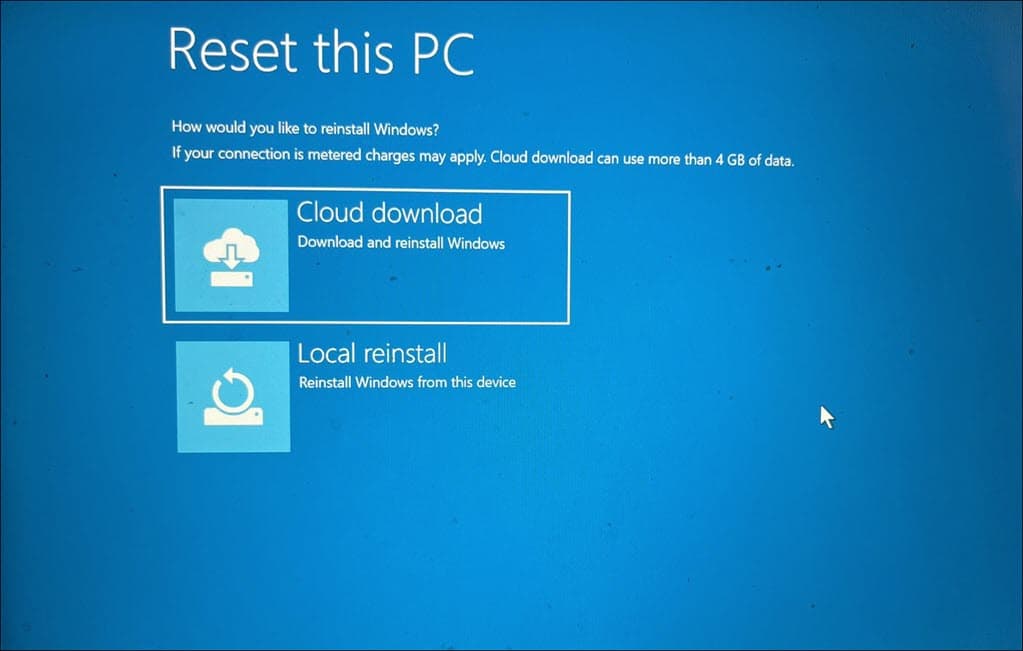
- Choose your preferred method to reinstall Windows, either via Cloud download or a Local reinstall.
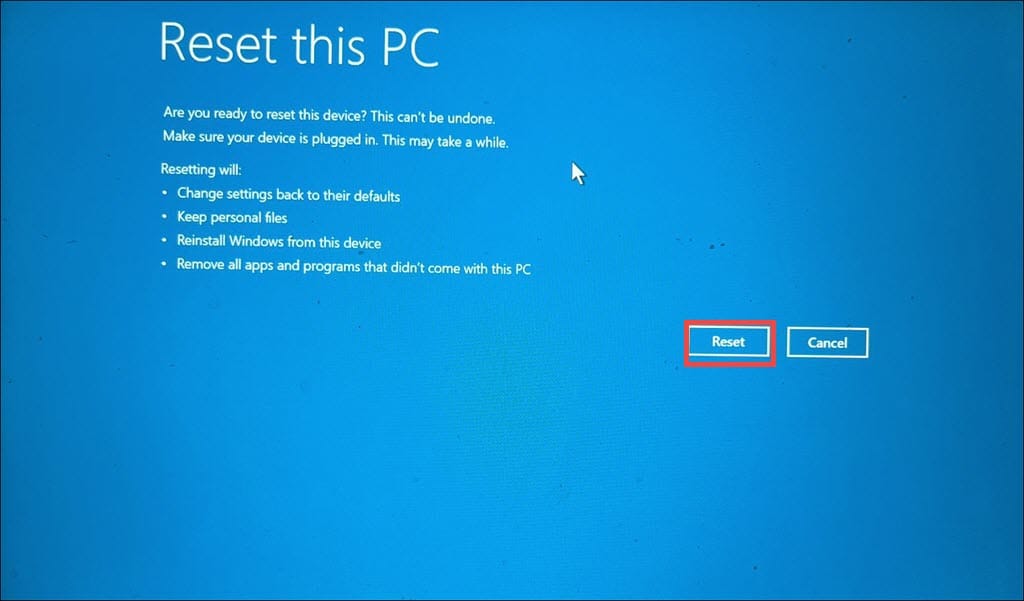
- To begin the reset process, click on the Reset button.
You may also be interested in:
- 0x00000022 FILE_SYSTEM Error
- 0x000000F8 RAMDISK_BOOT_INITIALIZATION_FAILED
- 0x00000008 IRQL_NOT_DISPATCH_LEVEL
Summary
The 0x00000003 INVALID_AFFINITY_SET error, while challenging, can be quickly resolved when you know the correct approach. Starting with simple troubleshooting steps like unplugging external devices and progressing to more complex solutions like resetting Windows, you can effectively address the root cause.
Hopefully, with this extensive guide, your PC is back to normal. Keep your system and drivers updated to avoid such errors in the future.
Read our disclosure page to find out how can you help MSPoweruser sustain the editorial team Read more


Improve this guide


User forum
0 messages