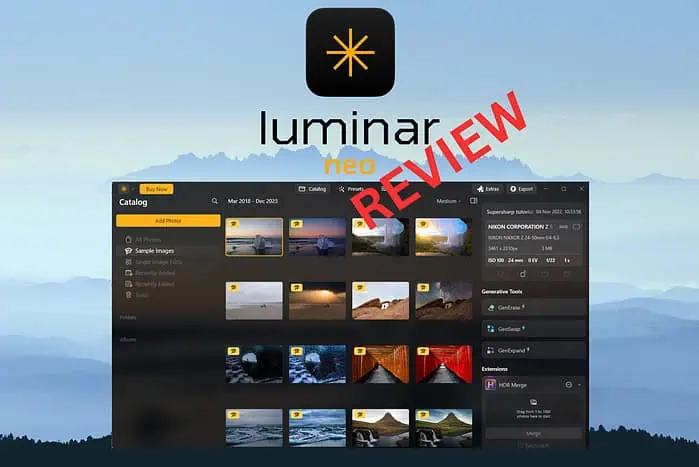
Luminar Neo Review: Is It Better Than The Competition?
![]() 7 min. read
7 min. read
![]() Published on
Published on
Share this article

Improve this guide
Read our disclosure page to find out how can you help MSPoweruser sustain the editorial team Read more
I created this Luminar Neo review after testing numerous image enhancer apps. Do I think this is the one? How good are its features, and how does it stack up against the competition?
You’ll find all the answers below:
What is Luminar Neo?
Luminar Neo is powerful AI-driven photo editing software developed by Skylum. This app works perfectly on Mac and Windows devices and simplifies the complex photo editing task.
The streamlined AI-powered features help you save time without compromising on results. Luminar Neo’s effects and configurations are a sight to behold. It can be used as a standalone tool or as an extension for your main photo editing software.
Features
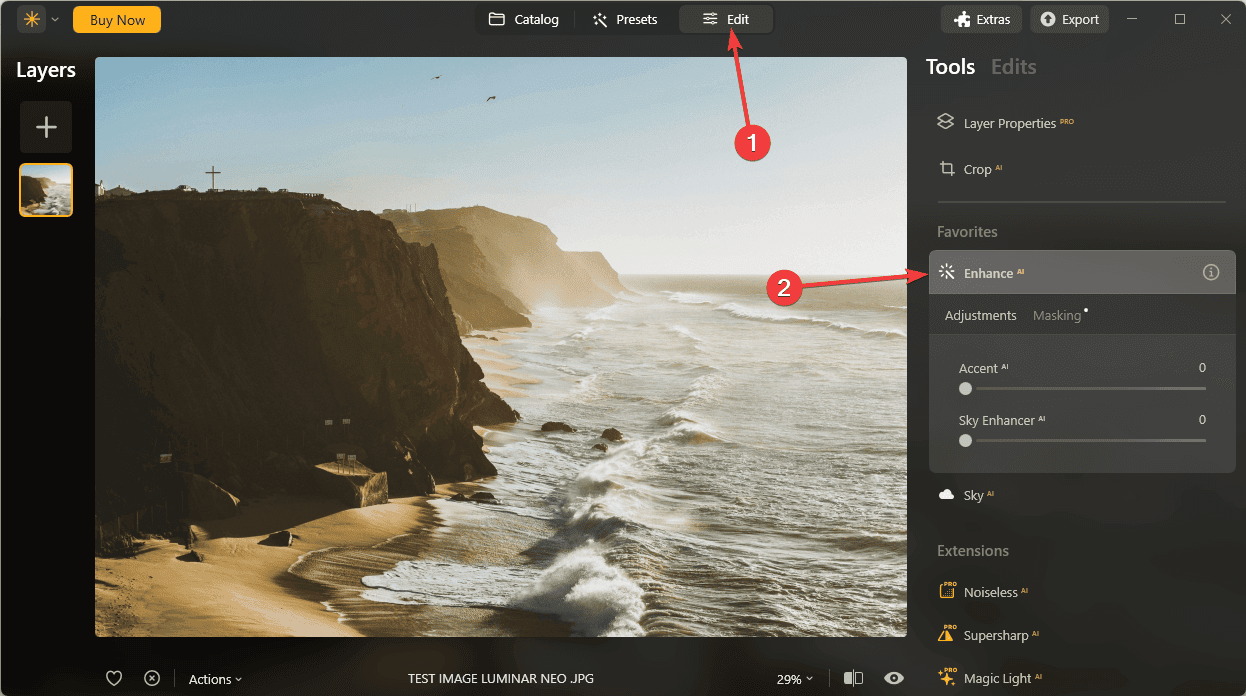
Enhance AI Tool
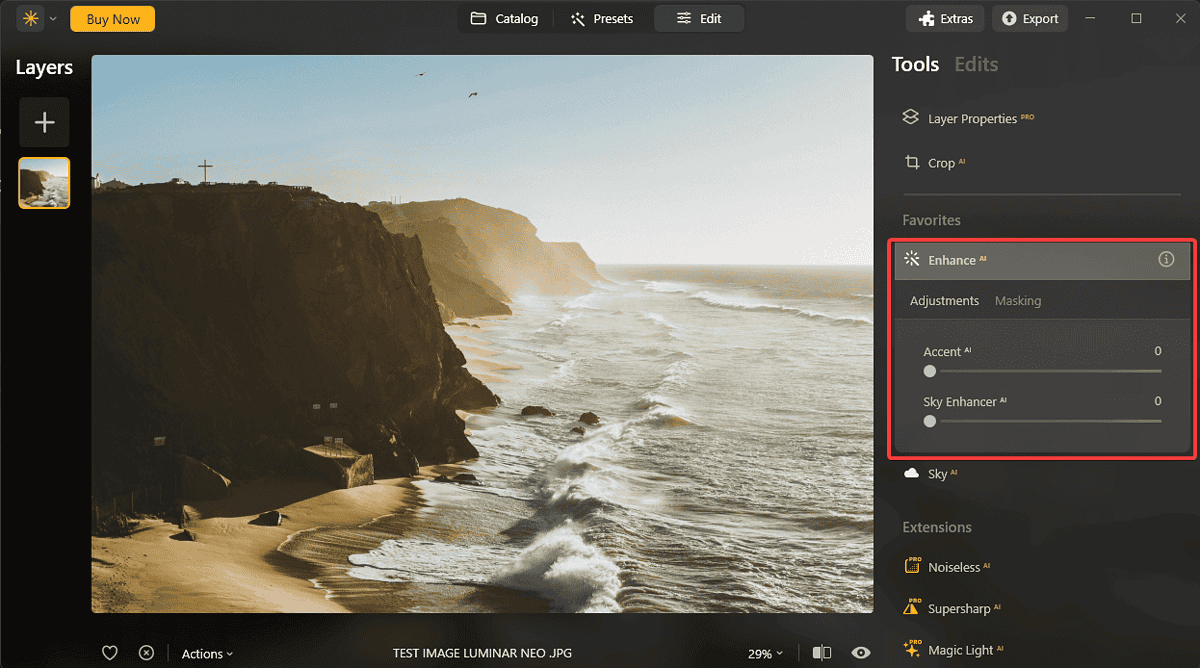
The Enhance AI toolset lets Luminar modify your image’s exposure, shadows, and highlights. You can also tackle black points, white points, and contrast. This makes it one of the more versatile image editors on the market.
Luminar Neo contains two different modes of applying this effect, each with its perks. It works by analyzing your image and instantly correcting the element you want.
Compared to Adobe Lightroom‘s Auto Tone feature, the Enhance AI tool provides more balanced and natural results. Furthermore, it makes the process more intuitive.
Layers Properties & AI Masking
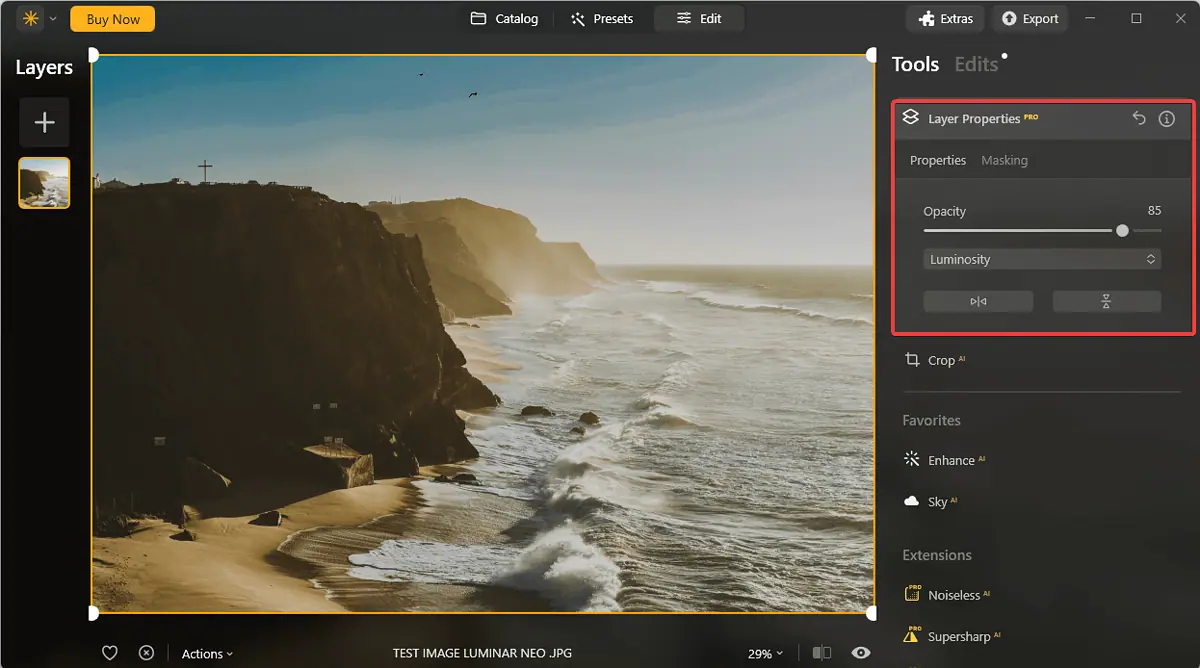
Luminar Neo allows you to easily create masks for your image and then use layering for in-depth optimization. This feature eliminates the need for an advanced image editor like Adobe Photoshop.
However, Photoshop’s layer and masking features are more robust and offer precise control over the parameters. This option might be a better choice for professional photographers and designers.
Sky AI
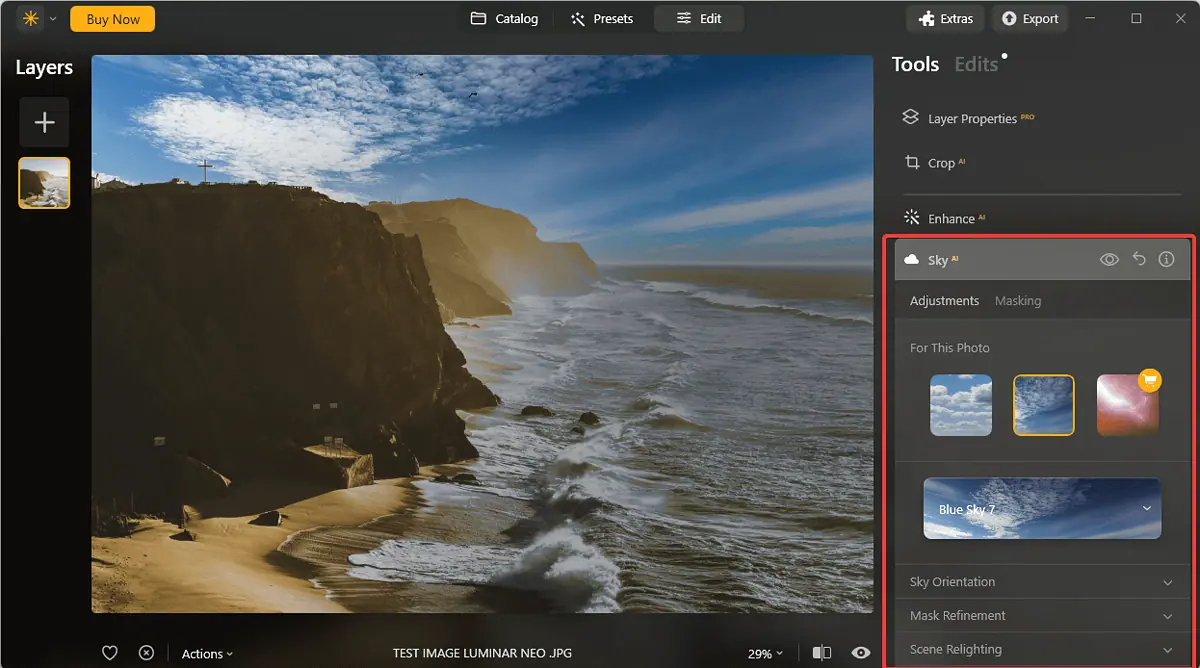
The Sky AI feature is a revolutionary tool for enhancing the sky in your pictures. This feature uses advanced AI technology to scan your image and optimize the sky to create a vibrant atmosphere.
You can also adjust colors and tones for a more personalized effect. What impressed me about this tool is how realistic the changes appear.
Compared to the Sky Replacement tool in Adobe Photoshop, Sky AI is more automated and user-friendly. These features make it the best choice for beginners.
However, Photoshop’s Sky Replacement tool offers more customization options, which might be better for advanced users.
Portrait Bokeh AI
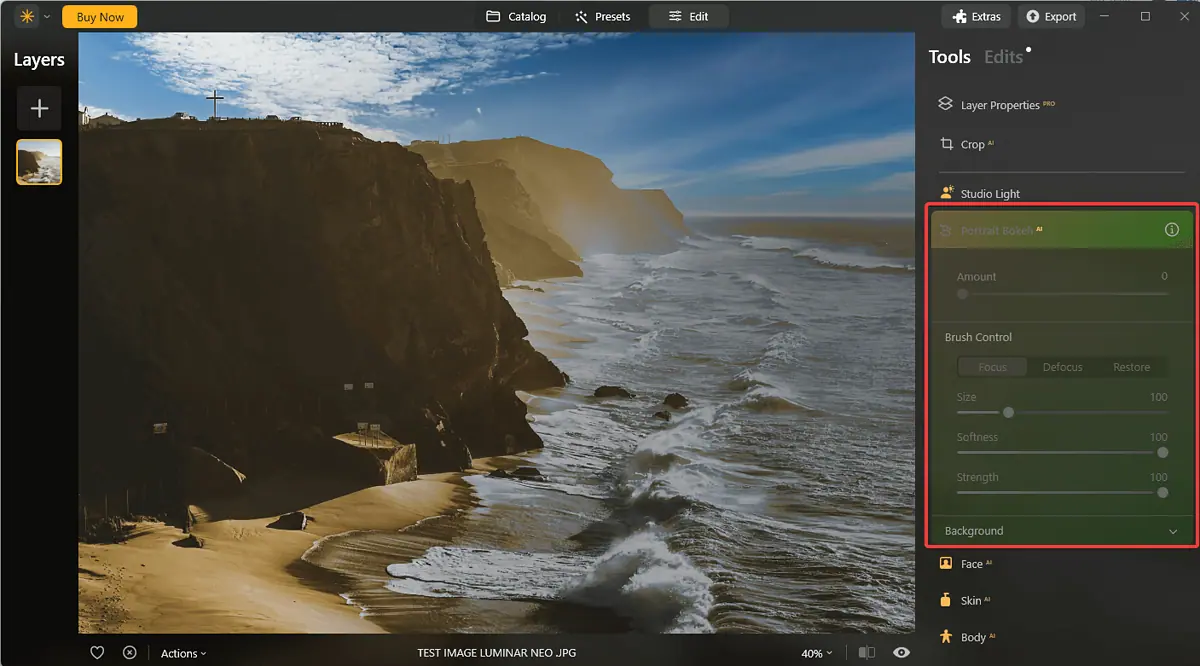
Portrait Bokeh AI is a handy feature that can create a natural-looking background blur. The feature uses AI to mimic the photographic effect that only a wide-aperture lens can create.
Compared to the Lens Blur filter in Photoshop, this feature is more automated and can produce more natural results.
That said, Photoshop’s Lens Blur offers more control over the shape and amount of blur. This might be better for professionals.
Relight AI

Relight AI is one of the newly added AI-powered tools. It analyzes your image to identify subjects and objects and calculates the relative depth of those elements. Then, it allows you to correct the exposure of high-contrast scenes.
The tool creates a 3D depth map of the scene and allows you to customize the process with a few handy sliders.
Relight AI is unique because it analyzes the scene in three dimensions, resulting in more realistic results. You can fine-tune the lighting in your photos even if the original shot didn’t turn out great.
Compared to the Shadows/Highlights adjustments found in Adobe Photoshop, Relight AI is more automated and user-friendly, even though the option from Adobe offers more control over the lighting balance.
Supersharp AI
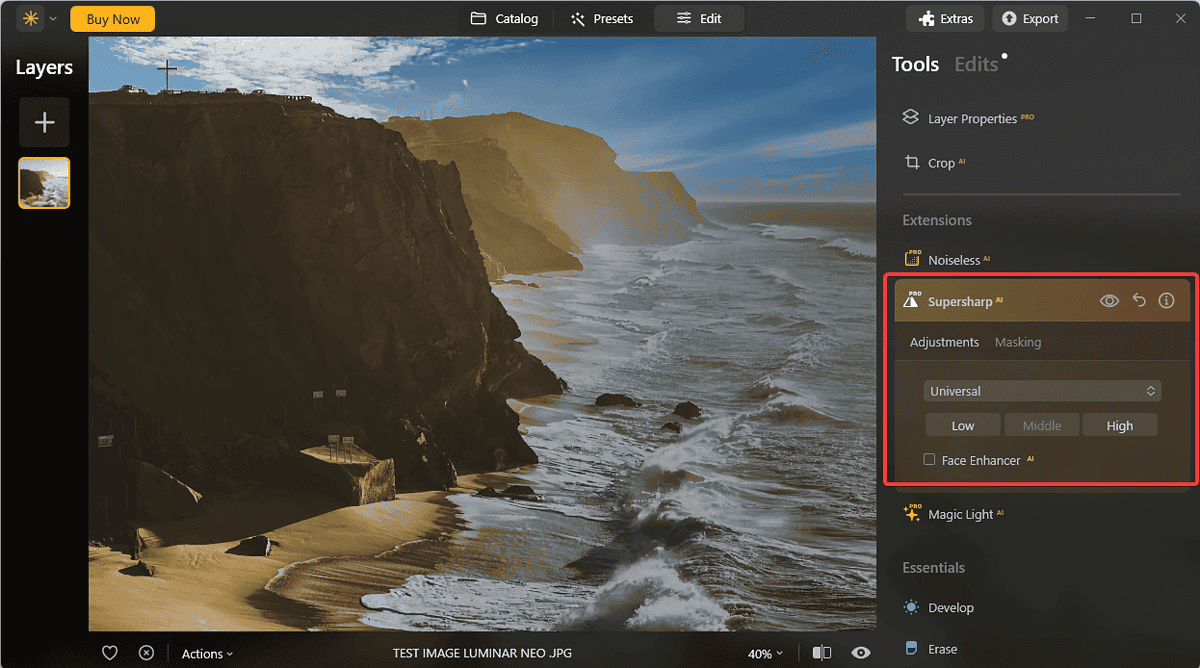
As the name suggests, the Supersharp AI feature is an AI-powered image sharpening tool designed to correct misfocused photos and tackle motion blur.
Compared to Topaz Sharpen AI, this feature is fully integrated into the Luminar Neo workflow, ensuring better performance and compatibility.
However, Topaz Sharpen AI is often praised for its ability to deal with severe cases of blur, so choosing the best feature will depend on your needs.
Noiseless AI
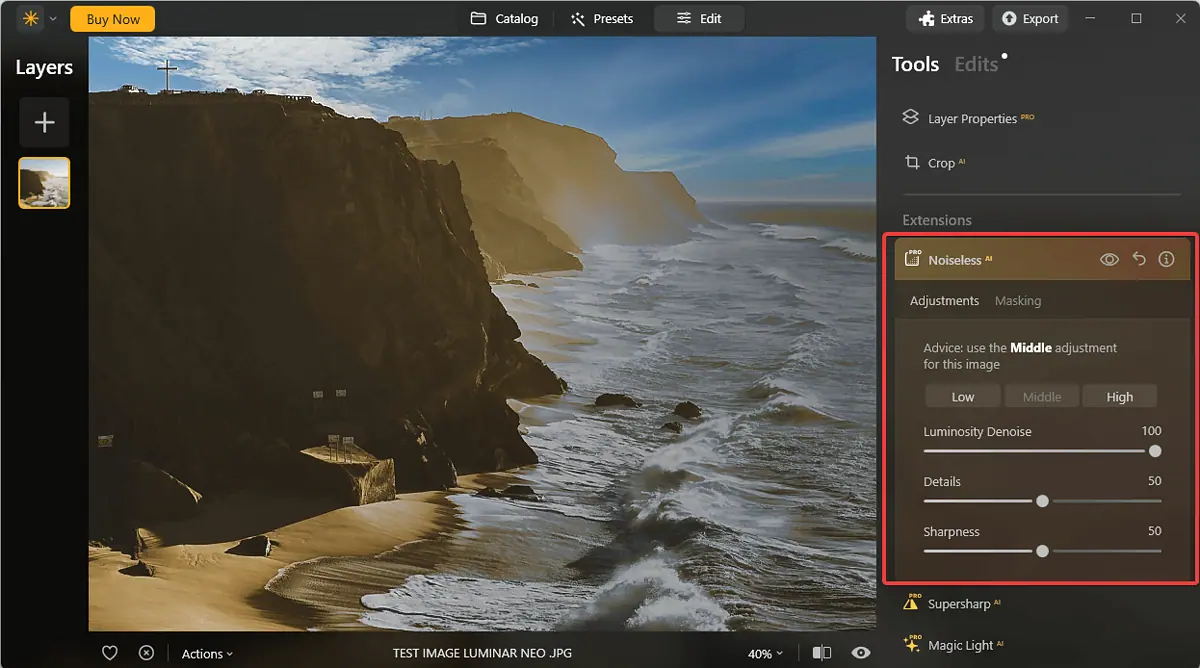
The Noisless AI from Luminar Neo is a sophisticated and efficient AI-powered noise reduction tool designed to eliminate luminance and chroma noise from your photos.
Compared to the Denoise AI by Topaz Labs, Noiseless AI performs great, but some users find the first option can preserve details better.
That said, Noiseless AI has the advantage of being integrated completely within the tool, which might prove more efficient for some users.
Extensions
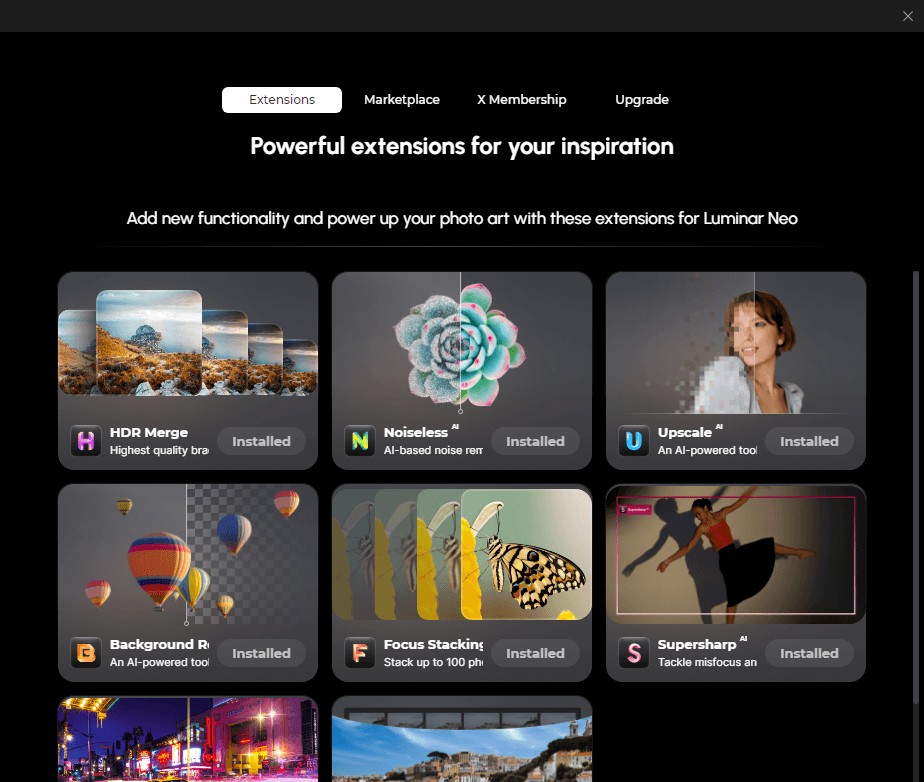
Luminar Neo offers a set of powerful extensions that can enhance its functionality and give you a more customizable experience.
These extensions can improve the already amazing set of built-in tools and be excellent for photographers and designers.
What I really liked about this setup is that the extensions keep the base price for the main software lower and allow room to expand the software’s capabilities.
Some of the latest extension additions include generative AI tools like GenExpand, GenSwap, and GenErase. These tools rival Google Photos Magic Editor and Magic Erase or Adobe’s Generative Fill tool.
That said, Luminar Neo offers two tools (GenErase & GenSwap) instead of one and doesn’t require a text prompt, making it more efficient.
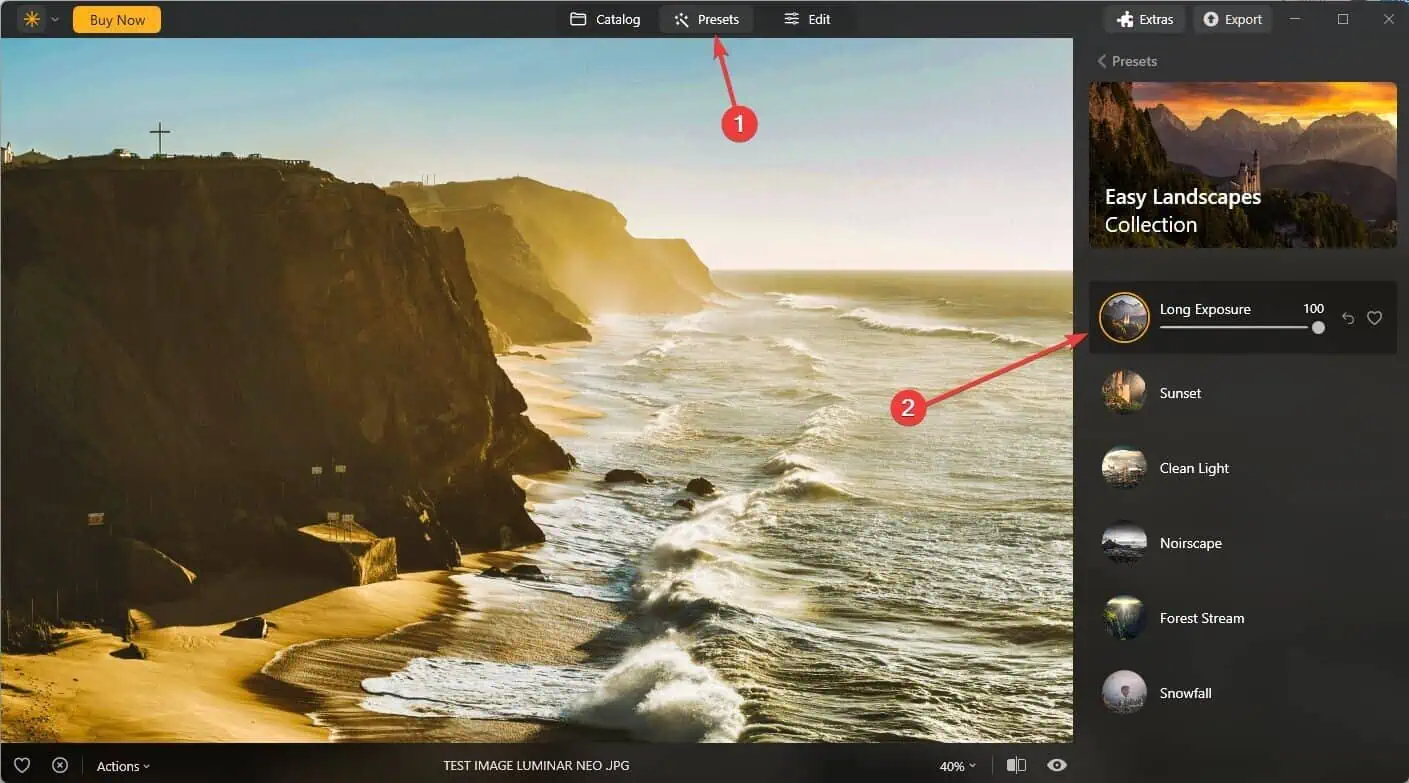
Presets

The Presets section of the Luminar Neo software contains a set of predefined settings and filters that can be applied automatically to your photos with just one click.
These are some useful elements that can simplify the process of editing photos.
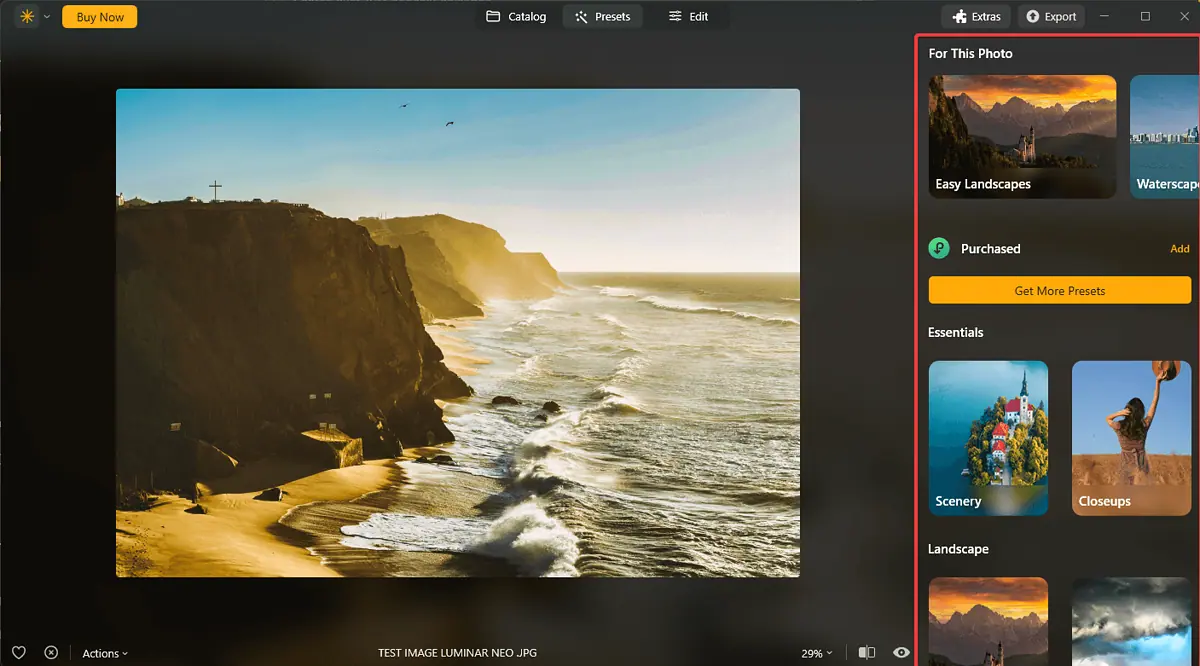
Compared to Adobe Lightroom‘s Develop Presets, Luminar Neo’s Presets are easier to apply, making them a great choice for beginners. However, the presets found in Lightroom offer more customization options and would better fit a professional.
How to Use Luminar Neo
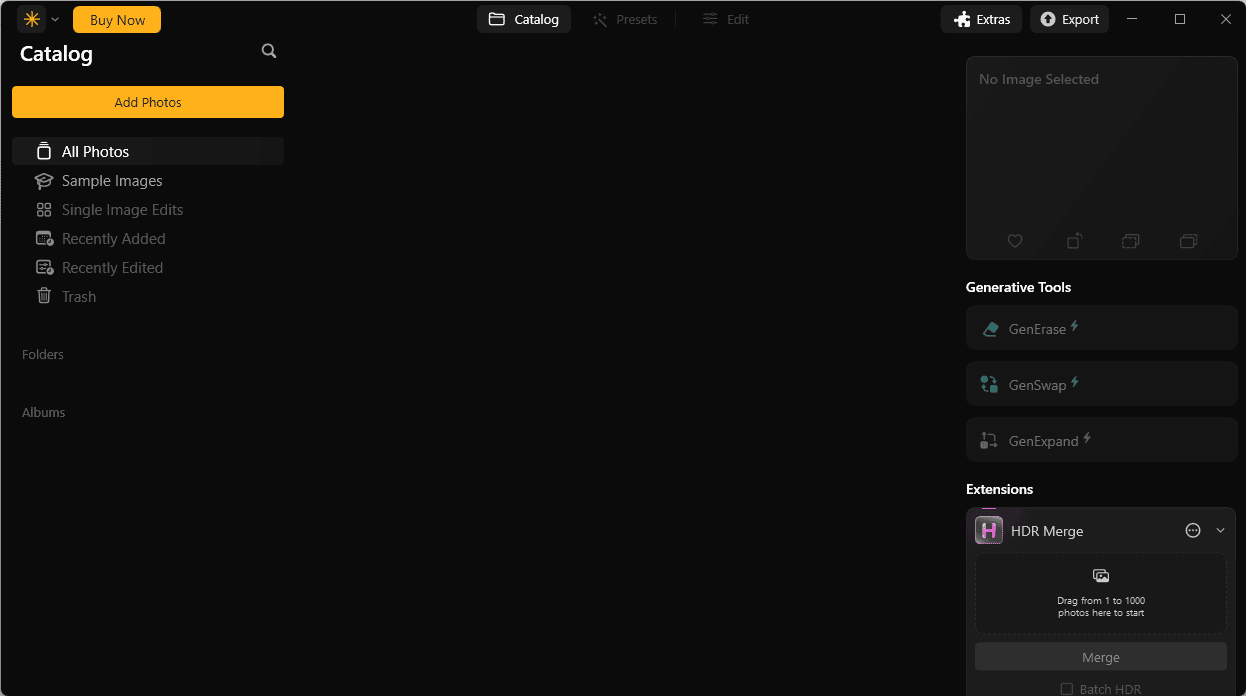
- Download, install, and open Luminar Neo on your PC.

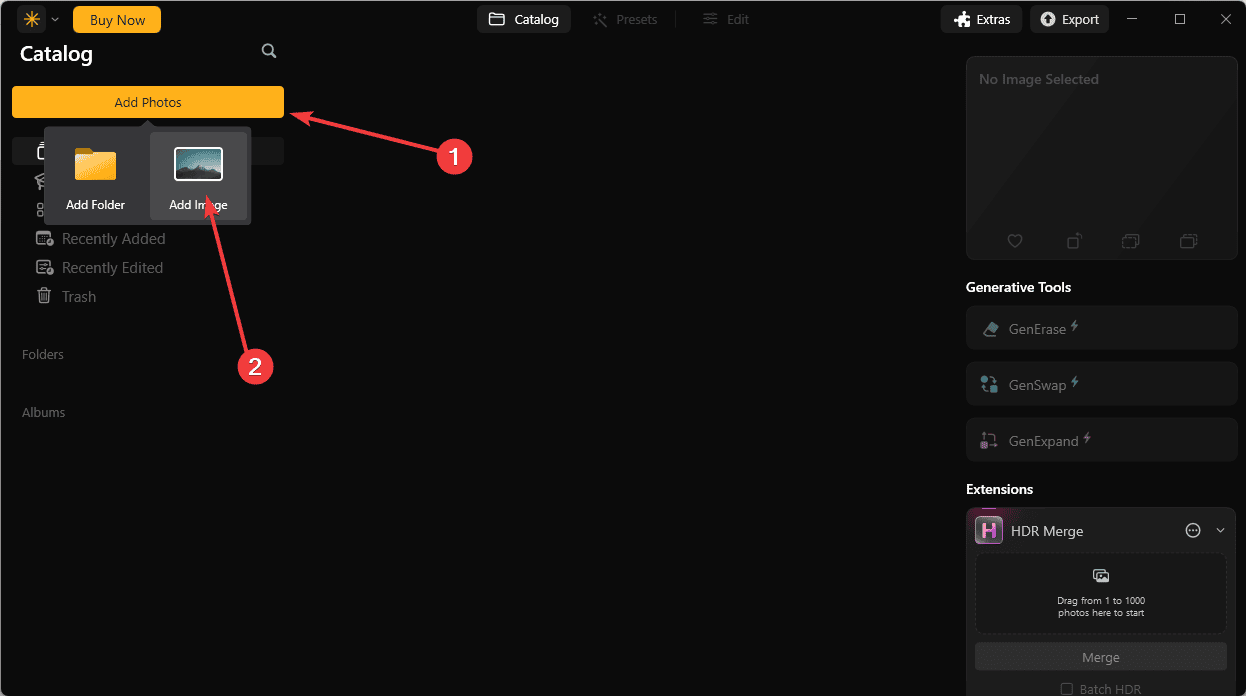
- Click Add Photos, Add Image, and browse your PC for your photo.
- Click Edit, and then choose the Enhance AI option from the sidebar.
- Furthermore, you can click Presets, and choose ones that look good.

- Go through the entire list of tools, and apply them according to your needs.

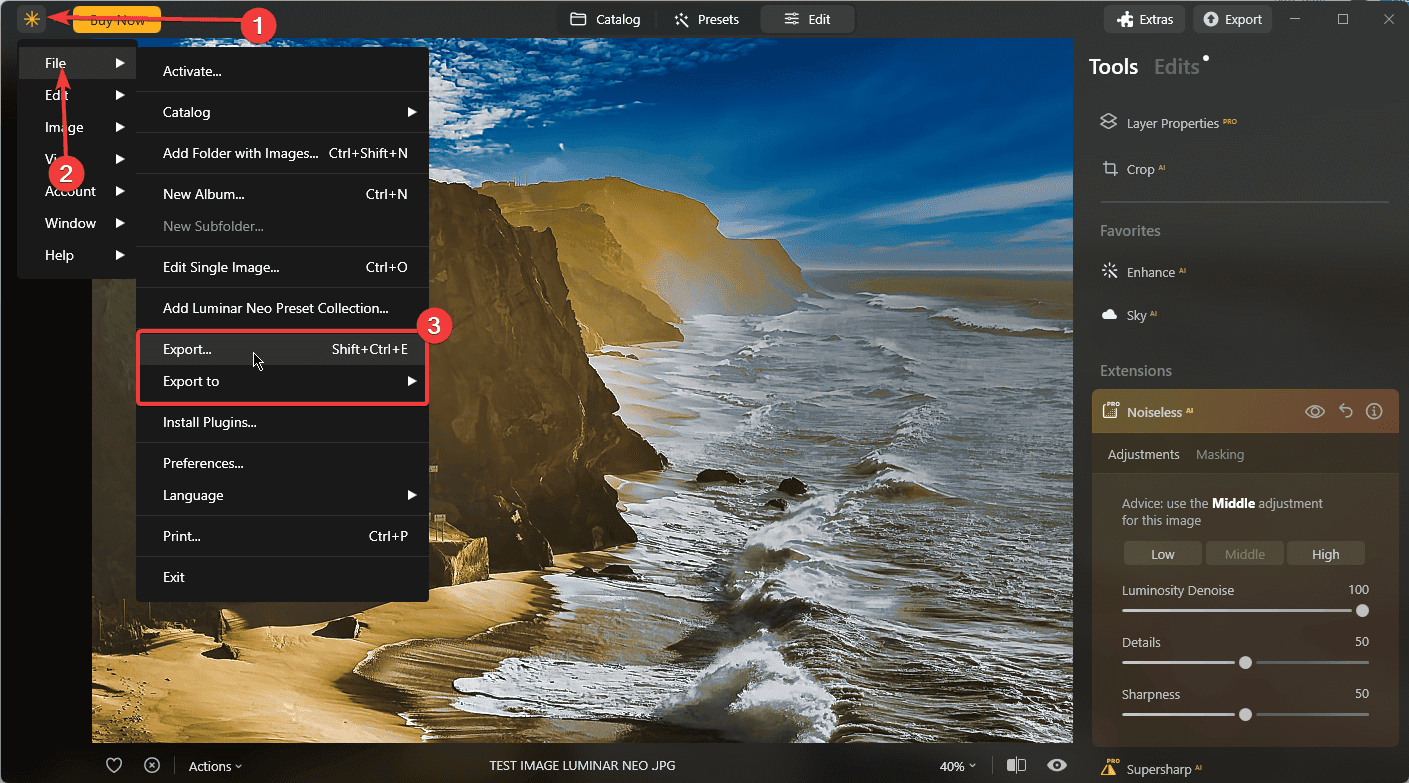
- When you’re satisfied with the results, click the Luminar icon from the top-left corner of your screen, choose File, and Export (or Export to – depending on your needs).

Pricing

I checked out the Luminar pricing webpage to give you an overview:
- 12-Month Subscription
- This plan is currently priced at €59. It includes access to the Luminar Neo Photo Editor, 100 Creative Add-ons, Luminar Neo Video Course, and The Luminar Neo Handbook.
- Perpetual License
- This one-time purchase option costs €109. It comes with the same benefits as the subscription plan.
Note: Please be aware that these prices are part of a limited-time discount offer, and the regular prices are €317.00 for the 12-month subscription and €417.00 for the perpetual license.
There’s also a 7-day free trial that lets you test the software and doesn’t require credit card details. And you get a 30-day money-back guarantee on both paid subscriptions.
Luminar Neo Review – Verdict
Luminar Neo is a powerful photo editing tool with solid features and a user-friendly interface. Its wide array of functionalities like AI-powered enhancements, generative AI tools, and presets, make it a great choice.
The software’s AI capabilities, such as Sky AI, Portrait Bokeh AI, and Relight AI, offer unique functions not commonly found in other photo editing tools.
However, Luminar Neo is not without drawbacks. While testing and exploring other users’ testimonials, I found occasional bugs and glitches that (even though not major) still disrupted the editing process.
Even though it offers many automation and user-friendly features, some advanced users might prefer more control over their editing process. Tools like Adobe Photoshop and Topaz AI, while more complex, offer a greater level of control and customization.
So, if you’re a beginner who wants an automated image editing experience, you can definitely go for Luminar. But if you’re more advanced, then there are better options on the market.
Would you try Luminar Neo after reading this review? Let me know in the comments!