What is XINPUT1_4 dll for? How to Reinstall & Download if it's Missing
The XINPUT1_4.dll file is a Dynamic Link Library (DLL) that is part of Microsoft’s DirectX API, which is commonly used in Windows-based games and advanced graphics programs. Specifically, XINPUT1_4.dll is associated with the XInput API, which is used for managing input devices like game controllers, including Xbox 360 and Xbox One controllers, on Microsoft Windows operating systems.
Functions, Features & Importance in Gaming:
- Input Device Management: It helps in the management of input from game controllers, making it easier for developers to program how games respond to different buttons, triggers, and analog sticks.
- Versioning: The number at the end (
1_4) indicates the version of the XInput API. Different versions may have different features or compatibility levels, and some games or applications may require specific versions to run correctly. - Cross-Compatibility: One of the advantages of using XInput is that it allows for greater compatibility between different types of controllers and games. This is especially useful for game developers who want to ensure that their games work well with a wide range of hardware.
- User Experience: For the end-user, the presence of this DLL generally means better and more consistent support for their input devices, leading to a better gaming or application-using experience.
In gaming, XINPUT1_4.dll is crucial for translating complex controller inputs into in-game actions. It allows for a more immersive and responsive gaming experience by ensuring that the game software can accurately interpret the inputs from the game controller.
What do if Xinput 1_4 DLL is missing?
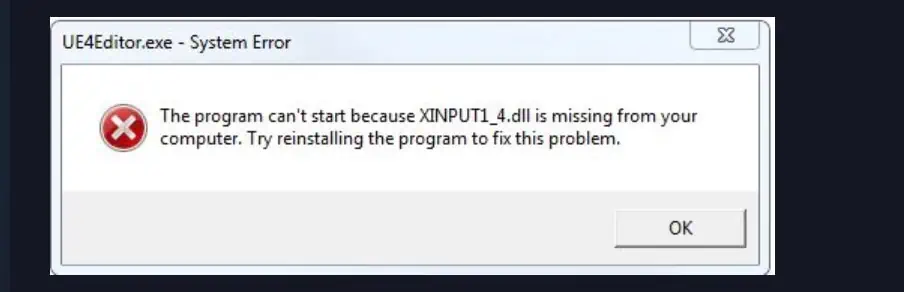
The absence or corruption of this DLL file can lead to errors like “XINPUT1_4.dll is missing,” which will prevent games or applications that rely on it from running correctly. This is why it’s often recommended to update DirectX or reinstall the specific program that is causing the error.
1. Reinstall the Affected Software
- Uninstall the Software: Navigate to
Control Panel>Programs and Featuresand uninstall the software that is giving you the error message. - Download Latest Version: Visit the official website of the software and download the latest version.
- Reinstall: Run the installer and follow the on-screen instructions to reinstall the software. This often installs a fresh copy of missing or corrupted DLL files.
2. Update Windows
- Check for Updates: Go to
Settings>Update & Security>Windows Updateand click onCheck for updates. - Install Updates: If updates are available, install them. This often resolves DLL issues.
- Restart Your Computer: Once the updates are installed, restart your computer for the changes to take effect.
3. Download and Install DirectX
- Visit Microsoft’s Website: Go to the official Microsoft website to download the latest version of DirectX.
- Run the Installer: Once downloaded, run the DirectX installer and follow the prompts.
- Restart Your Computer: After installation, restart your computer to complete the process.
4. Manually Download the DLL File
- Visit Fortect.com: Go to Fortect.com, a trusted source for downloading DLL files.
- Search for
xinput1_4.dll: Use the search function to find the DLL file. - Download and Install: Download the file and place it in the directory where the affected software is installed.
- Note: Always exercise caution when downloading DLL files, even from trusted sources.
5. Run the sfc /scannow Command
- Open Command Prompt as Admin: Search for “Command Prompt” in the Start menu, right-click on it, and select “Run as administrator.”
- Run the Command: Type
sfc /scannowand press Enter. This will scan and attempt to repair corrupted system files. - Review Results: Once the scan is complete, follow any on-screen instructions to fix issues.
6. Perform a Clean Boot
- Open System Configuration: Press
Win + R, typemsconfig, and press Enter. - Disable Startup Items: Go to the
Startuptab and disable all startup items. - Restart: Click
OKand restart your computer. - Identify the Culprit: Enable startup items one by one to identify which software is causing the issue.
7. Run a Malware Scan
- Choose a Reputable Antivirus: Use a reputable antivirus program for scanning.
- Run a Full Scan: Perform a full system scan to identify and remove any malware.
- Quarantine or Delete: Follow the antivirus recommendations to quarantine or delete detected malware.
8. Restore System to a Previous State
- Open System Restore: Search for “System Restore” in the Start menu and open it.
- Choose a Restore Point: Select a restore point from before the issue started occurring.
- Confirm and Restore: Follow the on-screen instructions to restore your system to a previous state.
We also found two nice guides on how to find missing DLL files on Windows 10 and Windows 11.
Read our disclosure page to find out how can you help MSPoweruser sustain the editorial team Read more


Improve this guide


User forum
0 messages