Outlook View Changed Itself? Here's How to Fix It Quickly!
Outlook view changed itself? Don’t worry.
The issue can arise from different causes, including incorrect View settings, running an outdated Outlook version, add-in interference, and more.
Being a regular Outlook user, I’ve experienced the problem and managed to solve it using the following fixes.
1. Use The Reset View Option
There are two ways to reset your Outlook view – from the app or by running a command. Let me show you both options:
Reset View from the App
- Launch Outlook on your device.
- Tap the View button, then select Reset View.
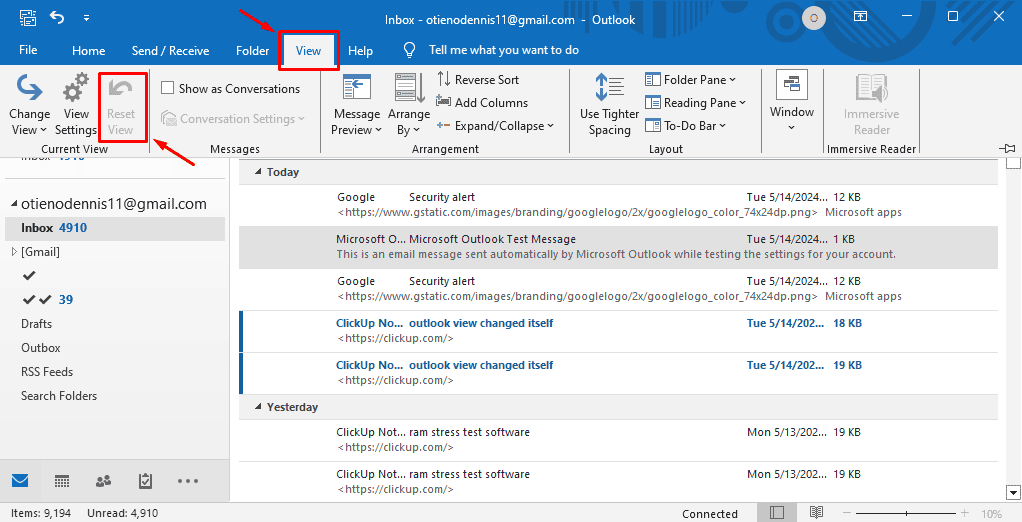
If it doesn’t make a difference, go to the View tab again, tap Change View, and select Compact from three options.

Reset View by Running the Command
- Open the Run dialog box by pressing the Windows key on your keyboard with the letter R simultaneously.
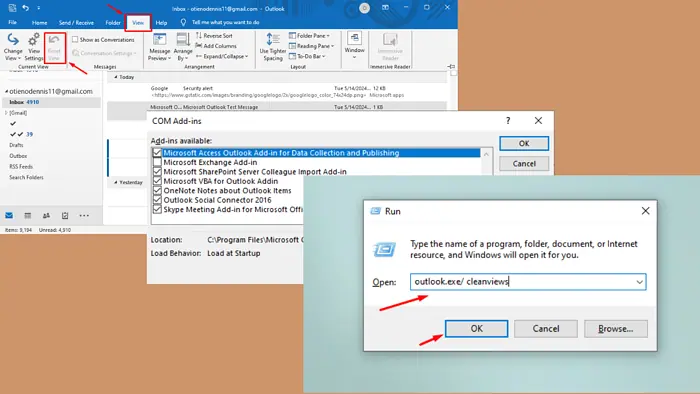
- Type outlook.exe/cleanviews inside the box and hit OK.
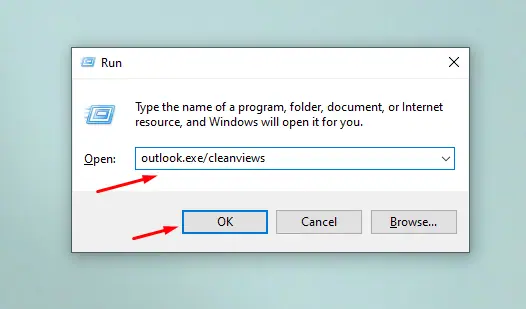
The command will launch Outlook automatically, and restore all custom views and displays to their default settings.
2. Run Outlook in Safe Mode and Disable Add-Ins
If Outlook doesn’t show the default view after resetting, it might be because of an app add-in. Here’s how to check if that’s the case:
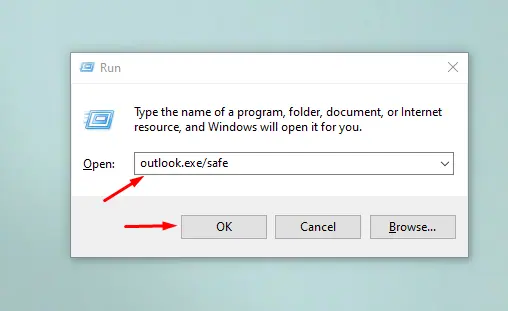
- Press the Windows key and R simultaneously on your keyboard to run the dialog box.
- Type outlook.exe/safe inside the box, then hit the OK button to start Outlook in Safe Mode.
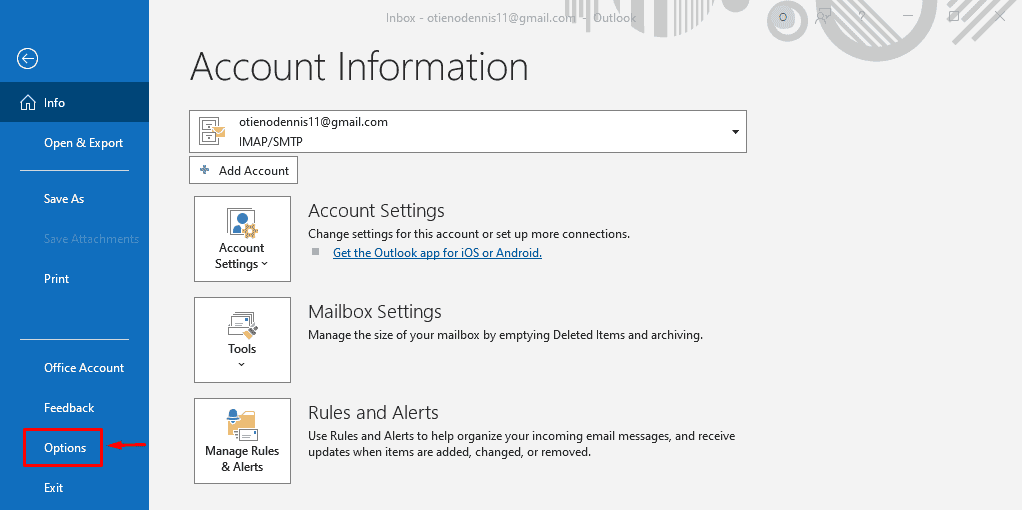
- Tap on the File button in the top left corner then select Options.
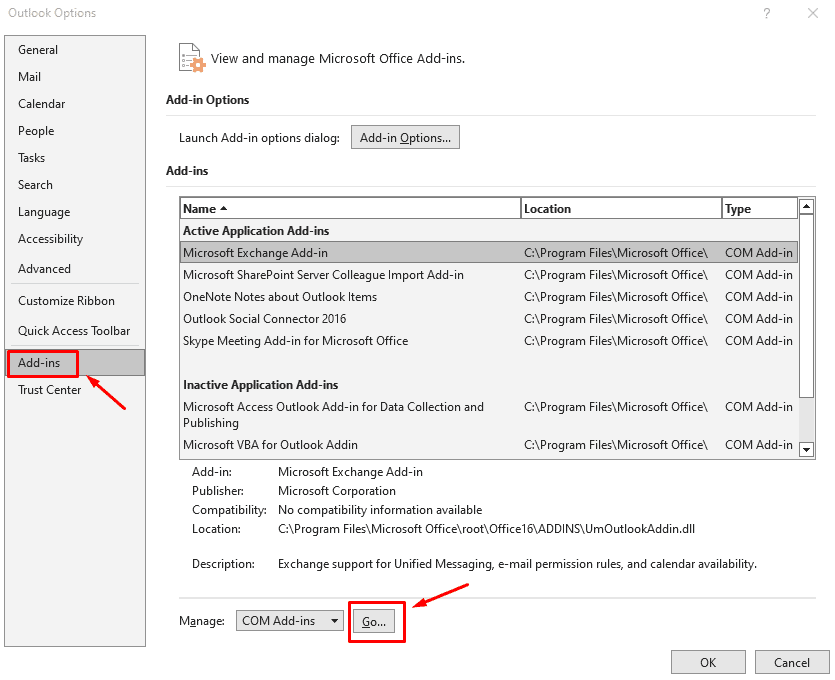
- Click Add-ins, then Go…
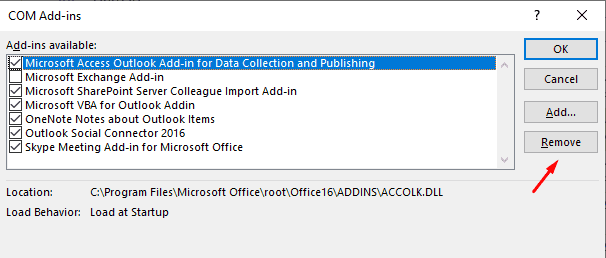
- Select the Add-ins you want to disable, then click Remove. Start with the ones you’ve added more recently and work your way down the list.
Reboot your PC and confirm if the issue is resolved.
3. Create a New Outlook Account
Creating a new Outlook account/profile will help you get back the default view. Outlook automatically backs up all your emails to your email provider’s cloud servers. So, you won’t lose any data.
Here’s how to go about it:
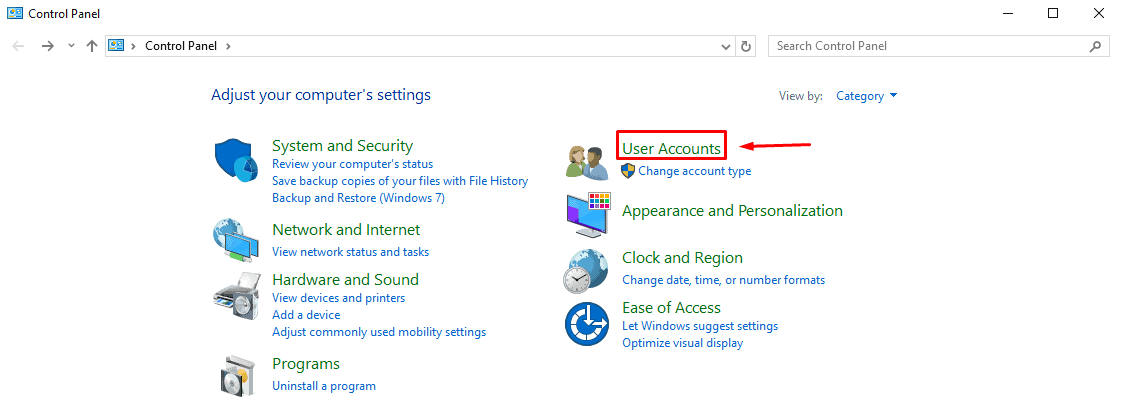
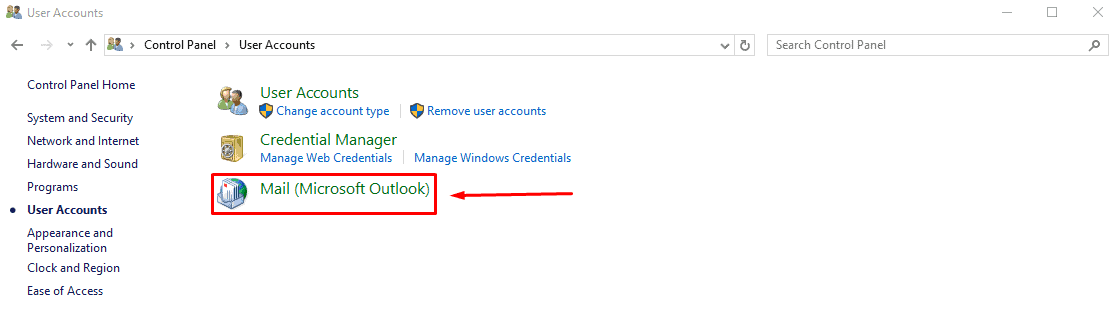
- Press the Windows key on your keyboard, type Control Panel, then hit the Enter button to open it.
- Click User Accounts.
- Click Mail (Microsoft Outlook).
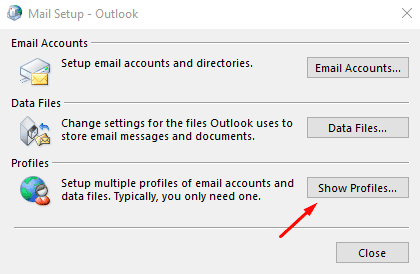
- Click Show Profiles.
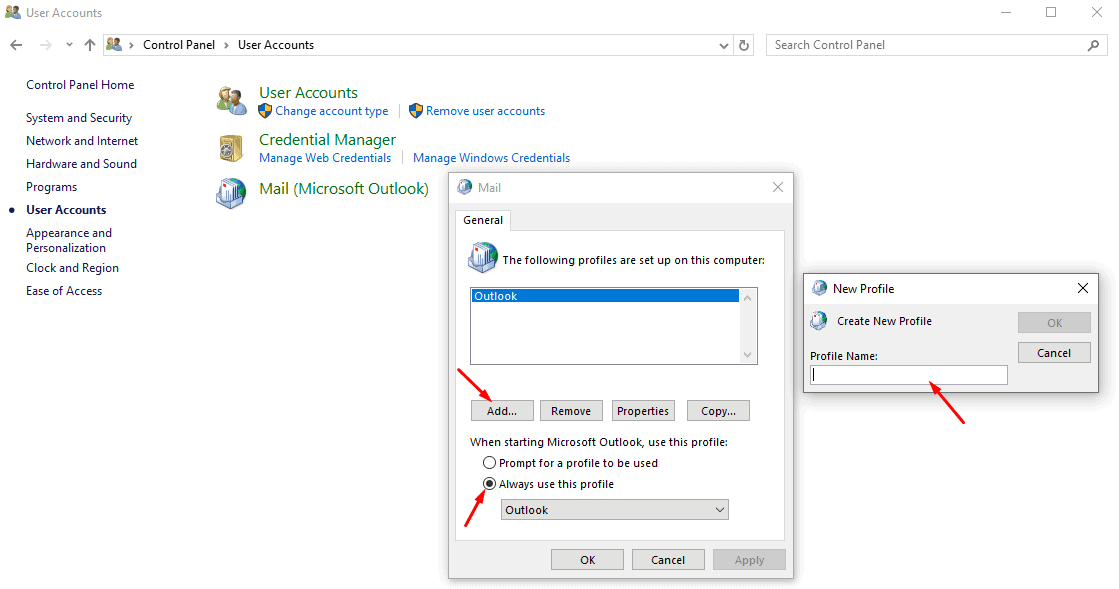
- Click Add on the General tab, select Always use the profile, then enter the profile name and hit OK.
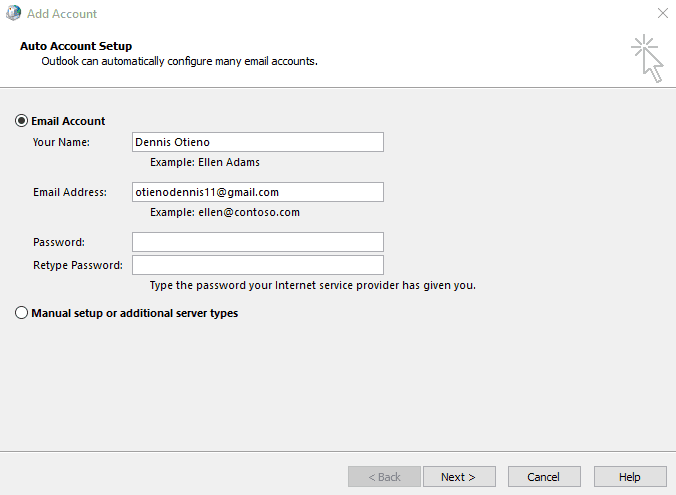
- Add your Name, Email address, and password, hit Next, then Apply to save the changes.
This should get you back to the default view. However, if it doesn’t work, try the below quick fixes:
Additional Quick Fixes
- Update Outlook: Go to File > Office account > Office updates > Update now.
- Reinstall Outlook: Uninstall the app from your device, go to the official Microsoft website, and download an app compatible with your device.
- Restart Outlook: Close the app completely, wait for a few minutes then start it again.
- Run a complete system scan: Initiate a full system scan for malware or viruses and remove any threats detected.
If the Outlook view has changed by itself, just follow the simple steps above and you’ll be good to go in no time! Was this guide helpful? Let me know in the comments!
Read our disclosure page to find out how can you help MSPoweruser sustain the editorial team Read more


Improve this guide


User forum
0 messages