How to backup and restore the Windows 10 Start Menu easily
2 min. read
Updated on
Read our disclosure page to find out how can you help MSPoweruser sustain the editorial team Read more
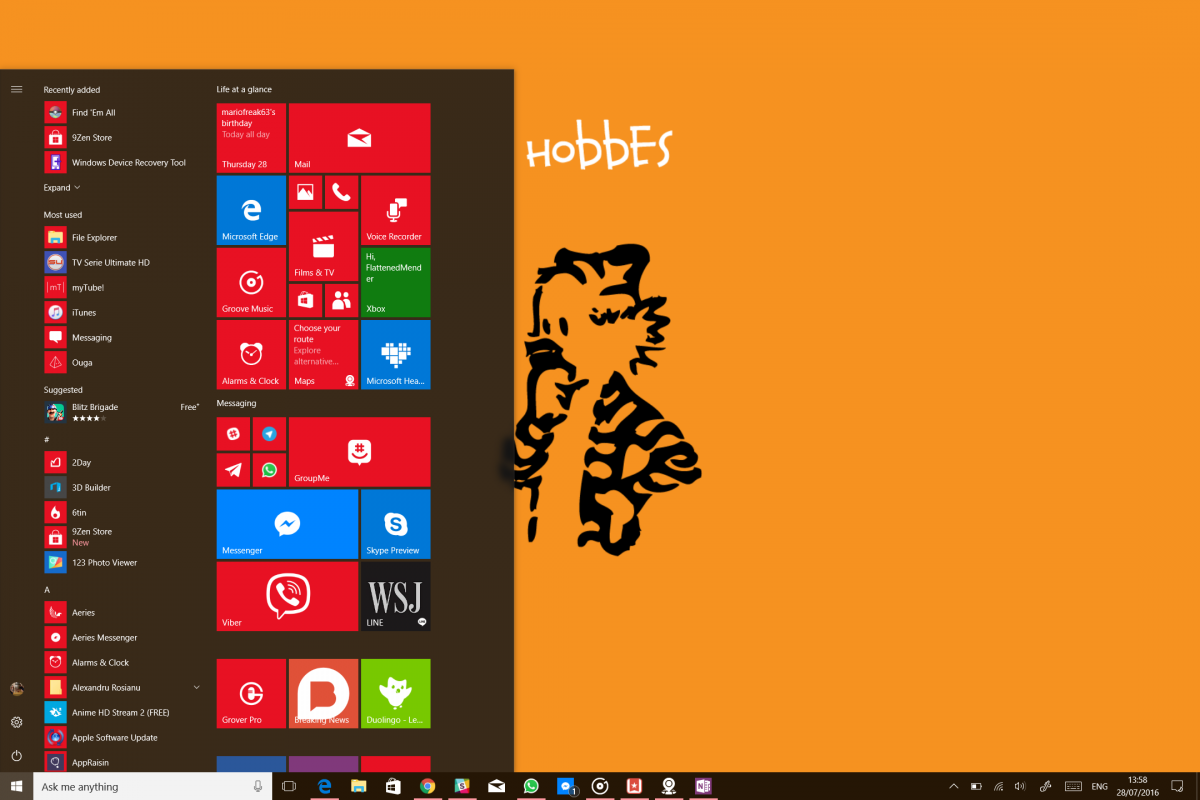

When resetting a PC, or moving between devices, it’s much nicer to be able to receive a new update.
There are a few ways you can work around Microsoft’s restrictions, and we’re going to tell you how below.
You’ll need a Windows 10 PC, and be willing to log out of your Windows 10 account for a short while, but it should be worth it in the end.
TL: DR, Microsoft doesn’t let you back up your Start Menu content, you can work around that by backing up and restoring your data manually.
How to Backup the Windows 10 Start Menu
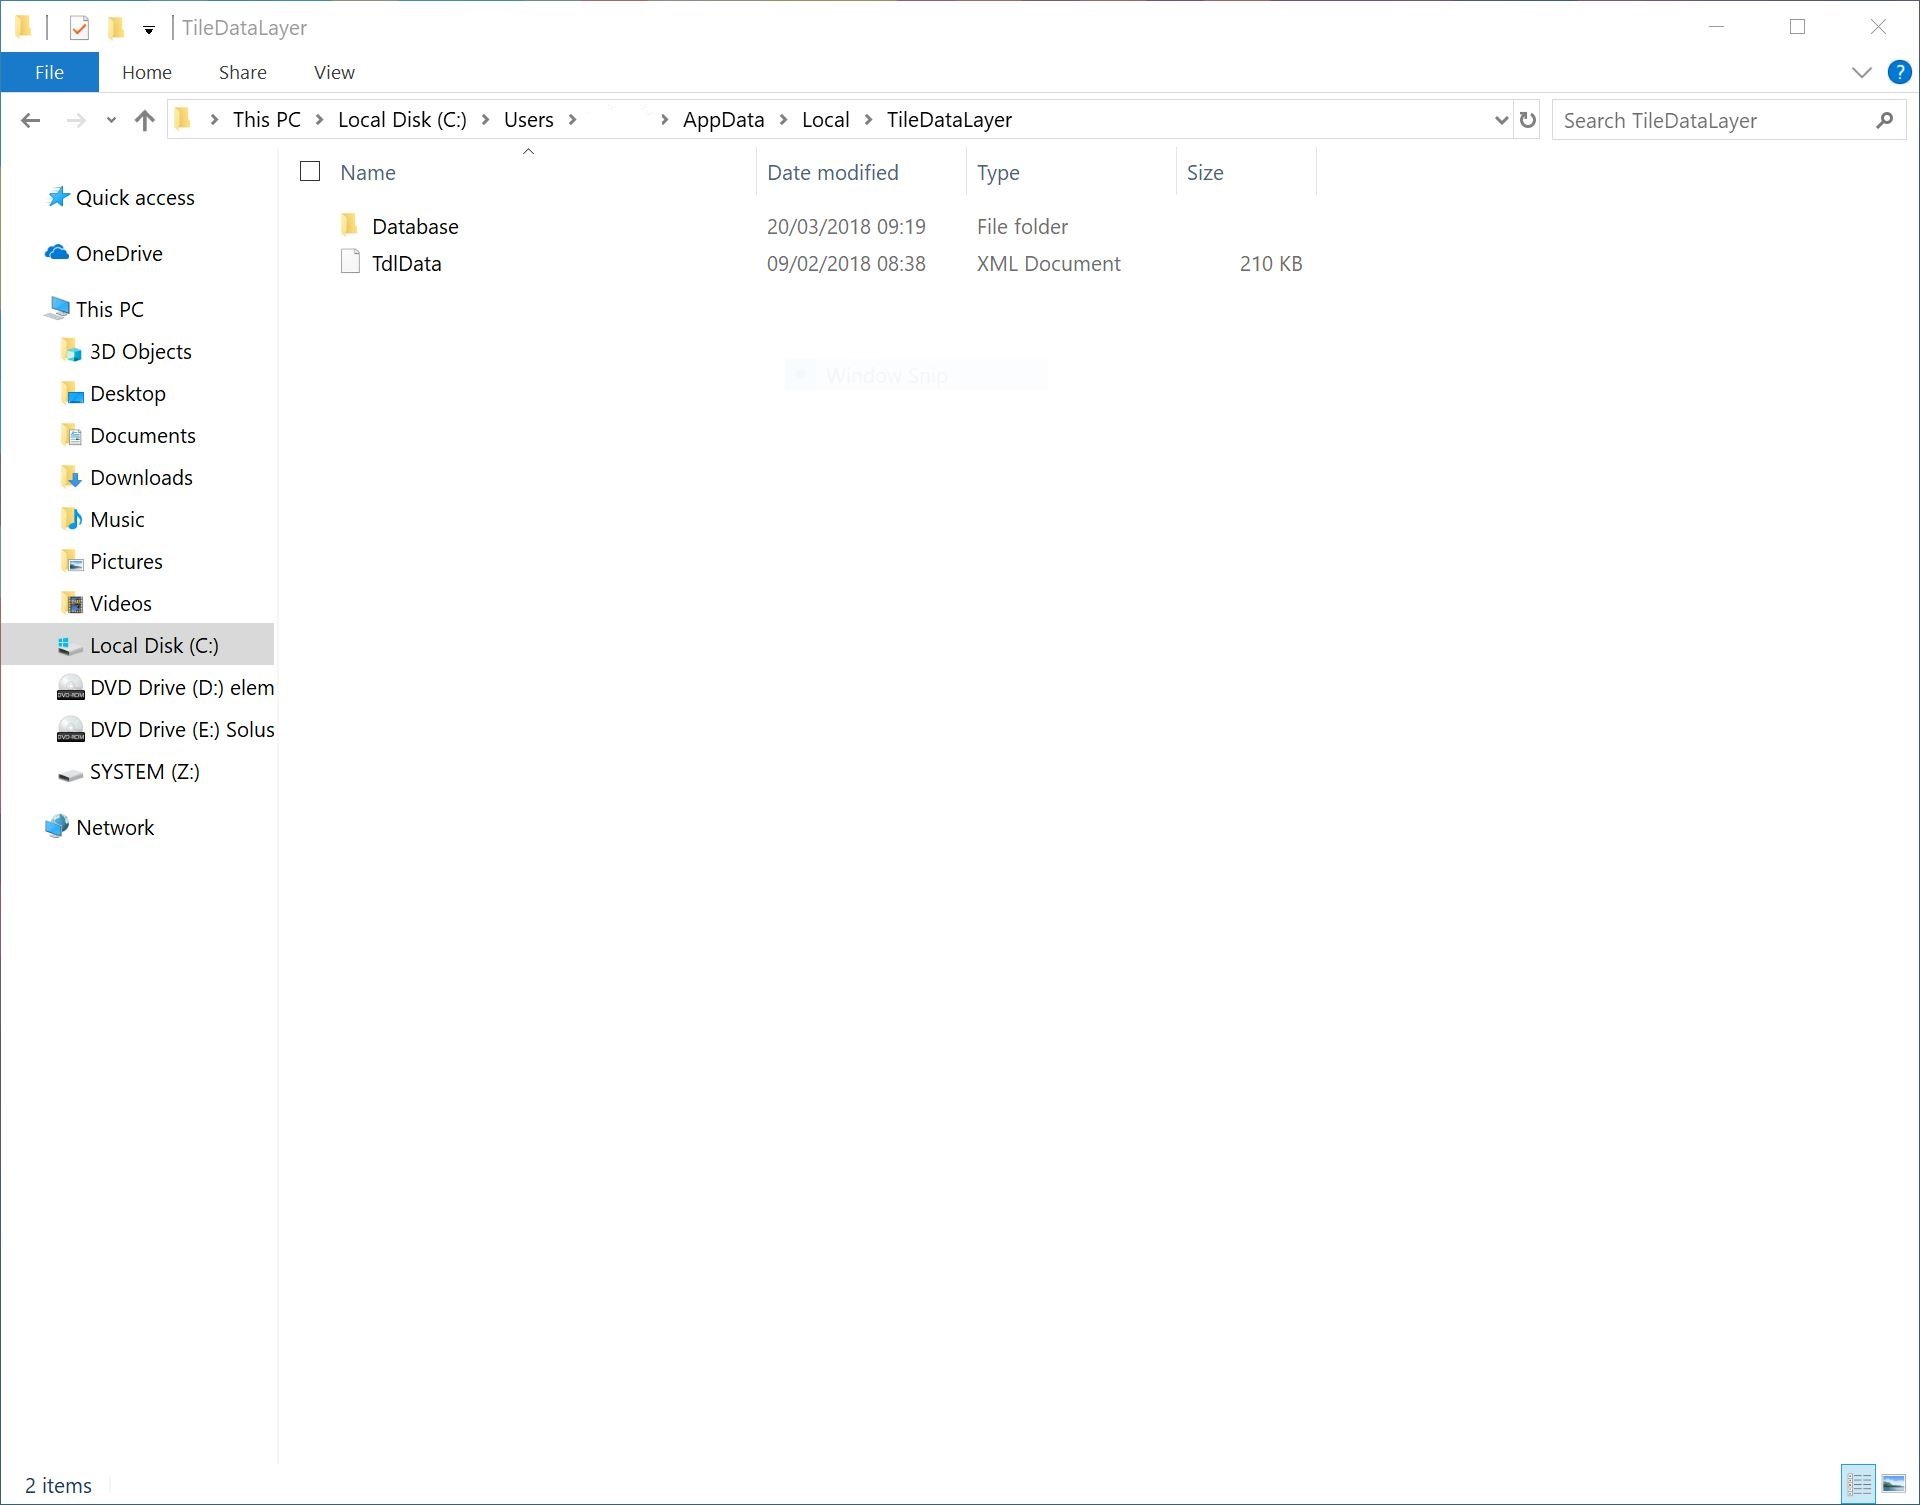
- Navigate to this location C:\Users\YourUserNameHere\AppData\Local\TileDataLayerfolder
- Copy the files in that folder, and save them to a USB or a OneDrive folder of your choice.
- When restoring a new PC, simply navigate to that location and replace the files. You’ll need to log out of your Microsoft account while doing this, or perhaps use a local account at first to prevent any issue with conflicting backups.





User forum
0 messages