Google Maps Mileage Log - How To Track It?
Maintaining an accurate Google Maps mileage log is vital for many professionals, especially those who need to track travel distances or for tax deduction purposes. Unfortunately, the service doesn’t have an inbuilt-milage tracker.
However, there are a few methods to monitor it.
How To Monitor Your Google Maps Mileage Log
You can track your mileage log with the service’s timeline history, manually recording it, or with a mileage tracker app.
1. Using Google Maps’ Timeline History
This timeline tracks your location history, showing where you’ve been and the routes you’ve taken. Here’s how to do it:
- Go to Google Maps and ensure you’re logged in using your Gmail account.
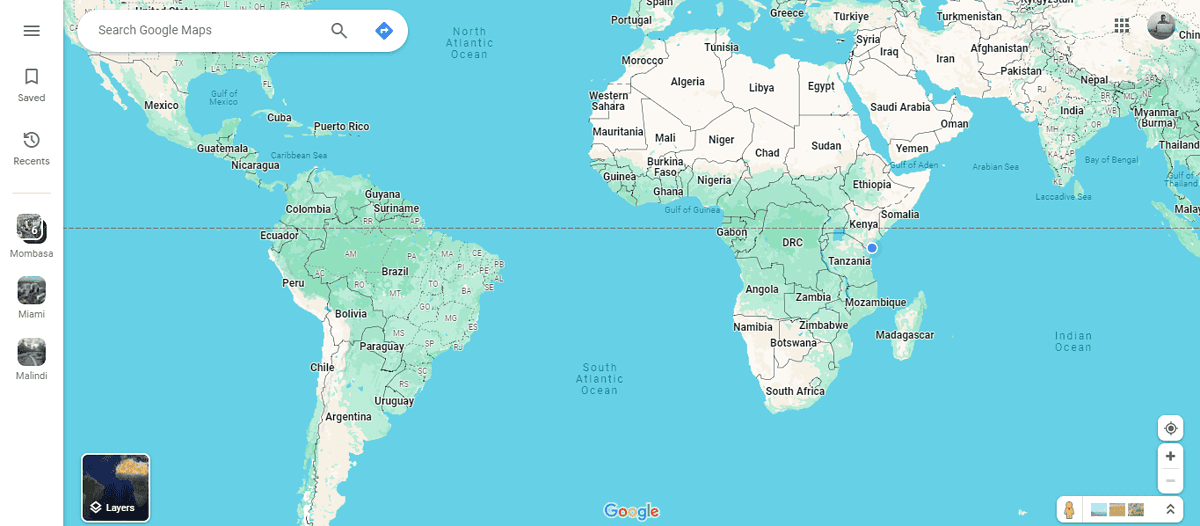
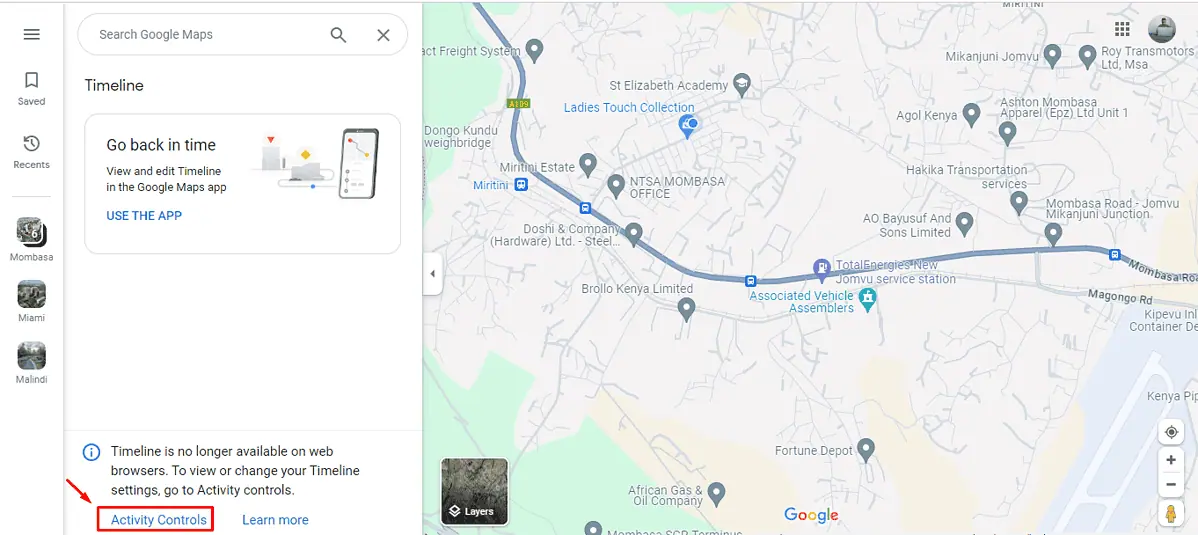
- Tap on the hamburger menu in the top right corner of your screen then click “Your timeline.”

- Tap Activity controls.
- Ensure your timeline history is on. The date will appear below if it was turned on previously. That means you can track your location history, and see the trips you’ve taken from the specified date.
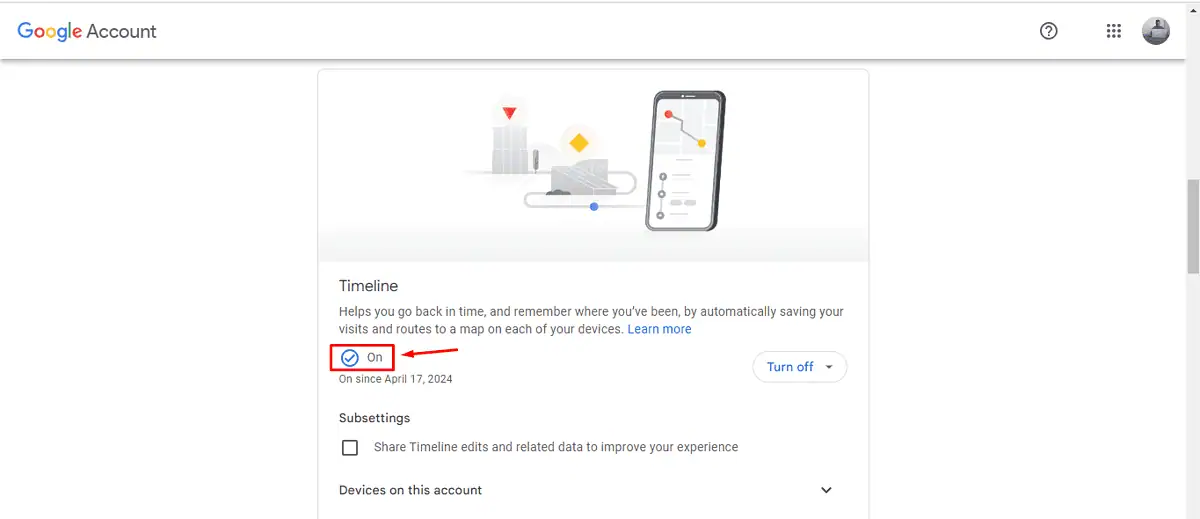
If it was your first time turning it on, your traveling history will start being recorded immediately.
- After a few days of navigation, go back and tap on Google Maps, tap the hamburger menu, and click “Your data in Maps.”
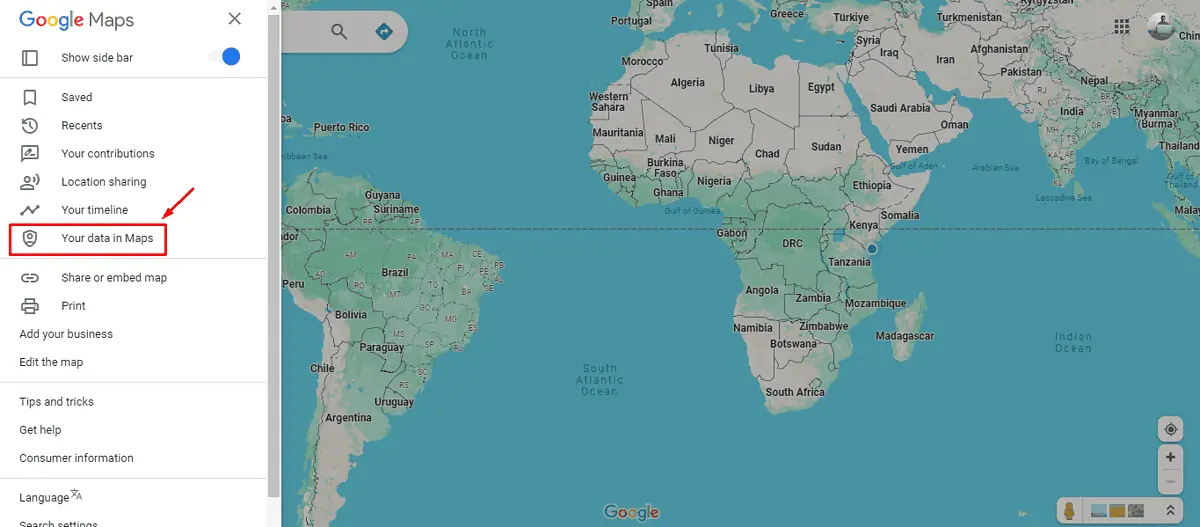
- Scroll down and click “Download your maps data.”
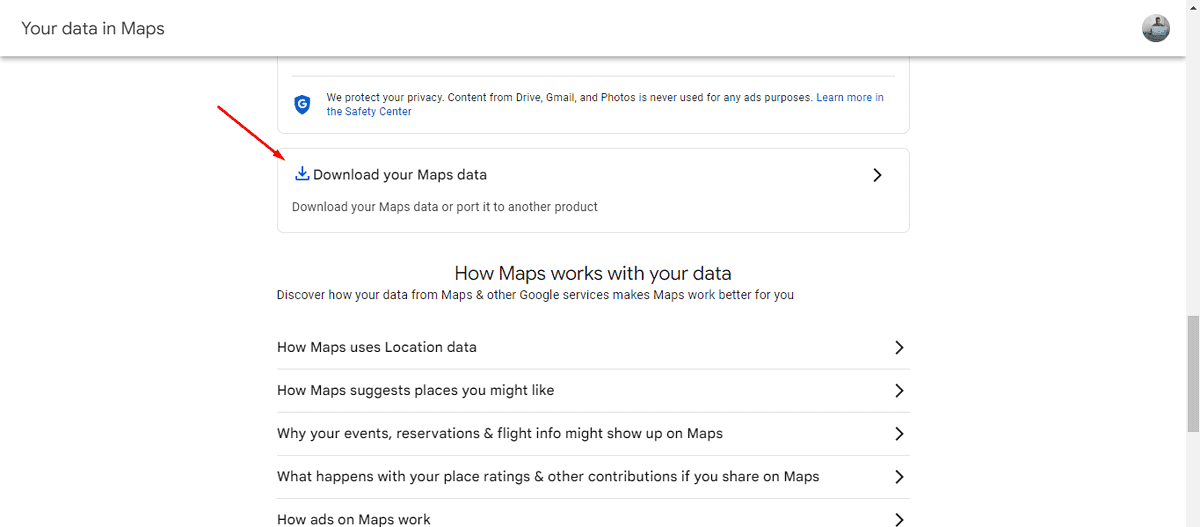
- Select location history (Timeline), then tap Next step.

- Select export once, choose the file type and size, then tap Create Export.
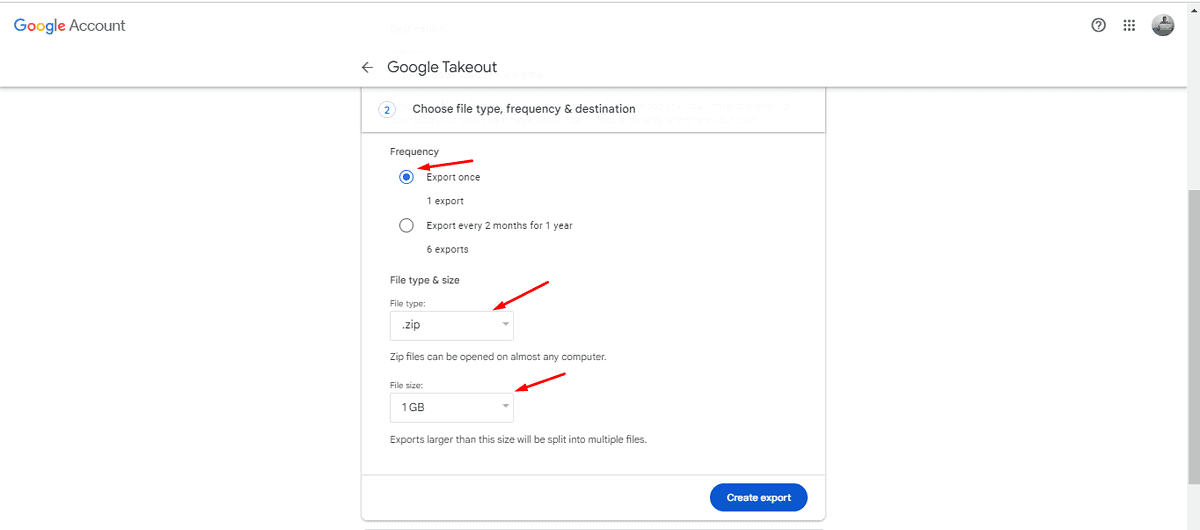
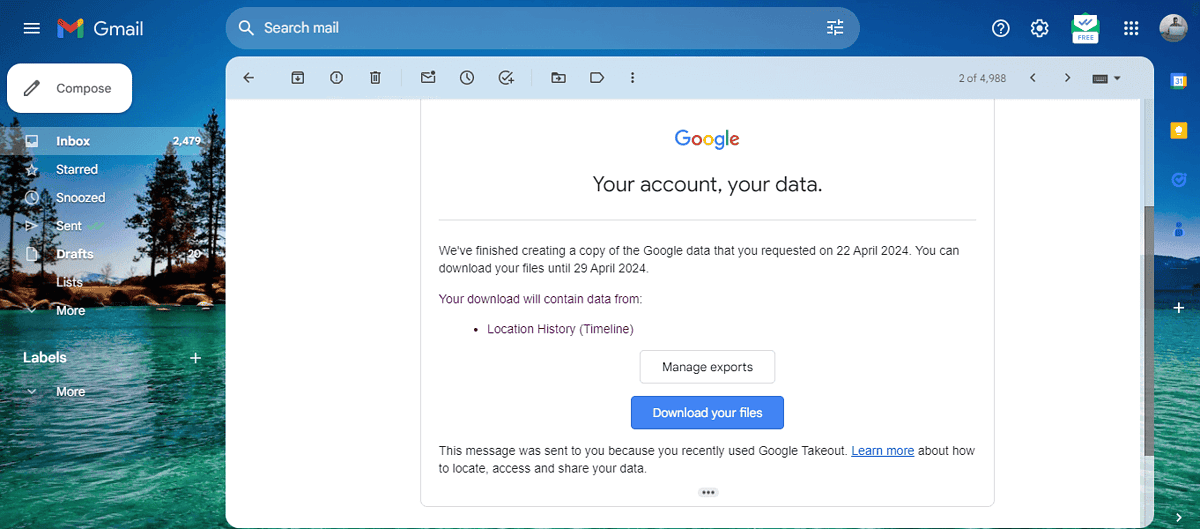
- Wait for the download to complete.
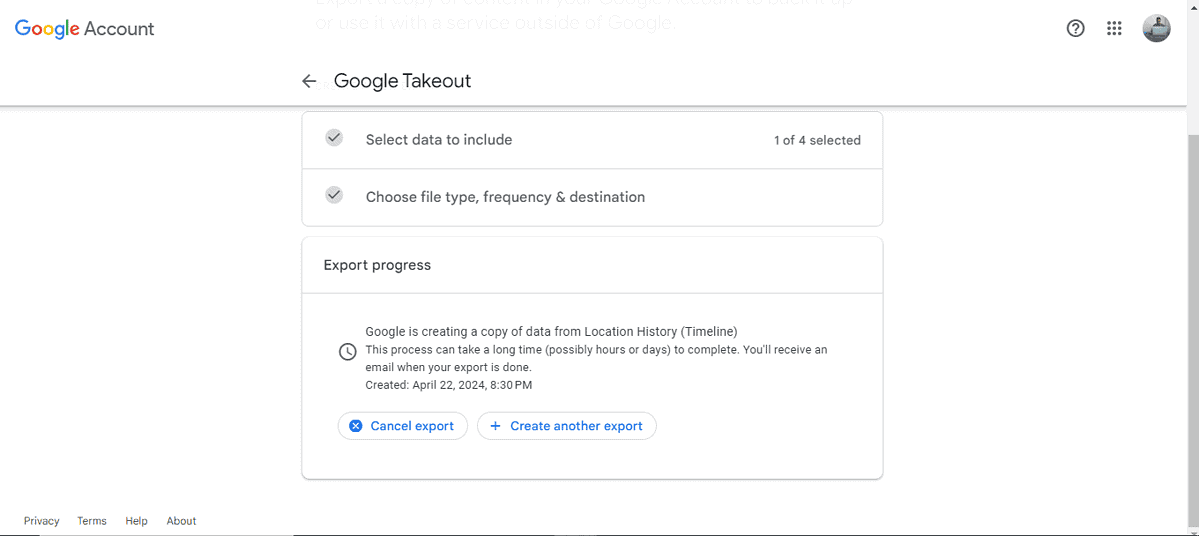
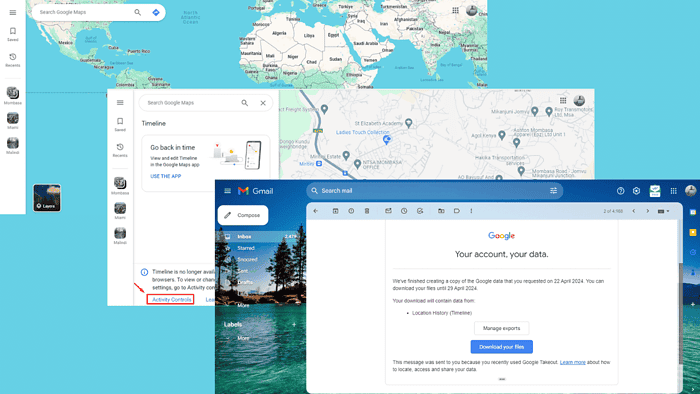
- You’ll be notified through email once the export process is complete. Tap on Download your files and access every place you visited including miles for each journey.
2. Recording Manually Through Google Maps
You can also track your mileage by recording each mile you cover for each journey. However, you’ll need to keep your records safe. Follow the below steps:
- Open Google Maps and tap on the direction button.
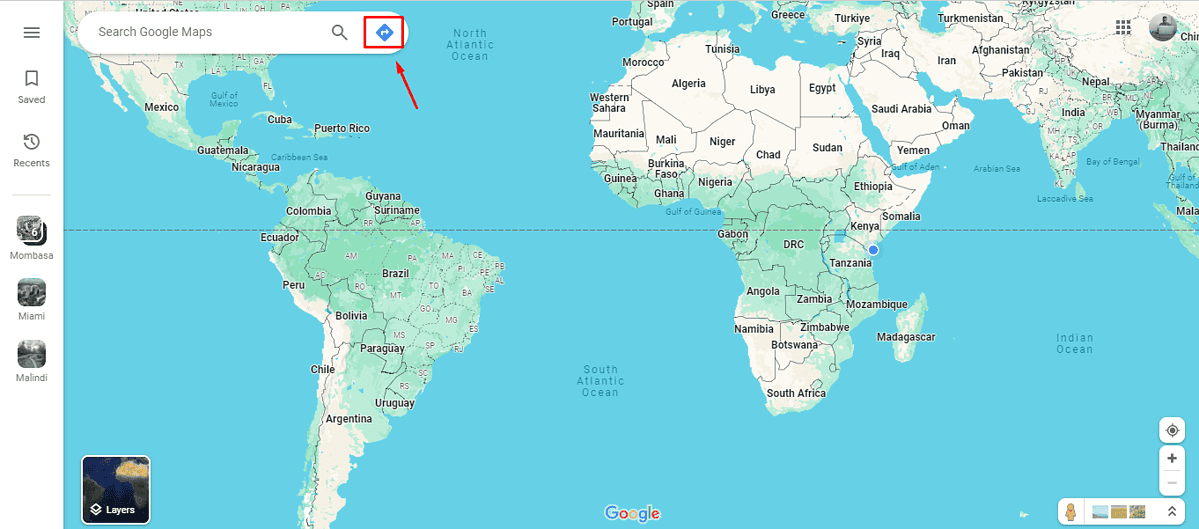
- Pick your route by adding your starting point and destination. The route will display the exact miles. Record it.
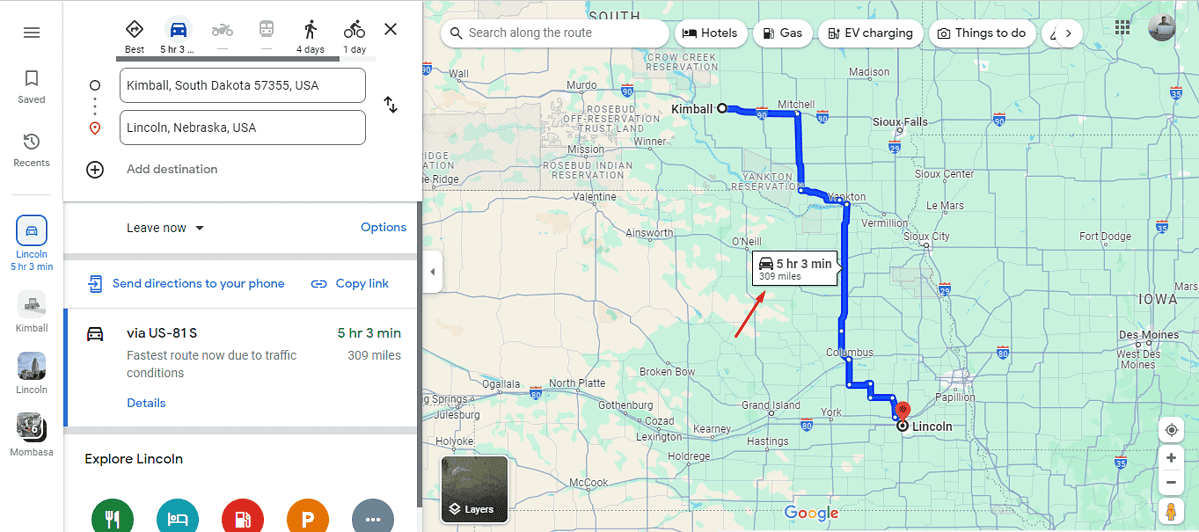
Ensure you mark down every journey to get an accurate mileage count.
3. Use a Mileage Tracker App
Using a dedicated mileage tracker app with Google Maps can significantly streamline logging miles for business, tax deductions, or personal use. Apps like MileIQ and TripLog are designed to automatically record your travel distances using GPS technology.
Google Maps doesn’t have a dedicated mileage log, but you can still use it in a roundabout way to track your miles. This makes it simple to manage your mileage records, whether it’s for work, personal use, or taxes. You can also calculate your miles per state.
Read our disclosure page to find out how can you help MSPoweruser sustain the editorial team Read more


Improve this guide

User forum
0 messages